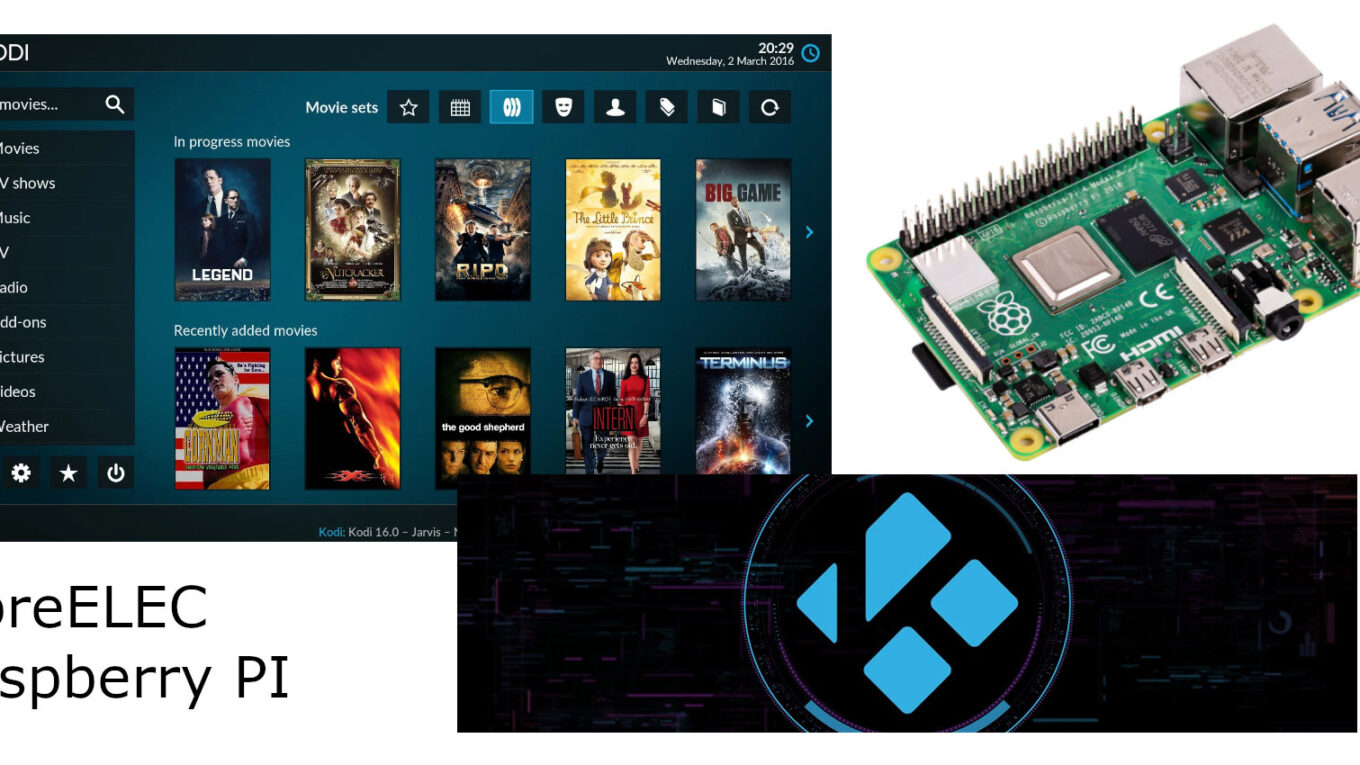
Install LibreELEC in Raspberry PI: a Lightweight Media Center
Last Updated on 28th July 2023 by peppe8o
This tutorial will show you how to install LibreELEC on a Raspberry PI computer board.
Using Raspberry PI for your home Media Centre enables your TV to get a boost in terms of functions and allows you to fully customize your media reproduction system.
What is LibreELEC
LibreELEC is a Linux distribution designed to fit just the needs to run Kodi, one of the most famous open-source media centre solution.
LibreELEC was born as a fork of OpenELEC (in 2015), but the latter has been discontinued while LibreELEC continues to be supported and came into the list of OS that you can flash on Raspberry PI microSD card with the Foundation RPI Imager software.
It brings an OS image that already includes all the required software to run Kodi, so that you can take care just to flash it in your computer disk and power it on, having all set to start enjoying your new media centre.
It is important to note that, once LibreELEC is installed, you will get a complete Kodi system. So, if you need help on communities you can refer those about Kodi.
LibreELEC and Raspberry PI Compatibility
Please find below a table showing the supported image resolution for the different OpenELEC releases and different Raspberry PI computer models.
| Device | 9.2.8 | 10.x / 11.x |
|---|---|---|
| Raspberry Pi Zero | Up to 720p in Software | No longer supported |
| Raspberry Pi 1/2/3 | Up to 1080p in Software | Up to SD in Software |
| Raspberry Pi 4 / 400 | Up to 4K, basic HDR (8-bit) | Up to 4K, 8/10/12-bit HDR |
What We Need
As usual, I suggest adding from now to your favourite e-commerce shopping cart all the needed hardware, so that at the end you will be able to evaluate overall costs and decide if to continue with the project or remove them from the shopping cart. So, hardware will be only:
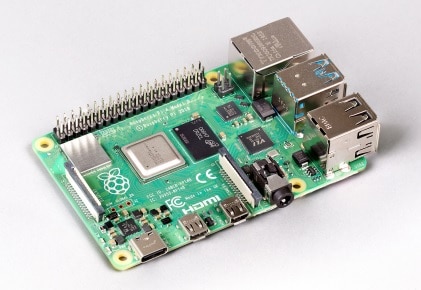
- Raspberry PI Computer Board (including proper power supply or using a smartphone micro USB charger with at least 3A)
- high speed micro SD card (at least 16 GB, at least class 10)
- HDMI Monitor with a proper HDMI cable (based on your Raspberry PI computer board model)
- a USB/wireless keyboard
Please note that, because of the load that high-resolution videos could provide, using a proper USB power supply can make the difference between a stable and unstable system. I suggest using a power supply able to provide 3A if you can’t get the official Power Supply from the Foundation.
Step-by-step Procedure
Prepare the Raspberry PI micro SD Card
Download and install the Raspberry PI Imager.
Insert your SD card into your PC and run the Raspberry PI Imager from your PC.
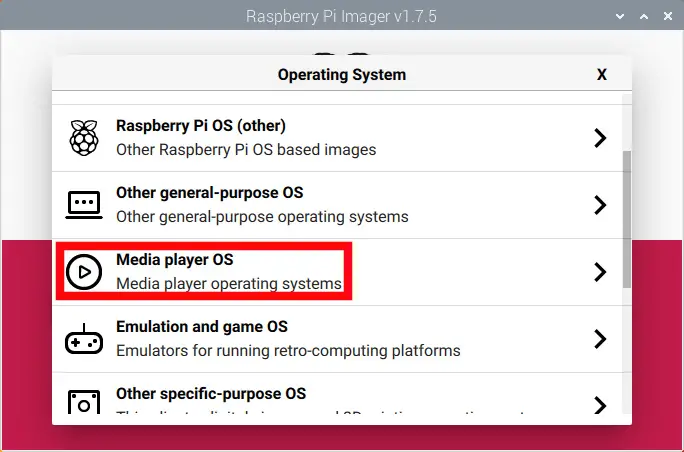
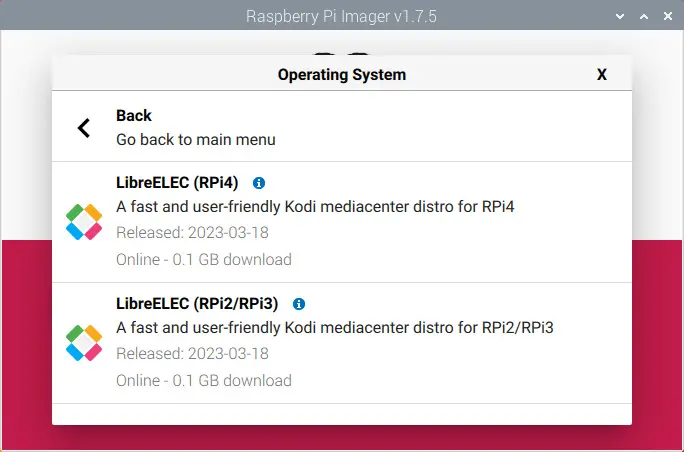
From the “Choose OS” menu, we must select “Media player OS”:
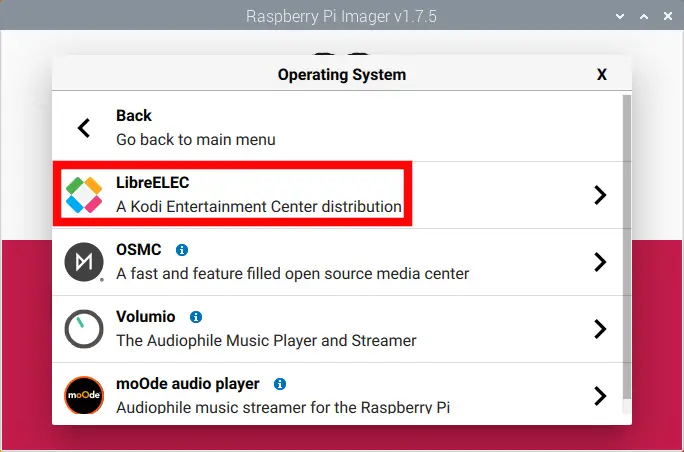
Then LibreELEC:
And finally, select the LibreELEC release based on your Raspberry computer board model. Please note that the Raspberry PI Zero 2 w requires the image for RPI 4:
After this, you can proceed by selecting the storage and clicking the “Write” button. Then, wait for the flashing task to be successfully completed.
ONLY for LibreELEC on Raspberry PI models with 512MB RAM or less
I strongly advise against using a low RAM (512MB or less) Raspberry PI for a Media Centre, as it will make you crazy for the slowness, In any case, if you already own some of these models and just want to give it a test, you must add a trick to avoid LibreELEC entering a reboot loop after the start.
After flashing the OS, before ejecting the SD Card you need to:
- open the SD card content from your PC
- identify the “config.txt” file
- open it for editing (I strongly suggest using Notepad if you’re on MS Windows)
- Append the following at the end of the file:
dtoverlay=cma,cma-256- save and close the file
Setup LibreELEC
Connect your Raspberry to your TV/monitor and keyboard and power it on. If you see a mount error, please try flashing a different LibreElec version from the Raspberry PI Imager.
The system will reboot after the start and will begin the first configuration wizard with a welcome message, letting you change here the Language, if required:
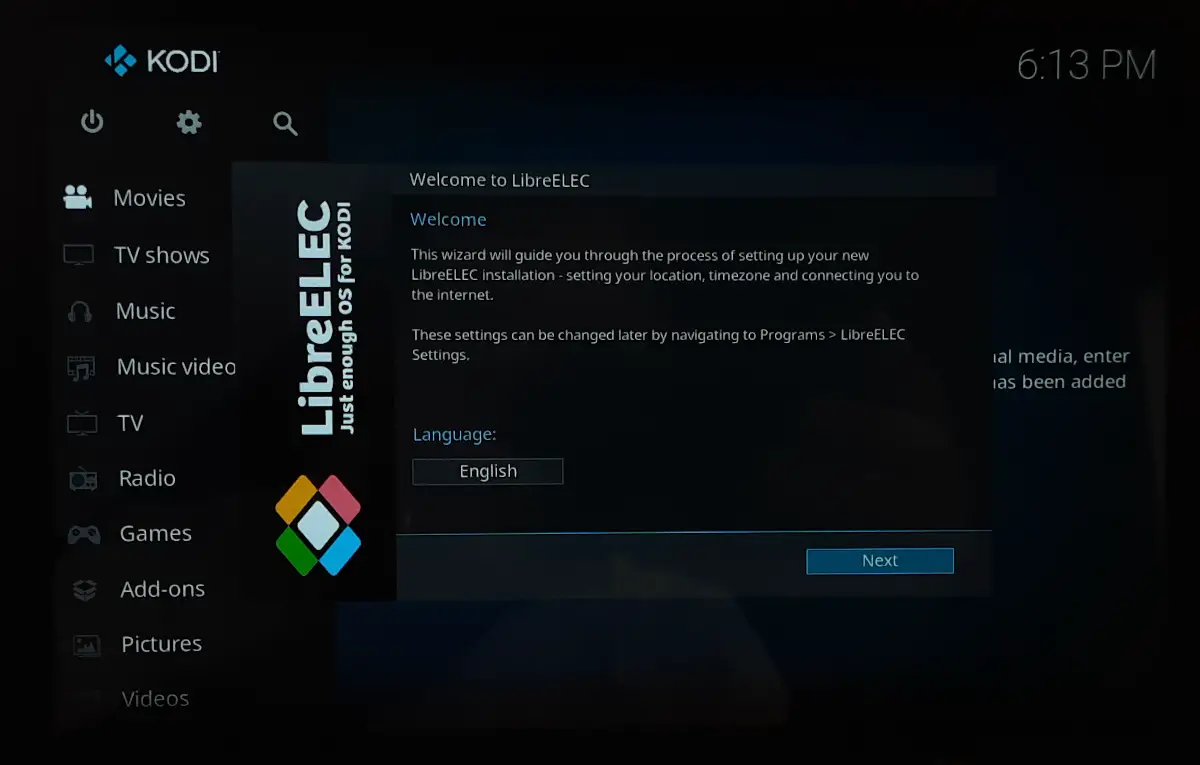
Once set the language (or left as is for English), please press the “Next” button.
Then you can choose what hostname to use for your network. I will leave OpenELEC but you can change it as you prefer:
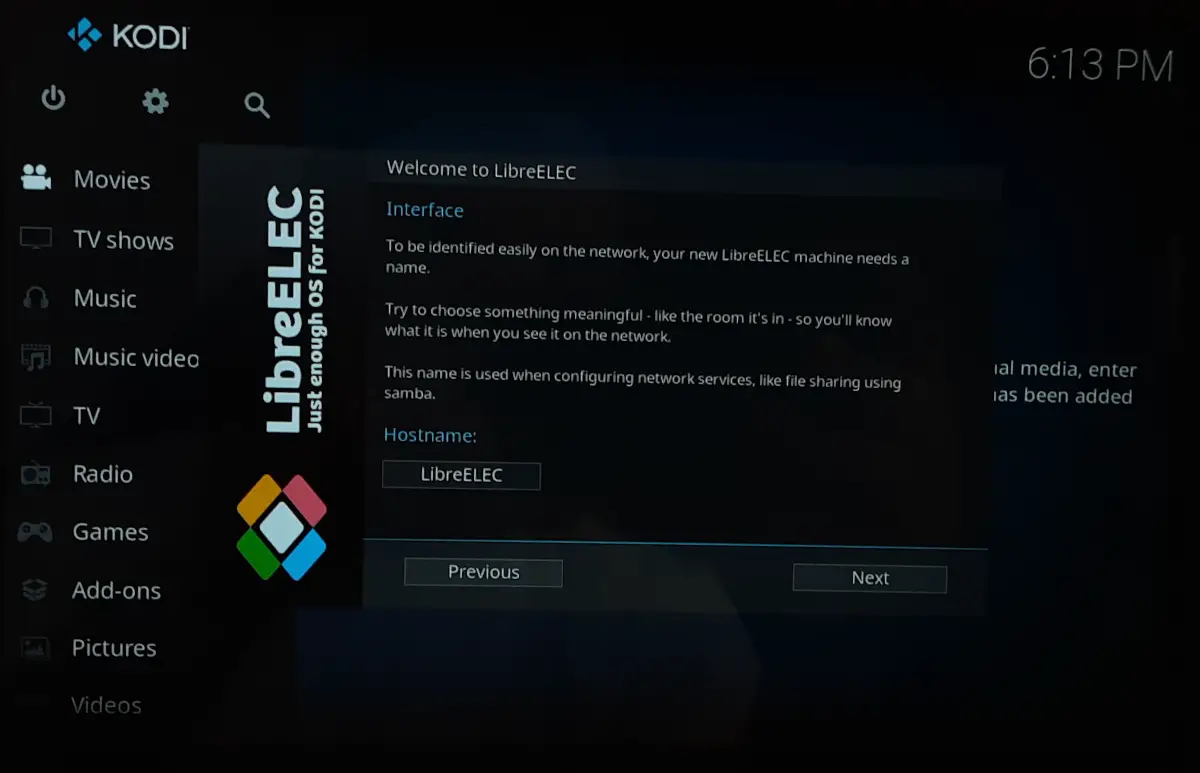
Press NEXT.
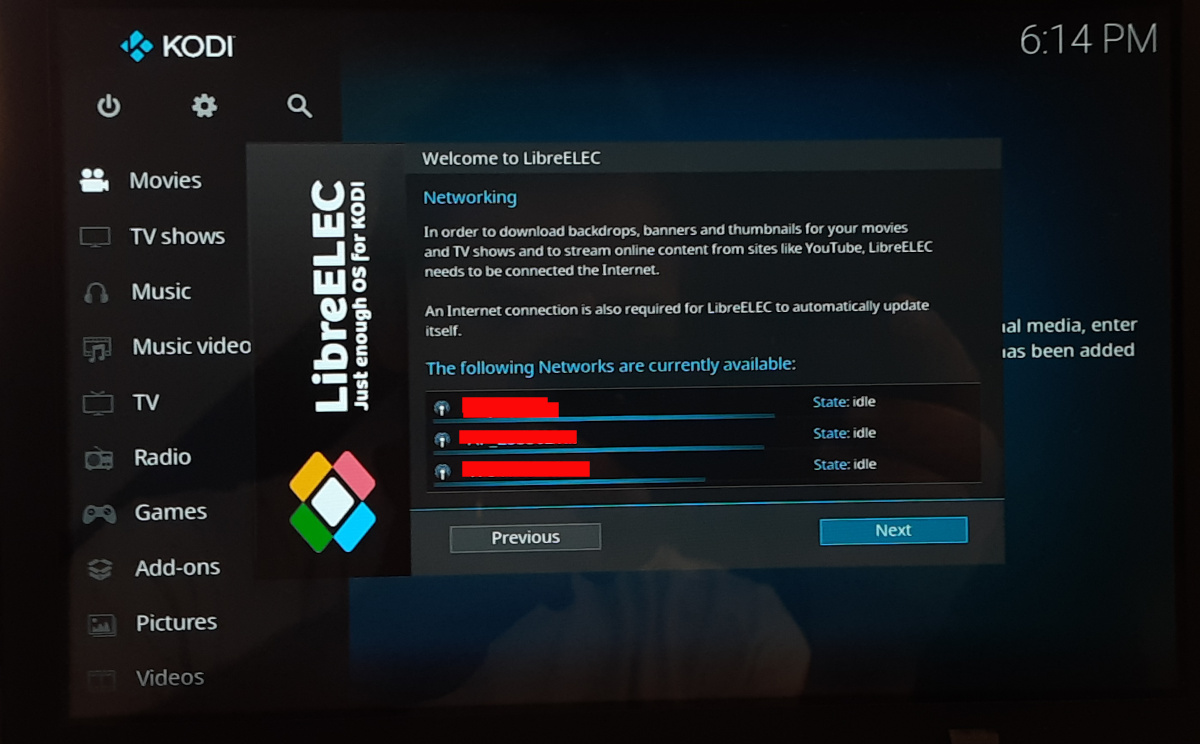
Now it’s time to connect internet. You will see the available WiFi networks (with my Raspberry PI Zero 2 W, I have only WiFi and only 2.4GHz). Choose your home SSID and connect to it by providing the required password. Once done, you will be back here again:
Then, we’ll be asked if we want to enable sharing and remote access. Samba (the protocol used to share files also with MS Windows computers) is on by default and SSH needs to be switched on manually by clicking the related button if required:
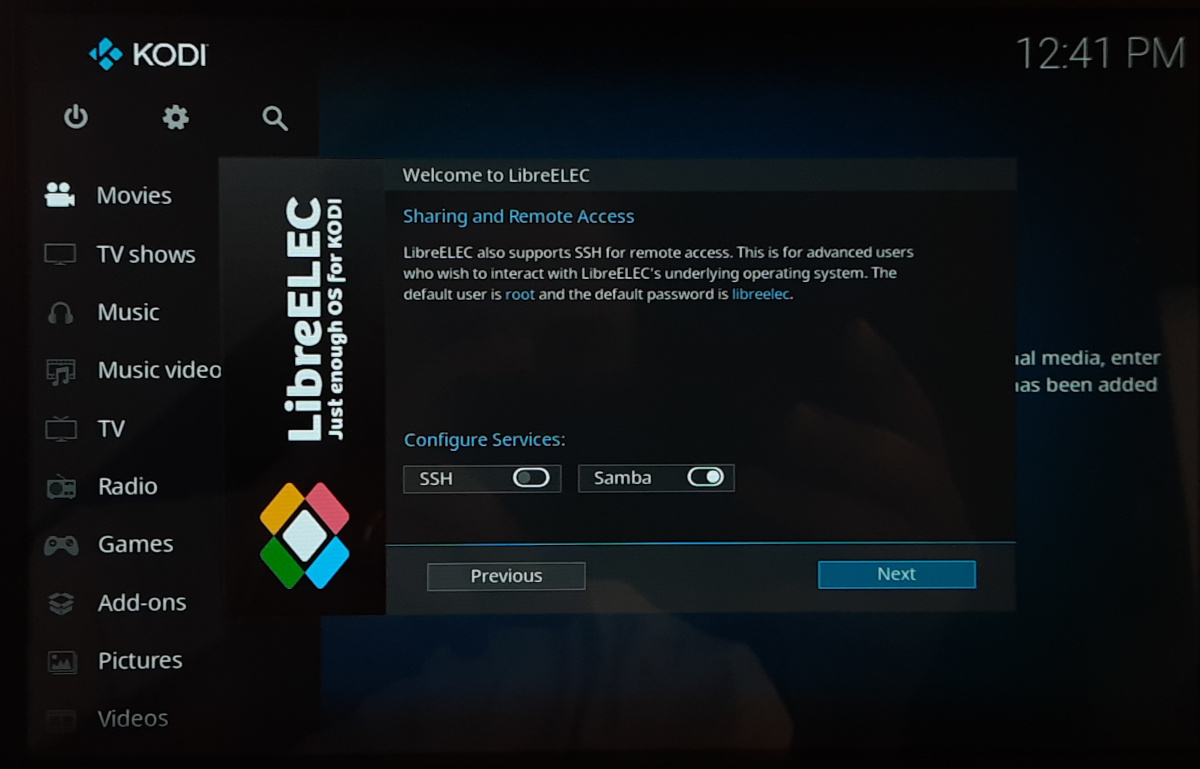
Once done, press NEXT.
This will end your setup process with a greeting message:
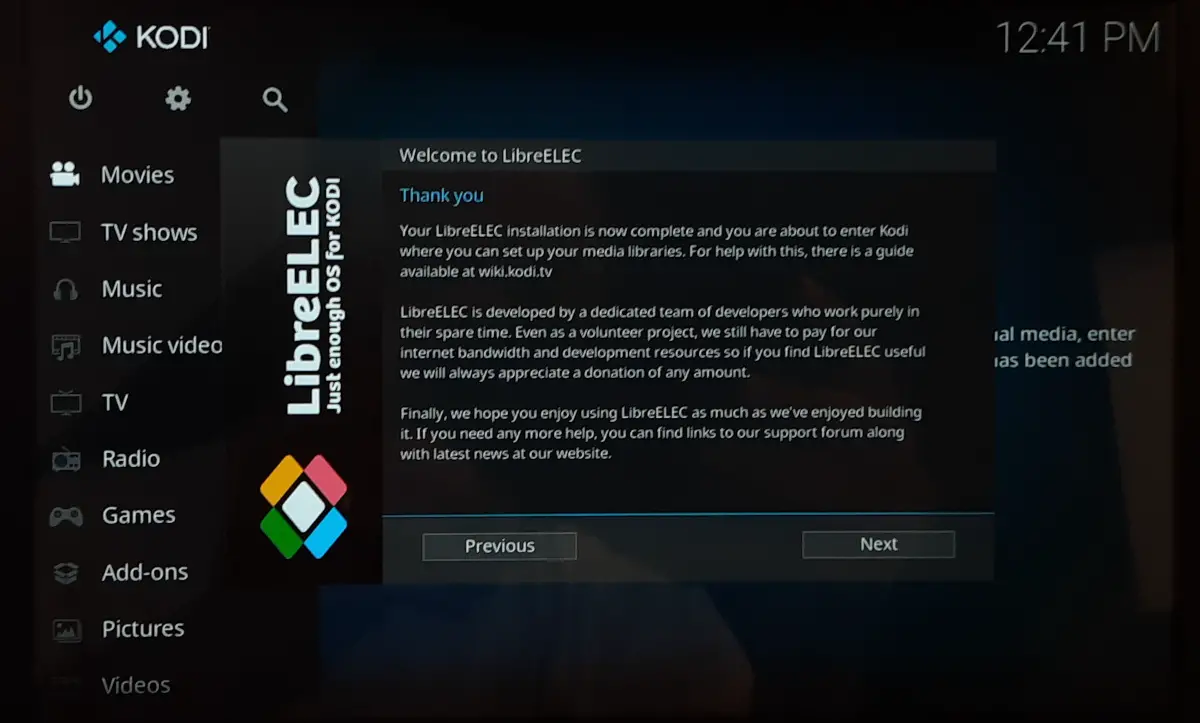
By pressing the Next button, we’ll reach the LibreELEC (Kodi) home page:

Install Add-ons
What makes LibreELEC (Kodi) really appreciated by users, is the availability of a huge number of add-ons that enable your Media Centre with fantastic new features.
Add-ons come as software packages which can be installed from a zip file (as single add-on) or from a Repository. A Repository is a web URL where you can search in a large number of add-ons and install the one you choose directly from there. For beginners, the add-on installation process is very simple as you can perform the entire process from the GUI.
I’ll show you how to install a Video add-on from the Kodi Repository, which comes by default with the LibreELEC OS.
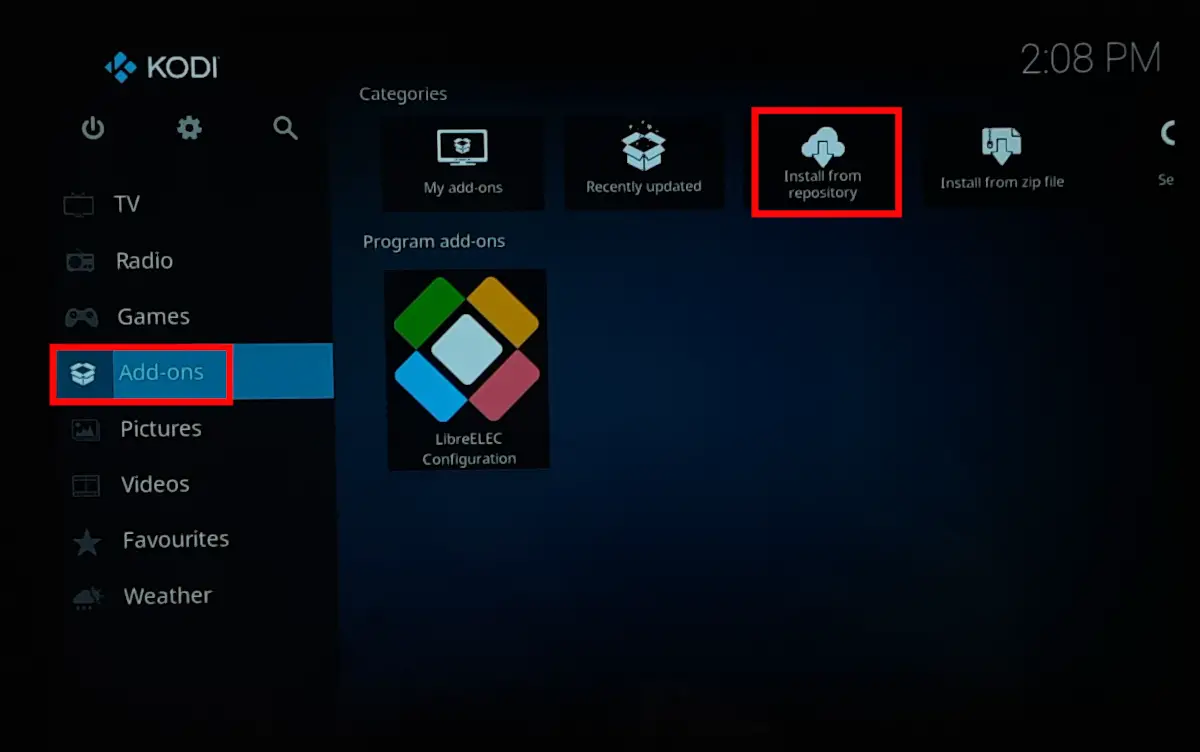
From your home, please identify and move to the “Add-ons” menu:
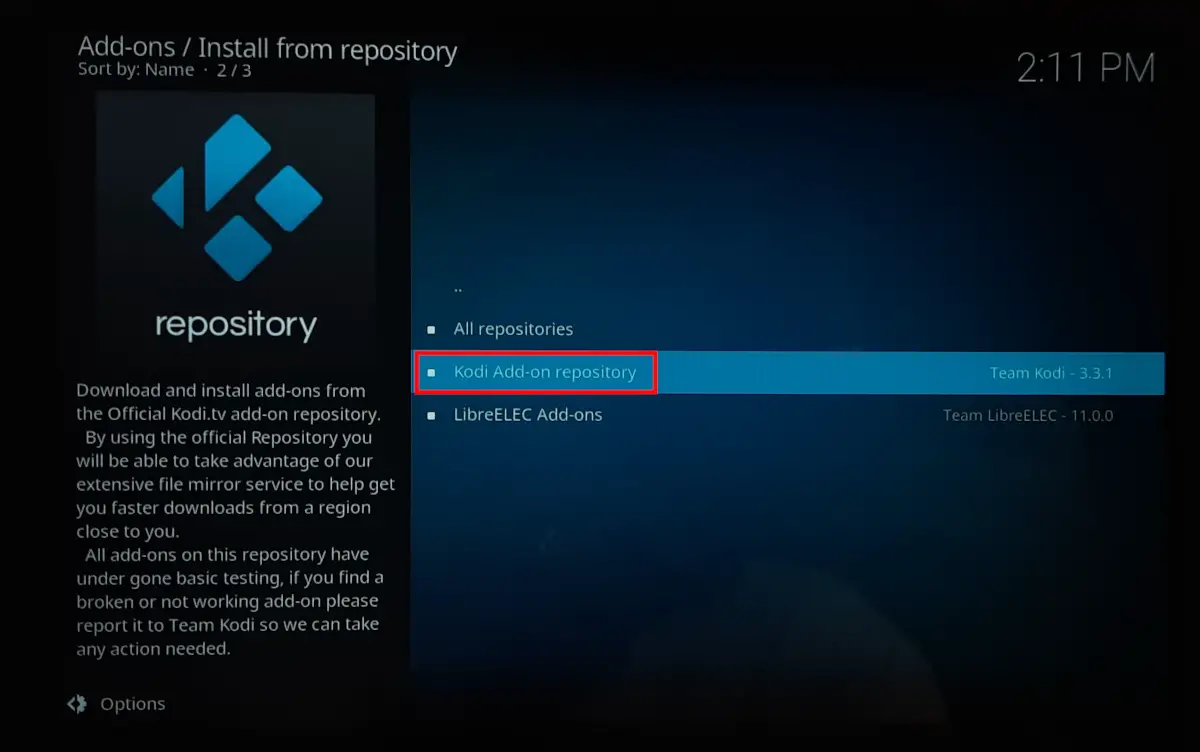
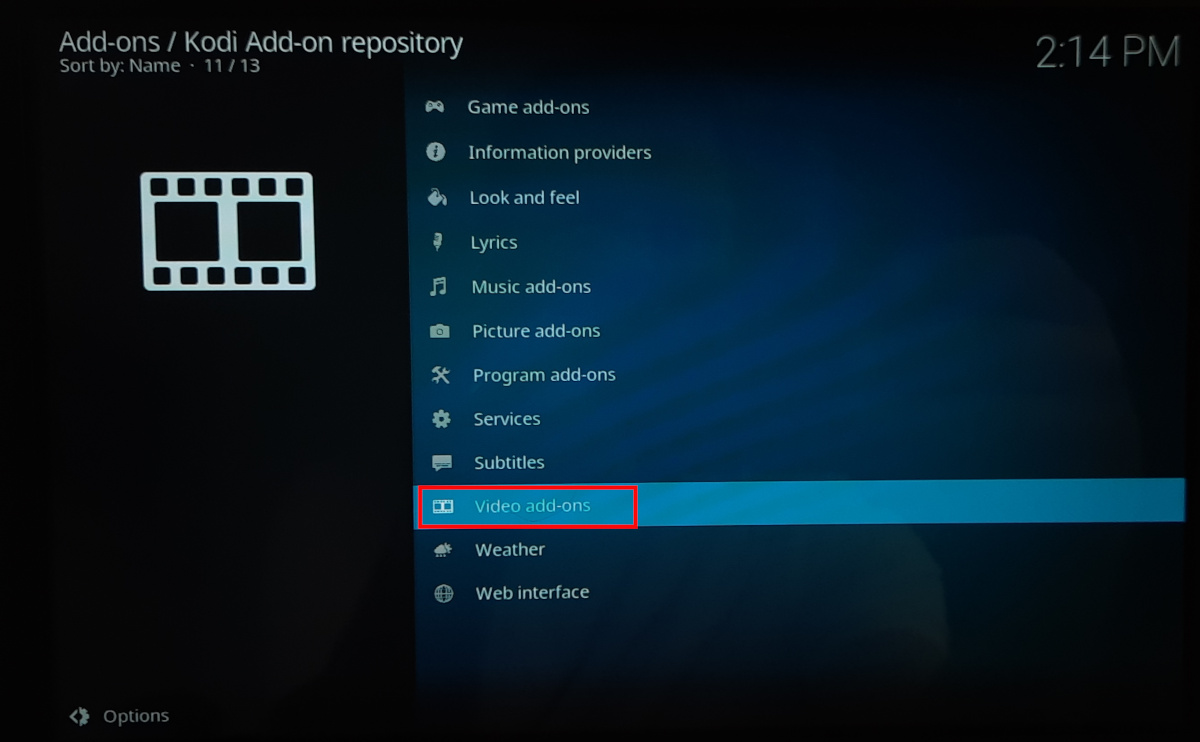
On the following page, please select the “Kodi Add-on repository”:
Now, for example, you can select “Video Add-ons”:
And you will find a brunch of add-ons available for you:
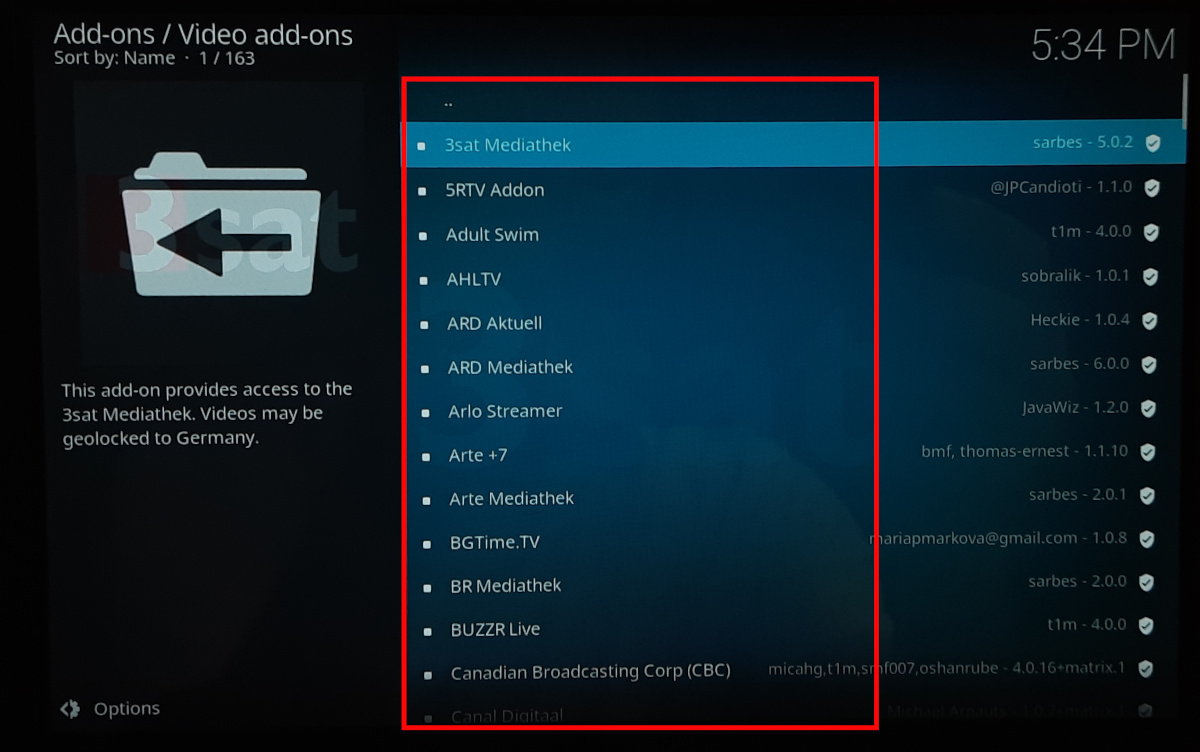
By clicking one of them, the following page will give you details and controls for the add-on. You can install it with the “Install” button:

Kodi will warn you about the required dependencies that will be installed together with the add-on, if any, and proceed, after your confirmation, to the installation. The process will end with a monitor message warning that the add-on is installed and ready for use:

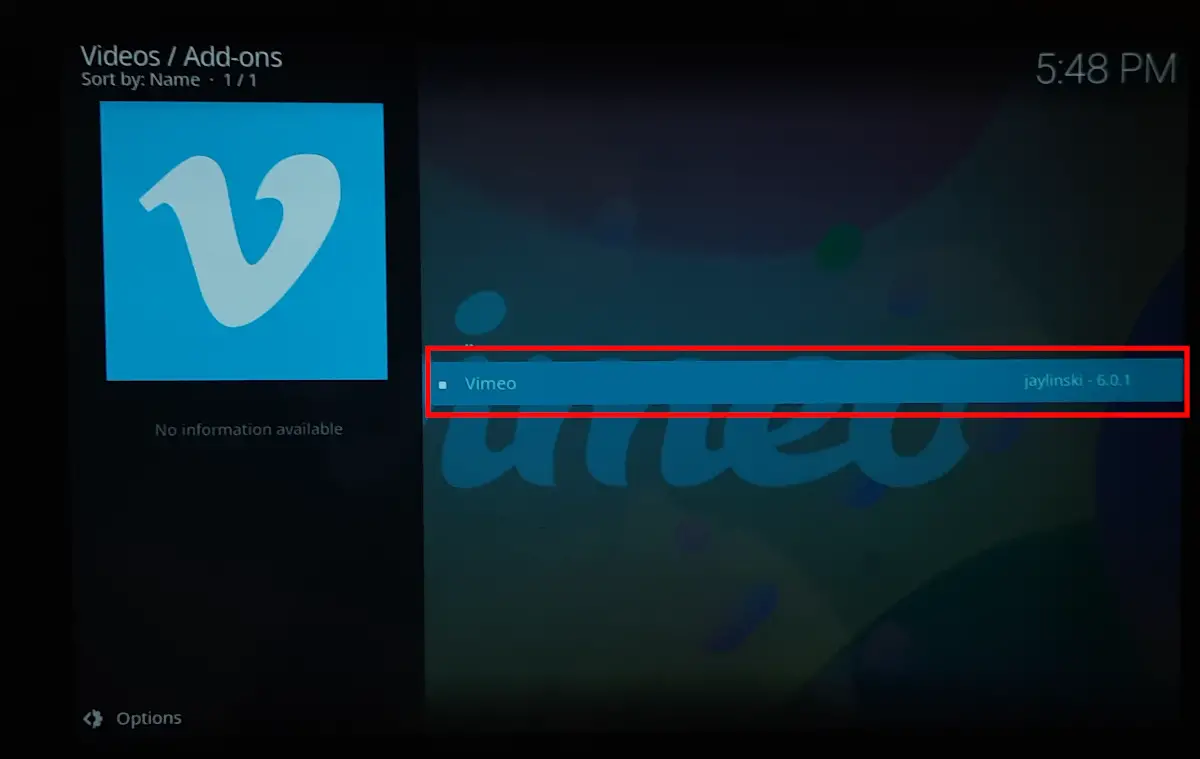
Move back to the Kodi home page (the “ESC” button will bring you directly there) and move to the “Videos” menu, which will show you the “Video add-ons” link:
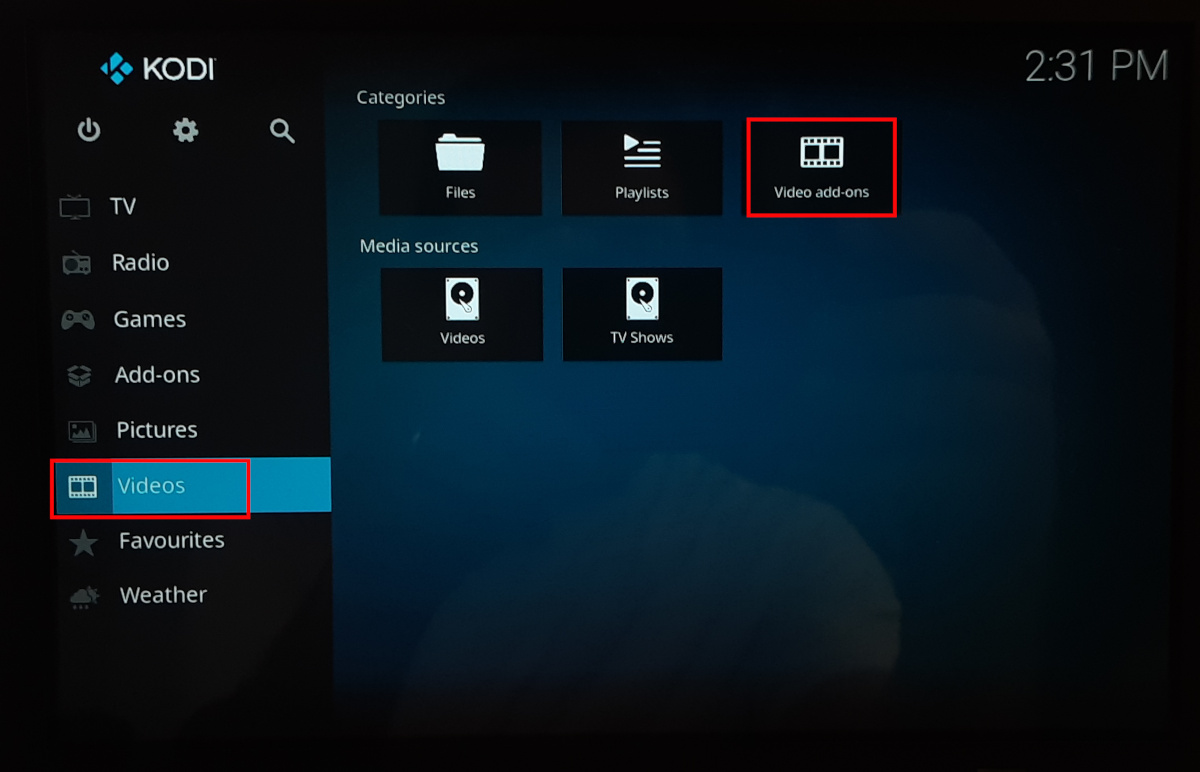
Click it, to find your Add-on:
What’s Next
Interested in more cool projects for your Raspberry PI computer board? Take a look at peppe8o Raspberry PI tutorials.
Enjoy!
