Private chat and messaging server with Raspberry Pi and Rocket.chat
Last Updated on 15th September 2020 by peppe8o
In this tutorial, I’m going to show you how to create a self-hosted chat service within Raspberry PI, the famous and cheap single-board computer.
Chats were born immediately after internet birth. Today these chat services are quite all free, but many people have concerns about their data security and privacy respect. Using Rocket chat with Raspberry PI creates a self-hosted chat service, able to assure that your data remain yours.
The Internet world is plenty of free messaging services. Apps like Whatsapp and Viber are part of our daily life and are the most common communication way with relatives and friends. But security awareness is increasing the wish to chat in a really private way. Furthermore, messaging apps increase the space used on our devices, so an alternative chat channel could be useful to share media, info and contacts with your friends.
In the next paragraphs we are going to what steps are required to install a private chat and messaging server with an RPi and Rocket.chat
What Is Rocket.Chat
Rocket.chat is an Open Source solution able to provide an enhanced chat service. It includes collaboration tools like media sharing, screen sharing and video/audio call support.
It can be used both via browser or from apps available in all the main app stores (Google Play, App Store, etc).
Besides the community version, it offers also Enterprise and Professional versions (including support and additional features).
What We Need
As usual, I suggest adding from now to your favourite e-commerce shopping cart all the needed hardware, so that at the end you will be able to evaluate overall costs and decide if to continue with the project or remove them from the shopping cart. So, hardware will be only:
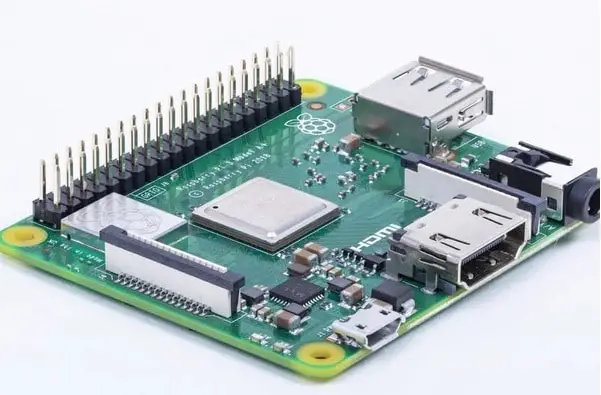
- Raspberry PI 3 model A+ (including proper power supply or using a smartphone micro usb charger with at least 3A) or newer Raspberry PI board
- micro SD card (at least 16 GB, at least class 10)
For this project, I’m going to use a cheaper Raspberry Pi 3 Model A+. Also, newer Raspberry PI boards will work.
I also suggest a performing SD card, because of Rocket.Chat can give a lot of work to our Raspberry Pi. As discussed in other articles, performing SD card strongly improves Raspberry PI OS performances.
We’ll use a lite version of Raspberry PI OS with preconfigured WiFi access and SSH service, so there will be no need for keyboards / HDMI cables.
Check hardware prices with the following links:

Step-By-Step Procedure
Start installing Raspberry PI OS Lite.
We’ll simplify Rocket.Chat installation by using Snap. Login via SSH and type from terminal:
sudo apt update
sudo apt upgrade
Install Snap:
sudo apt install snapd
sudo snap install core
Install Rocket.Chat server with the simple command:
sudo snap install rocketchat-serverAfter installation end from the terminal, please wait a while for Rocket.Chat to initialize database and services. Take a cup of tea and after a few minutes you should be able to reach with your browser the address http://<<YOUR_RPI_IP_ADDRESS>>:3000 and you should see the following:
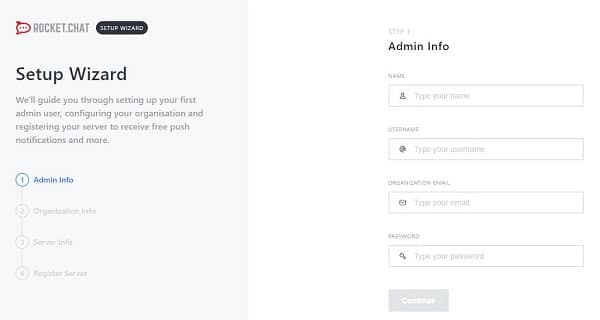
Compile the required forms and everything should go fine. After 4 simple setup windows, you should reach Rocket.Chat home page:

Enjoy
