How To Install CentOS 8 in Raspberry PI
Last Updated on 2nd September 2023 by peppe8o
Derived from the sources of Red Hat Enterprise Linux (RHEL), CentOS used yum as a package manager up to version 7. CentOS 8 adopts dnf.
For people wanting to test different Linux distributions in our credit card-sized computer, installing CentOS in Raspberry PI is a valid alternative enabling you to access a different repository from Debian one.
Like CentOS, also Fedora is owned by Red Hat. The main difference between the two distributions is in their update release frequency: CentOS (like RHEL) is more focused on long-term support with advanced security features. On the other hand Fedora releases more frequent updates. This is one of the biggest reasons why CentOS is preferred to Fedora for server environments.
In this guide, I’m going to show you how to install CentOS on your Raspberry PI. This tutorial has been tested with Raspberry PI 3 Model B+, but will work also to install CentOS 8 in Raspberry PI 4.
An important note: as CentOS 8 is not still available with a Raspberry PI image at the date of this tutorial, the only way to get this version is to install CentOS 7 and then upgrade to CentOS 8. This may get arising some errors (the main of which I found as minor for a basic upgrade) to be fixed, so I ask users wanting to help to use comments to help people wanting to try this new release on Raspberry PI.
So, while the process to install CentOS 7 is the official one, upgrading to CentOS 8 is still not official and I suggest using this second part as a test environment.
If you want to know more about this distro, please refer to CentOS project home page.
What We Need
As usual, I suggest adding from now to your favourite e-commerce shopping cart all the needed hardware, so that at the end you will be able to evaluate overall costs and decide if to continue with the project or remove them from the shopping cart. So, hardware will be only:
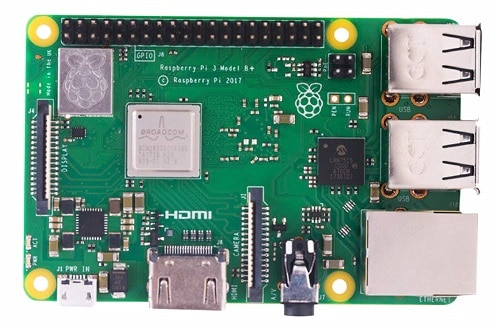
- Raspberry PI (including proper power supply or using a smartphone micro usb charger with at least 3A)
- micro SD card (at least 16 GB, at least class 10)
- micro HDMI cable or HDMI cable or mini HDMI cable (check your Raspberry PI HDMI port in Comparing main features of latest RPI models)
- USB/wireless keyboard
CentOS offers also different ARM-based ISO. I’m opting to use the KDE version to test the delicious Desktop Environment performance on our hardware.
You also need a Windows PC with Etcher installed (to flash SD card) and Putty (if you want remote ssh access). Also, a Windows compression program compatible with “.xz” files (like Winrar) is required.
Step-by-Step Procedure
Obtain ISO
With Windows PC, download Raspberry PI CentOS 7 sda.raw.xz from CentOS ARM iso download page (selecting the latest armhfp version and downloading Raspberry PI KDE iso) inside the PC where Etcher is installed.
Extract the content of the downloaded file inside a directory of your choice. You will have a “.raw.xz” file containing the ISO image. Edit the file name changing the extension from “.raw” to “.img”. Confirm when Windows popups of risks about changing the file extension.
Flash SD Card
This part will be done on your Windows PC.
Open Balena Etcher. Note: sometimes Etcher has problems flashing SD cards without administrative permissions, for this reason, I suggest running it as administrator.
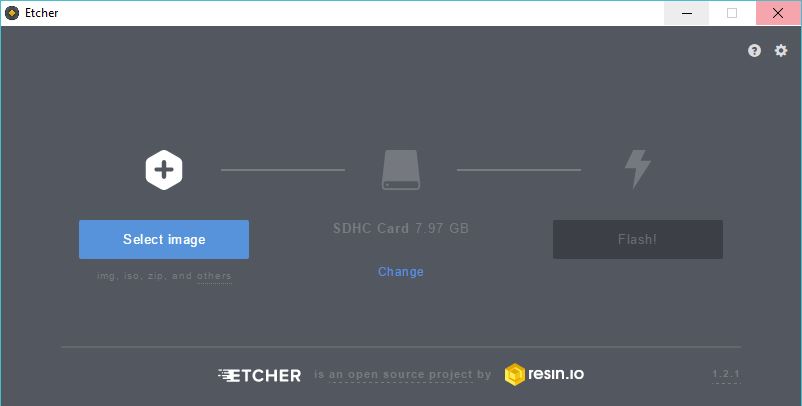
Click select image button and select the file just renamed.
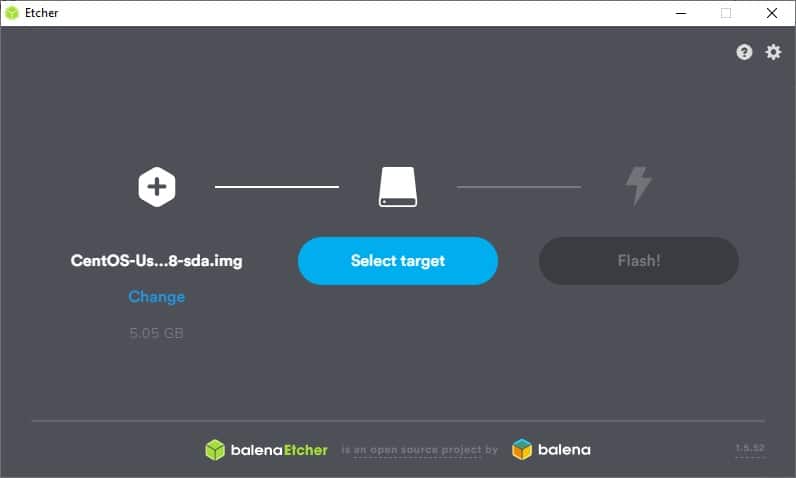
Insert SD Card into your Windows PC. If not automatically recognised by Etcher, click “Select target” and select the partition letter related to your inserted SD Card.
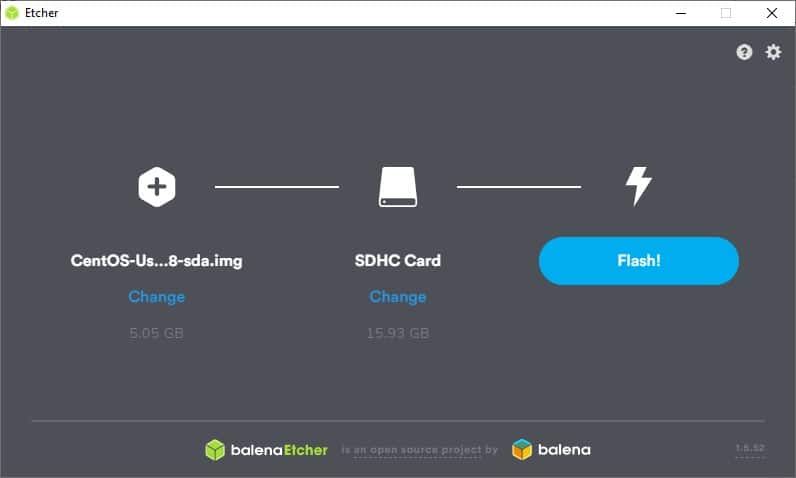
Click the “Flash!” button and wait for the flashing operation to be finished.
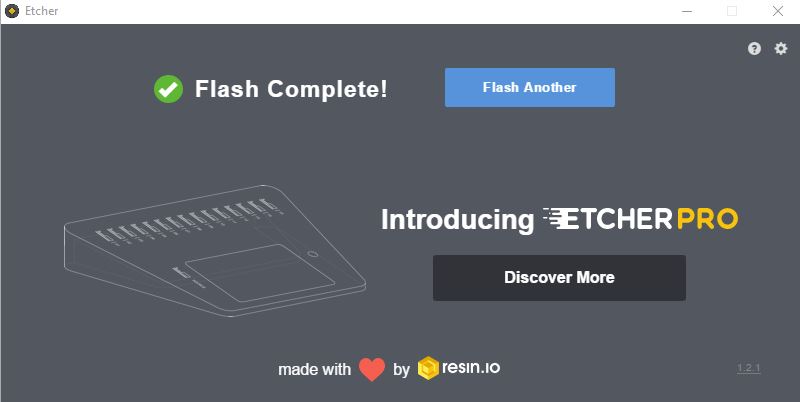
Now you can close Etcher and extract your SD Card from your Windows PC.
First Boot on Raspberry PI and Post-Installation Tunings
Insert the SD card in your Raspberry PI, and connect it to the keyboard and HDMI (monitor). Power on the Raspberry PI.
The first screen shows system loading (will last about less than a minute).
Once prompted for login, insert default user credentials:
- user: root
- password: centos
Then you will go directly to the desktop screen and your CentOS 7 installation is finished!
Once installed, a few common tunings can be useful.
Shrink Disk
By default, CentOS uses only a limited part of your disk. To use all available space in your SD Card, from the terminal type the following command:
rootfs-expand
Update Your System
Make your OS up to date. From Terminal:
yum -y update
yum -y upgrade
Setup WiFi
This can be done in a very simple manner with the icon on bottom-right side of your desktop:
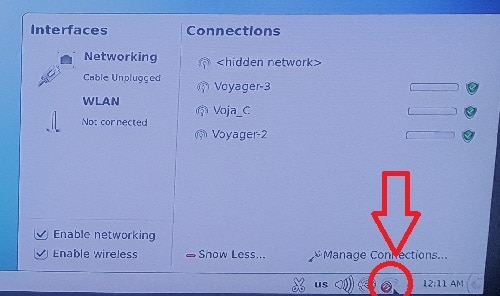
From this panel, select your WiFi network and insert your password.
Remember to flag the System Connection option if you want this WiFi network up after each reboot. Otherwise, you will need to login from Desktop Environment and manually enable the connection.
Remote SSH
Once connected to a network (Wired or WiFi), remote SSH is enabled by default with default root user credentials used to logon to the Desktop environment. Find CentOS IP address from its terminal (with “ip addr” terminal command, since from CentOS 7 “ifconfig” terminal command is no more available) or from its networking settings.
Upgrade to CentOS 8
This part was made by adapting CentOS upgrade guide from Tecmint to Raspberry PI.
WARNING: some moderators in CentOS forum refer that this isn’t an official upgrade procedure (and they don’t think that there will be ever one). So, consider the following as a test, even if OS was running in my Raspberry PI at the end of these steps.
Before starting, check your current OS version:
[root@localhost ~]# cat /etc/centos-release
CentOS Linux release 7.9.2009 (AltArch)
Install EPEL repository. Add ARM epel repository (copy and paste the following code entirely):
cat > /etc/yum.repos.d/epel.repo << EOF
[epel]
name=Epel rebuild for armhfp
baseurl=https://armv7.dev.centos.org/repodir/epel-pass-1/
enabled=1
gpgcheck=0

EOF
And install:
yum install epel-releaseThe Tecmint guide, now, requires installing yum-utils tools (with “yum install yum-utils” command). But I found these tools already installed.
We need to resolve some RPM packages:
yum install rpmconf
rpmconf -a
At rpmconf -a first (and unique) question I answered “N” (keeping current versions).
Perform package cleaning:
package-cleanup --leaves
package-cleanup --orphans
Install the new dnf package manager, removing the old yum package manager:
yum install dnf
dnf -y remove yum yum-metadata-parser
rm -Rf /etc/yum
And upgrade dnf packages:
dnf upgradeThe next command is where the real upgrade from CentOS 7 to CentOS 8 happens. I had to change references from the original Tecmint command to point AARCH64 packages:
dnf install http://mirror.centos.org/centos/8/BaseOS/aarch64/os/Packages/centos-linux-repos-8-2.el8.noarch.rpm http://mirror.centos.org/centos/8/BaseOS/aarch64/os/Packages/centos-linux-release-8.3-1.2011.el8.noarch.rpm http://mirror.centos.org/centos/8/BaseOS/aarch64/os/Packages/centos-gpg-keys-8-2.el8.noarch.rpmUpgrade EPEL:
dnf -y upgrade https://dl.fedoraproject.org/pub/epel/epel-release-latest-8.noarch.rpmremove all the temporary files
dnf clean allRemove the old kernel core for CentOS 7. We need the kernel package:
dnf install kernel
rpm -e rpm -q kernel
remove conflicting packages.
rpm -e --nodeps sysvinit-toolslaunch the CentOS 8 system upgrade as shown.
dnf -y --releasever=8 --allowerasing --setopt=deltarpm=false distro-syncinstall a new kernel for CentOS 8:
dnf -y install kernel-core
dnf -y update
dnf -y upgrade
Now you can check the version of CentOS installed by running.
cat /etc/redhat-releaseFinal Considerations
CentOS with KDE surprised me for being so responsive and fast on Raspberry PI. In past (many many many years ago…) I already tested KDE on low-end PC, but I found it heavy and abandoned for lighter Desktop Environments. I have to say that today I reconsidered it.
From the CentOS side, it is a strong and stable OS. It derives from Red Hat Enterprise Linux (RHEL), an OS focused on large enterprises and critical businesses. So it has an important backend at its basis.
Enjoy!

I have tried to install Centos Gnome and Centos KDE and neither gets past the rainbow colored screen. I’ve tried it 3 times each with an new download each time and the last time, from a different repository. I installed the minimal and it worked fine so I know my process is correct. Any idea why the GUI versions don’t work? Using the version that came with the Raspberry Pi 4 works fine in GUI.
Hi Mike,
I hope CentOS7 won’t have GUI support for RPi4 as it comes with minimal version, while for RPi3 it has GUI. All online tutorials are stating that they are porting armhfp (armv7) to RPi4,which is aarch64(armv8);which I’m not sure whether work or not.
Hi, can’t synchronize cache for the repo centos-kernel:
# dnf -y –releasever=8 –allowerasing –setopt=deltarpm=false distro-sync
CentOS LTS Kernels for armhfp 0.0 B/s | 0 B 00:00
CentOS-8 – Base 0.0 B/s | 0 B 00:00
CentOS-8 – Updates 0.0 B/s | 0 B 00:00
Failed to synchronize cache for repo ‘centos-kernel’, ignoring this repo.
Failed to synchronize cache for repo ‘base’, ignoring this repo.
Failed to synchronize cache for repo ‘updates’, ignoring this repo.
# dnf -y install kernel-core
CentOS LTS Kernels for armhfp 0.0 B/s | 0 B 00:00
Failed to synchronize cache for repo ‘centos-kernel’, ignoring this repo.
# dnf -y update
CentOS LTS Kernels for armhfp 0.0 B/s | 0 B 00:00
Failed to synchronize cache for repo ‘centos-kernel’, ignoring this repo.
# dnf -y upgrade
CentOS LTS Kernels for armhfp 0.0 B/s | 0 B 00:00
Failed to synchronize cache for repo ‘centos-kernel’, ignoring this repo.
# cat /etc/redhat-release
i[epel]
name=Epel rebuild for armhfp
baseurl=https://armv7.dev.centos.org/repodir/epel-pass-1/
enabled=1
gpgcheck=0
Followed instructions exactly, new install using CentOS-Userland-7-armv7hl-generic-KDE-2009-sda.raw
Any idea what I’m doing wrong? I’ve implemented procdure twice, first time reboot left me with CentOS 7.
-Kevin
Hi Kevin,
The post is a bit date and in the meanwhile a new CentOS 8 image for aarch has been released and I would like to test it instead of the upgrade procedure.
Anyway, the problem should be in dnf upgrade command not finding right files from
http://mirror.centos.org/centos/8/BaseOS/aarch64/os/Packages/folder as the has been upgraded to a new subversion. Please try to check here the correct urls to pass to dnf upgrade command and let me know if this works.Hmm. Well, thanks for your quick reply, however, I get errors well before the dnf update command. It is not clear to me that the upgrade works at all. Leaving me to figure out your procedure makes things just as problematic as it was before I read your reply.
As for installing CentOS-8.5.2111-aarch64-dvd1.iso, it is a .iso file
so it won’t boot from an SD card. Changing the extension to .raw did not work either.
So no joy.
-Kevin
Sorry Kevin,
I have to retry the complete tutorial. Usually this can happen when packages change on official repositories.
I will keep you informed as soon as I can fix
Well, I’d like to install Centos 8 instead of upgrading, but
can’t find a distro that will boot on RPI 4.
Anyway, thanks for trying to help! I look forward to any answer you may want to update/share.
-Kevin