Install Home-Assistant Core in Raspberry PI with Docker
Last Updated on 13th April 2024 by peppe8o
In this tutorial I’m going to show you how to install home-assistant in Raspberry PI, using the docker installation method.
Smart devices are spreading around the world because of their low costs and fast availability. With this usage increase, smart homes need powerful control systems able to interface multiple services. Home-assistant is the most known open-source automation software for that kind of job and runs perfectly on Raspberry PI with Docker.
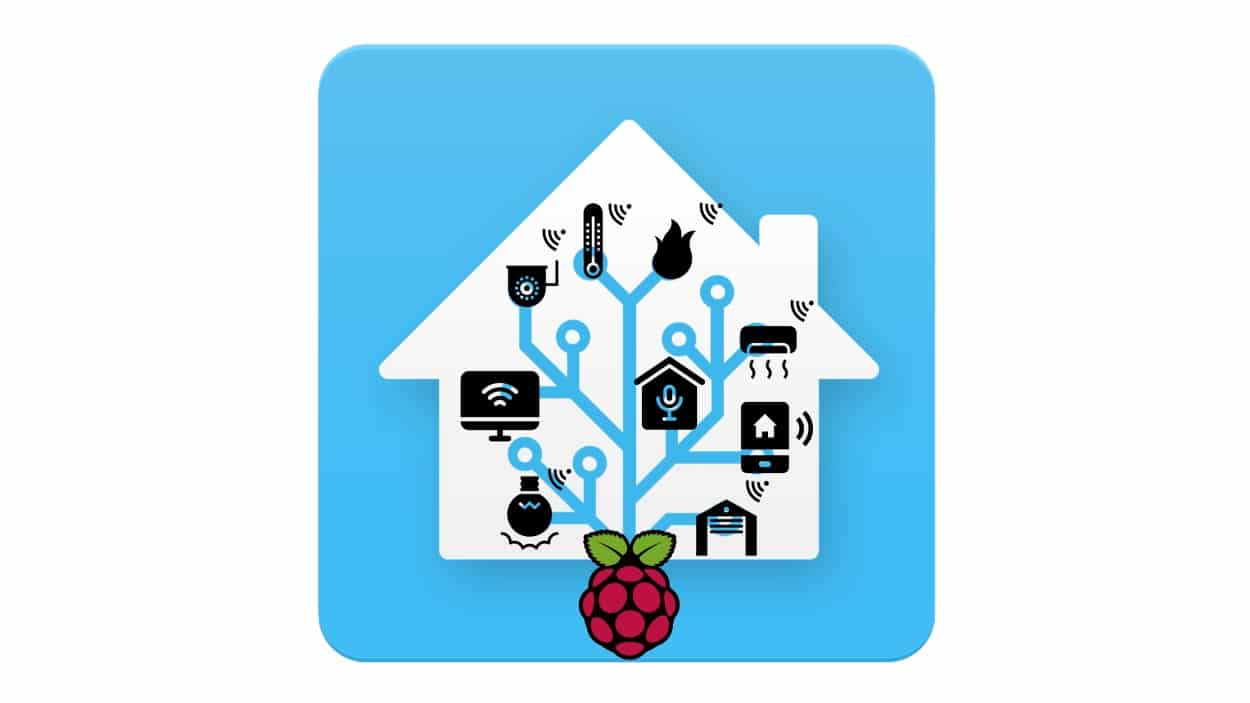
What is Home Assistant
Home Assistant is an open-source project aiming to maintain a self-hosted home automation system, focused on putting local control and privacy in your hands.
It has a full-customizable, web-based dashboard to control your devices and interface your favourite smart life services. It tracks the state of all the devices in your home, so you don’t have to setup complex monitoring systems and you can focus on integrating your devices and writing automation.
Home Assistant works well on Raspberry Pi, turning it into the ultimate home automation hub.
Last but not least, it stores all data locally in your host, this way protecting your privacy from unwanted external data usage. For this reason, it is important to use a performing SD card with enough space, as SD cards influence drastically RPI speed as disks on common computers (refer also to my Raspberry PI optimization tutorial for more optimization tricks).
For this project, I’m going to use a cheap Raspberry PI Zero W. This procedure works with all other Raspberry PI boards with internet connectivity and is able to run Docker. Raspberry PI 3 Model B or later are suggested for production environments. Be also aware of using a proper power supply, as many users refer to experience service restart with poor power source.
What We Need
As usual, I suggest adding from now to your favourite e-commerce shopping cart all the needed hardware, so that at the end you will be able to evaluate overall costs and decide if to continue with the project or remove them from the shopping cart. So, hardware will be only:
- Raspberry PI Zero W (including proper power supply or using a smartphone micro usb charger with at least 3A) or newer Raspberry PI Board
- high speed micro SD card (at least 16 GB, at least class 10)
Check hardware prices with the following links:

Step-by-Step Procedure
Start preparing operating system. Install Raspberry PI OS Lite (for a fast, headless and lightweight OS) or Raspberry PI OS Desktop (in this case, working from its internal terminal). With Raspberry Zero W I strongly suggest Lite distribution because home-assistant is quite heavy for a PI Zero and this needs all of its computing power to run HA service.
Make your OS up to date. From terminal:
sudo apt update -y && sudo apt upgrade -yYou also need to install docker in your Raspberry PI (for this project you don’t need docker-compose and/or Portainer).
Install a Test Environment
Starting with a test environment is very simple with Docker containers. This means that whatever you are going to do in this installation will be deleted with the container once removed. It is a useful configuration when you want to try, for example, integration tests without affecting your production environment. This is also the best way to try, in general, Home-Assistant in your Raspberry PI. Getting a complete and working HA instance is as simple as running the following command from the terminal:
docker run -p 8125:8123 --name homeAssTest homeassistant/home-assistantNote port mapping configuration, which exposed container 8123 port (default home-assistant port) to 8125 port. This is a possible way to run together different home-assistant instances (maybe test and production) on the same Raspberry PI. Multiple HA containers can run in RPI boards with enough computing power (like PI 3 model B or later) and aren’t the best to have in a Raspberry Pi Zero W or PI 3 model A.
Once home-assistant image is downloaded (this operation occurs only during the very first docker run, next ones will use the image already downloaded) your terminal will show container logs:
WARNING: The requested image's platform (linux/arm) does not match the detected host platform (linux/arm/v6) and no specific platform was requested
[s6-init] making user provided files available at /var/run/s6/etc...exited 0.
[s6-init] ensuring user provided files have correct perms...exited 0.
[fix-attrs.d] applying ownership & permissions fixes...
[fix-attrs.d] done.
[cont-init.d] executing container initialization scripts...
[cont-init.d] udev.sh: executing...
starting version 3.2.9
[11:29:50] INFO: Update udev information
[cont-init.d] udev.sh: exited 0.
[cont-init.d] done.
[services.d] starting services
[services.d] done.
At this point your container is running, but will take a few minutes to initialize itself.
From your favourite web browser, use your Raspberry PI IP Address (mine is 192.168.1.80) to get url http://rpiIpAddress:8125. If this page returns an error, please wait for the home-assistant container to end its initialization operations.
The very first page will require a new user creation:
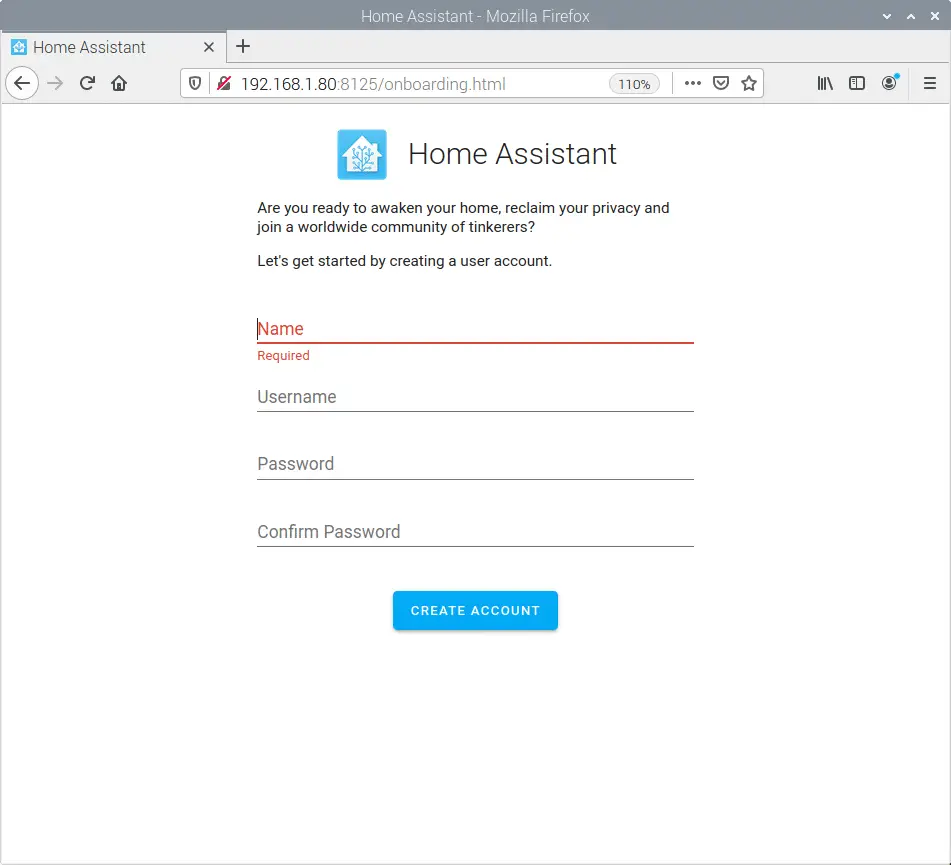
Add your Favourite Name, username and password. Then click the “Create Account button”.
The next screen will let you define your home name, position and unit system preferences. Set according to your needs:
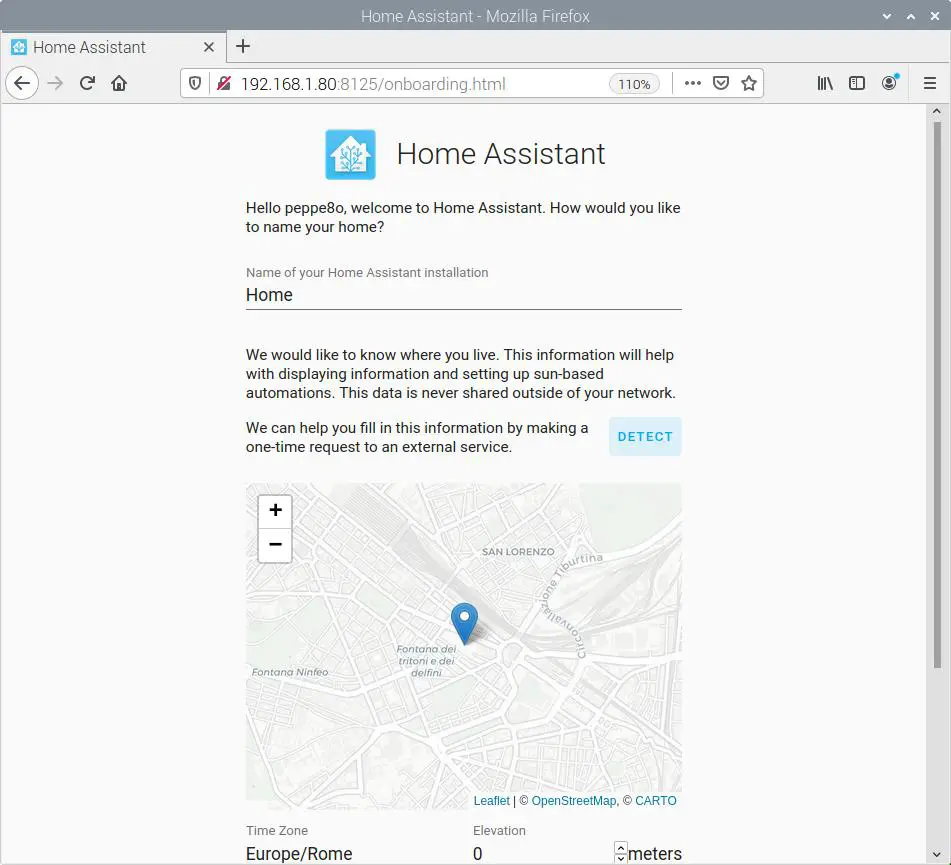
Click “next” button at the end of this page. Finally, the first access page checks if you want to setup your first integrations/services.
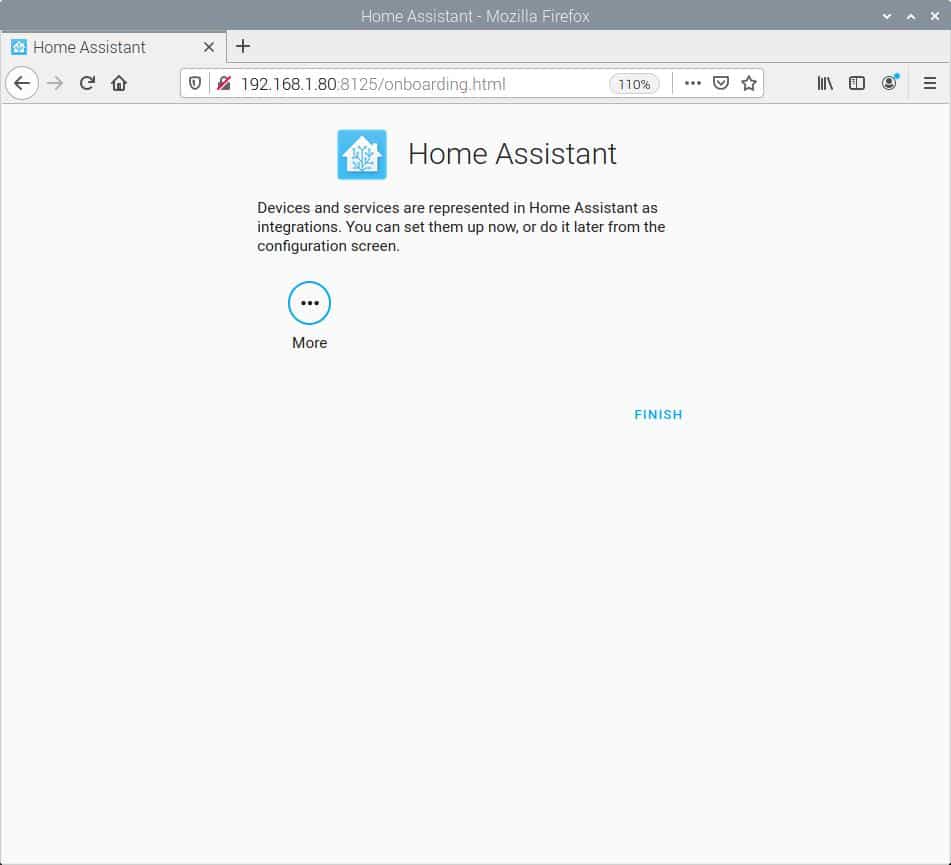
You can set them later in your dashboard, so click “Finish” button.
Home assistant dashboard will load:
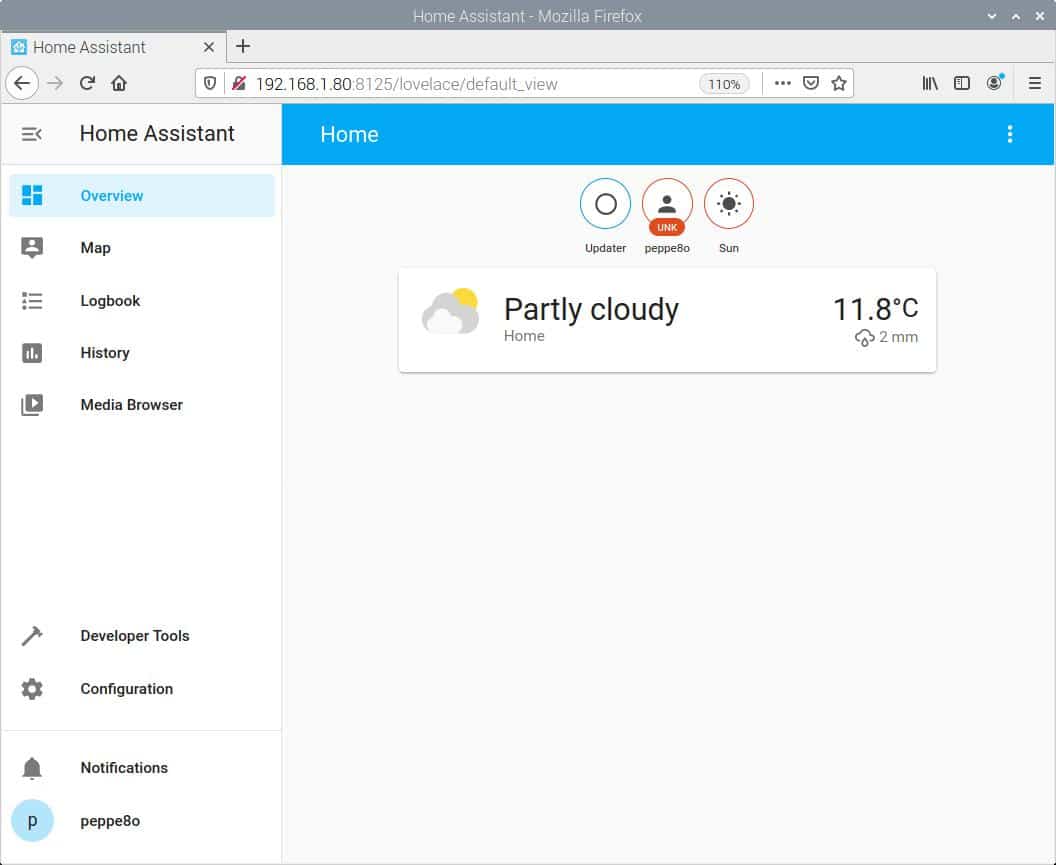
From here you can use it following home-assistant docs or home-assistant examples. You can also join the home assistant community in home-assistant forum.
Install Production Environment
A production environment will include all the data required to actually use home assistant. From the terminal, use the following command:
docker run -d -p 8123:8123 -v /home/pi/homeAssProd:/config --restart unless-stopped --name homeAssProd homeassistant/home-assistantThis time, “-d” option is used to get the container detached from the terminal.
Port mapping (“-p” option) will use the same port number both for internal and external binding.
As HA uses “/config” container folder to store data and configurations, this folder will be mapped on the host with “-v” option. I’m using a “/home/pi/homeAssProd” folder, but you are free to set it where you prefer. This way, if you need to migrate to a different host (for example a different Raspberry PI), you will only need to keep a copy of this folder without moving the full container data. This also enables you to copy this folder into a different “homeAssTest” folder and make your tests on a different environment protecting production.
Restart policy (“–restart”) will configure the home assistant container to automatically restart until user stops it.
After these operations, your Home-Assistant container will be available and will start again with a new fresh instance.
Enjoy home assistant in your PI zero W!

This is one of the great tutorial. I did every thing as per your instructions and all is well.
Is there anyway to install add on on home assistant. I cannot find usual hass.io in web ui
Many thanks
Thanking to your comment, I’ve discovered that docker installation for home-assistant (beside on which platform is installed) is a core installation. Supervisor tab is available only on complete and manual installation (https://www.home-assistant.io/docs/installation/raspberry-pi/). Updated post title according.
Thank you
Dear Peppe8o
wish you a merry Christmas
Thanks for your prompt response. i think even without supervisor tab i manage to get some add-ons with HA core version. i wanted to integrate MQTT broker and i did after referring few online tutorials. but none of them are clear as your instructions.
i’m trying to find where home assistant configuration.yaml located. i can find find file with same name at homeAssProd directory. but it doesn’t look like usual yaml file.
i want to get duckDNS and integrate with home assistant. i couldn’t find any tutorial on this written for home assistant core version.
it’s appreciated if you can find sometime to work on this. many thanks again and keep up your good job
Hi,
Thanks for a great simple tutorial. It was realy simple to install Home Assistant with this tutorial.
I have a question:
If I follow this tutorial where can i find the directory custom_components? I can’t find them when I’m using docker but I can find it when I’m using another (more difficult) tutorial.
Hi Kenneth,
I’m not a specialist in Home Assistant, but first of all please consider (as referred in my tutorial) that this is to install Home Assistant CORE. That said, when you use docker, containers create internal folder structure which is not directly visible from shell. To see what you have inside the container folders you have 2 options:
docker exec -it homeAssProd bash): this allows you to have an interactive shell inside the containerIf the custom_components is a default folder, you will find it inside the container.
If it is required for your customizations, you should map it into a dedicated volume (as done in my tutorial for config folder with the “
-v /home/pi/homeAssProd:/config“option).Probably, if you need to create it you have to check that your configuration.yaml file is configured properly. Anyway, I suggest to ask support from Home Assistant forums, which are more specialized in Home Assistant internal stuff.