Install Volumio on Raspberry PI to get a Smart Radio
Last Updated on 28th December 2023 by peppe8o
In this tutorial I’m going to show you how to install Voumio on Raspberry PI.
Smart things came in our lives as internet entered everyone home. But not all people know that with Volumio on Raspberry PI you can get a smart Radio, also transforming you old radio in an advanced music box.
What is Volumio
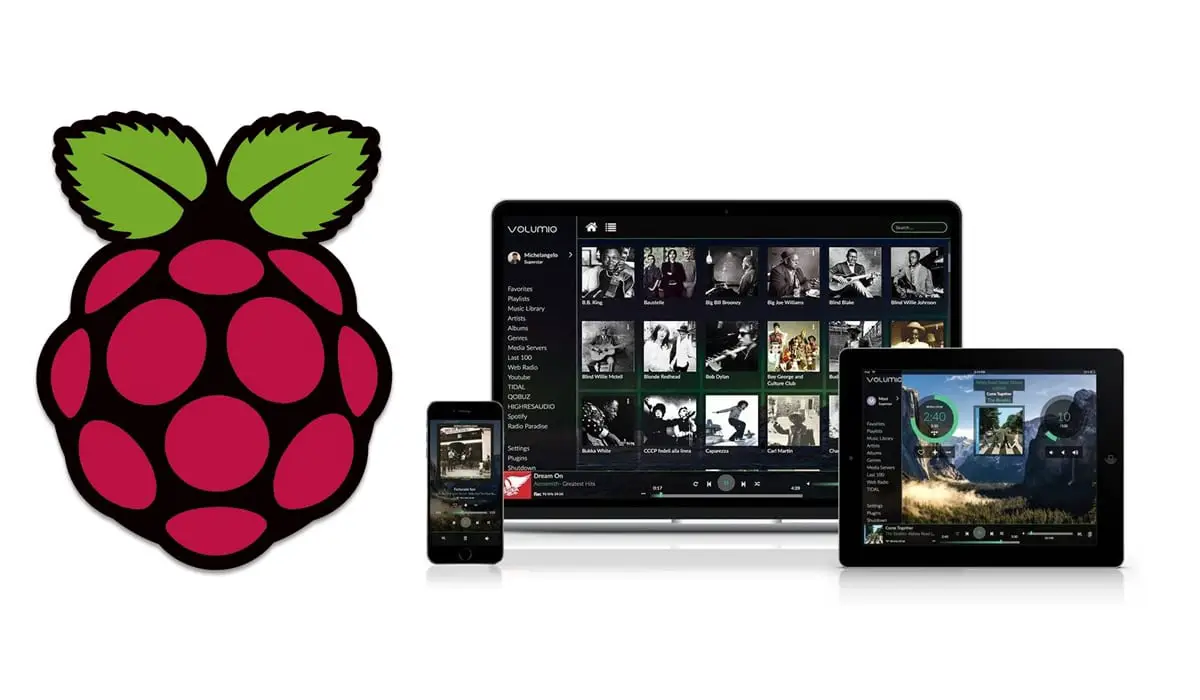
Basically, Volumio is a music player focused on giving users an high fidelity output. It is free and open source, so you can install and use Volumio without paying a license.
It can play a wide number of media formats, as well as it can get media from your UPNP\DLNA device, Airplay, Spotify and Web-Radios. Volumio people like defining it as an “audiophile sound system tailored to offer uncompromised Audio Quality”.
Moreover, it offers a simple and intuitive web dashboard from where you can control your media player and search you favourite songs or radio.
Finally, you can outut your sound from Raspberry PI hdmi or audio jack, latter interface enabling the possibility to transform your old radio (having an input jack) into a modern, smart music box. You can also use a DAC module for your Raspberry PI to get better quality sound.
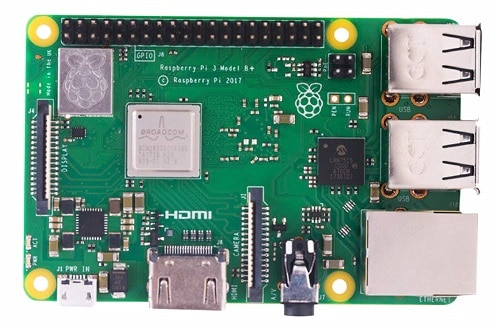
In this tutorial I’m going to use a Raspberry PI 3 model B+, but this procedure also applies to newer Raspberry PI computer boards.
What We Need
As usual, I suggest adding from now to your favourite e-commerce shopping cart all the needed hardware, so that at the end you will be able to evaluate overall costs and decide if to continue with the project or remove them from the shopping cart. So, hardware will be only:
- Raspberry PI (including proper power supply or using a smartphone micro usb charger with at least 3A)
- high speed micro SD card (at least 16 GB, at least class 10)
- (optional) a Digital to Analogic converter HAT
Step-by-Step Procedure
Install Volumio OS
Luckily, Volumio provides a pre-packaged OS image which make installation paintless and includes all needed packages to work from installation. More luckily, this OS allows an headless installation, so you don’t need to connect a monitor or keyboard to RPI.
Start downloading operating system image from Volumio download page, caring to choose Raspberry PI option.
Flash it in your micro SD card, using your favourite imager. You can use both Raspberry PI Imager (with the Custom Image option) or Balena Etcher and wait for write and verification operations to be finished.
Insert micro SD card in your Raspberry PI.
Setup Volumio with Raspberry PI for Very First Boot
At first boot, Volumio should start working in hot-spot mode. This means that it should create a Wi-Fi (protected) network which can be used both for first configuration and for media play control. This network has following default values:
- SSID: “Volumio”
- passwod: “volumio2”
The truth is that I needed some restarts before having this network working. For this reason, if you have a wired cable, it is the best option for first setup. During this stage you will have options to configure your home Wi-Fi for Volumio internet connecion (if wireless is needed). In this case, you will use you Raspberry PI’s IP address from first setup. Otherwise, following procedure will cover setup also without your home connection, with Volumio powering on its own hotspot (when it doesn’t find any connection available).
Power on your Raspberry PI.
From a whatever device (I will use, for example, my Android smartphone) connect to Volumio new Wi-Fi. Your device could warn you that this network isn’t connected to internet. Confirm to use this network anyway.
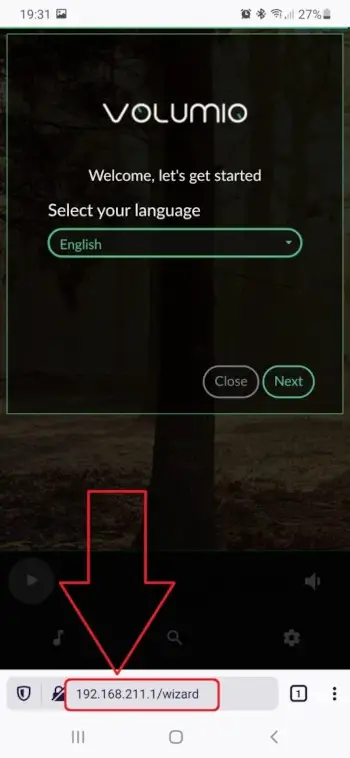
Volumio starts listening for web browser connections from its default IP “http://192.168.211.1” (remember to use your RPI’s IP if you are using ethernet cable) or via “http://volumio.local”. Open your favourite browser and use one of these two.
First screen will let you choose your language. Please note the IP address I used with Volumio in hotspot mode:
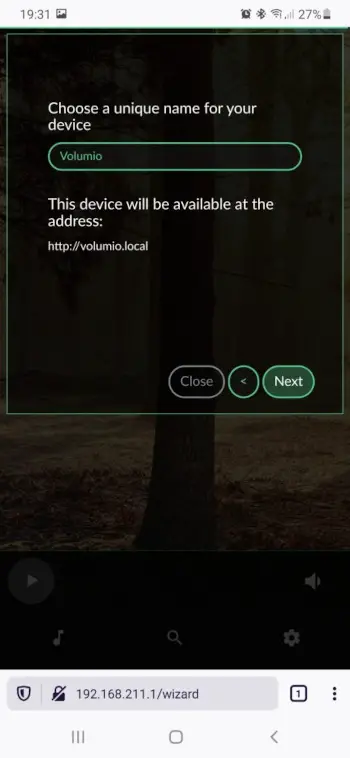
Press Next. Following screen will let you choose your device hostname (which will define URL when Volumio will we used in hotspot mode). Choose your favourite and click next:
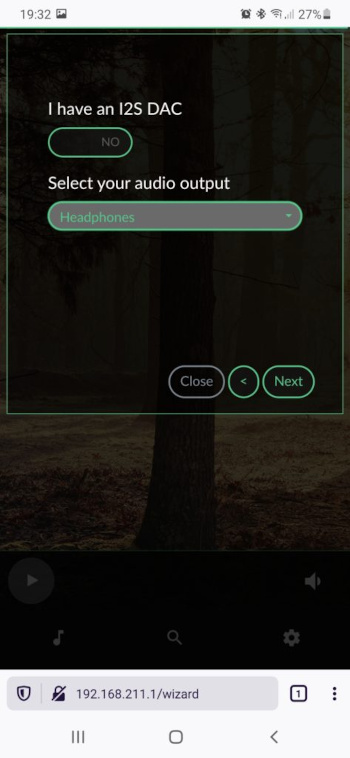
Following screen will define what audio output you will use. HDMI Out will make your sound reproduced on HDMI eternal devices, while headphones will use RPI Jack. I will use this option, letting me use Volumio both with headphones as with older radio including audio jack input:
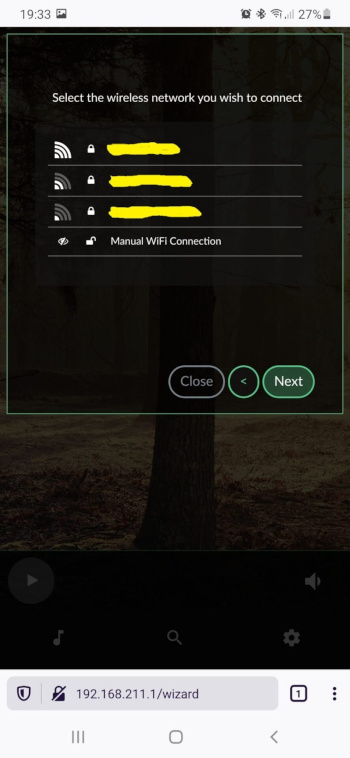
Next screen will allow you to choose and configure (by adding password) wireless network to use. Select your one (if you want to use volumio with WiFi connection) and click next:
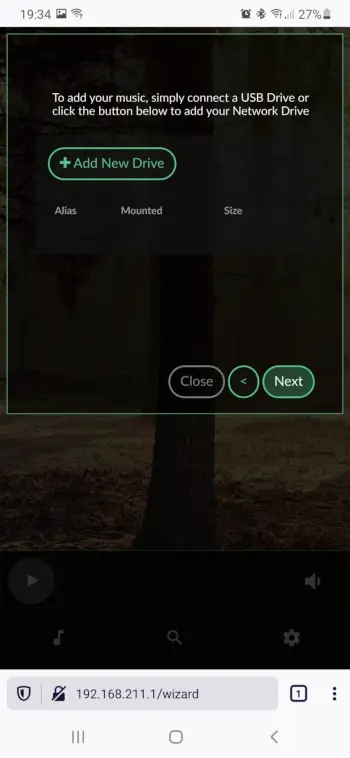
You will be then prompted to decide to use simplified or full options set. I will use full options menù. Next screen will allow adding a drive for local music from USB storage. You can also set this from home once setup is finished (or add from here). Then click Next;
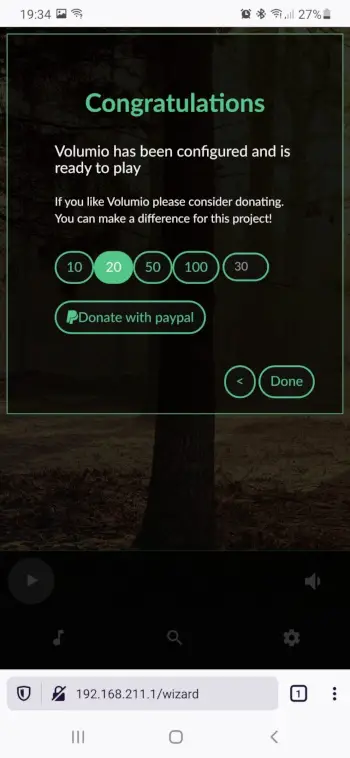
Finally Volumio team asks if you want to donate via Paypal. You can both donate (using “Donate via Paypal” buttons) or use “Done” button to complete setup:
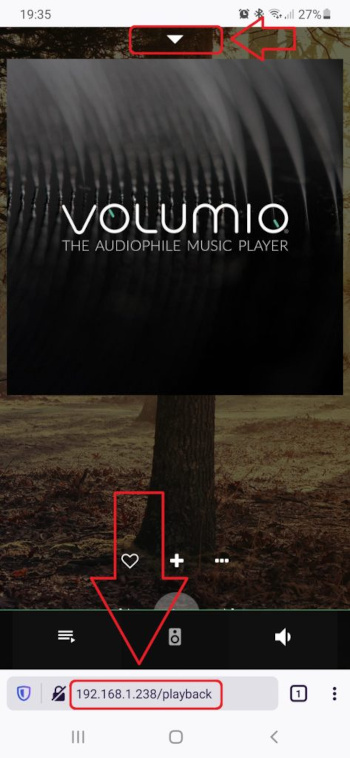
At this point Volumio network will restart to reload the new settings. From here, if you switched to your local network you have to change IP address with your Raspberry PI’s IP address (like in following picture, where 192.168.1.238 is mine one), that will redirect to your Volumio home. The button on top of your screen will allow you opening Volumio seurces:
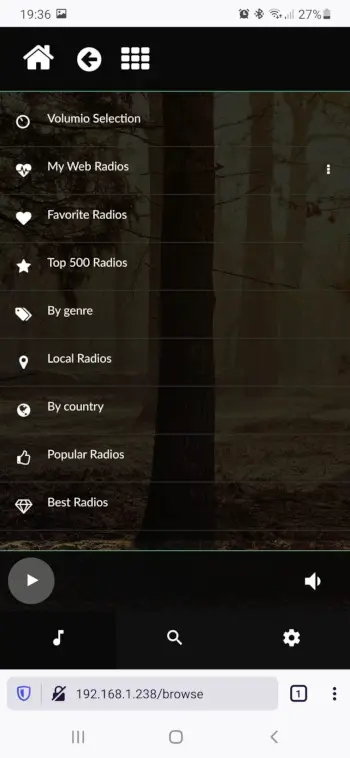
You can now choose your music by browsing the menù. For example, Web radio menù will allow choosing from a wide number of pre-configured web radios:
You can now use Volumio official docs to fine-tune your new smart music box.
Enjoy!
