Security Camera with Raspberry Pi Using Motioneye
Last Updated on 10th November 2019 by peppe8o
One of the most powerful thinks that you can accomplish with docker on Raspberry Pi is that we can use it for a multipurpose home server installin a number of microservices each one independent from others. At the same time, docker allows you to waste and rebiuld a service with a single command, meeting your harware resources management needs and allowing you to test and re-test if someting is going wrong at the firts stages of your project.
Today, we are going to setup my favourite open source motion detection software inside a container.
The official MotionEye website page is here. It is available also a Facebook page here.
What We Need
As usual, I suggest adding from now to your favourite e-commerce shopping cart all the needed hardware, so that at the end you will be able to evaluate overall costs and decide if to continue with the project or remove them from the shopping cart. So, hardware will be only:
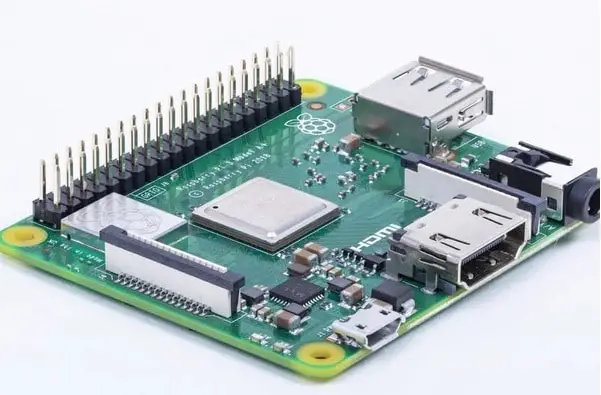
- Raspberry PI (including proper power supply or using a smartphone micro usb charger with at least 3A)
- micro SD card (at least 16 GB, at least class 10)
- Raspberry PI Camera
Check hardware prices with following links:
Step-by-Step Procedure
Start preparing your environment. Install Raspberry PI OS Lite as lightweight operating system (without needing local keyboard or monitor).
Then install Docker in your Raspberry PI, which will help to simplify installation procedure.
Prepare Docker Network
I want to use a personal network created in my docker environment that I called “local”. It can be done simply by:
docker network create local
Our motioneye service has its own port (8765) to expose the web gui, but I’ll use a personal port to my host (port number 5000).
Enable Camera in Raspberry PI
Before all, we must enable our Raspberry to map our camera to the path “/dev/video0”. This path will be passed to our container to reach video stream. So, the command will be:
sudo raspi-config
here we must select “Interfacing Options“, select “P1 Camera” and select yes to enable our device. This requires a reboot so, as already said in Docker installation post, reboot and wait for boot operations to be completed and docker service to be up and running.
Now, check that we correctly configured our Camera:
vcgencmd get_camera
this should return “supported=1 detected=1”. If not, it could be needed to install v4L2 drive:
sudo rpi-update # To make sure the v4L2 drive is available. A reboot is required
sudo modprobe bcm2835-v4l2 # to load it and create /dev/video0
Install MotionEye Container
Here comes the power of Docker. The command to make our service up is simply (copy entire command in single line):
docker run --name="motioneye" --network="local" --device=/dev/video0 -p 5000:8765 -p 465:465 -p 587:587 -p 8081:8081 --hostname="motioneye" --restart="always" --detach=true ccrisan/motioneye:master-armhf
Below the explaination of every part of the command:
- –name=”motioneye”: gives the mnemonic name “motioneye” to our container, you can show it with command “docker ps”
- –network=”local”: attaches cour container to “local” network previously created (optional)
- –device=/dev/video0: gives the container the ability to interface directly our camera using host devices
- -p xxx:xxx: this maps ports used by container. In our line we have mapped a few ports for different purposes:
- -p 5000:8765: this string means that container local port 8765 (which is motioneye web gui port) to host port 5000, so that we can reach motioneye webgui with host IP and port. This port mapping is mandatory if you want to reach the web interface
- -p 465:465 -p 587:587: these 2 mappings allow motioneye to be configured to send mails. This is required if you want to receive motion detection alerts by mail by common smtp services like Google SMTP (465 is for SSL, 587 is for TLS)
- -p 8081:8081: this mapping is required if you want to export your media streaming to other services capable to manage it
- –hostname=”motioneye”: this command set container hostname to motioneye, for docker internal communication (optional)
- –restart=”always”: this forces our container to automatically restart if it stops. If it is manually stopped, it is restarted only when Docker daemon restarts or the container itself is manually restarted.
- –detach=true: this run container in background
- ccrisan/motioneye:master-armhf: this select the image we want to use. We need the “arm” version of image because raspberry is based on arm processor
Inizialize motioneye
Wait for prompt to be back. Our videosurveillanece service is quite ready. Complete the setup with your favourite web browser. With your RPI IP address in mind (in my case “192.168.1.177”, but use your one) and the host port setted in docker run command (in my case 5000), browse the address:
http://<<YOUR_RPI_IP_HERE>>:5000
to retrieve the motioneye login page:
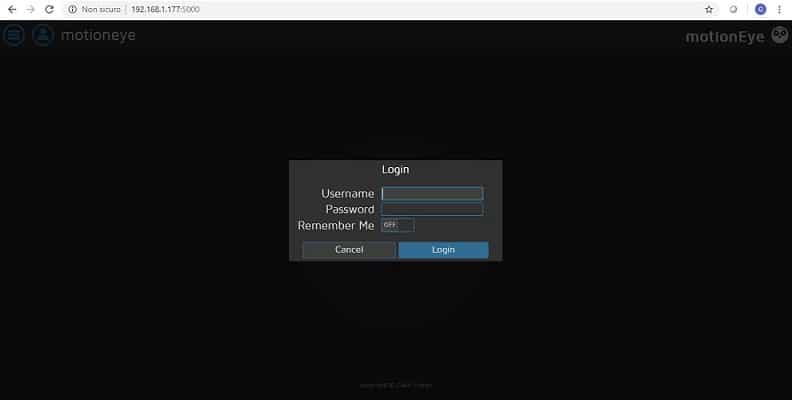
Insert default motioneye credentials:
- Username: admin
- Password:
(blank password)
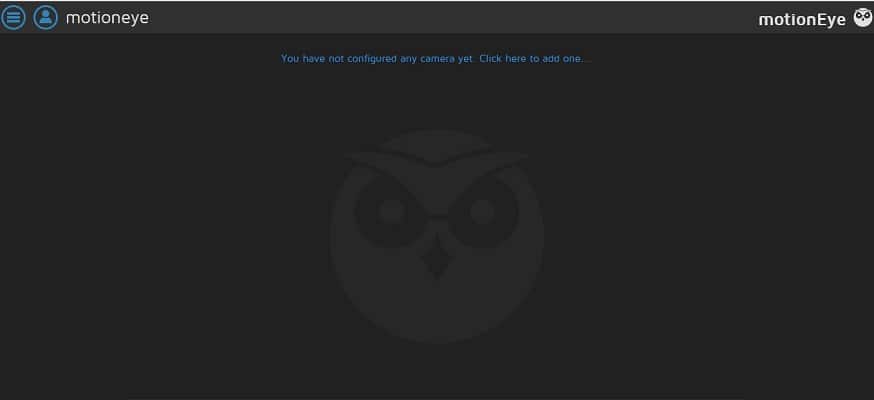
Next screen notifies (only for the first login) that there aren’t yet any cameras configured. Click “Click here to add one…”:
Configure camera settings according to following image:
- Camera Type: Local V4L2 Camera
- Camera: mmal service 16.1
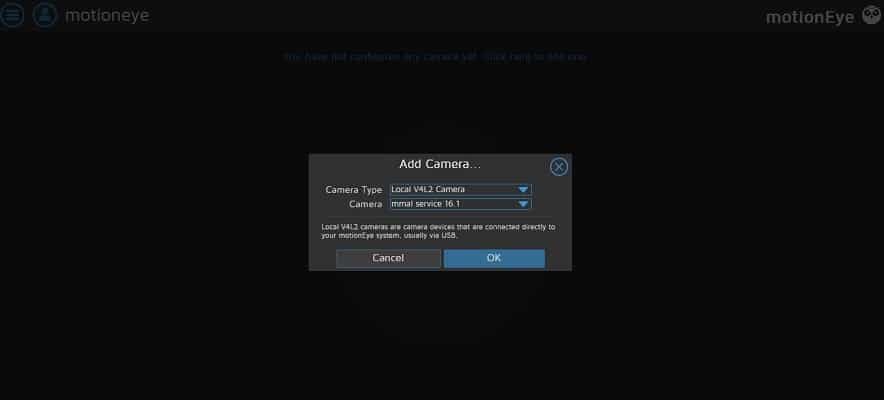
and confirm clicking “OK”. Next screen will show you Motioneye service working (with your camera stream online) and ready to be configured at your likes.
Enjoy!
