Raspberry PI Pico: Foundation entering the micro-controllers universe
Last Updated on 2nd September 2023 by peppe8o
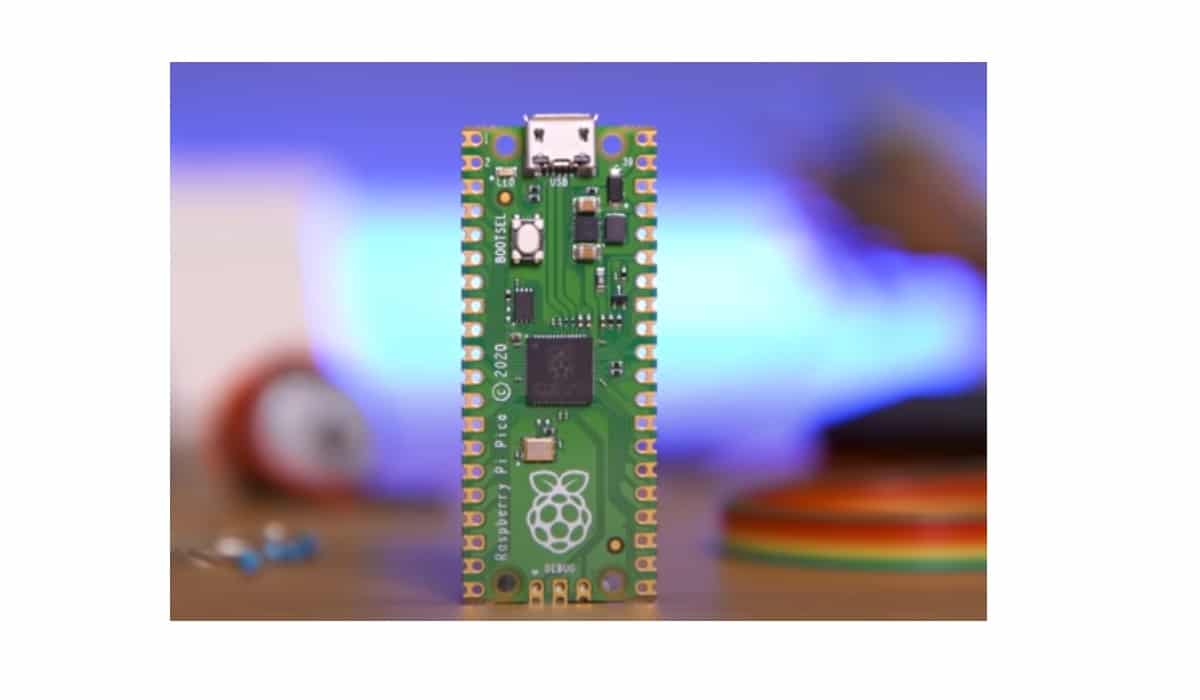
In this tutorial I’m going to show what is new on Raspberry PI Pico board.
With the tiny Raspberry PI Pico, a new option rises on micro-controllers panorama. First questions are: what is Raspberry PI Pico and how is it different from other PIs?
After Raspberry PI 4 and Raspberry PI 400, the Pico board has been launched on 21st January 2021.
This board is a sort of revolution in Raspberry PI Foundation common target. Differently from previous products, this isn’t a linux computer. Pico ins’t going to let you choose the operating system you prefer. Moreover, it isn’t going to be connected to a keyboard and a monitor to start programming with your favourite language. You won’t need to flash its SD card, Pico hasn’t an SD card slot.
Raspberry PI Pico is a micro-controller, something far different from common RPI boards.
The very first surprise comes from its price. Raspberry PI Foundation lauched this tiny board with a base price at only 4$. Too desirable for its fans to not give a try… You can check its availability and prices in your local Amazon with following link:
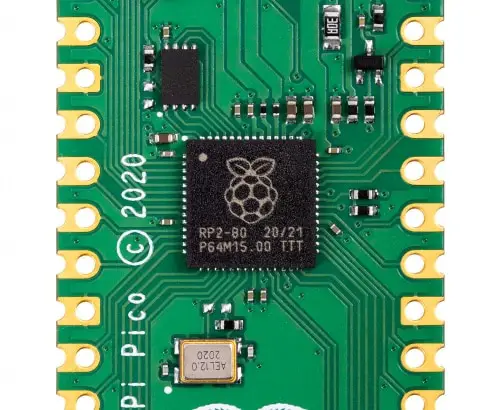
Heart: the new RP2040 Processor
Great effort has been delivered on processor. The new RP2040 marks Foundation debut on microcontrollers, and they didn’t want to disappoint expectations.
Before digging in technical details, let’s see at the reason of its name. It uses following naming convention:
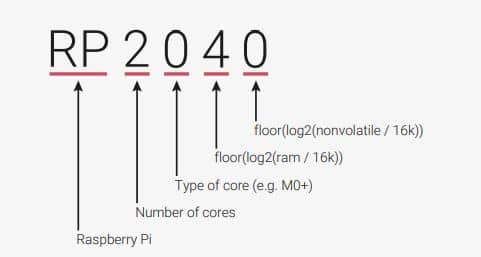
Main RP2040 features are described in following list:
- Dual ARM Cortex-M0+ @ 133MHz
- 264kB on-chip SRAM in six independent banks
- Support for up to 16MB of off-chip Flash memory via dedicated QSPI bus
- DMA controller
- On-chip programmable LDO to generate core voltage
- 2 on-chip PLLs to generate USB and core clocks
- 30 GPIO pins, 4 of which can be used as analogue inputs
- Peripherals
- 2 UARTs
- 2 SPI controllers
- 2 I2C controllers
- 16 PWM channels
- USB 1.1 controller and PHY, with host and device support
- 8 PIO state machines
An historical absence of analogic inputs in PI boards has so been filled with Pico. It is more important of what you can thing, as many sensors still exchange analogic data with their microcontrollers and Raspberry PI boards have been always limited from this.
Deeper details can be found in RP2040 official datasheet.
Low Power Requirements: a Must
Many of us are really excited with Raspberry PI Zero, 100 milliwatts (bare metal) consume. But microcontrollers are even more thrifty. Raspberry Pi Pico promises to require a wide input voltages ranging from 1.8-5.5V. This allows you to power Pico from a wide variety of sources, including two or three AA cells in series.
Interfacing Raspberry PI Pico
USB port can be used both for power supply and to load your programs.
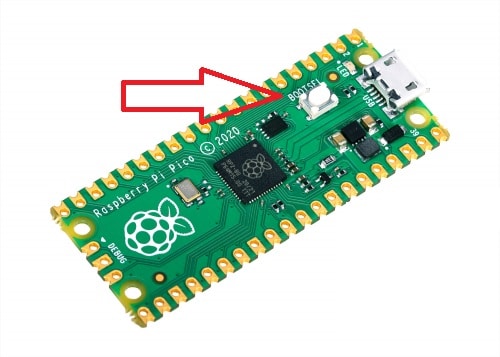
Programming this board requires following procedure:
- Push (and keep pushed) the BOOTSEL button indicated in picture with red arrow
- Connect USB port to your computer
- Release BOOTSEL button
- On computer, you should now see a new Mass Storage Device called RPI-RP2. This is how RPI Pico presents itself to PCs.
- Drag and drop your (MicroPython or C++) program.
At this point, Pico will reboot and start running your program.
Like other microcontrollers, you will not need to shutdown your board. You can simply connect and disconnect power without any shutdown button/command.
Hope to get more news soon from this challenging board.
What’s Next
Interested to do more with your Raspberry PI Pico? Try to look at my Raspberry PI Pico tutorials for useful and funny projects!
