
17 Tools for Raspberry PI Remote Management and Access Tools
Last Updated on 15th March 2023 by peppe8o
Raspberry PI remote management and access tools allow you to control your Raspberry PI device remotely from your home network or from the internet. The latter case will be possible if you have control of your router (managing firewall rules if necessary) and a public IP address from your internet provider. This gives you remote control of your Raspberry PI projects and remote access to their results. It is a must when installing in your Linux device services like IoT functions, web servers, sensors, python scripts, docker containers or other third-party software.
All my tutorials and projects suggest starting your Raspberry PI configuration by enabling at least ssh and wifi when you install your operating system for the first time. This assures access to your Linux device which allows any following integration – if needed – without a GUI. This also allows using many open-source software to completely manage your single-board computer.
Every remote management tool will need that you get your Raspberry PI’s IP address to connect.
To manage your RPI from the local network, you simply need to know your Raspberry PI local IP address (with ifconfig command from the RPI terminal or identifying it from your router).
To manage your Raspberry PI from the internet, you will also need your external (public) IP address used by your router. This is usually identifiable with a web browser, using online services like whatismyip.com. But some internet providers manage their customer’s internet connections with private IPs. If you are not sure about it, you can simply ask your provider. Internet remote access and management usually need some additional configs in your router: usually, you need to setup port forwarding (used to expose home network devices to the internet) and sometimes firewall rules (if the firewall is enabled). A guide to using free public domains with a personal hostname is available in How to configure No-IP DUC service in your Raspberry PI. Sometimes a workaround can be setting up a VPN tunnel to reach directly your local network.
If you want to remote control your Raspberry PI device from the internet, it is strongly suggested to change at least the RPI default password and use a 2 factor authentication (token) login.
In this article, I’ll list a number of ways and tools to access it for different needs. It will be separated into Raspberry PI OS Lite installation and Raspberry PI OS Desktop installation (the last one adding to Lite more graphical ways). Also, a final section on Smartphone access is included.
Finally, the following tools will also work with the old Raspbian operating system. All of these tools are working with Debian Linux distribution, on which Raspberry PI operating systems are based.
Raspberry PI OS Lite Remote Management and Access
Headless Raspberry PI installation (lite) doesn’t include a desktop environment, so remote access and management will be based on command-line access or remote tools using Raspberry PI as a server. The username and password to login will be usually the same ones you use to access. Time ago, the default username was “pi”, with password “raspberry”. Today, Raspberry PI OS installation asks you to set it manually for better security.
Usually, all SSH (Secure shell) based access methods can be enabled at first OS installation by adding in your sd card boot partition an empty file named “ssh” (with no file extension), This tells the OS to accept secure shell sessions from remote ssh clients.
If you don’t need an internal GUI (for example in server or IoT projects), this is the best solution.
SSH (Secure Socket Shell) – port 22
SSH allows you to get remote command line control from ssh client software (like Putty, available both for Linux and windows pc). By default, it is enabled if you added the “ssh” empty file in your SD card after flashing with Raspberry PI OS. Otherwise, you need to enable it (raspi-config -> Interfacing Options -> SSH). In this case, you have to configure your ssh client (Putty) by using the Raspberry PI IP address and setting the port to 22.
With SSH you get full control of your device, even if commands can be a bit harder compared to desktop management. From terminal. you can set all RPI preferences (including networking ones like proxy and ethernet/wifi) and manage all accessories without the need for a mouse.
Only on the very first access (after OS installation), your ssh client can give you an alert because of a new ssh key. This can be accepted since you are confident that you are connecting to your RPI.
SFTP (SSH File Transfer Protocol) – port 22
FTP is used mainly for website file transfer management. With SFTP you can run your FTP session on SSH protocol (using the same port and same security layer). It is supported by a wide range of FTP software like the famous and free Filezilla.
FTP (File Transfer Protocol) – port 21
Like SFTP, FTP is commonly used for transferring files between computers. But FTP doesn’t use the SSH layer, so resulting in less secure communication.
SCP (Secure Copy Protocol) – port 22
Another remote access using SSH protocol. SCP is used to copy files between computers. Remote computer starting path matches user home folder.
SSHFS (SSH Filesystem) – port 22
Another file management way. But SSHFS differs from others because it mounts in your local PC the remote folder (so appearing as a local folder in your local PC). It uses FUSE (filesystem in user Space) and is available for Linux, Unix and MacOS.
Rsync – port 873
rsync is a utility to synchronize file copies on two computer systems. Commonly found on Unix-like systems, it works as both a file synchronization and file transfer program.
Common usage of rsync is in conjunction with cron jobs, to keep constantly aligned files or folders.
SMB/CIFS (Session Message Block / Common Internet File System) – port 445
SMB (also known as Samba) / CIFS allows sharing folders between Linux systems and Windows computers. By default, Raspberry PI OS doesn’t have CIFS/SMB enabled. You need to install and configure it to get it working (take care of configuring the correct Windows workgroup or domain).
The very easy and basic setup can be achieved by installing Samba from the terminal:
sudo apt install sambaand adding your pi user (or the user you set) within Samba users:
sudo smbpasswd -a piA new Samba password will be asked for your default PI user. Then you will be able to access your pi home folder from File Explorer in Windows using in address bar a double backslash + RPI address + “\pi\” (for example “\\192.168.1.10\pi\” if 192.168.1.10 is your Raspberry PI’s IP address). Here a password prompt will appear asking the user (pi or your custom user) and Samba password (the one just set).
Web Server – port 80 (HTTP) or 443 (HTTPS)
Raspberry PI can easily host web server services. You can opt for Apache (the most spread) or NGINX (the emerging one), Both are open source. Both allow you to expose web pages for remote browsers, publishing files like HTML or PHP and web services. You will browse it by using the RPI Internet Protocol address as a URL.
Raspberry PI OS Desktop Remote Management and Access
With the Desktop environment operating system you could also need to access its graphical environment. Anyway, all the following tools will be in addition to Lite ones, which will be available also on the Raspberry PI OS Desktop version.
VNC (Virtual Network Computing) – port 5900
VNC allows you to remotely control the desktop interface of your Raspberry PI (running VNC Server) from another computer or mobile device (running VNC Viewer). It also allows you to use your local keyboard and mouse on your remote PC.
Windows RDP (Remote Desktop Protocol) – port 3389
Windows integrate by default a remote desktop client (RDP). This can be used and configured to pass keyboard and mouse events, but also file transfer from a local computer to a remote one. From the Raspberry PI side, you need to install the xrdp service with the following command:
sudo apt install xrdp -yWhen the package installation completes, you can remotely access your Raspberry PI from a Windows PC by opening the Remote Desktop Connection from Windows
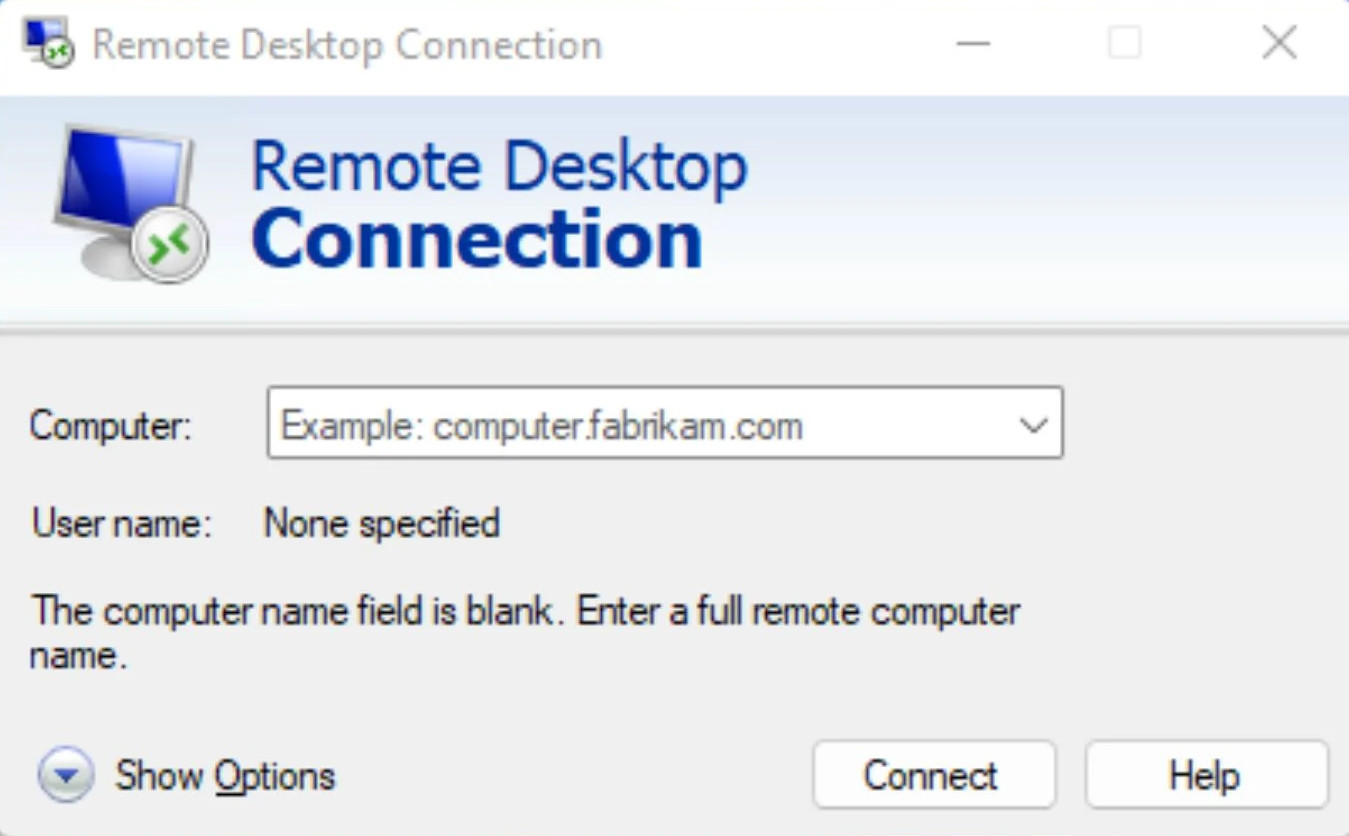
Here you can use the Raspberry PI’s IP address in the “Computer” field to reach your Raspberry PI and click the “Connect” button.
With Raspberry PI OS Desktop, you will be prompted to the Raspberry PI login page:
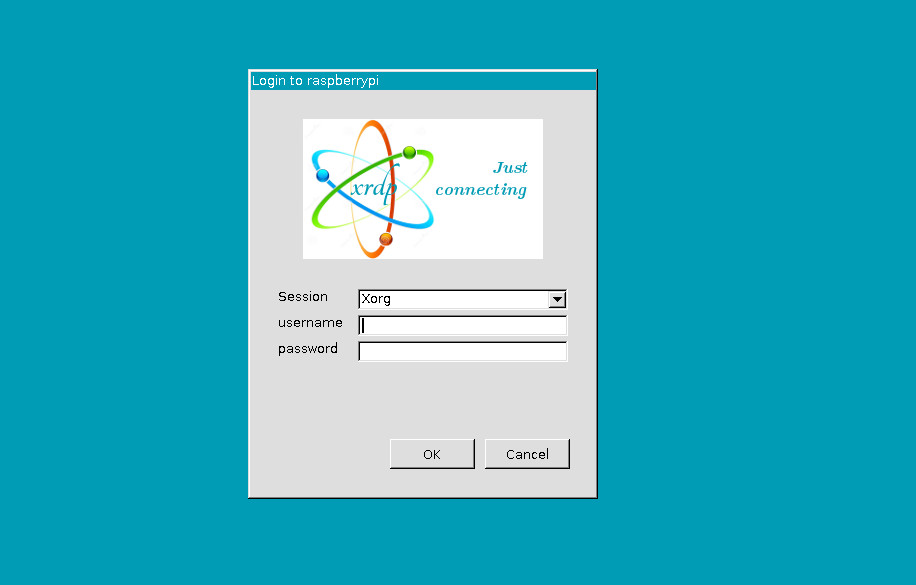
You can type here your Raspberry PI user and password to enter your RPI OS Desktop.
Teamviewer – port 5938
Teamviewer host for Raspberry PI is another option to remotely manage your Raspberry PI desktop. In my experience, I personally found it really useful TeamViewer to support my inexperienced parents with their Windows PC because it is really simple to install and use both from the remote side and the local side. I recently discovered that Teamviewer published their Raspberry PI host version, so it is for me a must to test.
Apache Guacamole
Apache Guacamole is quite different from previous options. It is more of a remote desktop web gateway, allowing you to create a bridge between local and remote computers. It can support many protocols, including also RDP, VNS, and SSH.
Raspberry PI Remote Monitoring Tools (also for IoT devices)
Besides remote management needs, you may also need to simply remotely control your Raspberry PI, in order to get notified in case your device goes offline or stops unexpectedly. There is a lot of open-source software available for this purpose. Some of the most famous are listed below.
This is extremely useful when you have a central Raspberry PI computer board running the monitoring software and a number of IoT or Linux-based systems (like other Raspberry PI computer boards) to be monitored.
Python
Yes, the very first of my list is just writing your own Python script and sending warnings (like an email) when there’s something not answering properly. You will need to define what your “working properly” means for you and implement it in Python code lines. It may be, for example, just checking that the remote device is answering a ping prompt as well as sending requests and comparing results with the expected ones.
Sending the final report by email can be implemented with my Send Email from Raspberry PI with Python tutorial and you can schedule the whole script to run with a cron job.
ThingsBoard
ThingsBoard offers a complete and open-source IoT suite for Raspberry PI remote device monitoring, but you can also easily add a lot of monitored IoT devices and create beautiful dashboards.
The full tutorial to install it on a Raspberry PI computer is available in my ThingsBoard and Raspberry PI (part 1): getting a Professional IoT dashboard.
NEMS
Nagios Enterprise Monitoring Server (NEMS) is one of the most used monitoring software even in ICT professional field. It is open-source and highly customizable and runs greatly on Raspberry PI computer boards, as there is a specific distribution for them. The tutorial for this software is available at Network monitoring with Raspberry PI and NEMS (Nagios).
LibreNMS
LibreNMS is another complete monitoring software to check network devices’ status and create alerts on failures. This open-source software also enables you to create custom dashboards. You can test it with your Raspberry PI with my Raspberry PI and LibreNMS: Powerful Monitor for Home Network tutorial
Raspberry PI OS Remote Device Management from Smartphone Apps
Finally, a brief mention of Smartphone apps that allows you to control your Raspberry PI shell and components.
For Android smartphones, I recommend Raspcontroller. It is simple to use and gives much useful info about Raspberry PI status (internal temp, resources load, GPIO control, and so on). It also included an SSH shell client, able to record your most used commands for easy recall.
For Apple smartphones, one of the best-reviewed apps is Dataplicity, a remote terminal for your Raspberry PI.
Please suggest your favorite remote management and access tool if not included in this list.
Next Steps
Are you interested in more projects with your RPI computer board? Take a look at peppe8o Raspberry PI computer tutorials pages.
Enjoy!

Thanks for the article.
I currently use SSH and vnc on my pi zero W running raspi OS.
But I would definitely prefer Anydesk which I use on all my machines (pc Mac, firestick, atvxperience, iOS and Android tablet).
Regards,
Jm