
Signing pdf files with the free Adobe Reader DC
Last Updated on 3rd October 2020 by peppe8o
This brief article will explain how to sign pdf documents with the free edition of Adobe Reader DC.
Download and Install Adobe Reader
If not installed in your PC, please download it from Adobe Download page and install according to your OS.
Create your Personal Sign
Now we need to create a jpg version of our sign to be transferred in our PC. For best results, I suggest to make your personal sign (as large as possible) on a white paper and use an high resolution camera or scanner to digitalize it. Another best practice is cutting image as near as possible to sign image.
Please create your personal sign on a white paper and scan it with a scanner or a camera. We’ll have a “.jpg” version of our sign. Don’t care of background color, it will be likely removed automatically by Adobe Reader during import phase.

Move this file on your computer.
Open Adobe Reader DC from your programs and open a pdf file. This pdf file can be whatever you want, but you need to open one in order to enable image signature import from Adobe Reader.
For this purpose, I’m going to use a simple Lorem Ipsum pdf document that you can get from my download area with the following link:
Download Lorem Ipsum pdf document example
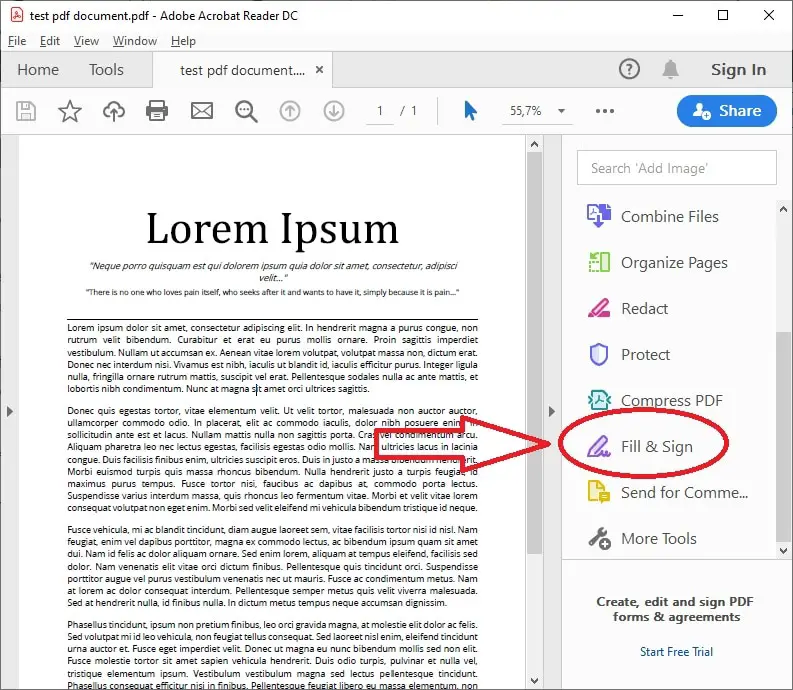
From Tool panel on right, scroll down and select “Fill & Sign” as in following picture:
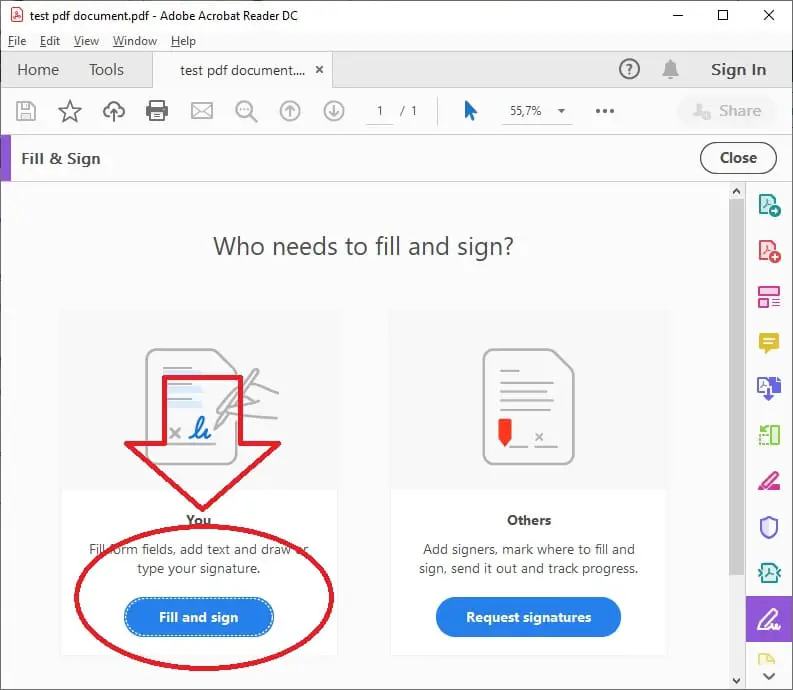
Fill & Sign page will open. Click “Fill and Sign” button as in following picture:
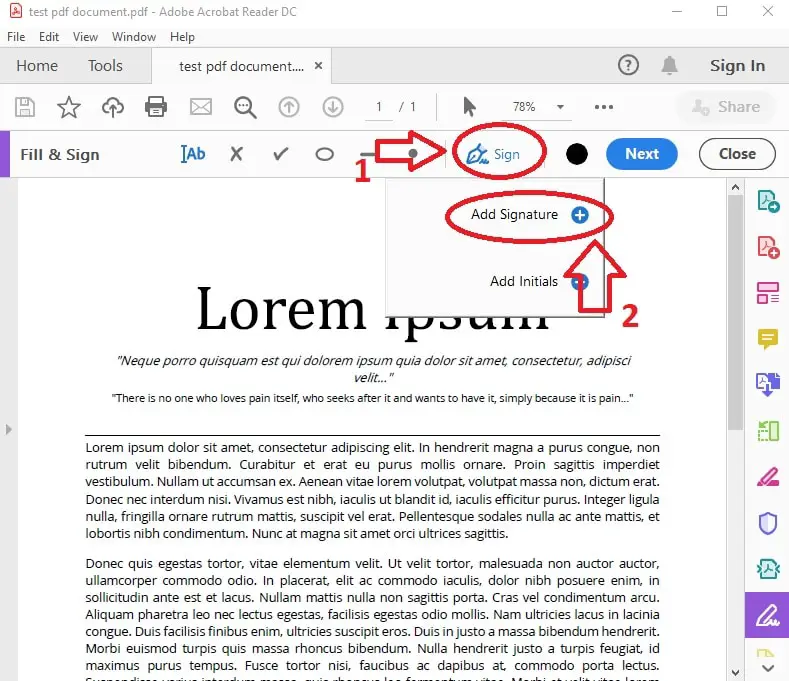
Now you have back your document, with an addictional tools bar on top. Click the “Sign” icon (action 1 in following picture) to open the drag down menù, then click “Add Signature” (action 2 in following picture):
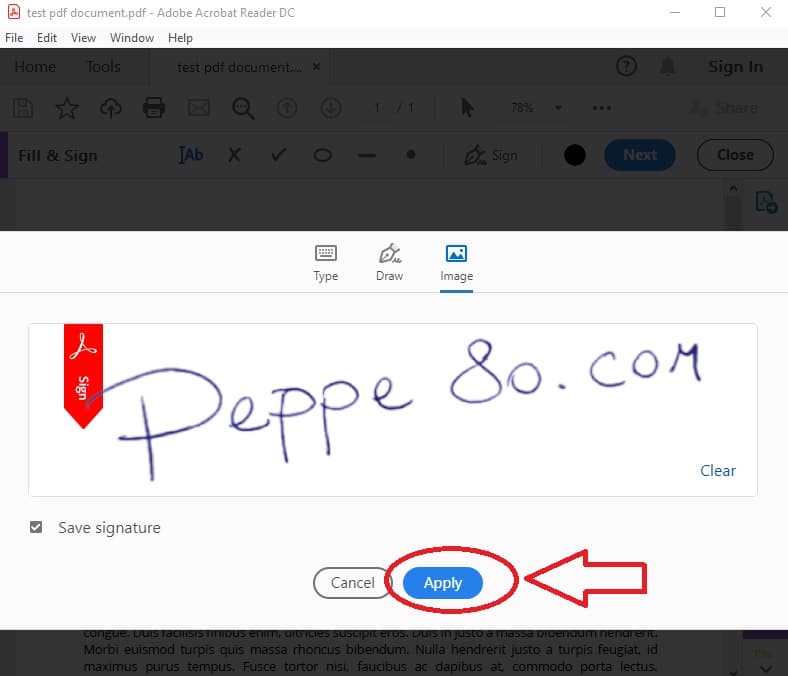
Click “Image” tab (action 1 in following picture) and then “Select Image” (action 2 in following picture):
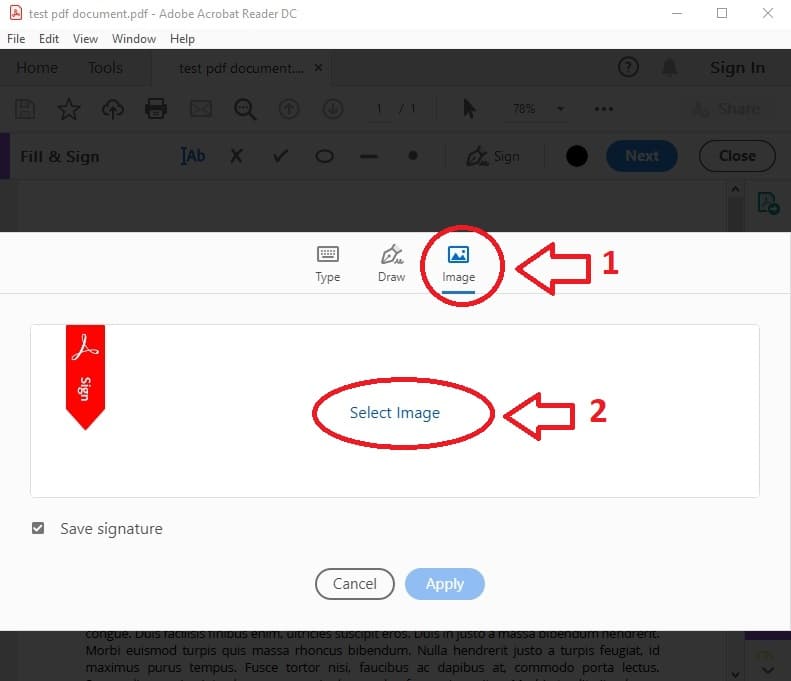
A file browser will open, letting you to choose the media file you want to use. Select the “.jpg” file containing your signature and click open. A preview will appear like in following picture. Click “Apply” button:
You will now have your sign attached to your mouse pointer. Move the signature and click where you want to positionate it. After it, you will be still able to move or zoom in/out your sign image.
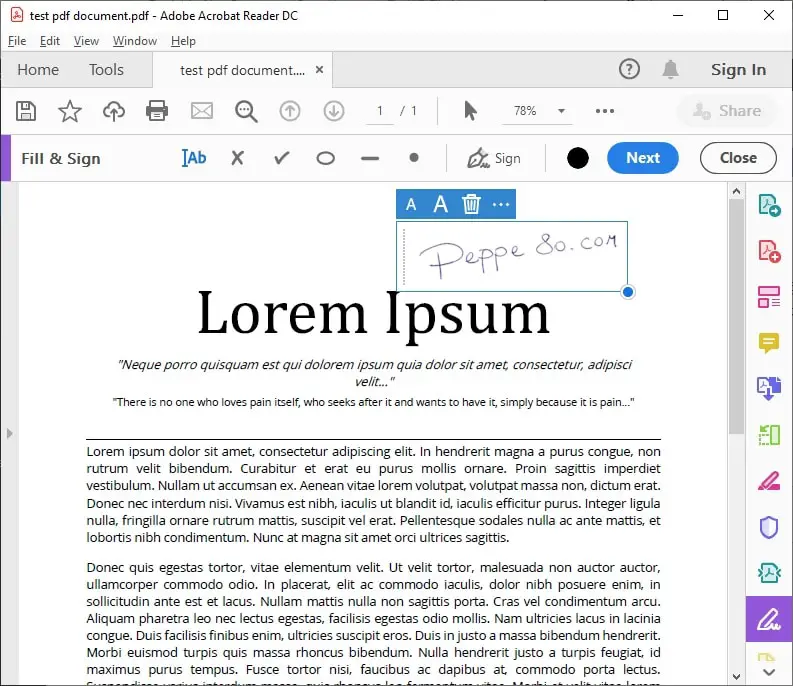
Once your signature is on right position, save the pdf file to make the signing permanent.
Next time you will need to sign same way a different document, your last sign image will be still stored in your Adobe and available for use.
Enjoy!
