Transform USB printer into Wi-Fi with Raspberry PI and Cups
Last Updated on 2nd September 2023 by peppe8o
In this tutorial I’m going to show you how to install CUPS in your Raspberry PI Zero W and setup a basic printer server.
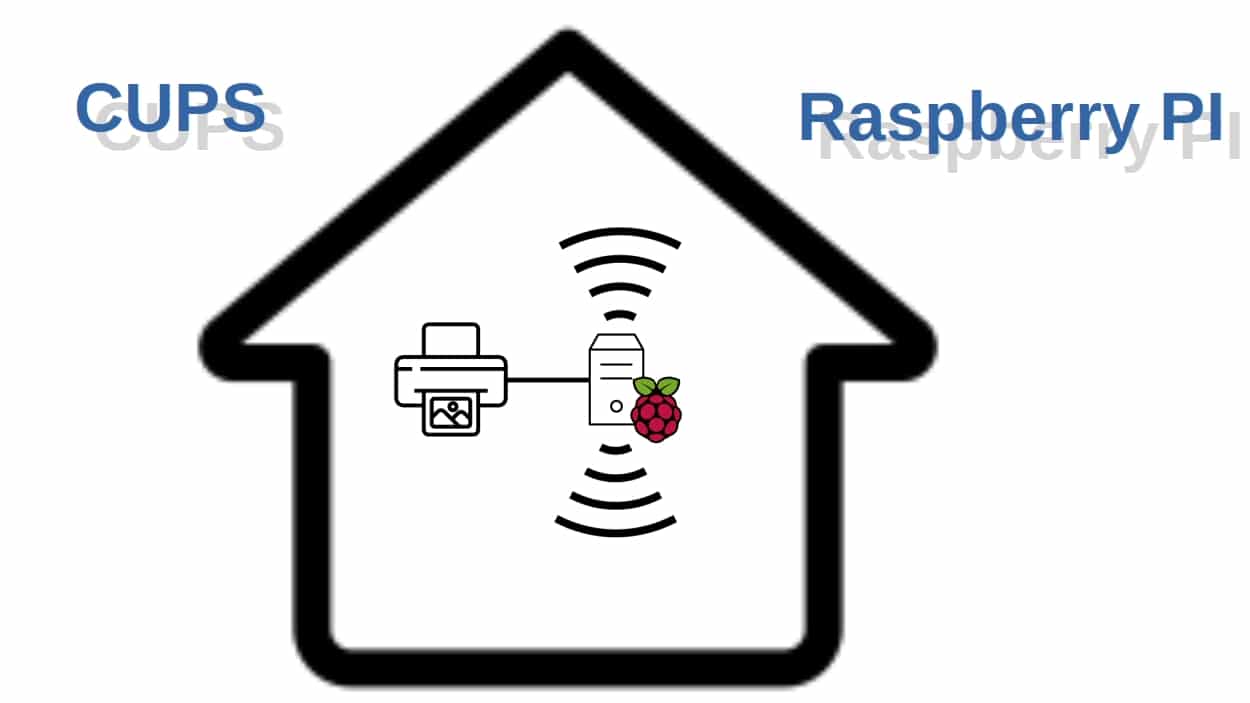
Many of us have an USB printer which every time it needs we have to take near our PC and connect with its cable to print. Raspberry PI with CUPS can transform our old USB printer into a more comfortable Wi-Fi device, enabling a powerful and useful home print server with CUPS
Print server is a computer able to share a printer over a network. It also includes advanced features like, for example, managing print jobs, applying user-based permissions, keep under control printing costs and so on.
Many of current enterprise-grade laser printers already include some sort of printer server capabilities, often connected to a central print server to manage accounting, billing and maintenance.
What is CUPS
In open source world, CUPS is one of most spread linux tools used to print from remote clients into a local USB printer. Even if the huge number of print manufacturer, every one with its own drivers different from all others, CUPS is a solid and important brik to let you more concentrated on printing than how to print. The main effort is close to its very first setup, many times to find proper drivers. But CUP already has a number of preinstalled drivers so that it is common to get your one already included.
From technical perspective, the first time you use CUPS with a printer, it creates a queue to keep track of the current status of the printer and any pages you have printed. Common case is that the queue points to a printer connected directly to your computer/server via a USB port, however CUPS can also use printers on your network, Internet, or multiple printers depending on the configuration. Regardless of where the queue points,CUPS exposes it in the same way.
CUPS creates a job for every print submitted to it. This job contains the queue you are sending the print to, the name of the document you are printing, and the page descriptions. Every Job can be monitored in realt time from a web gui, also giving you a way to verify if it is printed or cancel it if you see a mistake. When CUPS gets a job for printing, it determines the best programs (filters, printer drivers, port monitors, and backends) to convert the pages into a printable format and then runs them to actually print the job. When the print job is completely printed, CUPS removes the job from the queue and moves on to any other jobs you have submitted. With advanced configurations, you can also receive notifications when the job finishes, or if there are any errors during printing, in several different ways.
In this tutorial I’m going to use a cheap Raspberry PI Zero W, but this will work with any Raspberry PI computer board having Wi-Fi.
What We Need
As usual, I suggest adding from now to your favourite e-commerce shopping cart all the needed hardware, so that at the end you will be able to evaluate overall costs and decide if to continue with the project or remove them from the shopping cart. So, hardware will be only:
- Raspberry PI Zero W (including proper power supply or using a smartphone micro usb charger with at least 3A) or newer Raspberry PI Board
- high speed micro SD card (at least 16 GB, at least class 10)
Check hardware prices with following links:


Step-by-Step Procedure
Prepare Operating System
Start preparing your OS. We’ll use Raspberry PI as a server, so I suggest to install Raspberry PI OS Lite (for a fast, headless OS). You can also use Raspberry PI OS Desktop (in this case working from its internal console).
Make your OS up to date. From terminal, use following command:
sudo apt update -y && sudo apt upgrade -yInstall CUPS directly from aptitude repository. From terminal:
sudo apt install cupsYou will also need to add your current user (I suppose the default “pi” use) to lpadmin. This group allows its members to manage printers and pending jobs sent by other users.
sudo usermod -a -G lpadmin piAt this point, CUP is ready to be used locally. But we want to share it in our network and enable its web gui. To do this:
cupsctl --remote-admin --remote-any --share-printersConfigure CUPS printer
We can now move to WEB GUI to perform printer setup. This is required only the very first time you will use connect your printer or any new printer. You can already connect your Raspberry PI USB port to printer USB and power on it.
In this paragraph I will use my RASPBERRY PI’s IP address (19.168.1.78). Please change it with your one.
From a remote client on same network, open your favourite browser to http://192.168.1.78:631/admin. A certificate warning will appear (following page is from Firefox, but its look can vary according to the browser used):
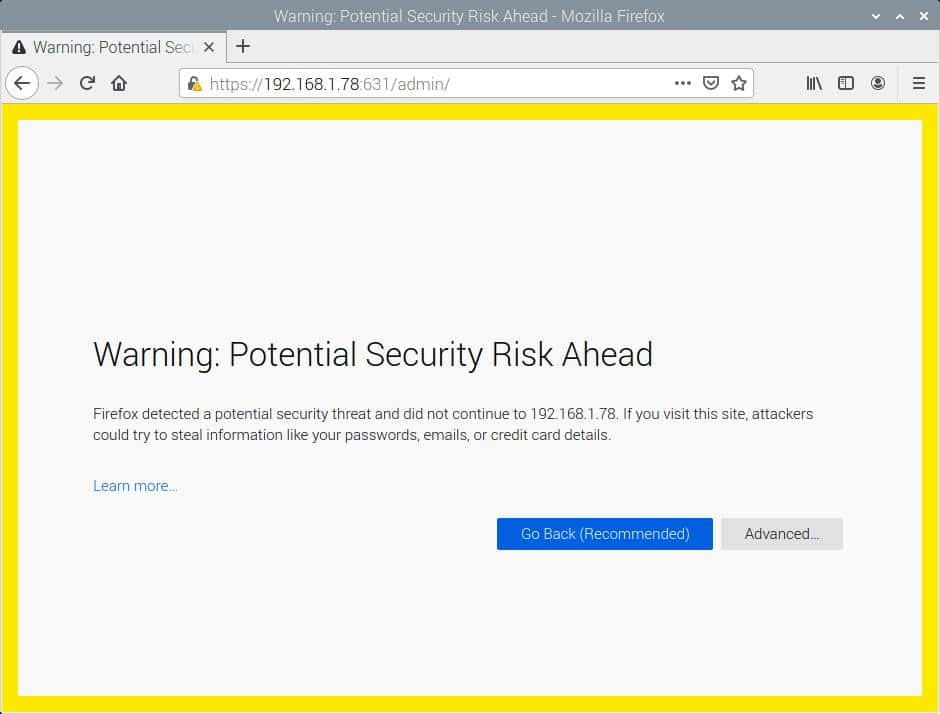
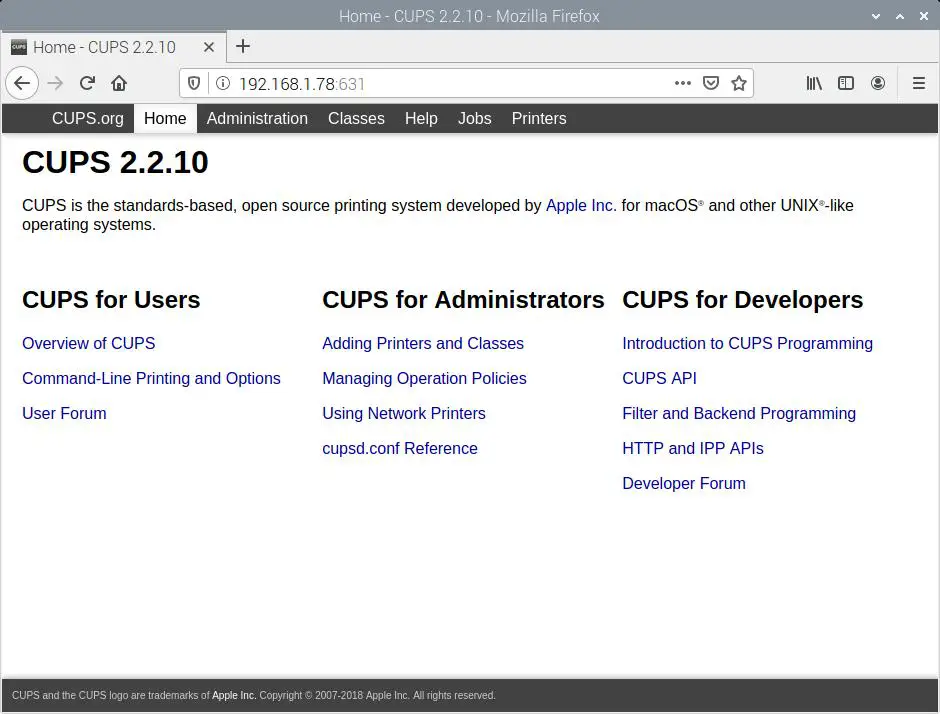
This warning tells you that the remote server (our Raspberry PI) hasn’t a signed certificate. It is a common warning and the only way to solve it is by requiring a free public certificate, but this means exposing your RPI to internet, requiring a free web domain and many other stuff that can be not necessary if you need this printer server available only in your home network. For this reason, if you are in your own network and as you are sure that this IP belongs to your Raspberry PI, you can dismiss this warning and go on. With Firefox go to “Advanced” -> “Accept the Risk and Continue”. CUPS home page will be showed:
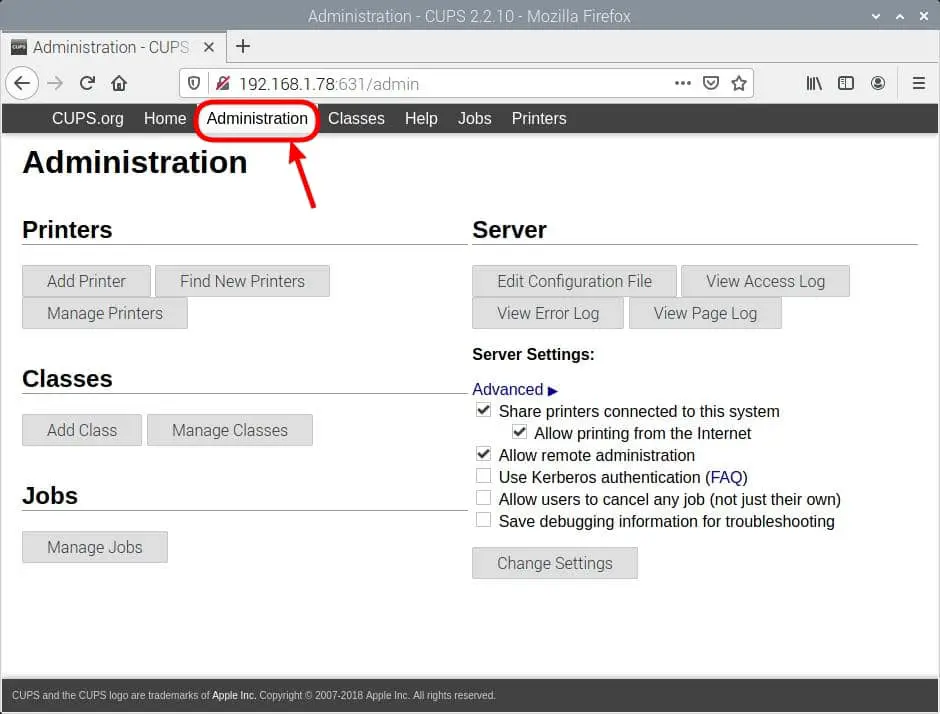
Go to Administration tab:
Click “Add Printer” button. You will be prompted for a user and password:
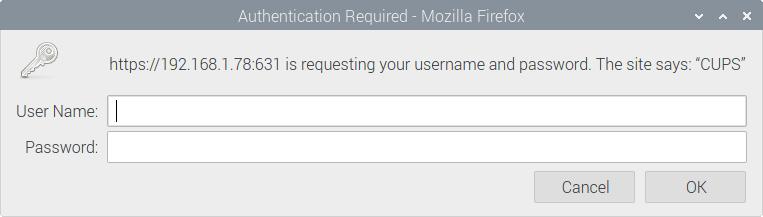
Use Raspberry PI (where CUPS is installed) username (“pi”) and password. You will enter the “Add printer” wizard:
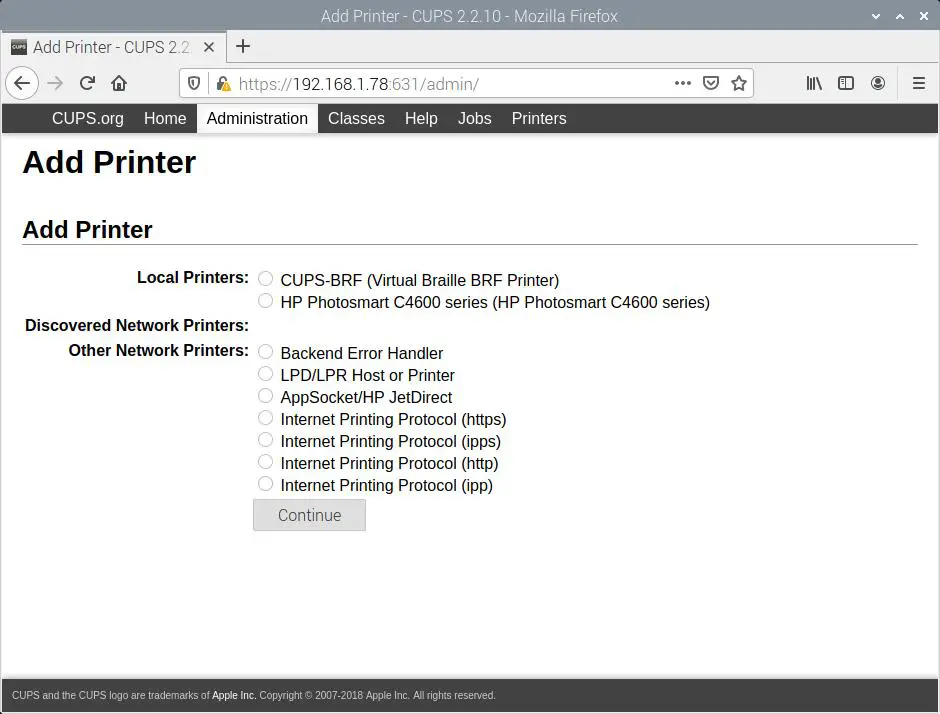
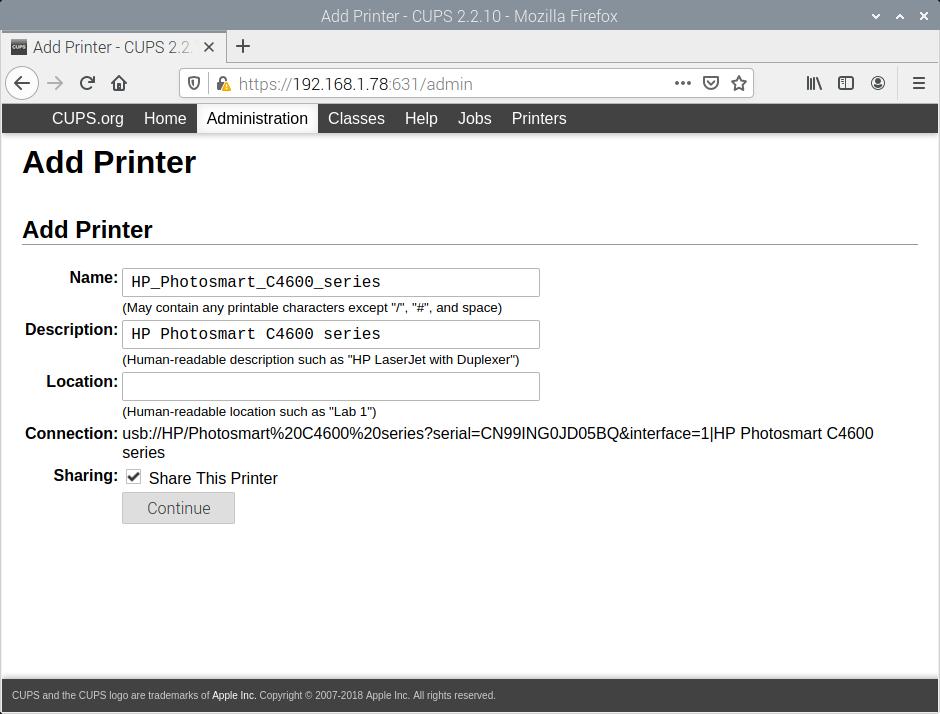
As you can see, my printer (an HP Photosmart C4680) has already been detected (as C4600 series). Select your printer from local printers and click “Continue”. In next screen remember to enable the “Share This Printer” flag:
Then press Continue. Now you will get a list of available drivers:

If you are lucky, you will find your model inside this list. Otherwise, the only one solution is asking our friend Google for linux drivers.
In my case (HP Photosmart C4680) I was quite lucky because I didn’t find mine one in this list but I read that my drivers can be installed with hplib package from debian repository. So, I had to install this package:
sudo apt install hplipTo refresh drivers list, I used “Select Another Make/Manufacturer” -> select HP -> select Continue and then “HP Photosmart c4600 Series” appeared. Once you soved the driver question, press “Add printer” button. Next screen will propose default options:
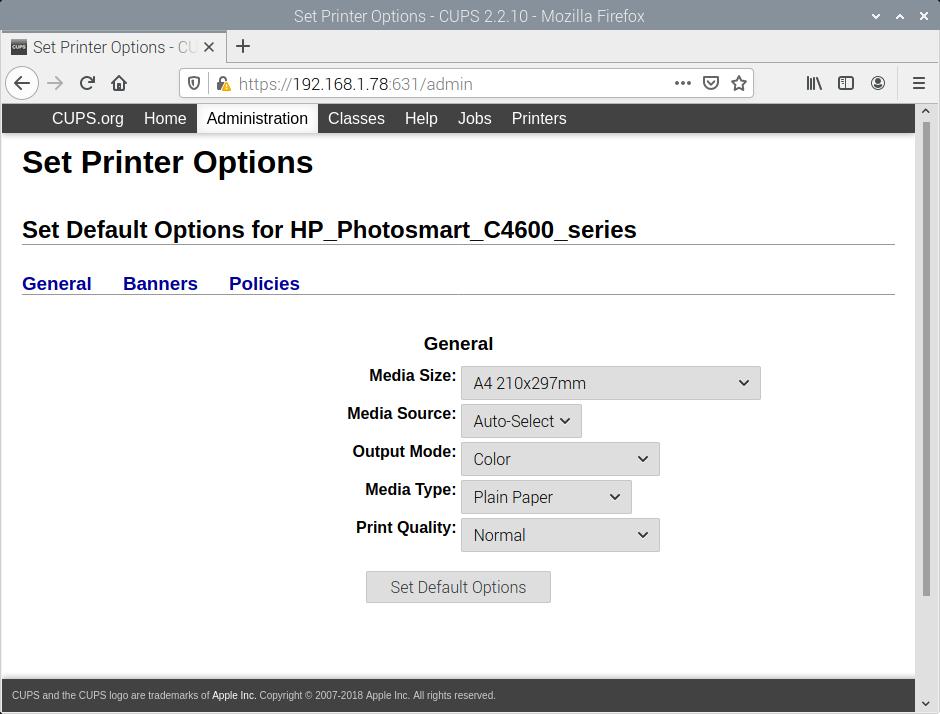
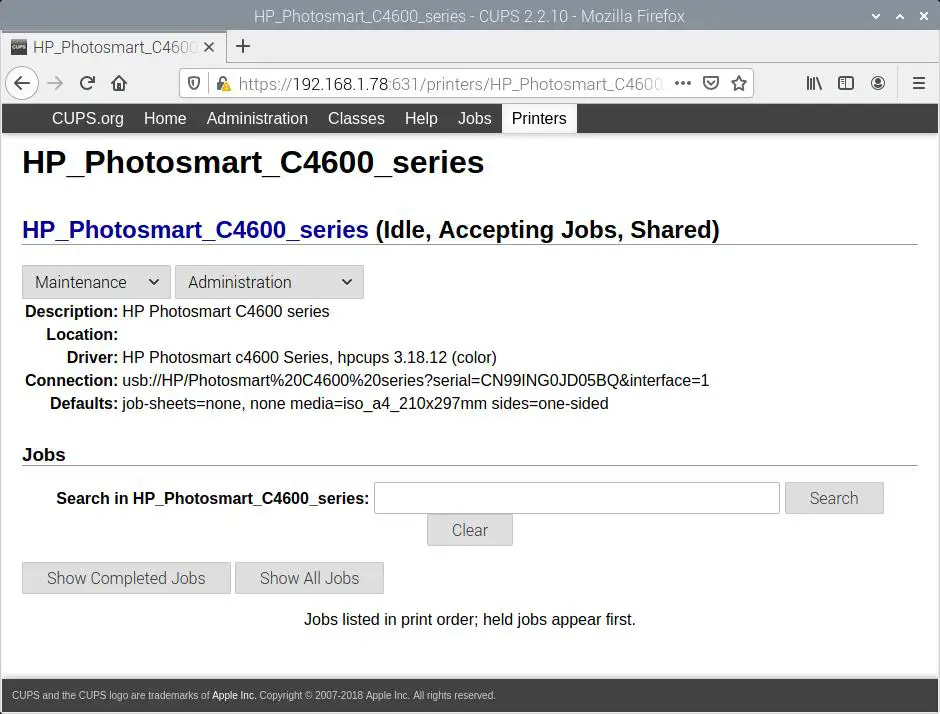
Set it according to your preferences and click “Set Default Options” button. You will have a successfull completed message and then you will be redirected to your printer page:
Use CUPS Printer from Remote Clients
Linux systems could detect automatically your network printer. Otherwise, you should now be able to configure your printer as TCP/IP hostname composed by following:
http://[RPI ip address]:[port]/printers/[Printer name]
In my case:
http://192.168.1.78:631/printers/HP_Photosmart_C4600_series
For example, with Windows 7 computers, you need to open the Control Panel, run the ‘add printer’ wizard from Devices and Printers, choose to search for a network printer. Click to stop the search and then click below for ‘printer isn’t listed’. Take the option to select a shared printer by name and enter the url of your printer as determined before.
Enjoy!
