Use Passive Buzzer with Raspberry PI and Python
Last Updated on 24th March 2023 by peppe8o
Passive buzzer is a cheap and simple DC powered element able to generate a multi tone sound if triggered with low voltage current.

Passive buzzer differs from active buzzer because active one has an internal oscillator able to generate sound when simply activated with a continuous trigger. Passive buzzer, instead, needs a square wave trigger (PWM).
Raspberry PI is able to generate PWM (pulse-width modulation) in two different ways:
- Software PWM – available on all pins
- Hardware PWM – available on GPIO12, GPIO13, GPIO18, GPIO19
We’ll use Software PWM with available from RPI.GPIO library.
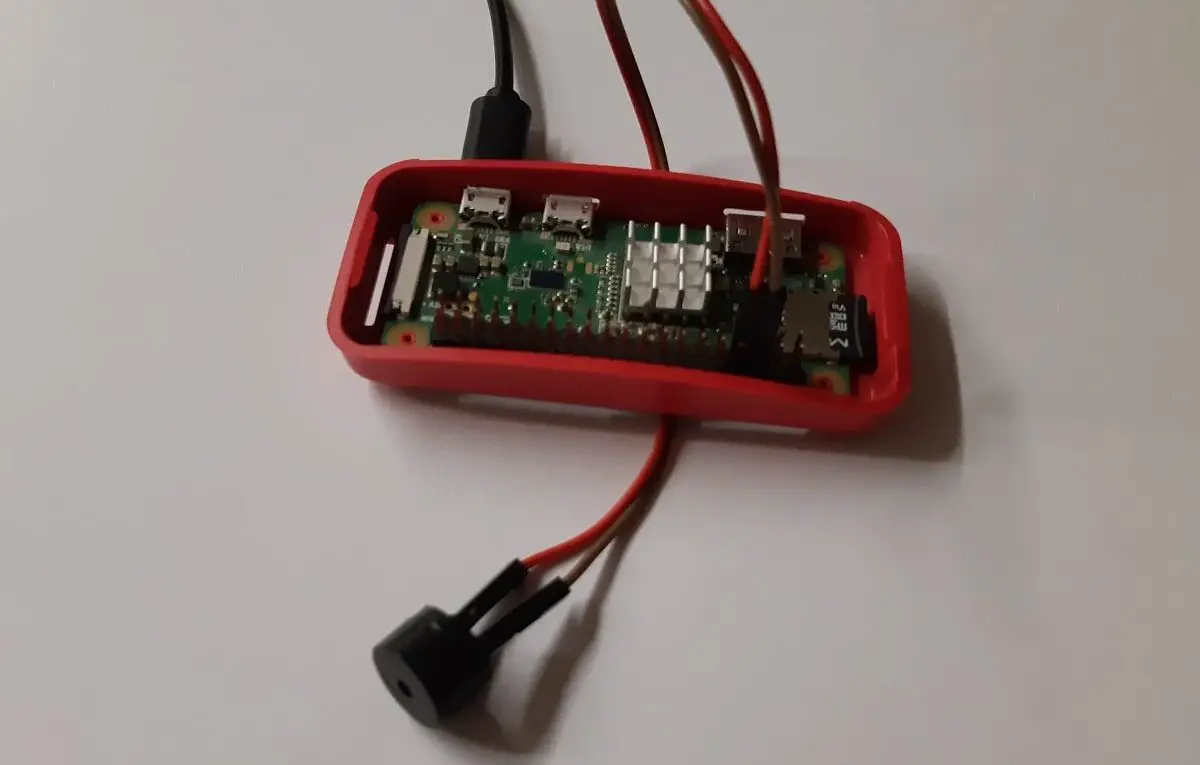
In this guide I’ll show you how to use a passive buzzer with your Raspberry PI. I will use a Raspberry PI Zero W, but this guide will work also with newer Raspberry PI boards.
What We Need
As usual, I suggest adding from now to your favourite e-commerce shopping cart all the needed hardware, so that at the end you will be able to evaluate overall costs and decide if to continue with the project or remove them from the shopping cart. So, hardware will be only:
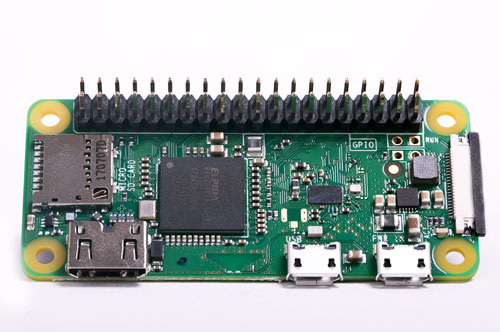
- Raspberry PI Zero W (including proper power supply or using a smartphone micro usb charger with at least 3A) or newer Raspberry PI Board
- high speed micro SD card (at least 16 GB, at least class 10)
- Dupont Wiring
- Passive Buzzer (I’m using an Elegoo one)
Rearding passive buzzer, you can also evaluate the cheap Elegoo starter kit, which includes a number of sensors useful for your electronics projects.
Check hardware prices with following links:


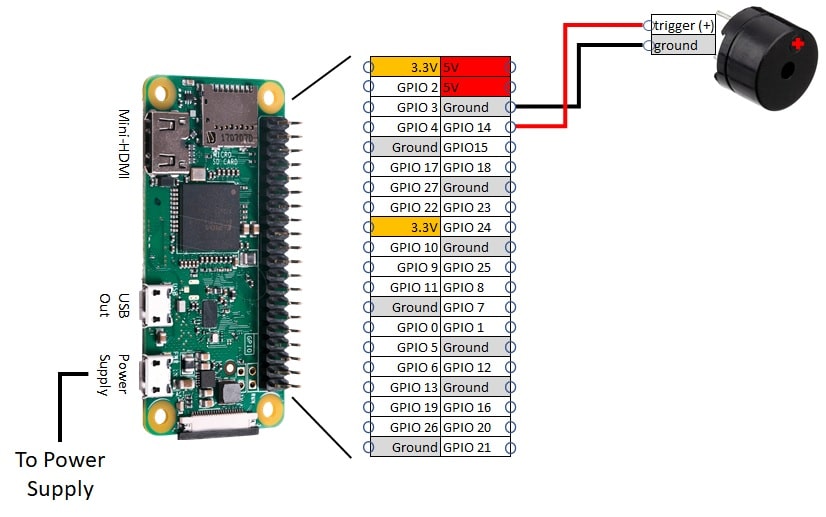
Wiring Diagram
Following picture shows wiring diagram adopted:
Step-by-Step Procedure
An headless installation will be performed. However, also a Desktop installation works, using terminal.
Environment Preparation
This procedure starts from operating system setup installing Raspberry PI OS Lite.
Align your Raspberry PI to latest updates. From terminal:
sudo apt update
sudo apt upgrade
RPI.GPIO should be already installed (otherwise, you can get it installed with the command “sudo apt install python3-rpi.gpio”).
Prepare Python Script
Python script becomes really simple with GPIO. You can download it in your Raspberry PI from terminal:
wget https://peppe8o.com/download/python/passive_buzzer.pyBelow the script description.
Before all, needed libraries are imported:
import sys
import RPi.GPIO as GPIO
import time
Trigger PIN (pin where positive cable is connected) is defined in a variable for better management. Be aware to use GPIO BCM naming. In my cabling it is number 14. It is also set to be an output pin:
triggerPIN = 14
GPIO.setmode(GPIO.BCM)
GPIO.setup(triggerPIN,GPIO.OUT)
A new PWM instance is defined (and named buzzer, but you can use whatever name you prefer). Note that in instance definition also frequency is specified (1KHz).
The buzzer is then started with a dutycycle of 10 (value between 0 and 100):
buzzer = GPIO.PWM(triggerPIN, 1000) # Set frequency to 1 Khz
buzzer.start(10) # Set dutycycle to 10
At this point, our buzzer is already singing. Our script will wait 1 second with the time.sleep directive. Then GPIO PINs are cleaned and script exits:
time.sleep(1)
GPIO.cleanup()
sys.exit()
In my script you can also find commented some useful commands to edit frequency or dutycycle and the stop command:
#buzzer.ChangeDutyCycle(10)
#buzzer.ChangeFrequency(1000)
#buzzer.stop()
You can try, for example, some musical notes being approximatively:
| Note | Frequency |
| A (LA) | 440 |
| B (SI) | 494 |
| C (DO) | 523 |
| D (RE) | 587 |
| E (MI) | 659 |
| F (FA) | 698 |
| G (SOL) | 784 |
Enjoy!

Thank you very much – The post was worked very well for me.
There is a small error in the documentation: the notes table should read
Note Frequency
A (LA) 440
B (SI) 494
C (DO) 523
D (RE) 587
E (MI) 659
F (FA) 698
G (SOL) 784
Thank you Prof. Cassinis,
notes table updated.