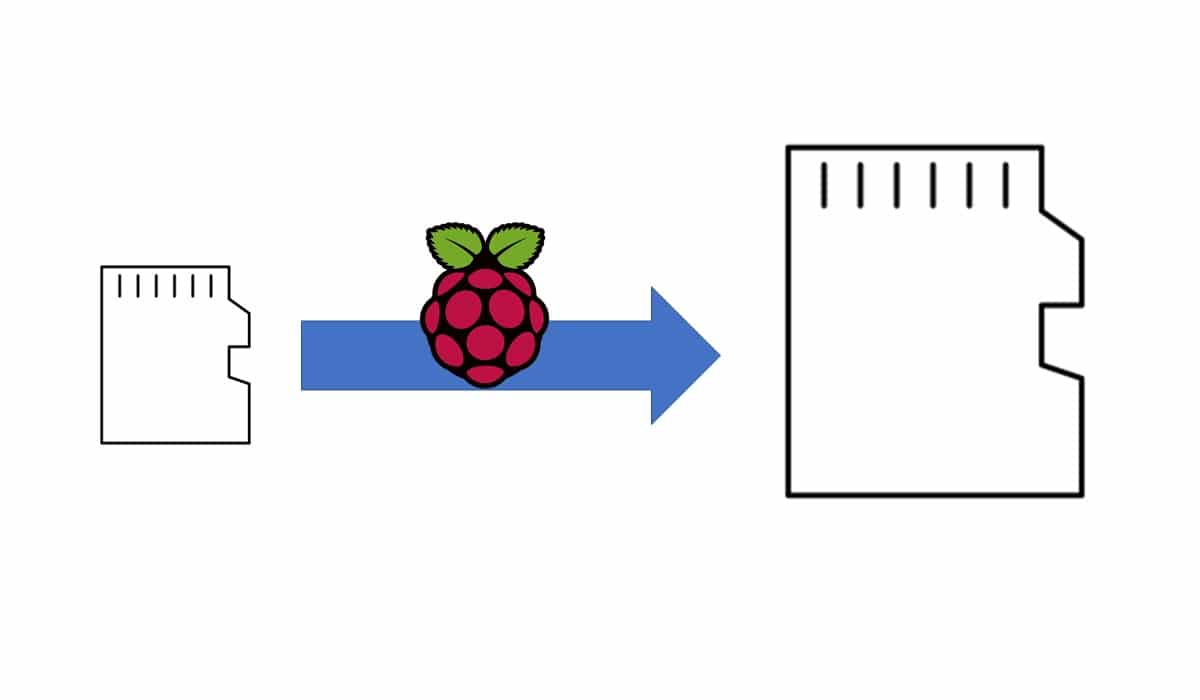
When it comes to Raspberry PI, getting best performances requires a fast MicroSD Card, as it changes board performances like an SDD Disk compared to HDD disk for a common personal computer. Once get your new SD card, you probably want to keep all your data. Migrating SD card with right tools can make easy this process
Usually people starts with Rapsberry PI with one of standard kits available in internet and using the first SD card available at home. As already explained in my previous post, the simplest way to improve Raspberry Pi performance is using a faster SD card. Sometimes this matches also the needs to have more disk space (with a larger SD card) and migrating all contents (operating system and data) from our old card to the new one.
In this guide I’ll assume that you have installed Raspberry PI OS. Otherwise the last step (expansion) should be done with the procedure related to your OS. Note that some users reported that OS installed via NOOBS makes impossible final file system expansion.
That said, Win32DiskImager (here the link to download) is the right tool to simplify this operation and help us in our goal.
Below the simple steps to follow from begin to the end.
As usual, I suggest adding from now to your favourite e-commerce shopping cart all the needed hardware, so that at the end you will be able to evaluate overall costs and decide if to continue with the project or remove them from the shopping cart. So, hardware will be only:
Check hardware prices with following links:
This should be simple for you. Just download the installer from previous link and setup following the common installation wizard.
With Win32DiskImager this is a very simple operation.
Insert your SD card in a card reader and plug it to your PC. In my case (that should be similar to your one) it shows SD Card in Computer Explorer with 2 partitions. One is labeled as “Boot” and associated to F drive letter, the second one is “SDHC” and associated to H drive letter:
Consider that both partitions resides inside your SD Card. With Win32DiskImager it’s enough selecting the boot one to copy the entire SD Card.
Start Win32DiskImager. Be aware: sometimes it is required to Run as Administrator to skip permission issues. Select under “Device” the drive letter corresponding to Boot partition (“F:\” in my case). Write the name you want to assign to your image (and the folder path with “.img” extension) so that the Read button becomes active:
Press the Read button and wait for image creating to be completed successfully.
Remove your old SD card and insert the new SD card in your card reader. Plug it in your PC and go back to Win32DiskImager. Select the Drive letter corresponding to your SD (again F:\ in my case) and the same “.img” file just created:
This time, press the Write button to flash your new SD and wait to complete successfully.
Insert the new SD card to your Raspberry and wait to boot completely and login. You should now see your old OS and your old data. You should aldo see that your drive has still the old dimension by typing:
df -H
If your new card is also larger that the old one, you should also expand the filesystem. You can easily accomplish this by using raspi-config. So, launch the command:
sudo raspi-config
Select “7 Advanced Options”:
Select A1 Expand Filesystem:
Press OK in the following confirmation:
Now you are back to raspi-config home page. Click Finish
You must now reboot in order to complete filsystem resize. Raspi-config asks if you want to reboot now:
Click YES and wait the reboot to be completed. At the end login again and verify the new partition space with the command:
df -H
Enjoy!
In this tutorial, we will use two Arduino Uno to demonstrate the Serial Peripheral Interface…
In this tutorial, we will be making an automatic irrigation system (AIS) with Arduino and…
This tutorial will show you how to use Python Virtual Environment with Raspberry PI computer…
This tutorial will show you how to get betting odds with Raspberry PI by using…
This tutorial will show you how to perform the backup of Raspberry PI (computer board)…
This tutorial will show you how to install Honeygain on a Raspberry PI computer board…


View Comments
raspi-config does not expand the system if it was installed with NOOBS , is my case and i can not do it
Correct, this guide is for people having Raspbian installed from its image. People using NOOBS could evaluate between at least these 2 options:
1. Migrating data to a fresh Raspbian installation from its img file
2. Using parted / fdisk to manually expand partition
Thanks!
Very helpful tutorial!
Glad it has been helpful
Thaks worked as charm!
If i do this, is my original sd card still ok if i want to use it with my pi ?
Sure! Your original card is just read, no changes happen
I like the fact that your tutorial is low risk for people who are afraid they might accidentally erase the **GOOD** SD-card during cloning. When you use this technique, the good SD-card is not even inserted when the user clicks on WRITE. Well done!
Thank you for your appreciation, Jim
Worked like a charm!
Thank you for your feedback, Sigi!
… and how to shrink to a smaller SD-Card?
Hi Peter.
You can try with something like https://github.com/Drewsif/PiShrink, waiting for me to create a tutorial also for this common Raspberry PI need.
Many thanks for your feedback
Thanks, did exactly what it said on the tin.
Thank you for your feedback, Anthony!
Thank you! Everything worked as you explained.
I did laugh though - I should have done all of my updates/upgrades before I started this process. Maybe add a hint to others.
Hi Dave,
thank you very much for your tip. Anyway, this procedure should work even without all the updates/upgrades as it makes a complete copy of the SD card inside the new one, so you should be able to perform the update even after the migration