
Last Updated on 25th May 2025 by peppe8o
In this article, I’ll show you how to connect Arduino with a Raspberry PI computer board and control it from the USB cable. This will allow you to compile and upload the Arduino sketches from the Raspberry PI terminal console, as well as read data from Arduino to your Python programs on the Raspberry PI.
This tutorial allows Arduino enthusiasts to define complex tasks for Arduino when running, based on whatever signal can be read from the serial (USB) cable and upload new sketches on the run from the Raspberry PI when needed. Moreover, you could even show values coming from Arduino into amazing dashboards (like, for example, with Dash / Plotly).
For this tutorial, I will use an Arduino Uno compatible board (Elegoo Uno R3) and my Raspberry PI 5 model B, even if this should work with any Raspberry PI computer board.
Step-by-Step Procedure
What We Need
As usual, I suggest adding from now to your favourite e-commerce shopping cart all the needed hardware, so that at the end you will be able to evaluate overall costs and decide if to continue with the project or remove them from the shopping cart. So, hardware will be only:
- Raspberry PI Computer Board (including proper power supply or using a smartphone micro USB charger with at least 3A)
- high-speed micro SD card (at least 16 GB, at least class 10)
- Arduino Uno Board with its USB cable or a compatible kit
In this guide, I’ll use the Elegoo kit with its Elegoo Uno R3. Elegoo Industries states that its board is 100% compatible with Arduino, so the following steps should be the same also with the Arduino Foundation board.

Install the Raspberry PI Operating System
The first step is installing the Raspberry PI OS Lite (we need the 64-bit version) to get a fast and light operating system (headless). In this case, you will need to work from a remote SSH terminal. If you need a desktop environment, you can also use the Raspberry PI OS Desktop, in this case working from its terminal app. Please find the differences between the 2 OS versions in my Raspberry PI OS Lite vs Desktop article.
Make sure that your system is up to date. Connect via SSH terminal and type the following command:
sudo apt update -y && sudo apt full-upgrade -yInstall the Arduino CLI on Raspberry PI
We will use the Arduino CLI software installed on our Raspberry PI to compile and upload our Arduino programs (sketches). The installation procedure via the official script is straightforward. Before running it, please create a directory where your user executables will be stored:
mkdir -p local/binWe also need to add this directory to the user $PATH variable, so that you can execute arduino-cli without typing the full path. Please open the following file for editing:
nano .bashrcAnd add the following line to the end of the file:
export PATH="$HOME/local/bin:$PATH"Save and close the file. You must log out and log in again (or reboot the Raspberry PI) to make it run effectively. Now, we can install the Arduino CLI with the following terminal command. Note the BINDIR variable telling the script to use our $PATH directory for the installation:
curl -fsSL https://raw.githubusercontent.com/arduino/arduino-cli/master/install.sh | BINDIR=/home/pi/local/bin sh Now, please create the default configuration file, as suggested from the Arduino CLI man page, to avoid a lot of typing when issuing every command:
arduino-cli config initConnect Arduino Uno to Raspberry PI
Before installing our board, we need to update the local cache with the available platforms and libraries:
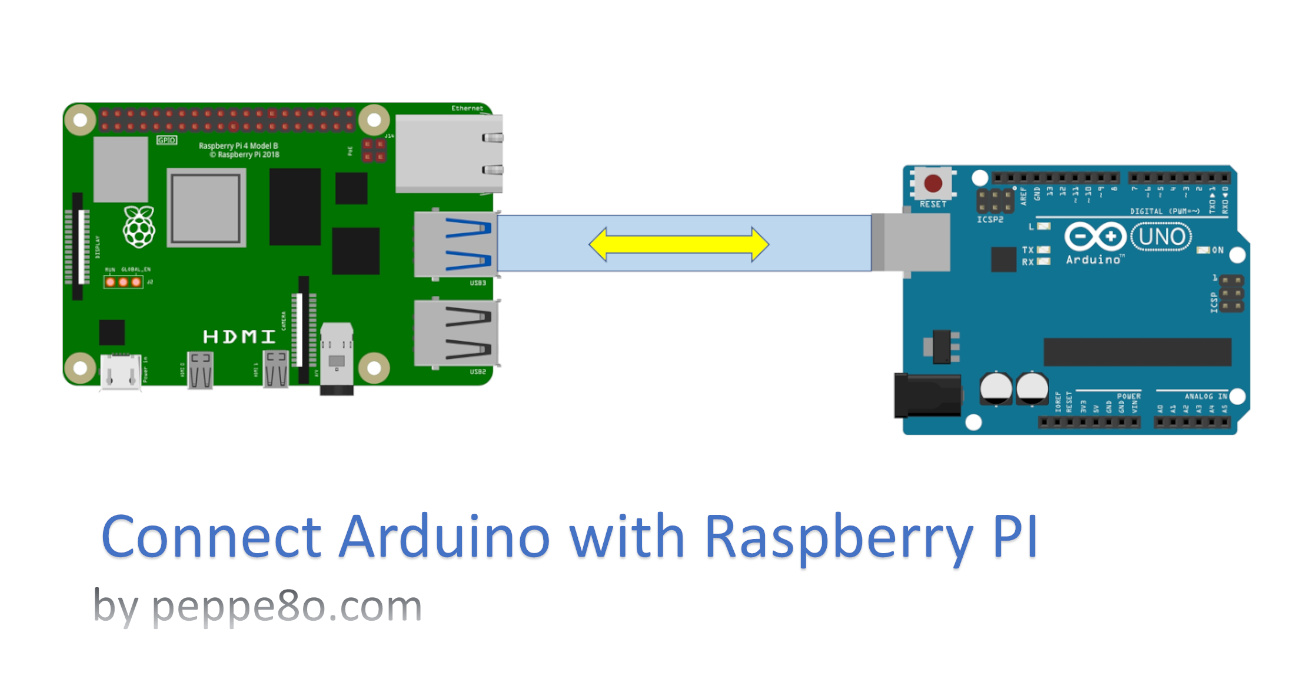
arduino-cli core update-indexWe can now connect the Arduino Uno to our Raspberry PI, using the miniUSB-to-USB cable, as shown in the following picture:

You should be able, now, to list your board:
pi@raspberrypi:~ $ arduino-cli board list
 Port         Type              Board Name  FQBN            Core
 /dev/ttyACM0 Serial Port (USB) Arduino Uno arduino:avr:uno arduino:avr
 /dev/ttyAMA0 Serial Port       Unknown
If you can see only the “Unknown” port, a Raspberry PI reboot could help in refreshing the hardware recognition.
My output shows that I have an Arduino Uno-based board, with the FQBN (fully qualified board name) set to arduino:avr:uno and the Core to arduino:avr.
Now, please install your board, taking care to use the correct Core value you get from the previous command:
arduino-cli core install arduino:avrWe can check that the installed board is properly running with the following command, which should give you an output similar to mine:
pi@raspberrypi:~ $ arduino-cli core list
 ID          Installed Latest Name
 arduino:avr 1.8.2     1.8.2  Arduino AVR Boards
Test Your Installation
Create Your First Sketch
To create a new sketch, simply type:
arduino-cli sketch new MyFirstSketch This will create a “MyFirstSketch” folder inside your user home, containing the “MyFirstSketch.ino” file inside. You can view the file content with the cat command, and it should appear like the following:
pi@raspberrypi:~ $ cat MyFirstSketch/MyFirstSketch.ino
 void setup() {
 }
 void loop() {
 }
Open the sketch for editing the content:
nano MyFirstSketch/MyFirstSketch.inoand modify the file as follows, which is a common BLINK example, powering on the on-board LED for 4 seconds and switching it off for 1 second:
void setup() {
   pinMode(LED_BUILTIN, OUTPUT);
 }
 void loop() {
   digitalWrite(LED_BUILTIN, HIGH);
   delay(4000);
   digitalWrite(LED_BUILTIN, LOW);
   delay(1000);
 }
Save and close. Before uploading our sketch, we need to compile it using your fqbn:
arduino-cli compile --fqbn arduino:avr:uno MyFirstSketchUpload the sketch using your physical port and fqbn:
arduino-cli upload -p /dev/ttyACM0 --fqbn arduino:avr:uno MyFirstSketchAfter this command, you should see your Arduino Uno board reprogramming itself and executing the sketch.
Tips to Simplify the Compile/Upload Commands
Typing the fqbn and port every time can be boring. An help comes from the Linux alias command.
The following line will associate the “acompile” alias with the arduino-cli compile command with all its parameters. The second line will make the same work, but with the update command:
alias acompile="arduino-cli compile --fqbn arduino:avr:uno"
alias aupload="arduino-cli upload -p /dev/ttyACM0 --fqbn arduino:avr:uno"
If you want to make these aliases run after every reboot for your Raspberry PI’s user, you must add them to your bashrc file. From the terminal, let’s append the 2 aliases with the following 2 command lines:
echo 'alias acompile="arduino-cli compile --fqbn arduino:avr:uno" ' >> ~/.bashrc
echo 'alias aupload="arduino-cli upload -p /dev/ttyACM0 --fqbn arduino:avr:uno"' >> ~/.bashrc
Now you can compile and upload the sketches simply by typing:
acompile MyFirstSketch/
aupload MyFirstSketch/
Or with a combined command:
acompile MyFirstSketch/ && aupload MyFirstSketch/Reading the Arduino serial USB port from Raspberry PI
In this chapter, I will show you how to read Arduino values from your Raspberry PI. For this task, we need to add a serial.print() statement in our Arduino sketch, so that it will write whatever value we need on the serial communication port, and our Raspberry PI will be able to read the “printed” values from the serial connection via the USB port. Moreover, a Serial.begin() command will initialise the serial communication from Arduino via the USB port (at the 9.600 baud speed).
Let’s edit our sketch:
nano MyFirstSketch/MyFirstSketch.inoAnd make it as follows. In the following, you can easily see the bolded parts, which are added to the old sketch:
void setup() {
   Serial.begin(9600);
   pinMode(LED_BUILTIN, OUTPUT);
 }
 void loop() {
   digitalWrite(LED_BUILTIN, HIGH);
   Serial.println("LED on");
   delay(4000);
   digitalWrite(LED_BUILTIN, LOW);
   Serial.println("LED off");
   delay(1000);
 }
Please save and close the file.
Now, we need to install the pySerial library on our Raspberry PI to make the communication possible.
Install pySerial on Raspberry PI
Before installing pySerial, we need to get the PIP package manager:
sudo apt install python3-pip
With Python, you must use virtual environments when you want to install a library via PIP. I suggest you read my Beginner’s Guide to Use Python Virtual Environment with Raspberry PI (venv) tutorial to better understand how virtual environments work with Python.
In summary, the following command will create a virtual environment (named “my_project”).
python3 -m venv my_project --system-site-packagesWe can now activate it. Please remember to activate the virtual environment every time you want to run the Python command which follows.
source ./my_project/bin/activateNow we can go on to install pySerial:
pip3 install pyserial
Test the PySerial Installation and Read the Console
To read our console, we now need to connect the Raspberry PI USB port to the Arduino one.
From the Raspberry PI’s shell, you can use the pySerial miniterm tool to list all the available ports and then read the output from one of them. Use the command python -m serial.tools.miniterm, then enter the number of the device port matching your Arduino. Then you should be able to receive the data on your Raspberry PI terminal.
(my_project) pi@raspberrypi:~ $ python3 -m serial.tools.miniterm
--- Available ports:
---  1: /dev/ttyACM0         'ttyACM0'
---  2: /dev/ttyAMA10        'n/a'
--- Enter port index or full name: 1
--- Miniterm on /dev/ttyACM0  9600,8,N,1 ---
--- Quit: Ctrl+] | Menu: Ctrl+T | Help: Ctrl+T followed by Ctrl+H ---
LED on
LED off
LED on
LED off
LED on
--- exit ---
Use CTRL+] to close the connection.
With the miniterm, you can also go directly to a specific port, if you already know its name, just by appending the port name.
In my example, the correct port is /dev/ttyACM0. So the direct command will be:
(my_project) pi@raspberrypi:~ $ python3 -m serial.tools.miniterm /dev/ttyACM0
--- Miniterm on /dev/ttyACM0  9600,8,N,1 ---
--- Quit: Ctrl+] | Menu: Ctrl+T | Help: Ctrl+T followed by Ctrl+H ---
LED on
LED off
LED on
LED off
LED on
--- exit ---
Using pySerial Inside Python Scripts
Also, this operation is simple. You just need to import the serial library, create a serial port object for your Arduino port and read it. For this test, please create a Python script named “test.py”:
nano test.pyand include the following code:
import serial
ser = serial.Serial('/dev/ttyACM0',9600)

try:
 while True:
  readedText = ser.readline()
  print(readedText)
except KeyboardInterrupt:
  ser.close()
Save and close the file.
The try statement will execute the while loop until you stop the script with a CTRL+C interrupt from your keyboard. Now, please run the script with the following terminal command:
python test.pyYou will get a result similar to the following:
(my_project) pi@raspberrypi:~ $ python test.py
b'LED on\n'
b'LED off\r\n'
b'LED on\n'
b'LED off\r\n'
b'LED on\n'
As you can see, the result will return you a binary string (this is the meaning of the “b” at the beginning of the rows. At any time, you can convert it to a string with the “.decode()” function in your Python code.
What’s Next
If you want to discover many other projects for your Raspberry PI, you can look at peppe8o Raspberry PI tutorials. For Arduino projects, please refer to the peppe8o Arduino section of my blog.
Enjoy!

Open source and Raspberry PI lover, writes tutorials for beginners since 2019. He's an ICT expert, with a strong experience in supporting medium to big companies and public administrations to manage their ICT infrastructures. He's supporting the Italian public administration in digital transformation projects.
![]()
![]()
![]()
![]()
![]()
![]()
![]()


