Media over the internet are gaining increasing importance in our lives and in our homes. In this article, I will show you how to create a complete media centre with a 35$ kit. The software solution, based on popular Kodi, that I will use is OSMC on Raspberry PI.
As you may know, RPI are cheap Linux computers capable to support and run a lot of open-source software.
For this guide, I’m going to use a Raspberry PI Zero W. Even if powered by a single-core ARM processor, it can run videos to an external monitor with its mini HDMI output. Raspberry PI Zero W also includes a micro USB port. With a proper adapter, this can be transformed into a common USB port to connect your external storage where your media are stored, or with more USB devices using a USB Hub.
However, the following steps can also be used with newer Raspberry PI computer boards, so having a more performing media centre.
As usual, I suggest adding from now to your favourite e-commerce shopping cart all the needed hardware, so that at the end you will be able to evaluate overall costs and decide if to continue with the project or remove them from the shopping cart. So, hardware will be only:
You also need a PC (notebook or desktop) with an SD card reader
Check hardware prices with the following links:
We’ll setup the Raspberry PI media center starting from SD card flasing and then configuring it with OSMC initial wizard.
Download and install in your PC Etcher.
Download OSMC disk image in a local folder.
Insert your SD card in your PC/SD card reader.
Run Etcher in you PC.
Click over Select Image and select OSMC disk image previously downloaded. Now Etcher should also have recognised your SD card. Otherwise, click change and select correct SD card.
Click on “Flash! button and wait for operation to be completed
Now it’s time to switch to hardware mode (Iron Man quote! 😉 ).
Extract SD card from you PC and insert it in your Raspberry.
Now insert the motherboard inside its case and complete connecting cables. In the following pitcture:
Now attach your Raspberry PI to your TV and then attach it to power. The OS will be installed. At the end, you will be asked to select the language and confirm:
Select your timezone:
and set device name (you can also leave osmc) and click “Accept”
Now you will be asked if you want to leave SSH enabled to allow remote access via network (for example Putty). This is at your choice, depending also on the security of the network you are connected to.
The license will start scrolling on your screen. It is long to ready, but it is correct to be completely aware of limitations and conditions related to a product, so take a read and then press “Continue”
It’s time to setup your internet connection. Select “I’d like to set up networking manually”
Pi Zero has only Bluetooth and Wifi networking, so in my case, I will go to Wireless connection. Go to Wireless (1), then Enable Adapter (2), select your WiFi connection (mine one is named Voyager-3) and confirm in the next screen:
Insert your WiFi connection password (if set) and click “Done”:
Once WLAN interface is connected, we can move on and exit
Now you are asked to choose your favourite Theme. I will choose OSMC, which is clean and clear:
Now you can give (or not) your availability to receive a newsletter about OSMC. My choice is “No thanks” (I will subscribe to newsletter via the OSMC site):
We are finally advised that the OSMC configuration has finished. Click “Exit”:
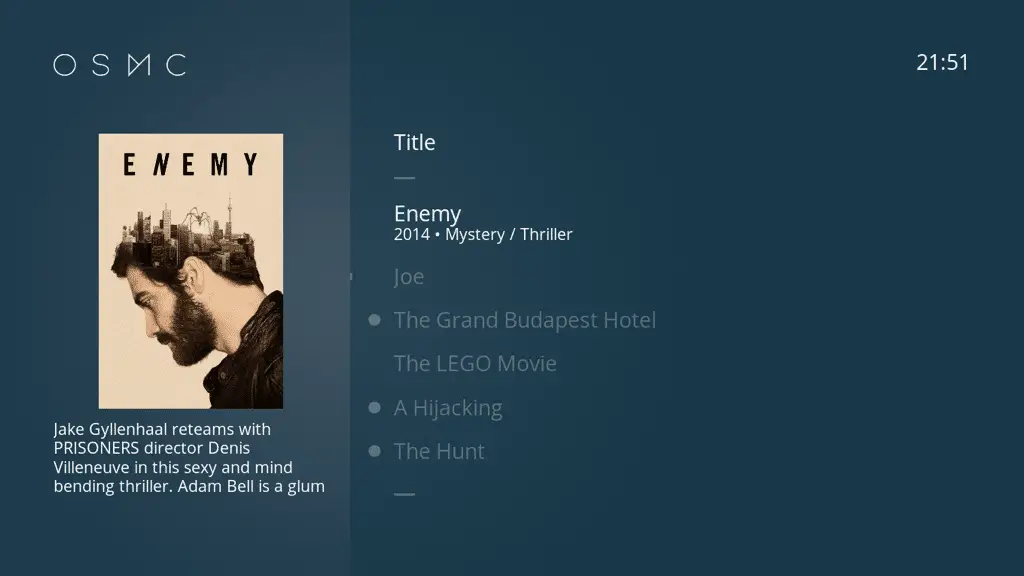
Now enjoy your new media centre!
Default user: osmc
Default password: osmc
Configuring OSMC on Raspberry PI is really simple. But OSMC power resides in its add-ons, which make available to you an incredible number of media content. But you can also simply connect OSMC to your local storage (for example a NAS) to easily reach your media and show them over your TV.
Some add-ons can give you the possibility to view live events, but they depend on transmitting server capacity and sometimes it can be frustrating when video stays continuously buffering because of server lack of capacity. Some articles tell about improvements gained by VPNs, but honestly, I don’t think that any VPN can help streaming if the problem is at the streaming source.
In this tutorial, we will use two Arduino Uno to demonstrate the Serial Peripheral Interface…
In this tutorial, we will be making an automatic irrigation system (AIS) with Arduino and…
This tutorial will show you how to use Python Virtual Environment with Raspberry PI computer…
This tutorial will show you how to get betting odds with Raspberry PI by using…
This tutorial will show you how to perform the backup of Raspberry PI (computer board)…
This tutorial will show you how to install Honeygain on a Raspberry PI computer board…


View Comments
awesome ariticle does this software allow you to use services like Netflix at all, I realize I can also look that up but thank you in advance if you responded.
Hi. For software like Netflix you should check how it is supported from Kodi (as OSMC has Kodi inside). Usually there are plugins enabling features like the one you are requiring. From hardware side, you will likely see media in HD, so I suggest at least a Raspberry PI 3 model B or (better) a Raspberry PI 4 model B, but this depends on your budget