
This tutorial will show you how to install OSMC on Raspberry PI computer boards. The guide will help beginners to get a complete (and open-source) media centre bringing Kodi in your credit-size computer board. This software is a great and common alternative to LibreElec.
About OSMC
OSMC (Open Source Media Center) is a free and open-source media player based on Linux. It has a long story, as it was founded in 2014, and a strong community developing apps and customizing it, as well as helping people to fix any problems.
It is important to note that OSMC isn’t a Kodi fork. Instead, OSMC is a lightweight Linux distribution running Kodi as its main application.
It can run a huge number of media (like video files, images, live TV, and so on) and allows you to install plugins to expand the number of jobs that this compact media centre can do for you.
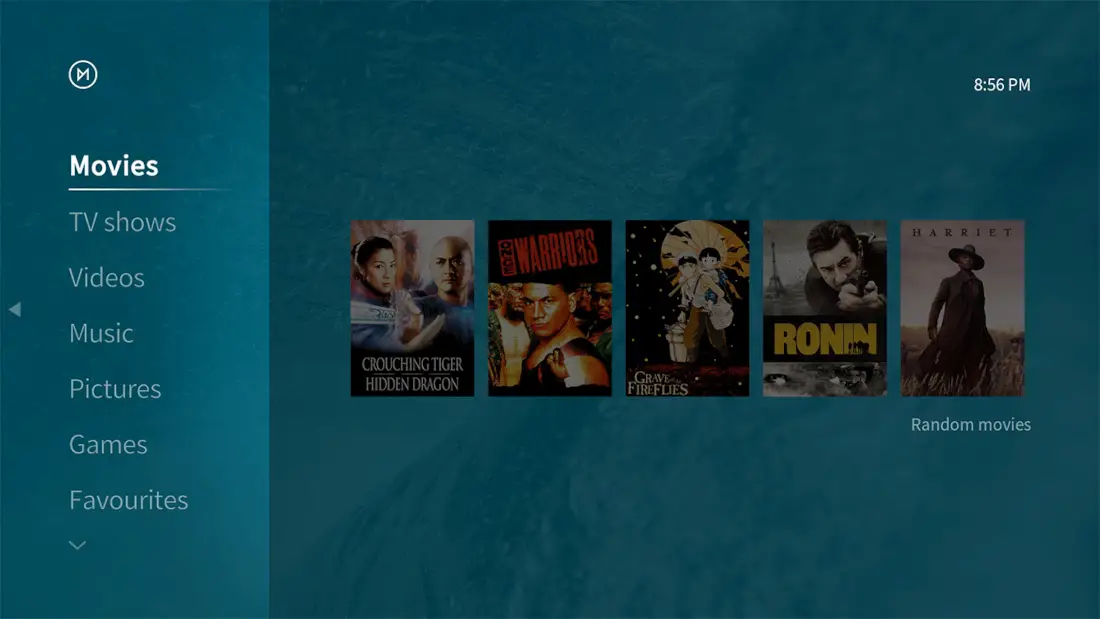
When you will complete the setup according to this guide, you will be able to upload (or get from network) your favourite files and you will get in your TV (connected to the Raspberry PI) a screen similar to the following:
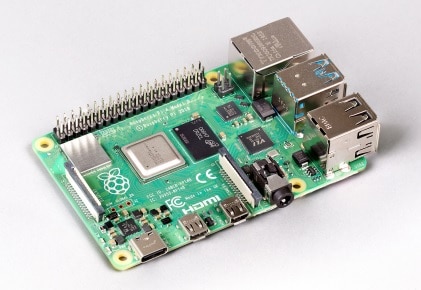
Please note that OSMC doesn’t support all the Raspberry PI computer boards. For this guide, I’m going to use a Raspberry PI 3 model A+.
What We Need
As usual, I suggest adding from now to your favourite e-commerce shopping cart all the needed hardware, so that at the end you will be able to evaluate overall costs and decide if to continue with the project or remove them from the shopping cart. So, hardware will be only:
- Raspberry PI Computer Board (including proper power supply or using a smartphone micro USB charger with at least 3A)
- high speed micro SD card (at least 16 GB, at least class 10)
- An HDMI Monitor or TV (with proper HDMI cable, depending on your Raspberry PI model)
- USB keyboard / mouse
- A common computer (maybe with Windows, Linux or Mac). It can also be a Raspberry PI Computer board
Step-by-step Procedure
Install OSMC in your micro SD Card
For this task, I suggest beginners to use the Raspberry PI imager tool. This is free software that you can install on any computer to flash (write) Operating Systems to micro SD cards for Raspberry PI.
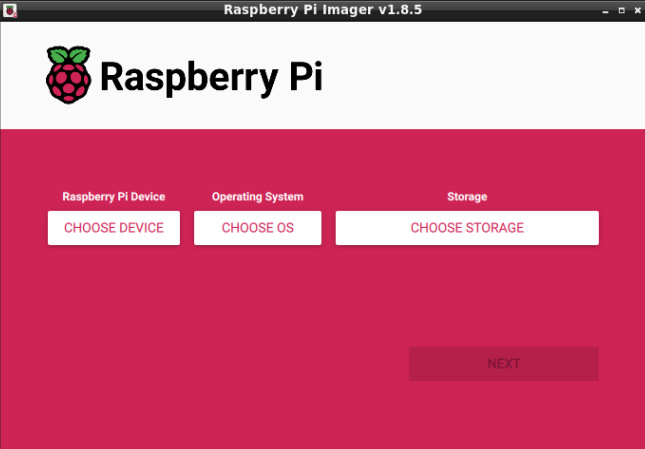
Once you installed the Raspberry PI Imager, please plug the micro SD in it and run the Imager software (I suggest running it with administrator privileges). You will reach the imager home:
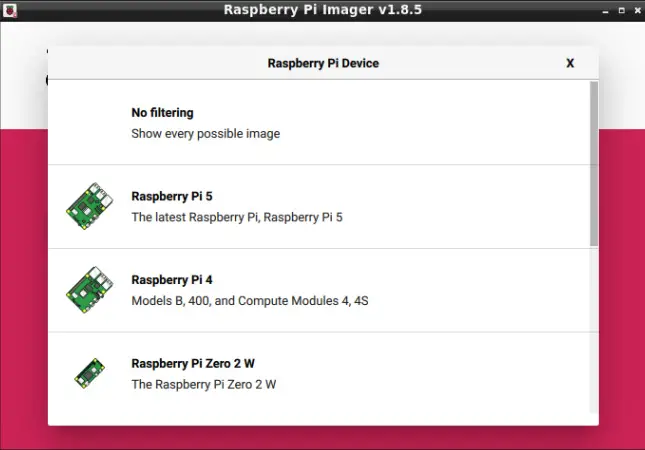
With the “CHOOSE DEVICE” button, you can add a filter for the Imager to show only the OS supported by your Raspberry PI model, or you can select “No filtering” to view all the available options:
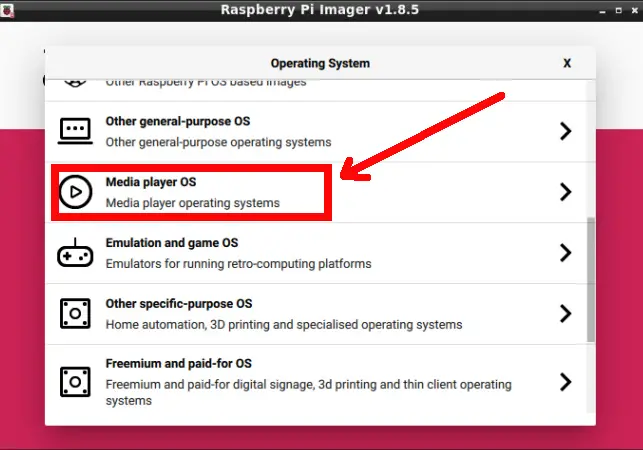
Back to the home screens, it’s time to select the Operating System with the “CHOOSE OS” button. It will show a number of options, please scroll down and select “Media player OS”:
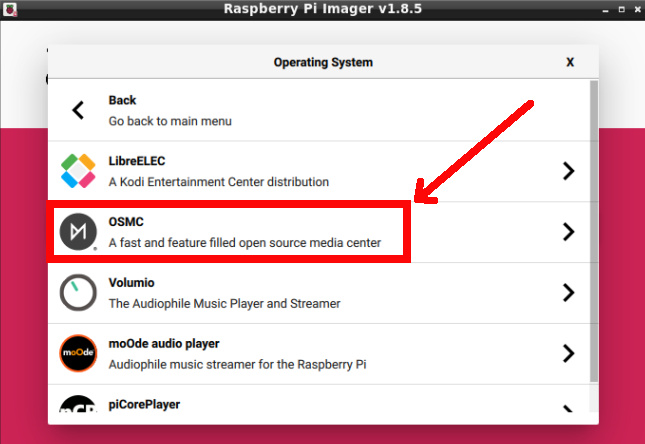
Now, please select “OSMC”:
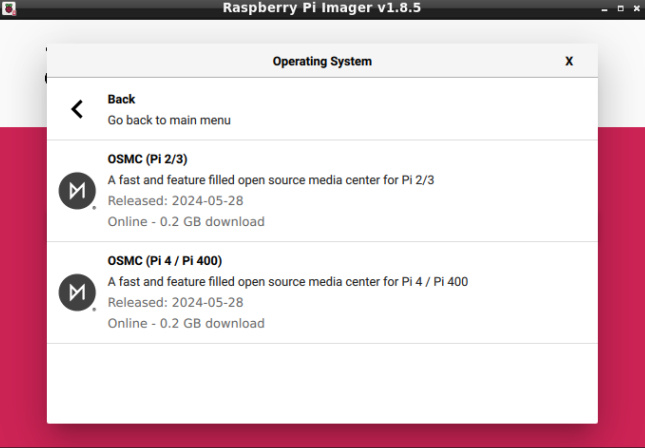
Here you will find all the compatible versions based on your Raspberry PI model. Please select the one which fits your device:
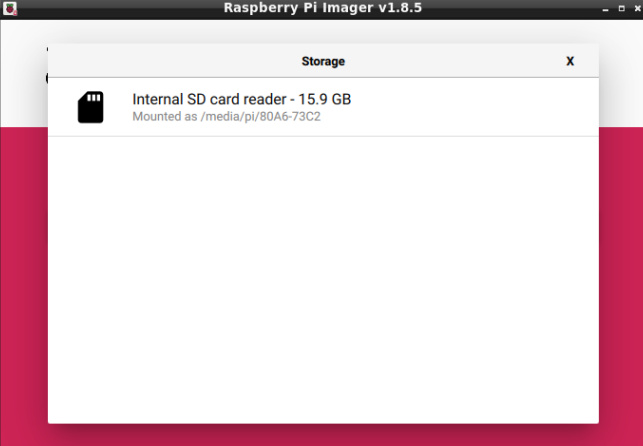
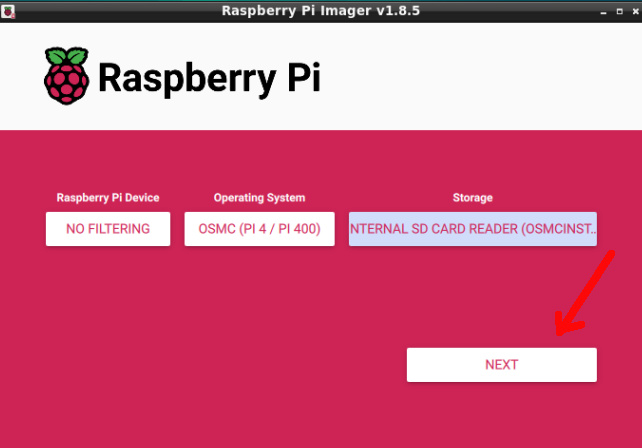
With the OS selected, now we can select the storage where to flash it. The “CHOOSE STORAGE” button will show you all the storage devices plugged in your computer. By the way, you should find the micro SD:
At this point, the “NEXT” button should be activated. Please click on it:
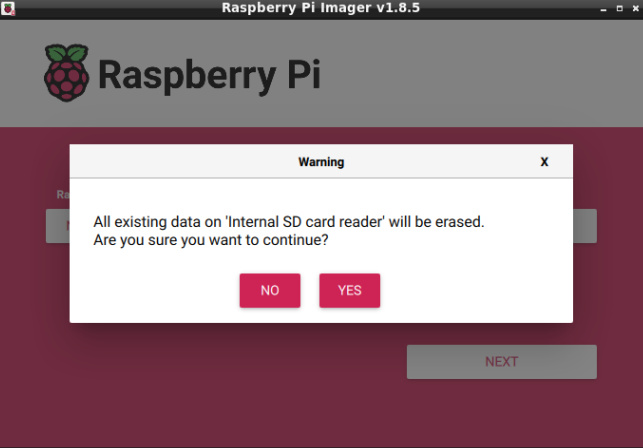
A warning message will notify you that the flashing operation will delete all the files inside your micro SD card. please click YES:
At the end of the flashing operations, please eject the micro SD card from your PC and plug it in your Raspberry PI. Connect all the cables (HDMI, keyboard/mouse) and finally connect the power supply cable.
The Raspberry PI will automatically boot. Depending on your micro SD card speed (and size) and your Raspberry PI model, it may take minutes to do all the jobs to prepare the OSMC (like formatting the card partitions and installing the required files).
Setup OSMC for Raspberry PI
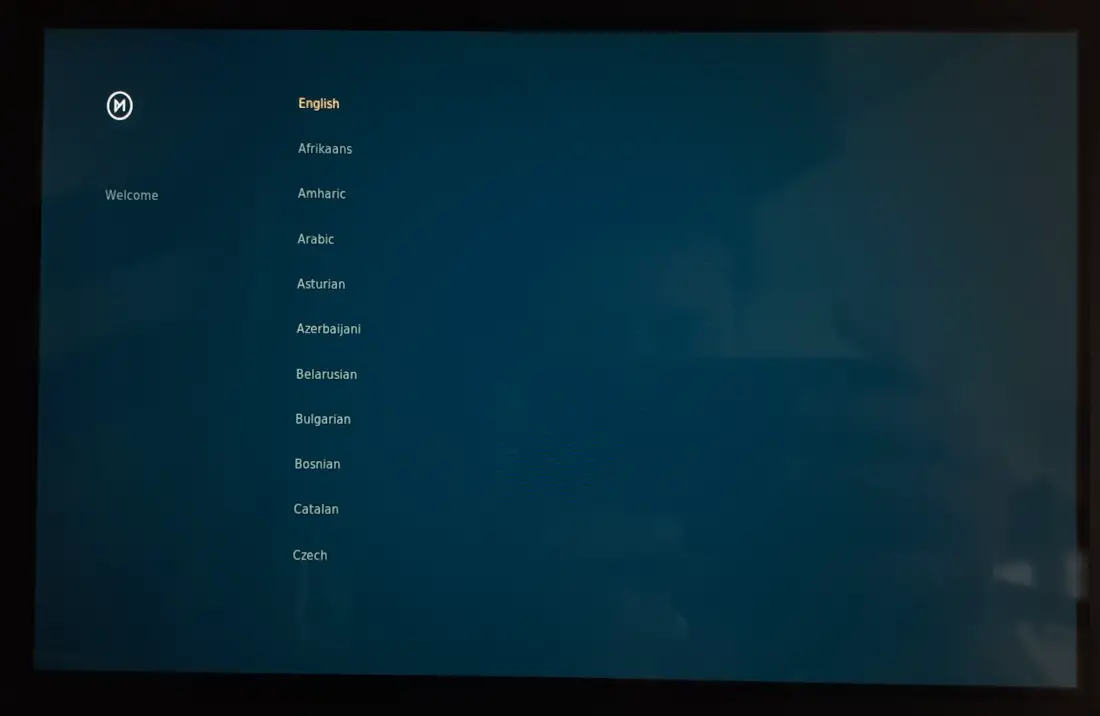
At the end of the OSMC installation, your monitor will show you the OSCM with the setup wizard. This wizard will run only 1 time, at the first boot.
The first screen will ask you to choose the language. Please select your favourite.
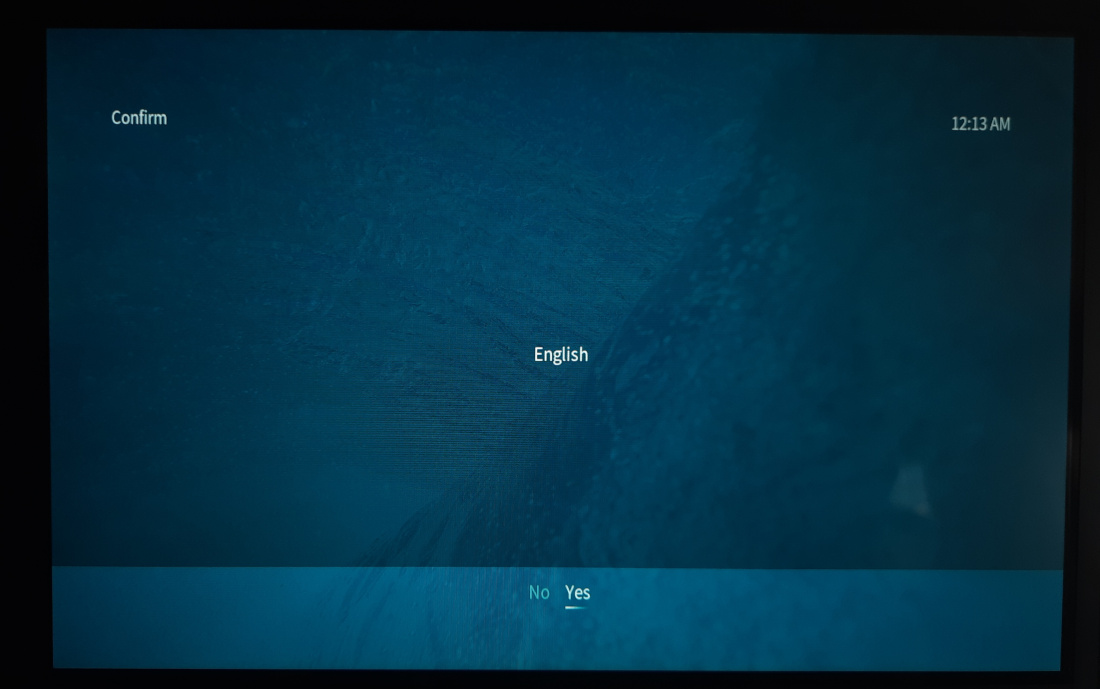
The language selection will require you a confirmation:
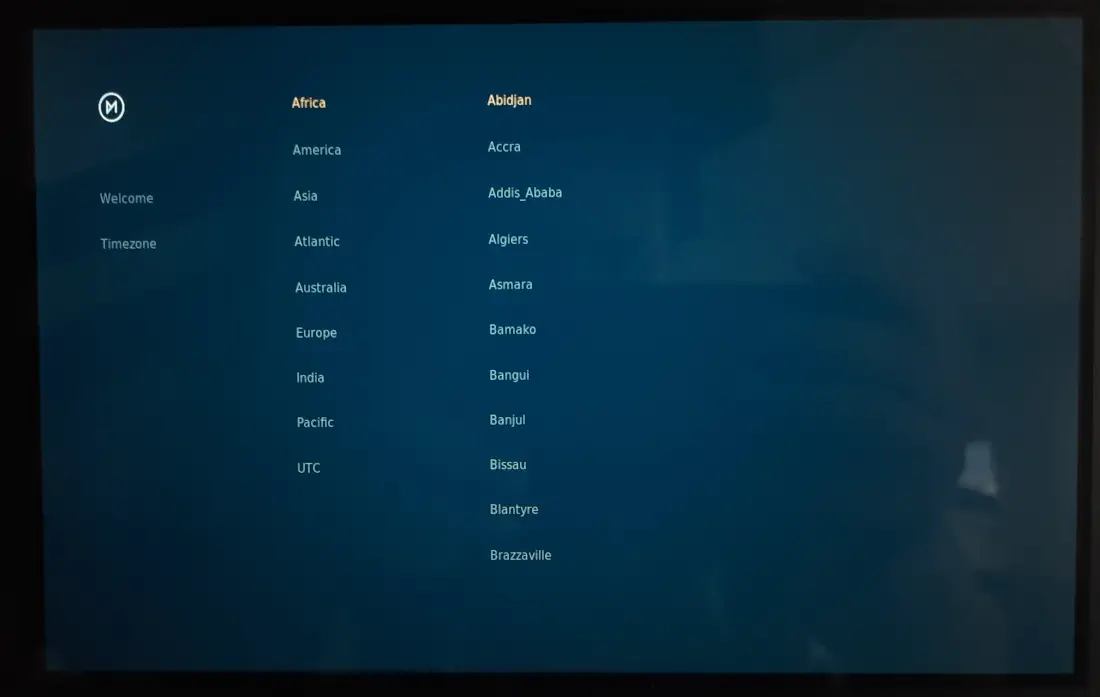
The following screen will allow you to set the timezone:
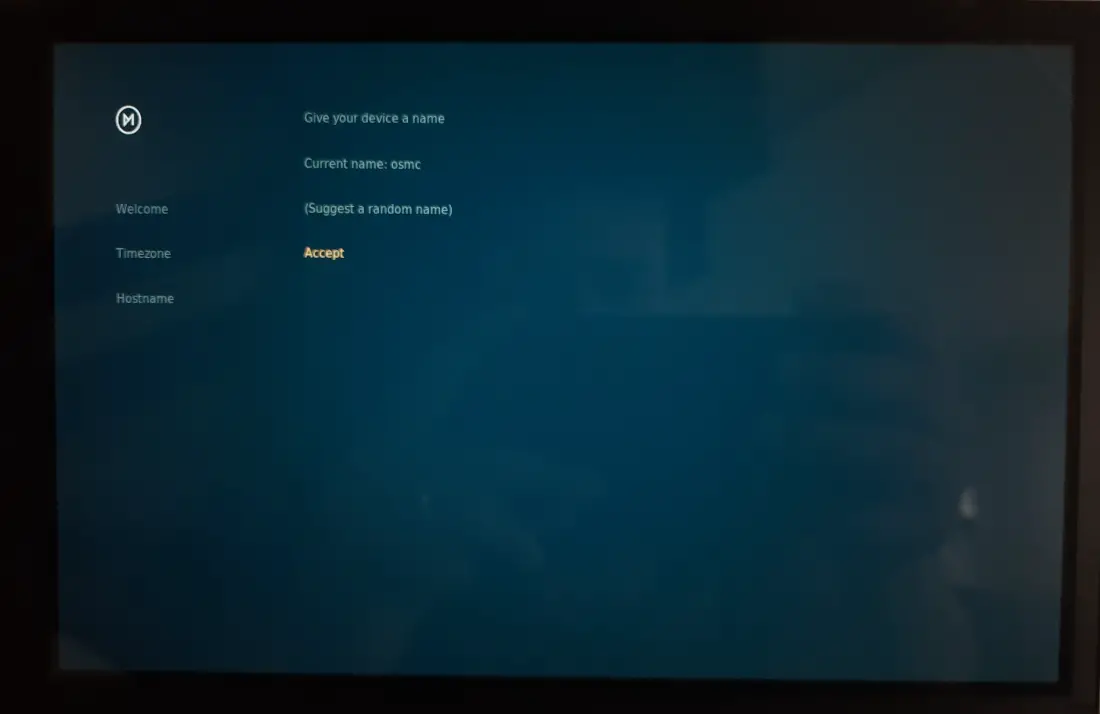
At this point there are some technical configurations. the first one regards the device hostname, which means the name your OSCM will use for network communication in your home network. You can set your favourite or leave it with the default value, then click Accept:
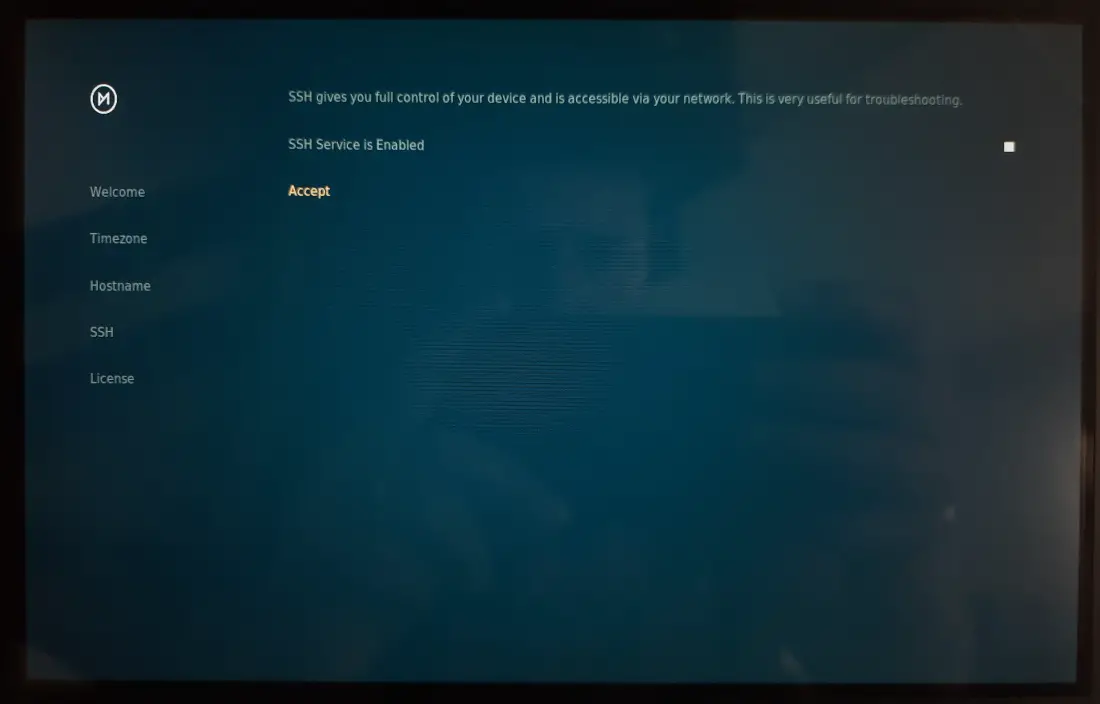
Another technical setting regards the SSH service. This will allow you to control your OSMC in Raspberry PI with a terminal command session from a remote PC. If you don’t know what it is, you can leave it deactivated (as you can activate it at any time from the OSMC settings):
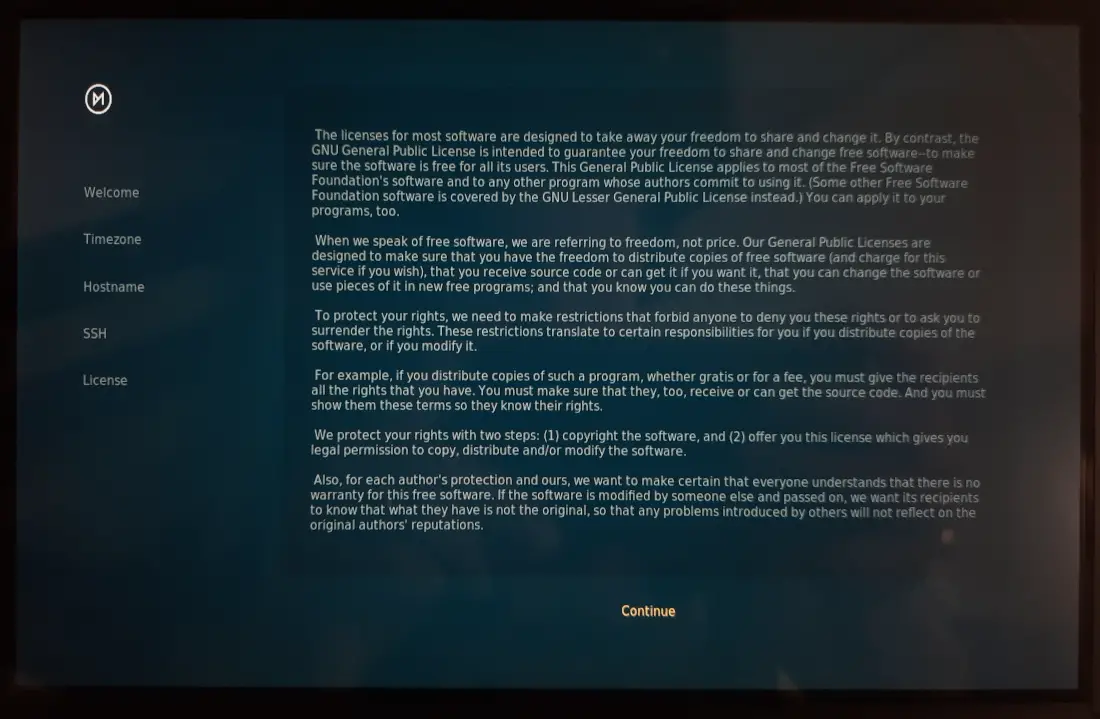
The following screen will show you the license, scrolling it for all the permissions and rights:
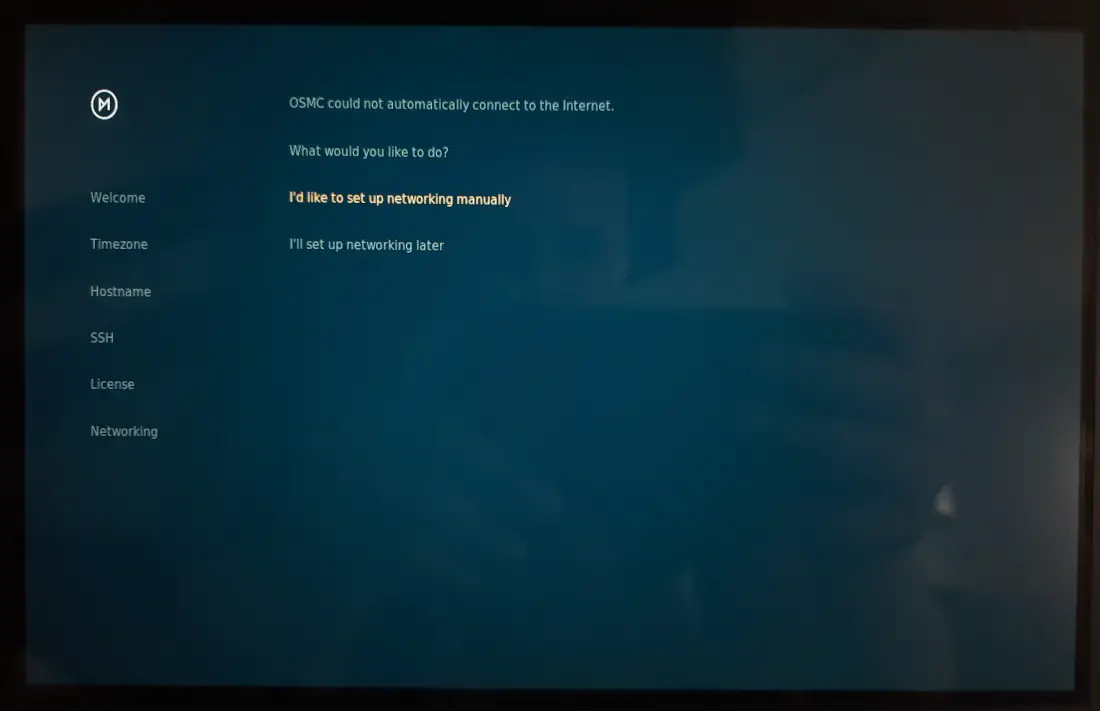
The latest technical screen will enable you to set your network connection. If you use an ethernet connection (wired) you will probably have it already working, otherwise you can setup the WiFi connection manually with the proper link highlighted in the following screenshot:
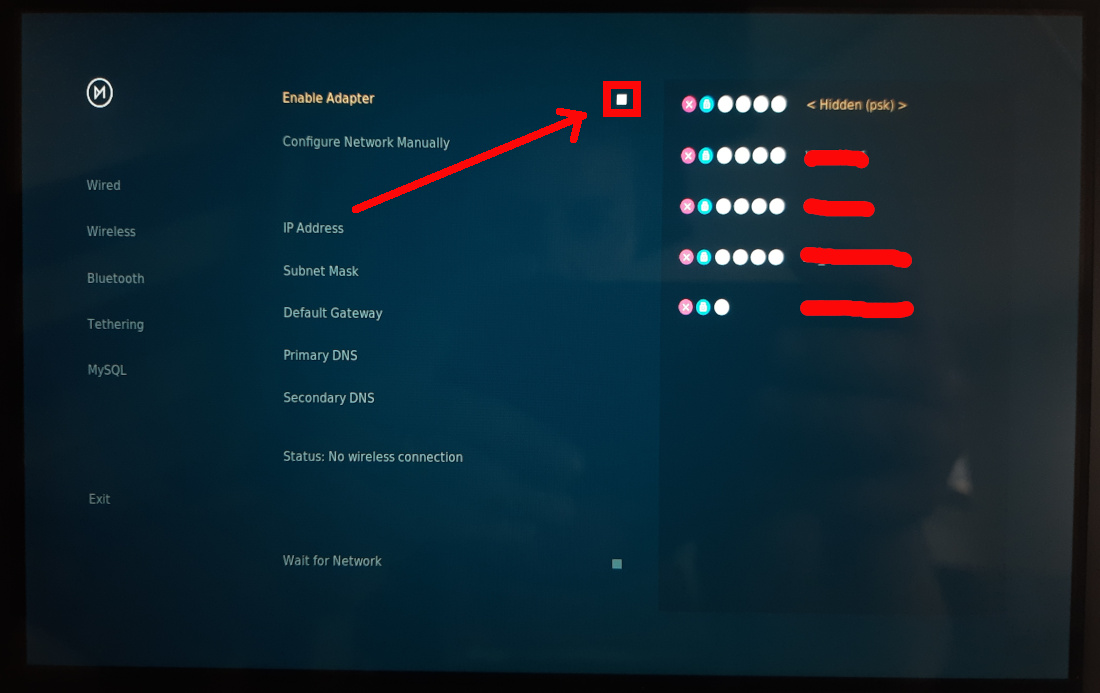
On the left side of this page, you will be able to select different connections to configure. From the Wireless, you can enable the WiFi adapter and select your home WiFi SSID, then issuing the related password:
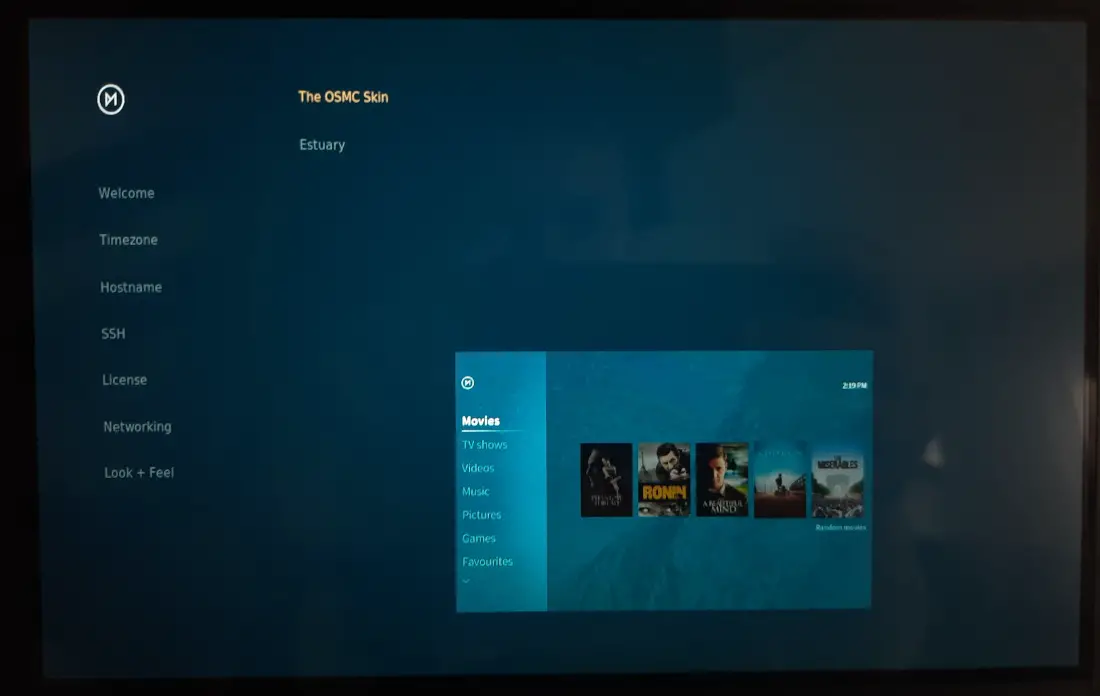
Once the network setup is completed, the final step is to choose your favourite skin (the general theme to use). You will find only 2 options available from the installation. After the end of this phase, you will be able to download thons of themes that will make your OSMC better fit your preferences, by using the OSMC settings.
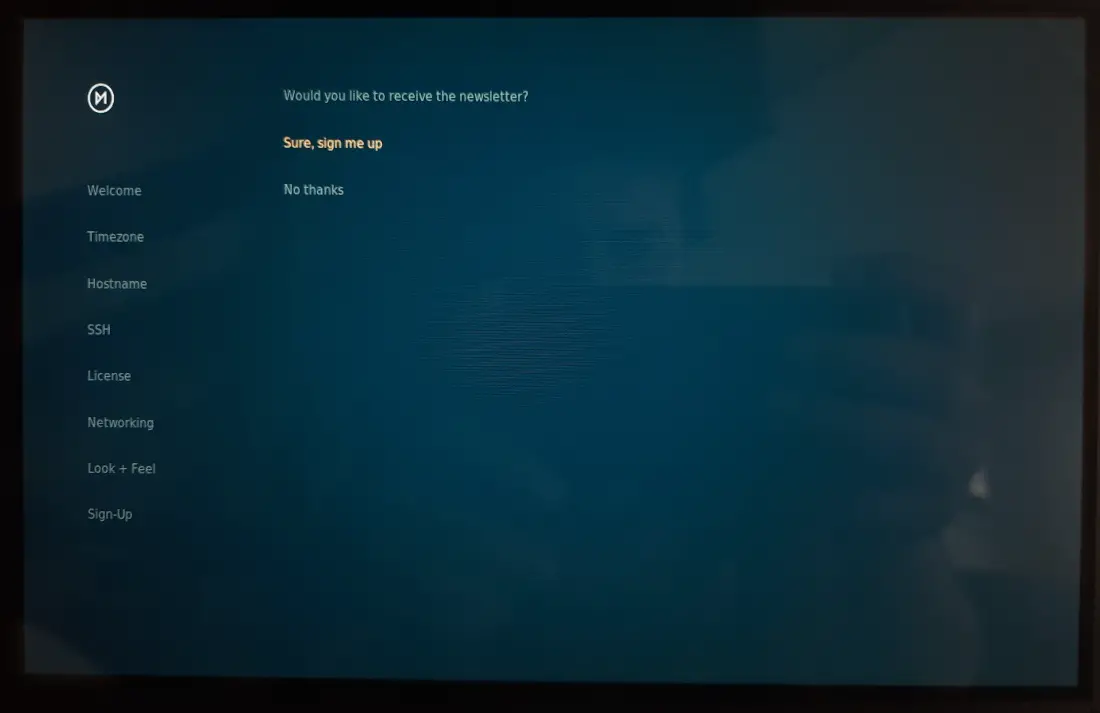
Before closing the setup stage, OSMC will ask you if you want to receive newsletter from the team. You can opt at your choice, as it doesn’t affect the installation:
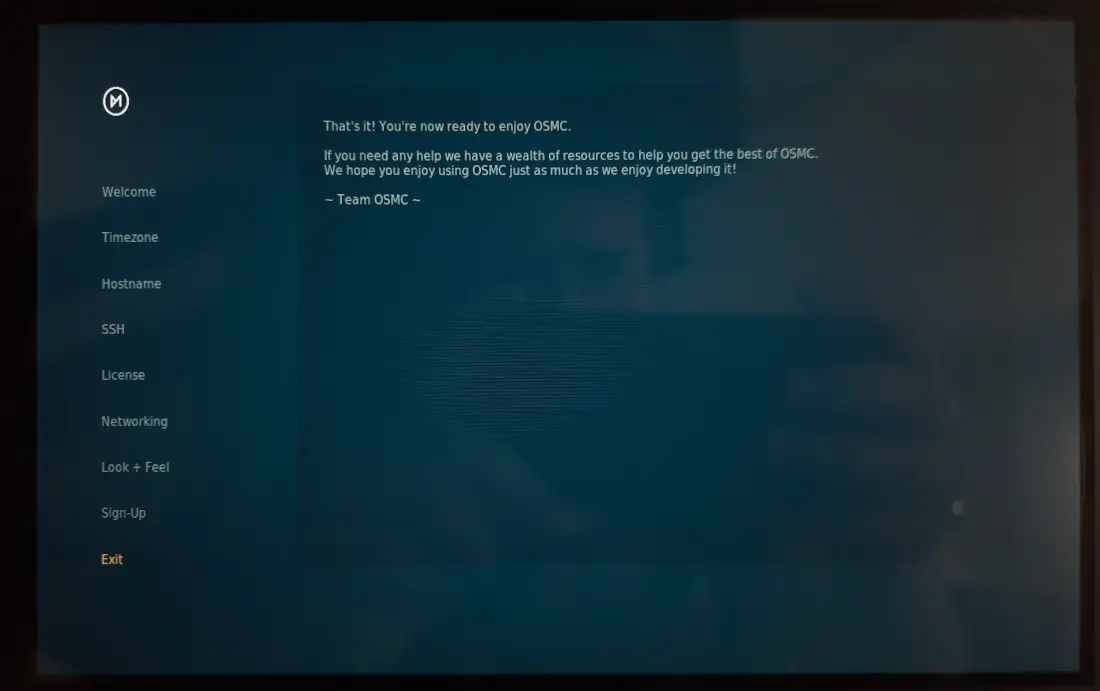
The very last screen will welcome you to the OSMC. Press return to end the setup wizard.
OSMC Home Page & Guides
At this point, you should have your OSMC up and running in your Raspberry PI, with the following screen:
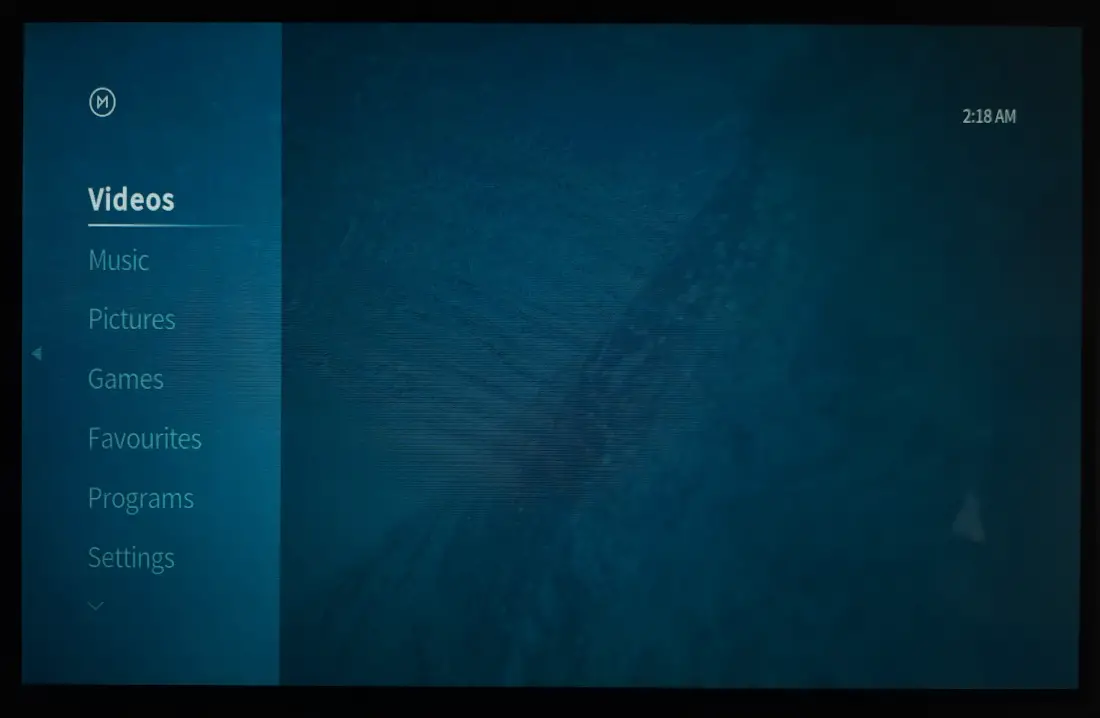
It will be empty as you still don’t have any files in your Raspberry PI. So, you can start adding files.
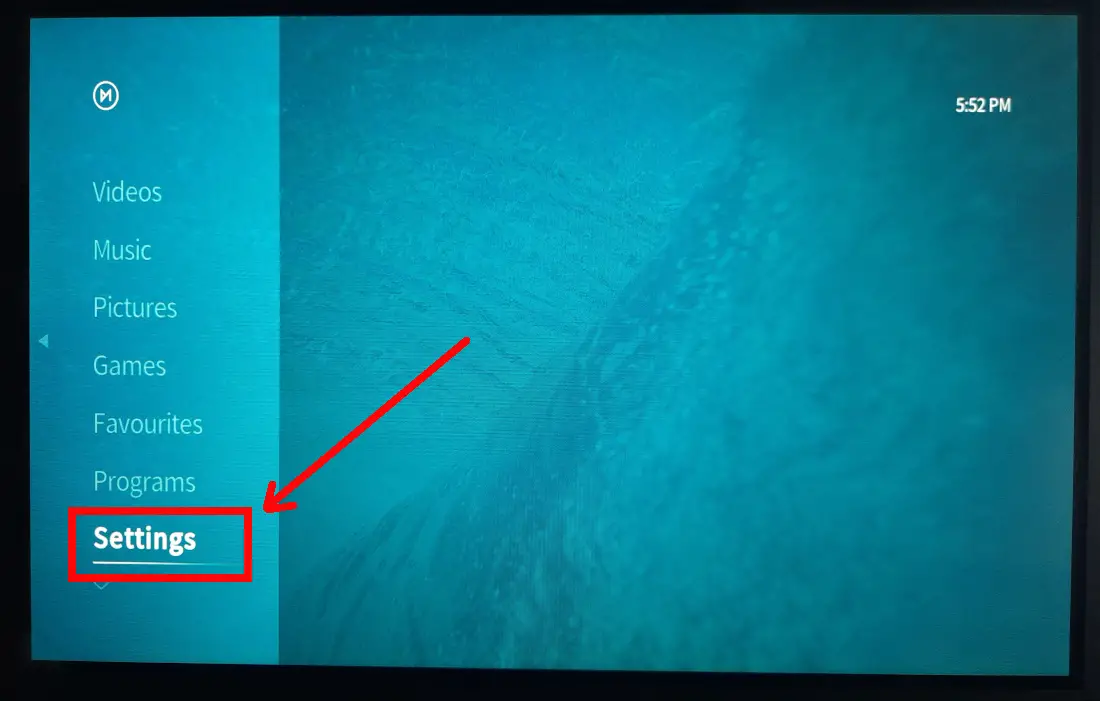
An important part of OSMC is the section to manage the add-ons, as it allows you to add programs. You can reach it from the Settings menu:
Then selecting the Addon browser menu:
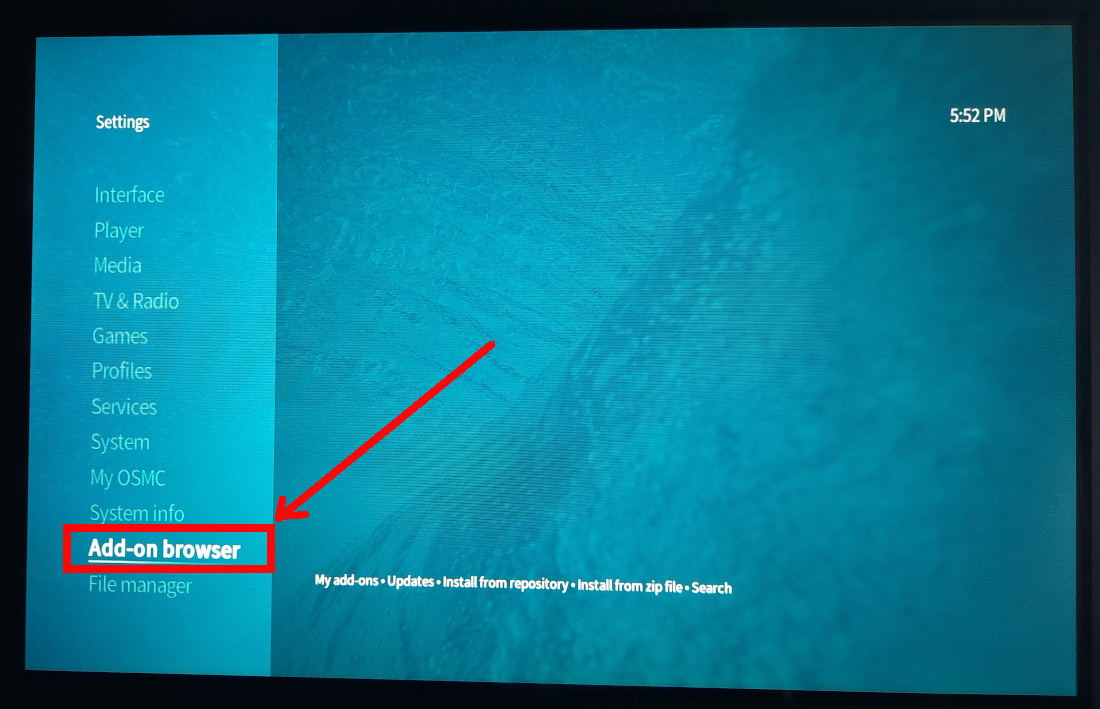
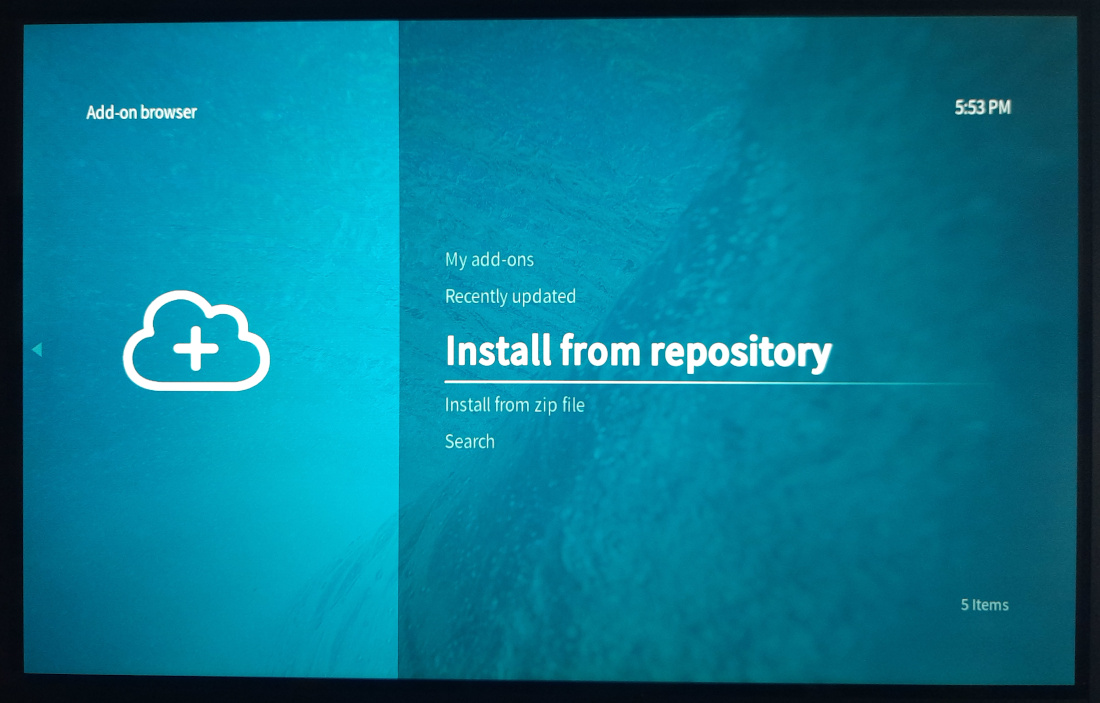
In the following screen you will be able to choose some additional programs from the built-in repository or to add new repositories from those available from OSMC community:
For complete user guides, please refer to the Kodi official guides as, remember, you are now running a Kodi media centre.
Final considerations
Configuring OSMC on Raspberry PI is really simple. But OSMC power resides in its add-ons, which make available to you an incredible number of media content. But you can also simply connect OSMC to your local storage (for example a NAS) to easily reach your media and show them over your TV.
Some add-ons can give you the possibility to view live events, but they depend on transmitting server capacity and sometimes it can be frustrating when video stays continuously buffering because of server lack of capacity. Some articles tell about improvements gained by VPNs, but honestly, I don’t think that any VPN can help streaming if the problem is at the streaming source.
What’s Next
Want to know more about cool projects to do with Raspberry PI computer boards? In this case, the right resource for you is my Raspberry PI tutorials pages.
Enjoy!

Open source and Raspberry PI lover, writes tutorials for beginners since 2019. He's an ICT expert, with a strong experience in supporting medium to big companies and public administrations to manage their ICT infrastructures. He's supporting the Italian public administration in digital transformation projects.
![]()
![]()
![]()
![]()
![]()
![]()
![]()


awesome ariticle does this software allow you to use services like Netflix at all, I realize I can also look that up but thank you in advance if you responded.
Hi. For software like Netflix you should check how it is supported from Kodi (as OSMC has Kodi inside). Usually there are plugins enabling features like the one you are requiring. From hardware side, you will likely see media in HD, so I suggest at least a Raspberry PI 3 model B or (better) a Raspberry PI 4 model B, but this depends on your budget