
Last Updated on 20th September 2024 by peppe8o
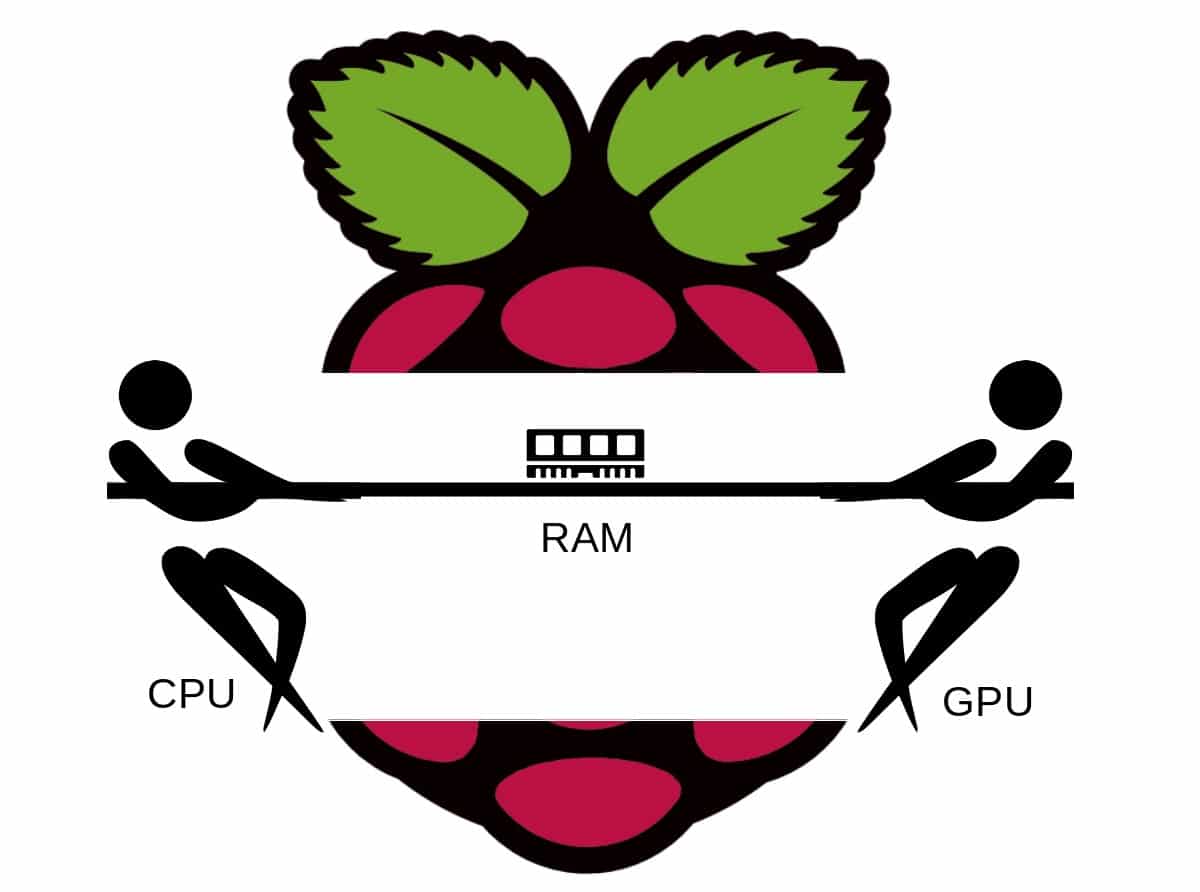
As you know, the Raspberry PI is a single-board computer (excluding the Pico). This means that available memory is shared between the CPU (Central Processing Unit) for program usage and the GPU (Graphics Processing Unit) for video processing usage.
Unlike other bigger computer boards, Raspberry PI doesn’t have memory slots to increase total available RAM (even if the latest Raspberry PI models increased it, matching heavier task needs). Furthermore, the amount of memory assigned to the GPU is subtracted from the CPU and you can’t dynamically reassign it until you re-set its quantity and reboot.
For this reason, you could need to tune your RAM needs and test and re-test until you find the right compromise.
In this tutorial, I will show you how to manage Raspberry PI Memory Split and set the RAM amount assigned to the GPU. This tutorial applies to all Raspberry PI computer boards.
Please note that from Raspberry PI 5 model B the GPU memory settings are ignored from the board, as managed at firmware level. Simply you can’t force them.
Memory Split Settings: PROs and CONs
RAM amount is one of the most precious resources for every OS. You have to set it carefully, because a low amount of CPU can give system instability and slowness, forcing it to use swap memory (SD storage portion used to help RAM) too often.
On the other side, a low amount of GPU RAM will result in unusable desktop environments with frustrating slowness.
Back to Raspberry PI, memory allocated to the GPU can be set from 16MB upward.
- GPU to 16MB – is a good solution for operating systems without desktop environments (Raspberry PI OS Lite). In this case, you don’t need graphical features because you only use a terminal console. It gives quite all RAM to programs which will run at full of their capability.
- GPU to 64MB – is, in my opinion, the minimum amount of GPU RAM for light desktop environments (like Raspberry PI OS Desktop) when your need is only for email checks and web page browsing (excluding videos). This can be considered the starting base for desktop installations.
- GPU to 128MB – is a good compromise when using light desktop environments with some office apps for light documents. With this configuration, you can also start seeing decent videos
- GPU to 256MS or more – is for more complex Desktop environments (check, for example, available Raspberry PI OSs). But this amount could start interfering with CPU RAM, so impacting program performances.
Please share your opinions on GPU Split Memory settings in the comments section at the end of this post.
What We Need
This is more a settings tutorial than a project. You will probably already own:
- Raspberry PI Computer Board (including proper power supply or using a smartphone micro USB charger with at least 3A)
- high speed micro SD card (at least 16 GB, at least class 10)

Step-by-Step Procedure
Once installed your favourite Operating system (Raspberry PI OS Lite or Raspberry PI OS Desktop), please remember always to update. From terminal:
sudo apt update -y && sudo apt upgrade -yFirst of all, let’s see how to identify the memory allocated to the GPU. From the terminal, please use the following command:
vcgencmd get_mem gpuThis will show you how much RAM your GPU currently has.
pi@raspberrypi:~ $ vcgencmd get_mem gpu
gpu=76M
By default:
- For Raspberry Pis with less than 1GB of RAM, the default is 64;
- for Raspberry Pis with 1GB or more of RAM, the default is 76.
With the default configuration, you can also see the available amount of RAM for CPU with the free command:
pi@raspberrypi:~ $ free -h
               total        used        free      shared  buff/cache   available
Mem:           907Mi       259Mi       476Mi       1.1Mi       222Mi       647Mi
Swap:          199Mi          0B       199Mi
As you can see there, my Raspberry PI has 907 MB of RAM available for the CPU.
Change the GPU Memory in Raspberry PI
A special configuration of this variable is assigning to it the minimum value: 16M. With this configuration, the Raspberry PI enables a “special firmware” named “cut-down“. According to the Raspberry PI documentation, the cut-down firmware removes support for codecs, 3D and debug logging, so disabling functions that usually a headless Raspberry PI should not need.
Let’s test this configuration. With Raspberry PI computer boards up to 4, the GPU memory can be changed from the config.txt file. We can append at the end of this file the gpu_mem variable, which will set the GPU memory amount. After this operation, you must save and close the file, and reboot the Raspberry PI. Please open the file for editing:
sudo nano /boot/firmware/config.txtAppend the following line at the end of the file:
gpu_mem=16Save and close this file. Then reboot:
sudo rebootAfter the restart is completed, you can check the GPU memory:
pi@raspberrypi:~ $ vcgencmd get_mem gpu
gpu=16M
And the memory available for CPU:
pi@raspberrypi:~ $ free -h
               total        used        free      shared  buff/cache   available
Mem:           957Mi       234Mi       555Mi       1.0Mi       218Mi       722Mi
Swap:          199Mi          0B       199Mi
It is important to note that the Raspberry PI OS documentation tells that you can’t set the GPU memory at values lower than 64MB (except the 16MB configuration just shown).
On the other side, if you want to reserve more RAM for your GPU, you can increase the default value to higher. For example, setting it to 256MB:
gpu_mem=256You will have the following values for GPU and CPU:
pi@raspberrypi:~ $ vcgencmd get_mem gpu
gpu=256M
pi@raspberrypi:~ $ free -h
total used free shared buff/cache available
Mem: 731Mi 259Mi 301Mi 1.1Mi 221Mi 471Mi
Swap: 199Mi 0B 199MiThe Raspberry PI config.txt docs also tell about gpu_mem_256, gpu_mem_512, and gpu_mem_1024 settings, but honestly they didn’t work for me…
Maximum Value Recommendations for GPU RAM
The following question you can ask is what is the maximum RAM amount you can give to your Raspberry PI’s GPU. This depends on the total memory amount of your model:
- for boards with 256MB of total RAM, the recommended maximum GPU memory is 128MB
- for boards with 512MB of total RAM, the recommended maximum GPU memory is 384MB
- for boards with 1GB or more total RAM, the recommended maximum GPU memory is 512MB
Old raspi-config Settings
ONLY with the oldest Raspberry PI OS releases you could also change the GPU memory amount from the built-in raspi-config tool, which you can open from the following command:
sudo raspi-configFrom here, you were able to find the memory split setting from the “Performance Options” -> “GPU Memory”.
What’s Next
Interested in more cool projects for your Raspberry PI? Take a look at peppe8o Raspberry PI tutorials.
Enjoy!

Open source and Raspberry PI lover, writes tutorials for beginners since 2019. He's an ICT expert, with a strong experience in supporting medium to big companies and public administrations to manage their ICT infrastructures. He's supporting the Italian public administration in digital transformation projects.
![]()
![]()
![]()
![]()
![]()
![]()
![]()


WOW – November 2020 and this is already out of date. My revision is the same as yours in raspi-config, but 6 is Advanced Options and no 7. (odd 6 then 8) And under 6 it is now A3=GL Driver “experimental desktop GL driver”
I have no gpu_mem in my boot config
Thank you for notifying me, Jim. I’ve updated post images and references. In latest raspi-config version it has been moved under Performance Options > GPU Memory
What system memory size did you test this with? The gpu_mem_### parameters behave like conditional overrides depending on the total RAM (e.g., 256/512/1024 MB), and each requires an explicit value that defines the amount of memory reserved for the GPU.”
Hi. A common GPU resize need is when you want to reduce GPU memory (not increasing it). So, I tested it (with Raspberry PI up to 4 models) to set GPU memory to 16 or 32 MB