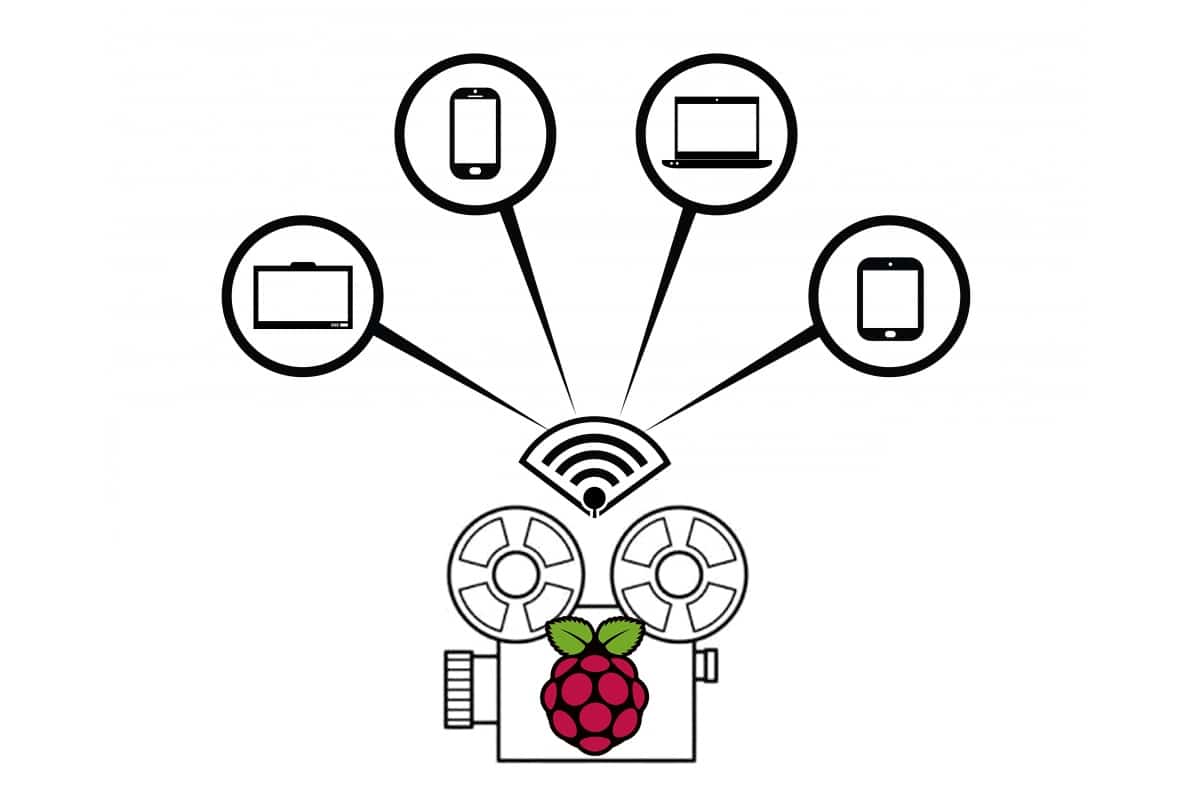
This tutorial will show you how to setup a remote video streaming from a Raspberry PI camera using terminal, without the need of a desktop environment.
Streaming camera video within a Raspberry PI OS Desktop is simple and useful. But some projects may need remote video streaming from Raspberry PI camera with a headless setup (Lite).
In this project, Raspberry PI will work as a streaming server, broadcasting its camera video using Raspivid piped to Netcat.
Raspivid is the default (preinstalled in all Raspberry PI OS distributions) command line tool for capturing video with a Raspberry Pi camera module. It is part of raspicam tools, a set of software able to manage your Raspberry PI Camera for getting videos (raspivid), time lapse video or photographs (raspistill).
NetCat (alias nc) is a computer networking utility for receiving and sending data to network connections using TCP or UDP.
I will use a Raspberry PI 3 Model A+, but this procedure applies to all Raspberry PI boards.
As usual, I suggest adding from now to your favourite e-commerce shopping cart all the needed hardware, so that at the end you will be able to evaluate overall costs and decide if to continue with the project or remove them from the shopping cart. So, hardware will be only:
Check hardware prices with following links:
Stat preparing your operating system. You can install Raspberry PI OS Lite (for a headless, fast linux distribution) or Raspberry PI OS Desktop (in this case, using its internal terminal).
Make your OS up-to-date. From terminal:
sudo apt update -y && sudo apt upgrade -yConnect camera to your Raspberry PI camera module port.
Enable camera interface from raspi-config tool. From terminal:
sudo raspi-configSelect option 3 (Interface Option) with arrow keys and press ENTER:
We’ll use first option (Camera). So, simply press ENTER again. In next window, select “yes” with left arrow key:
Press ENTER to confirm. Next window will confirm that camera is enabled:
Press ENTER. You will go back to raspi-config home. Go to FINISH and press ENTER. A reboot will be required:
Please confirm and wait for your Raspberry PI to be rebooted.
Raspberry PI streaming will start with following terminal command:
raspivid -t 0 -b 25000000 -fps 30 -w 800 -h 600 -o - | nc -lkv4 8080This command will trigge raspivid to start capturing camera video and directing its output, via pipe operator (“|”) to netcat (nc is an alias for netcat command). Used options mean following:
Following explain netcat options:
Once used this command, Raspberry PI will start to listen on network for incoming connections:
pi@raspberrypi:~ $ raspivid -t 0 -b 25000000 -fps 30 -w 800 -h 600 -o - | nc -lkv4 8080
Listening on [0.0.0.0] (family 2, port 8080)
From receiving PC side, you will now be ablo to get video stream with video player able to read network stream using tcp protocol and h264 encoding. In my example I will use the free VLC (Videolan), avaliable both for windows and linux. I will use it installed on a windows PC on same LAN.
From VLC interface, select from “Media” menù “Open Network Stream”. Use your Raspberry PI IP address instead of mine (192.168.1.178) and insert a link composed as following:
tcp/h264://192.168.1.178:8080Finally use Play button to start vieweing you Raspberry PI camera stream.
Raspivid with netcat will produce a reliable remote video streaming, but introducing delay. Some user report having better performance by using rtp (Real Time Protocol). This way requires installing vlc on Raspberry PI (which uses ablout 1GB of storage).
Enjoy!
In this tutorial, I will share a DIY project to create a fully customizable solar…
In this tutorial, we will use two Arduino Uno to demonstrate the Serial Peripheral Interface…
In this tutorial, we will be making an automatic irrigation system (AIS) with Arduino and…
This tutorial will show you how to use Python Virtual Environment with Raspberry PI computer…
This tutorial will show you how to get betting odds with Raspberry PI by using…
This tutorial will show you how to perform the backup of Raspberry PI (computer board)…


