In this tutorial I will guide you in configuring your Raspberry Pi weather station to collect temperature data from Arduino (with DHT11 sensor) and send data with Blynk server to your smartphone app, getting warnings on thresholds overcoming.
One of most common electronics projects is creating a Weather Station also able to send temperature and humidity measurements in real time. Configuring a weather station with Raspberry PI and Arduino makes this simple and funny, requiring only cheap parts.
A complete station can also collect many other weather information (like wind speed and wind direction, barometric pressure, light level) by connecting needed sensors directly to RPI (with its GPIO PINs) or to Arduino Uno. Complex weather information can be collected using Arduino Mega board, which includes more PINs. Resulting weather data can be also showed from an lcd monitor or with a simple webpage installing a web server on Raspberry PI. This mini weather station can also run under solar power system, since both RPI Zero W and Arduino have very low power consumption.
Adding Raspberry PI to this project enables users to add complex command and fuctions which you can setup on triggers received from sensors. Furthermore, you can also use your Raspberry PI to reconfigure Arduino to react on specific events.
As usual, I suggest adding from now to your favourite e-commerce shopping cart all the needed hardware, so that at the end you will be able to evaluate overall costs and decide if to continue with the project or remove them from the shopping cart. So, hardware will be only:
From Arduino side, if you want to opt for a more complete kit, you can consider also the Elegoo kit available from Amazon. I’m using it in this guide and you can also find my review in Elegoo starter kit: arduino based electronics for dummies.
Check hardware prices with following links:
This project wiring is quite simple.
Please find below a picture with schematic wiring diagram:
As you may note, Arduino is powered directly by Raspberry Pi Zero via USB serial port and no more power supply are required. The two boards will share data with a serial communication on same port.
Raspberry PI Zero W will use its WiFi connection to reach internet connection.
Environment arranging have been deeply showed in other posts. So, I’ll go fast with direct commands and/or reference to appropriate articles.
If not already prepared, please use Install Raspberry PI OS Lite guide to setup your operating system. At the end, update from terminal with following commands:
sudo apt update
sudo apt upgrade
From remote terminal in Raspberry PI, type following commands. Refer to Connecting Raspberry PI Zero W to Arduino only via terminal for more details.
mkdir -p local/bin # Create a folder for local user where add our commands
echo 'export PATH="$HOME/local/bin:$PATH"' >> ~/.bashrc # Make this folder known to OS as commands folder
curl -fsSL https://raw.githubusercontent.com/arduino/arduino-cli/master/install.sh | BINDIR=/home/pi/local/bin sh # Download and install arduino-cli
source .bashrc # updates profile with bashrc reload
arduino-cli config init # Initialize arduino-cli with default configuration file
arduino-cli core update-index # Update arduino-cli
Make sure Arduino is now connected to Raspberry PI via USB cable
arduino-cli board list # Lists available boards
Take note for your board and board. If you can see only Unknown port, a Raspberry PI reboot could help in refreshing hardware recognition. My output shows that I have an Arduino Uno based board, with FQBN (fully qualified board names) set to “arduino:avr:uno” at port “/dev/ttyACM0”.
arduino-cli core install arduino:avr # Install board
echo 'alias acompile="arduino-cli compile --fqbn arduino:avr:uno" ' >> ~/.bashrc # Append alias definition for acompile
echo 'alias aupload="arduino-cli upload -p /dev/ttyACM0 --fqbn arduino:avr:uno"' >> ~/.bashrc  # Append alias definition for aupdate
source .bashrc # updates profile with aliases
This part refers to Installing external libraries with arduino-cli on Raspberry PI article.
Download DHT11 library from Elegoo Download Page. Unzip in your local PC and update to Raspberry PI inside folder “/home/pi/Arduino/libraries/DHT/”
This part refers to Reading a serial usb port from Raspberry PI with Python from terminal article.
sudo apt install python3-pip
pip3 install pyserial
Create a new Sketch:
arduino-cli sketch new MyWheatherStation
Edit sketch with the following command:
nano MyWheatherStation/MyWheatherStation.ino
Empty your file and use the following code:
#include <dht_nonblocking.h>
#define DHT_SENSOR_TYPE DHT_TYPE_11
static const int DHT_SENSOR_PIN = 2;
DHT_nonblocking dht_sensor( DHT_SENSOR_PIN, DHT_SENSOR_TYPE );
 /*
 Initialize the serial port.
 */void setup( )
 {
  Serial.begin( 9600);
 }
 /*
 Poll for a measurement, keeping the state machine alive.  Returns
 true if a measurement is available.
 */
static bool measure_environment( float *temperature, float *humidity )
 {
   static unsigned long measurement_timestamp = millis( );
 /* Measure once every four seconds. */   if( millis( ) - measurement_timestamp > 3000ul )
   {
     if( dht_sensor.measure( temperature, humidity ) == true )
     {
       measurement_timestamp = millis( );
       return( true );
     }
   }
 return( false );
 }
 /*
 Main program loop.
 */void loop( )
 {
 float temperature;
 float humidity;
 /* Measure temperature and humidity.  If the functions returns
  true, then a measurement is available. */ if( measure_environment( &temperature, &humidity ) == true )
   {
     Serial.print( temperature, 1 );
     Serial.print( ";" );
     Serial.print( humidity, 1 );
     Serial.print( "\n" );
   }
 }
Compile and upload the sketch:
acompile MyWeatherStation/ && aupload MyWeatherStation/
Check that Arduino is working as expected by lookink at Serial Port:
pi@raspberrypi:~ $ python3 -m serial.tools.miniterm /dev/ttyACM0
--- Miniterm on /dev/ttyACM0  9600,8,N,1 ---
--- Quit: Ctrl+] | Menu: Ctrl+T | Help: Ctrl+T followed by Ctrl+H ---
20.0;66.0
20.0;66.0
20.0;66.0
20.0;66.0
20.0;66.0
--- exit ---
Perfect! Now let’s move in sending data to our Smartphone with Blynk app
This part refers to Personal IoT with Blynk on Raspberry PI, which guides you to import Blynk library.
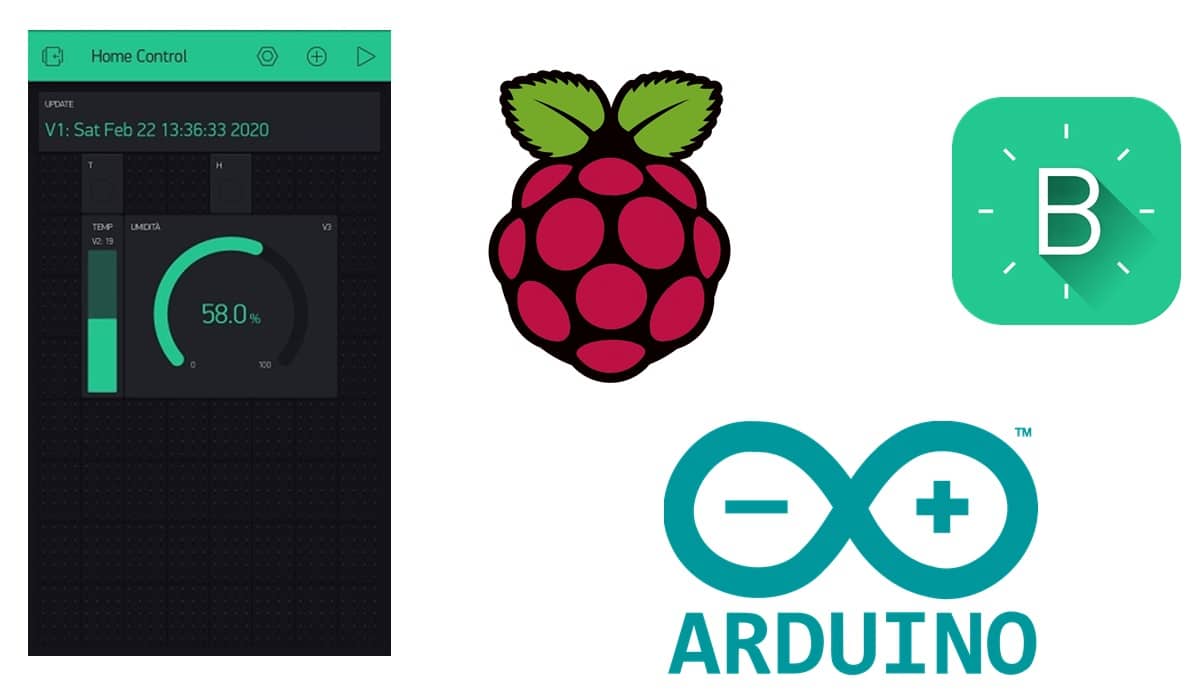
We’ll configure a Blynk project with:
Of course, you can edit this basic interface with the one you prefer. Moreover, you can set a notice with App notification, Mail, Tweet, etc… My Blynk app appears as the following:
Edit myBlink.py python script inserting following code. Remember to change <<BlynkAppToken>> label with your Blynk app token (see next paragraph).
import BlynkLib
import serial
import time
WAIT_TIME_SECONDS = 1
HUM_THRESHOLD = 70 # Sets Humidity notification threshold (customizable)
TEMP_THRESHOLD = 20 # Sets Humidity notification threshold (customizable)
# Initialize Blynk and serial port
blynk = BlynkLib.Blynk('<<BlynkAppToken>>')
print("started!")
# main routine
def updateAppData():
    blynk.virtual_write(1, time.ctime()) # Adds timestamp to time widget
    ser=serial.Serial('/dev/ttyACM0',9600) # open serial port connection
    dht11 = ser.read(9).split(';') # Splits measurements from serial port in a 2 level array. dht11[0] is temperature. dht11[1] is humidity
    blynk.virtual_write(2, float(dht11[0])) # update Temperature Widget
    blynk.virtual_write(3, float(dht11[1])) # update Humidity Widget
    if float(dht11[0]) > TEMP_THRESHOLD: # If Temperature goes over threshold, lights on Temperature warning LED
      blynk.virtual_write(4, 255)
    if float(dht11[0]) <= TEMP_THRESHOLD: # resets Temperature led when it goes back under threshold
      blynk.virtual_write(4, 0)
    if float(dht11[1]) > HUM_THRESHOLD: # If Humidity goes over threshold, lights on Humidity warning LED
      blynk.virtual_write(5, 255)
    if float(dht11[1]) <= HUM_THRESHOLD: # resets Humidity led when it goes back under threshold
      blynk.virtual_write(5, 0)
    ser.close()
# launches widget update after time to execute app data + (WAIT_TIME_SECONDS) seconds
while True:
     updateAppData()
     time.sleep(WAIT_TIME_SECONDS)
while True:
     blynk.run()
WAIT_TIME_SECONDS sets sampling frequency. Consider that you will receive samples from serial port with a certain time frequency, so this is on top to serial port latency. In my test I have a complete refresh every 6 seconds.
This python script uses blynk.virtual_write(PIN, Value) function to map data on correct Virtual PINs.
Following instructions in Personal IoT with Blynk on Raspberry PI, create a new Project. Take note of app Token and properly add it to Blynk script in your Raspberry PI.
Add to the created project following widgets (one for each Virtual PIN defined before)
V1 PIN (timestamp): – Value Display widget with following settings:
V2 PIN (Temperature level): – Level V widget with following settings:
V3 PIN (Humidity level): – Gauge widget with following settings:
V4 PIN (Temp warning LED): – LED widget with following settings:
V5 PIN (Humidity warning LED): – LED widget with following settings:
So, we reached the end. In your Raspberry PI ssh terminal, type:
python3 myBlynk.py
Blynk app should start giving you data. You can see, for example, timestamp. Moreover, you can touch DHT11 sensor to simulate humidity increase and see your warning LED lighting on.
The first times I had my weather station on, I noted that sometimes it was crashing with no apparent reasons. Moreover, at Raspberry PI reboot you need to connect again and launch again “python myBlynk.py”. This can be boring, so the solution comes with “Supervisor” debian package. Supervisor is a simple and veratile daemon which simply controls if a process is running. If not, Supervisor launches again the process.
Supervisor can be installed in your Rasperry PI OS Lite with the following:
sudo apt install supervisor
Create a custom configuration file:
sudo nano /etc/supervisor/conf.d/myBlink.conf
Configure with following code:
[program:WheaterStation]
command=python /home/pi/myBlynk.py
environment=HOME="/home/pi"
username=pi
Note that myBlynk is relaunched as pi user and with pi home environment variables.
Restart Supervisor daemon:
sudo systemctl restart supervisor.service
Enjoy your Arduino and Raspberry Pi weather station!
In this tutorial, we will use two Arduino Uno to demonstrate the Serial Peripheral Interface…
In this tutorial, we will be making an automatic irrigation system (AIS) with Arduino and…
This tutorial will show you how to use Python Virtual Environment with Raspberry PI computer…
This tutorial will show you how to get betting odds with Raspberry PI by using…
This tutorial will show you how to perform the backup of Raspberry PI (computer board)…
This tutorial will show you how to install Honeygain on a Raspberry PI computer board…


View Comments
where do I find the myBlink.py file to add the codes
Wow, you hit a very very old post. Please give me a few days to see it again, sorry for the delay