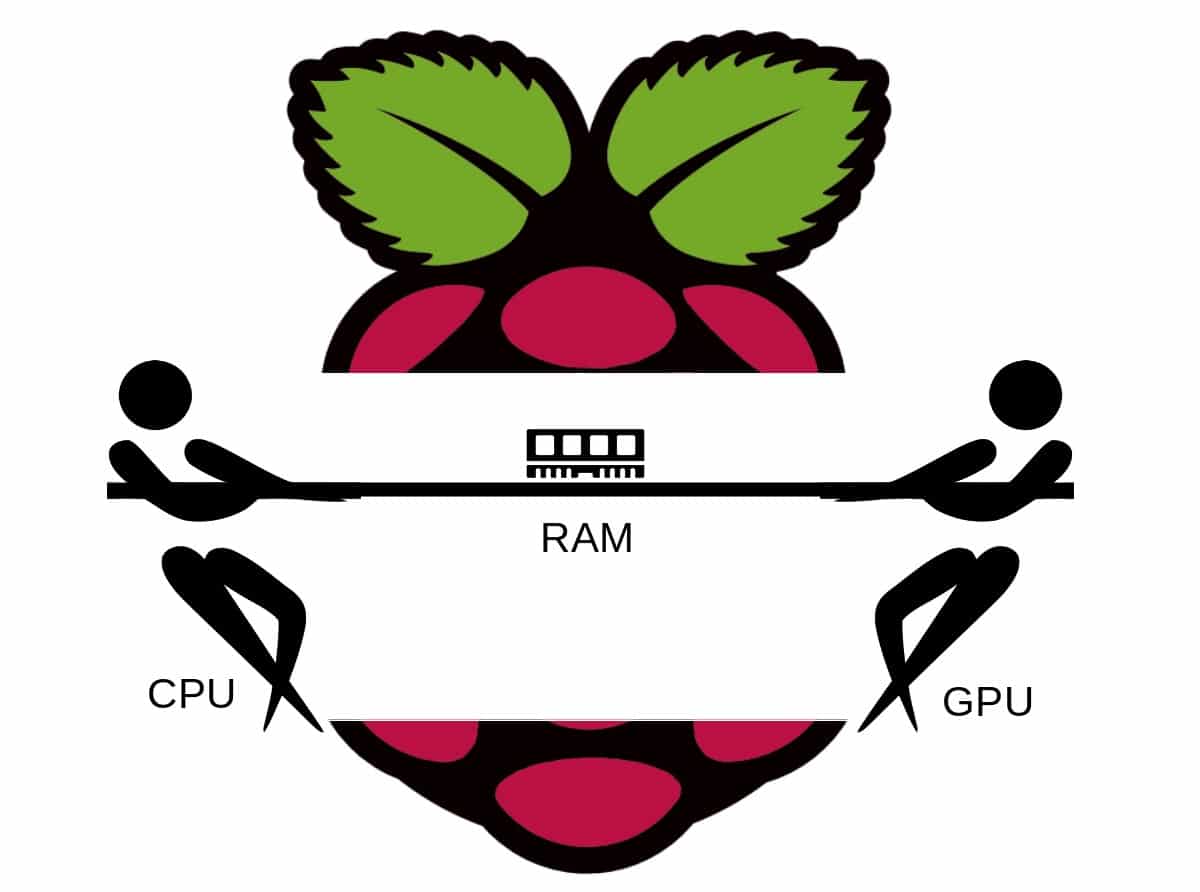
As you know, Raspberry PI is, before all, a single-board computer. This means that available memory is shared between the CPU (Central Processing Unit) for program usage and GPU (Graphics Processing Unit) for video processing usage.
Unlike other bigger computer boards, Raspberry PI hasn’t memory slots to increase total available RAM (even if the last Raspberry PI 4 models increased up to 8GB, matching heavier tasks needs). Furthermore, the amount of memory assigned to the GPU is subtracted from the CPU and you can’t dynamically reassign it until re-set its quantity and reboot.
For this reason, you could need to tune your RAM needs and test and re-test until you find the right compromise.
In this tutorial, I’m going to show you how to manage Raspberry PI Memory Split and set the RAM amount assigned to GPU. This tutorial applies to all Raspberry PI boards.
RAM amount is one of the most precious resources for every OS. You have to set it carefully, because a low amount of CPU can give system instability and slowness, forcing it to use swap memory (SD storage portion used to help RAM) too often.
On the other side, a low amount of RAM to GPU will result in desktop environments being unusable with frustrating slowness.
Back to Raspberry PI, memory allocated to GPU can be set from 16MB upward.
Please share your opinions on GPU Split Memory settings in the comments section at the end of this post.
This is more a settings tutorial than a project. You will probably already own:
Once installed your favourite Operating system (Raspberry PI OS Lite or Raspberry PI OS Desktop), please remember always to update. From terminal:
sudo apt update -y && sudo apt upgrade -yWe’ll use the Raspberry PI OS built-in raspi-config tool to reach immediately Memory Split settings. From terminal:
sudo raspi-configIn the following screen select option 4 (Performance Options) and press ENTER:
In the next screen, please select option P2 (GPU Memory) and press ENTER:
In the next screen, you can write the amount of RAM (in MB) assigned to the GPU. Press ENTER after writing the related number:
After this, your screen goes back to raspi-config home. Go to “Finish” with the TAB key on the keyboard and press ENTER:
You are now warned that a reboot is required. Please remember to save documents open, if there are, and select yes to reboot:
On system reboot you can check Memory Split setting by using the following terminal command:
cat /boot/config.txt | grep gpu_memThat should return the right GPU memory allocation:
pi@raspberrypi:~ $ cat /boot/config.txt | grep gpu_mem
gpu_mem=16
Want to know more about cool projects to do with Raspberry PI computer boards? In this case, the right resource for you is my Raspberry PI tutorials page.
Enjoy!
This tutorial will show you how to install the Raspberry PI Connect service to control…
In this tutorial, I will share a DIY project to create a fully customizable solar…
In this tutorial, we will use two Arduino Uno to demonstrate the Serial Peripheral Interface…
In this tutorial, we will be making an automatic irrigation system (AIS) with Arduino and…
This tutorial will show you how to use Python Virtual Environment with Raspberry PI computer…
This tutorial will show you how to get betting odds with Raspberry PI by using…


View Comments
WOW - November 2020 and this is already out of date. My revision is the same as yours in raspi-config, but 6 is Advanced Options and no 7. (odd 6 then 8) And under 6 it is now A3=GL Driver "experimental desktop GL driver"
I have no gpu_mem in my boot config
Thank you for notifying me, Jim. I've updated post images and references. In latest raspi-config version it has been moved under Performance Options > GPU Memory