

Last Updated on 4th September 2024 by peppe8o
In this tutorial, I’m going to show you how to install OwnCloud in Raspberry PI with Docker.
With our devices becoming more and more connected to the world and with the increasing number of files to keep stored and accessible from outside the home, cloud services have provided space to store data for free, but with limited space and with increasing questions about security and privacy. OwnCloud and Raspberry PI can give you a new and cheap solution to assure privacy for your data and get a cloud with a huge space for your files.
What is OwnCloud
OwnCloud is a collaboration tool enabling you to store and share your files like many common cloud services (such as Google Drive, Microsoft One Drive and so on). It has a community edition enabling you to install it on several server devices at home, one of them being the Raspberry PI computer boards.
OwnCloud also includes client apps to connect your server at home from Desktop computers, Android and Apple smartphones.
The base installation already allows you to share files with your family and friends, but OwnCloud has a modular architecture that allows you to install add-ons with a single click and add more features to your private cloud. For example, the Activity Stream addon lets you keep track of work progress, also showing who did what with which file or folder.
Using OwnCloud from Internet
Please note that if you want to use OwnCloud from outside the home, you will need from your Internet Service Provider a public IP. Moreover, you will probably need a mnemonic domain, so that you will reach your server without the need to remember every time your IP. For this, a great and free solution is using the free No-IP with the Raspberry PI that will run OwnCloud. Finally, you will need to have control of your router so forwarding the traffic on 8080 port coming from outside to your RPI.
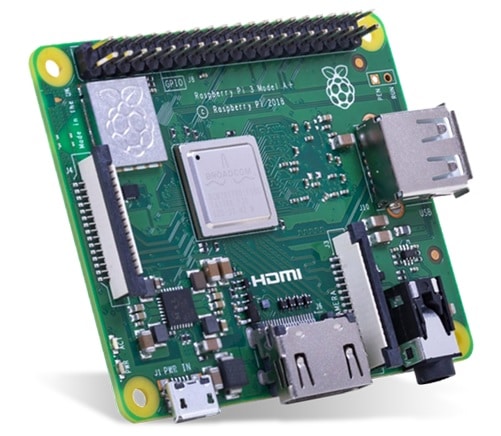
For this tutorial, I’m going to use a Raspberry PI 3 Model A+, but this guide will be usable also with all the newer Raspberry PI computer boards.
What We Need
As usual, I suggest adding from now to your favourite e-commerce shopping cart all the needed hardware, so that at the end you will be able to evaluate overall costs and decide if to continue with the project or remove them from the shopping cart. So, hardware will be only:
- Raspberry PI 3 Model A+ (including proper power supply or using a smartphone micro USB charger with at least 3A) or newer Raspberry PI Board
- high speed micro SD card (at least 16 GB, at least class 10)
Step-by-Step Procedure
Prepare the Operating System
Start installing the OS on your Raspberry PI. For this tutorial, I’m going to use the 64-bit OS.
I suggest (especially for those Raspberry PI models with less RAM) installing Raspberry PI OS Lite to get a fast OS. You can also use Raspberry PI OS Desktop, in this case working from its internal terminal command.
Make your OS up to date. From the terminal, use the following command:
sudo apt update -y && sudo apt upgrade -yFor this installation, I’m going to use the official docker container from OwnCloud, to get a simpler installation way and avoiding to install all prerequisites as are already available in their container.
For this reason, we need to install Docker on Raspberry PI.
Install OwnCloud in Raspberry PI
With docker installed, OnwCloud is ready in your Raspberry PI only with the following command line:
docker run -d -p 8080:8080 --name owncloud --restart unless-stopped -v owncloud_data:/mnt/data owncloud/serverPlease find below the explanation of the used options:
- “-d”: this option makes the container run as a daemon in your Raspberry PI, so being detached from the terminal (this means that if you close the terminal, your container will continue running
- “-p 8080:8080”: this option maps the ports used. The number on the left side is the host port (the port you will use to open OwnCloud from an external device) and can be set to whatever port you prefer, while the number on the right side is the container port and cannot be changed as it depends on container internal configuration (where the container exposes its services)
- “–name owncloud”: this option gives a mnemonic name to the container. If set, you can send commands to docker by referring to this name instead of the container ID or the random name. For example, with this set, you can see the OwnCloud logs by issuing the command “docker logs owncloud”
- “–restart unless-stopped”: this option set the container to restart automatically unless you force the container to stop. This set is useful to manage, for example, Raspberry PI reboots without having to start again the container manually
- “-v owncloud_data:/mnt/data”: this option makes the OwnCloud data persistent in your Raspberry PI storage. With this set, you will be able to backup OwnCloud data by keeping a copy of owncloud_data folder available in “/var/lib/docker/volumes/” path (please note that you can access this path only as root
- “owncloud/server”: this is the container name that will be downloaded from Docker Hub and used in your installation
After issuing the command above, your Raspberry PI will start downloading the docker image and unpackaging it. Once done, you will be able to check that the container is running by using the following command:
pi@raspberrypi:~ $ docker ps -a

CONTAINER ID   IMAGE             COMMAND                  CREATED          STATUS         PORTS                                       NAMES
aad87ca6bb1c   owncloud/server   "/usr/bin/entrypoint…"   17 seconds ago   Up 8 seconds   0.0.0.0:8080->8080/tcp, :::8080->8080/tcp   owncloud
Your OwnCloud container should show an “Up” in the status column.
Moreover, at any time you can check the owncloud container logs (for troubleshooting, if needed) with the command:
docker logs owncloudAccess OwnCloud admin page
For here, you can connect from an external device to your OwnCloud server by using a common browser, with the URL composed by your Raspberry PI’s IP Address and the port set on the docker run command. As my RPI has internal IP “192.168.1.177”, it will be for me “http://192.168.1.177:8080”.
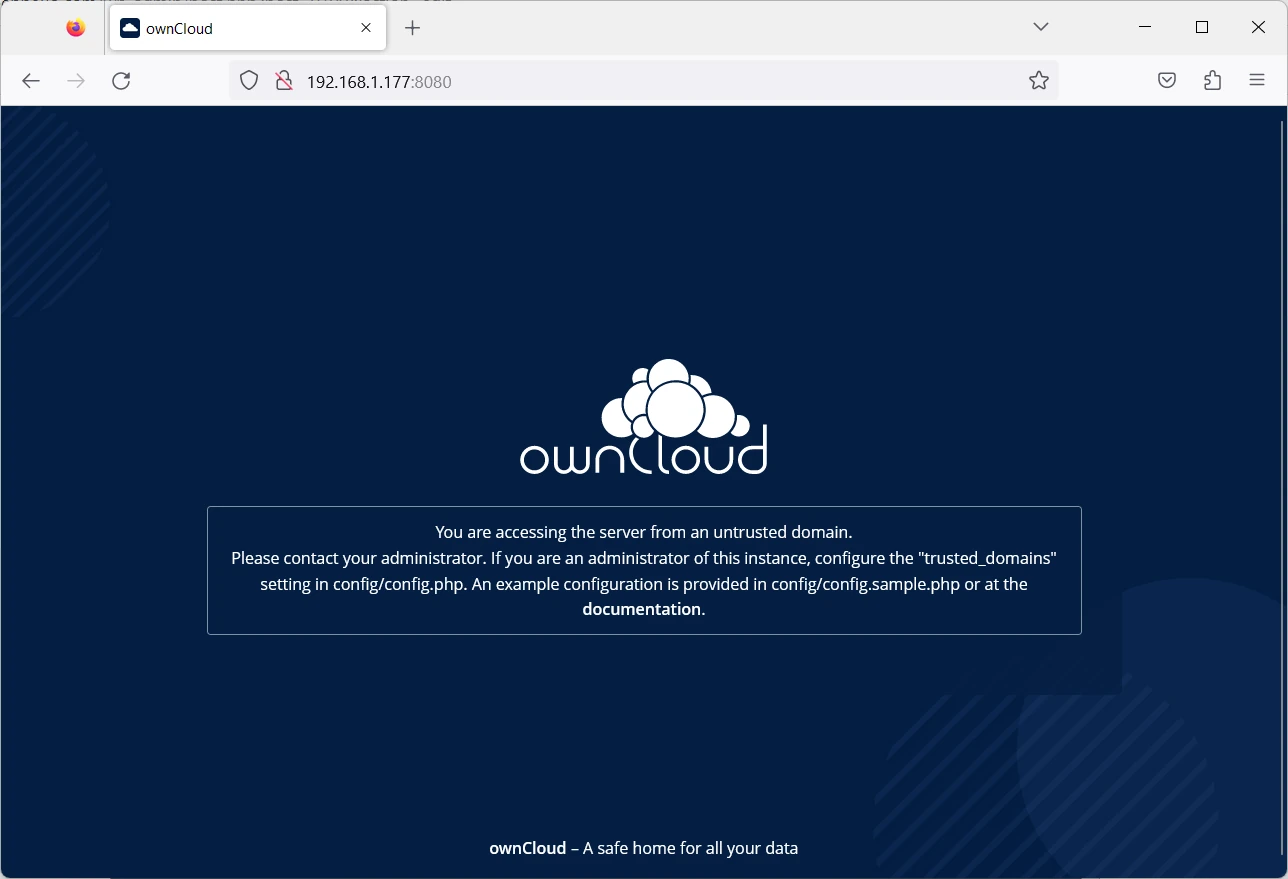
In some cases, there could appear a first page warning that your domain is not in the trusted list. the message will warn:
Please contact your administrator. If you are an administrator of this instance, configure the “trusted_domains” setting in config/config.php. An example configuration is provided in config/config.sample.php or at the documentation.
You can fix it by setting the OWNCLOUD_TRUSTED_DOMAINS environment variable in your docker run command. This is a tricky variable as the name would suggest a reference to the domains from which the client will access. According to the docs, this identifies the OwnCloud server IP address and/or the domain. So, this variable should refer to our Raspberry PI IP address (192.168.1.177 in my case). Moreover, the official procedure (setting the IP on config.php file) doesn’t work and is subject to issues raised from users.
Now, back to us, in order to have a clean install, let’s stop and remove the previous docker container and its data volumes (because nothing has still been saved in our volume):
docker stop owncloud
docker rm owncloud
docker volume rm owncloud_data
and start a new docker container on the same image with the trusted_domain set to your Raspberry PI IP address (please change the red part):
docker run -d -p 8080:8080 --name owncloud --restart unless-stopped -v owncloud_data:/mnt/data --env OWNCLOUD_TRUSTED_DOMAINS='192.168.1.177' owncloud/serverThe OwnCloud login page will appear (if not, please wait a few minutes as container startup could take a few minutes in smaller RPIs):
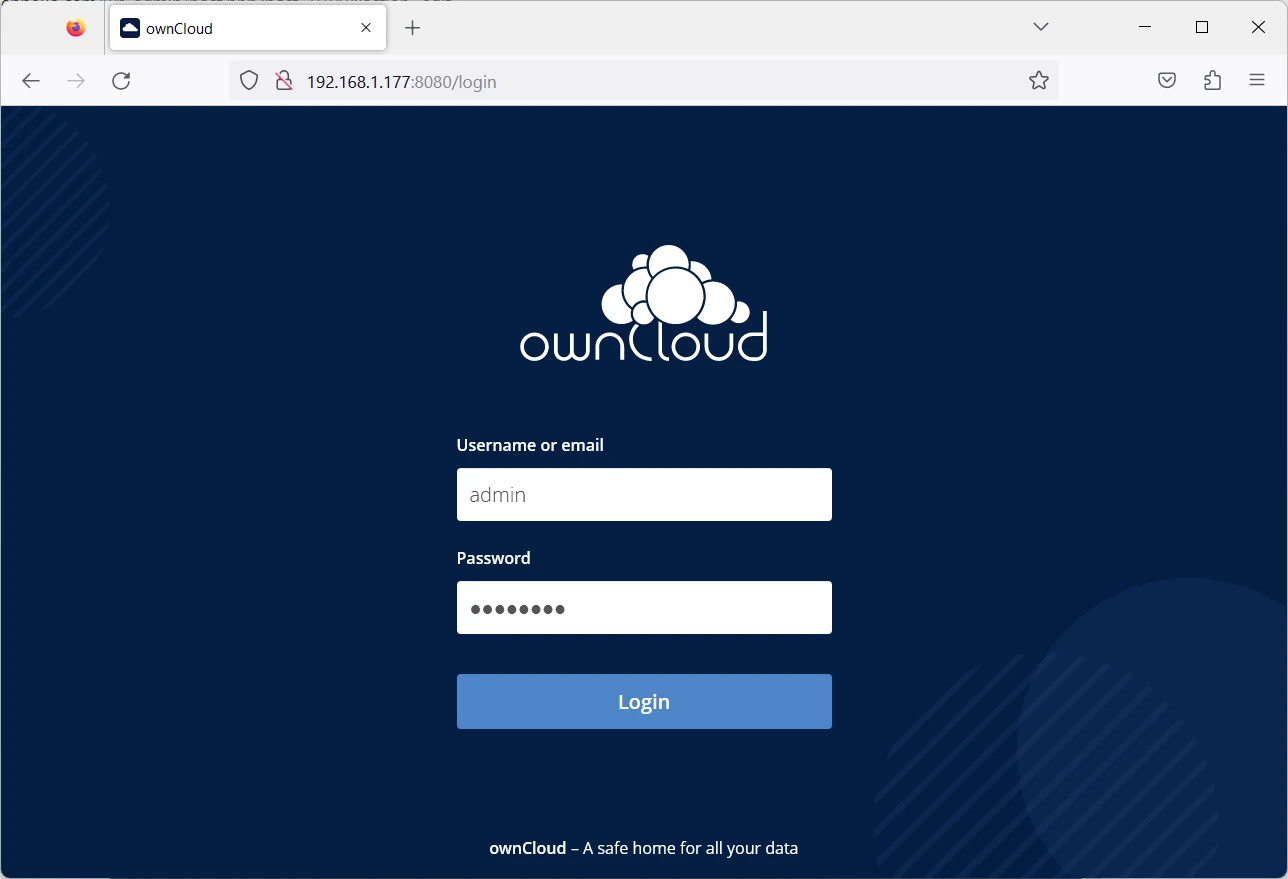
The OwnCloud default admin user (to enter for the very first run) will be the following:
- Username: admin
- Password: admin
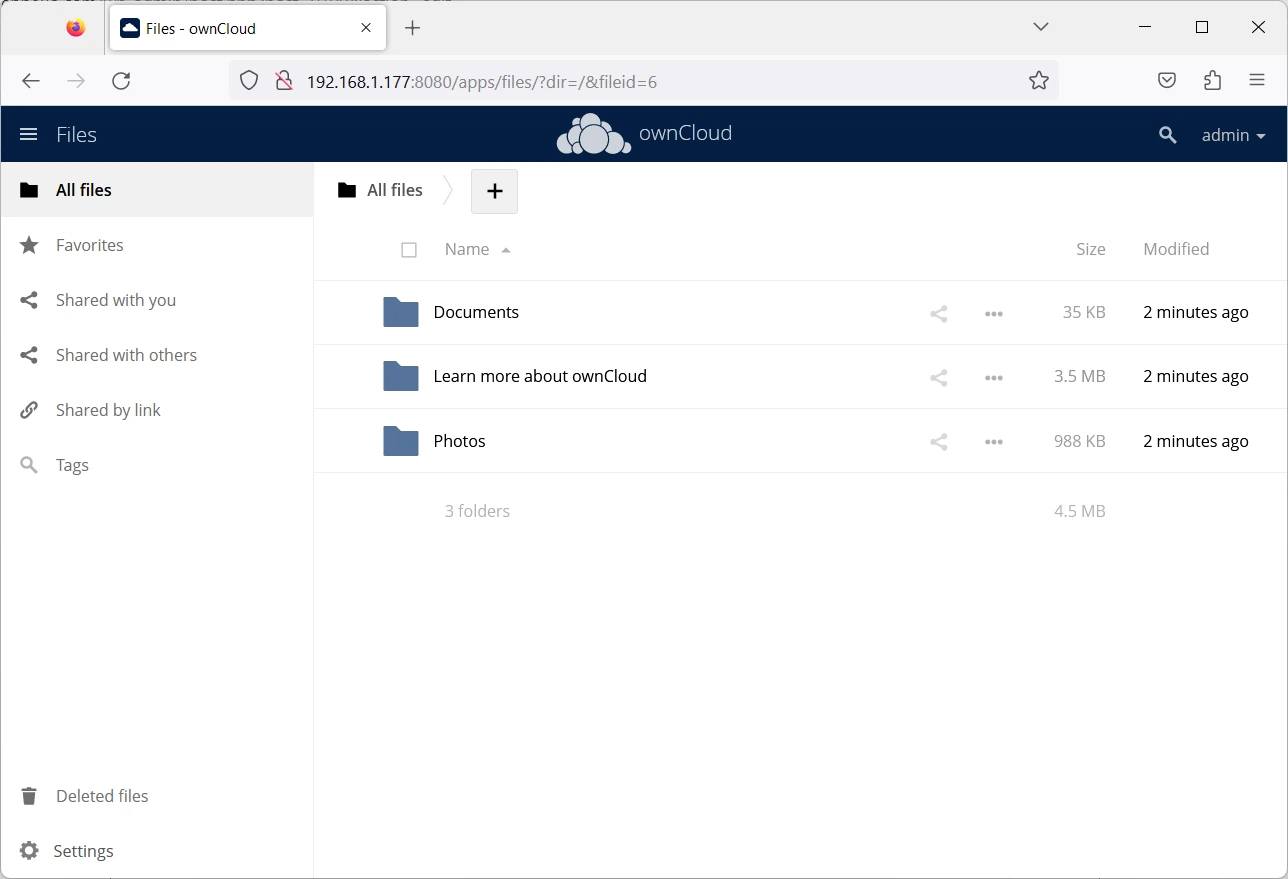
With this user, you can administrate the OwnCloud server and create new users. At the first login, you will get a popup inviting you to use OwnCloud apps on the other devices you own to get files synced. You can close this popup with the “X” on top-right:
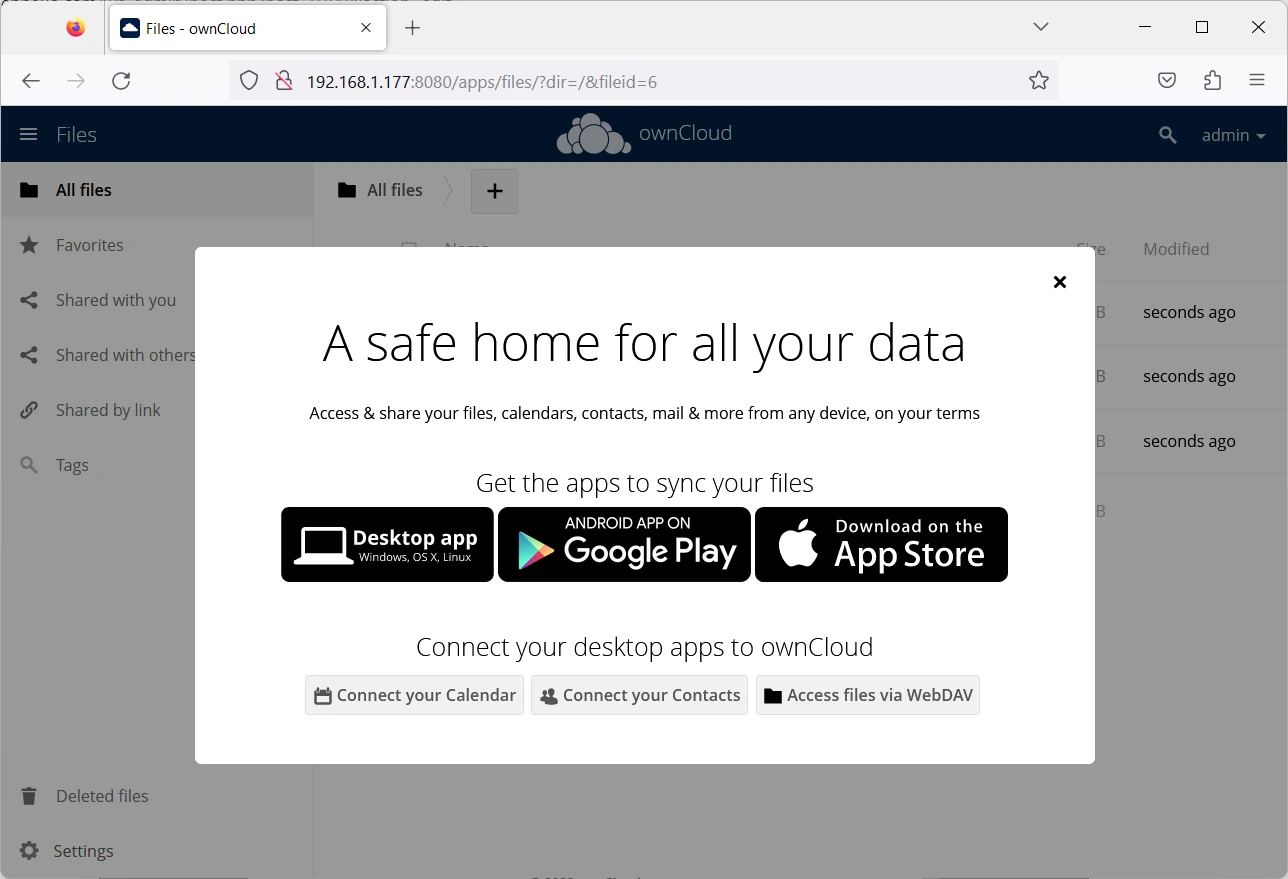
This installation will keep you also a few files to start testing OwnCloud. These files also include the OwnCloud manuals in the “Learn more about ownCloud” folder:
Create a User
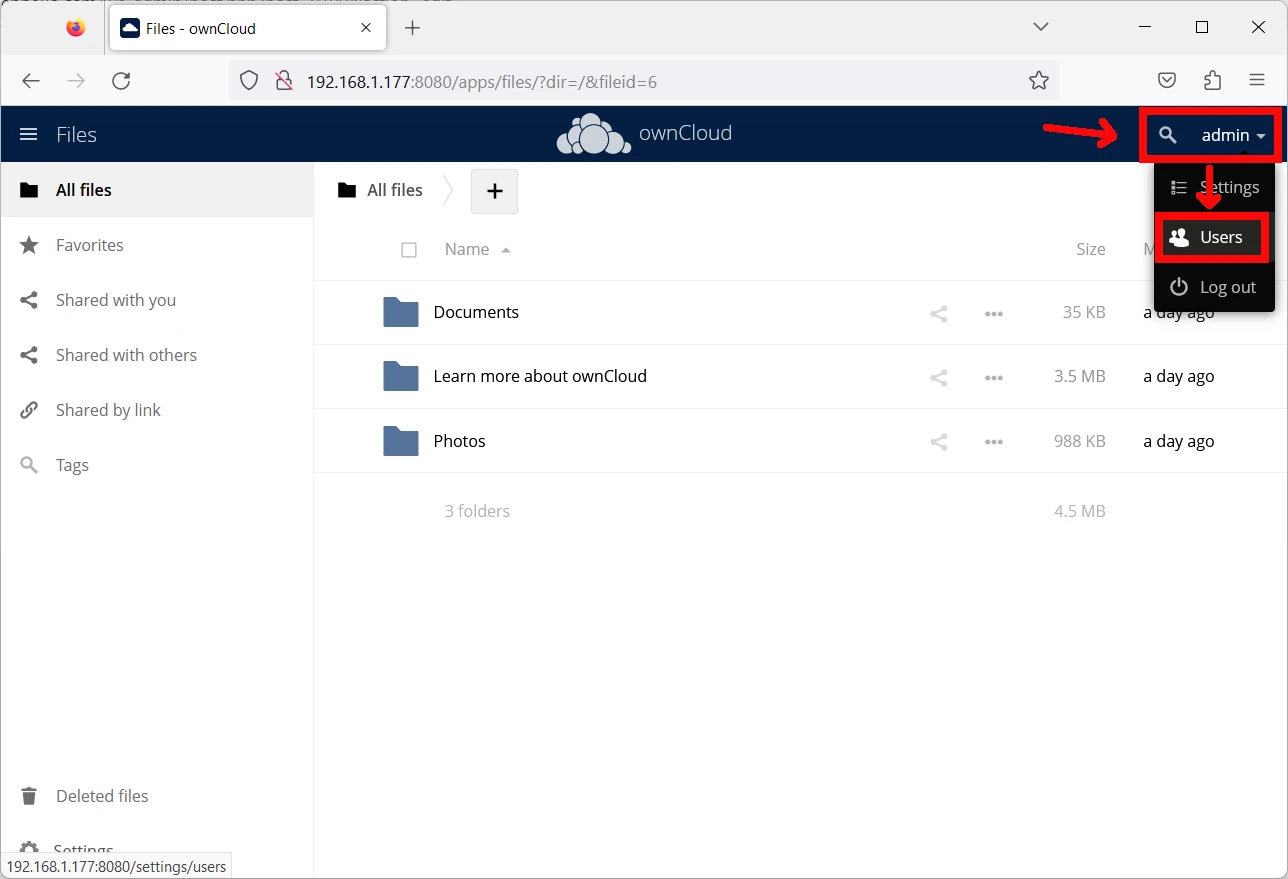
To create a new user, with the Admin user go to the admin drop-down menu and select “Users”:
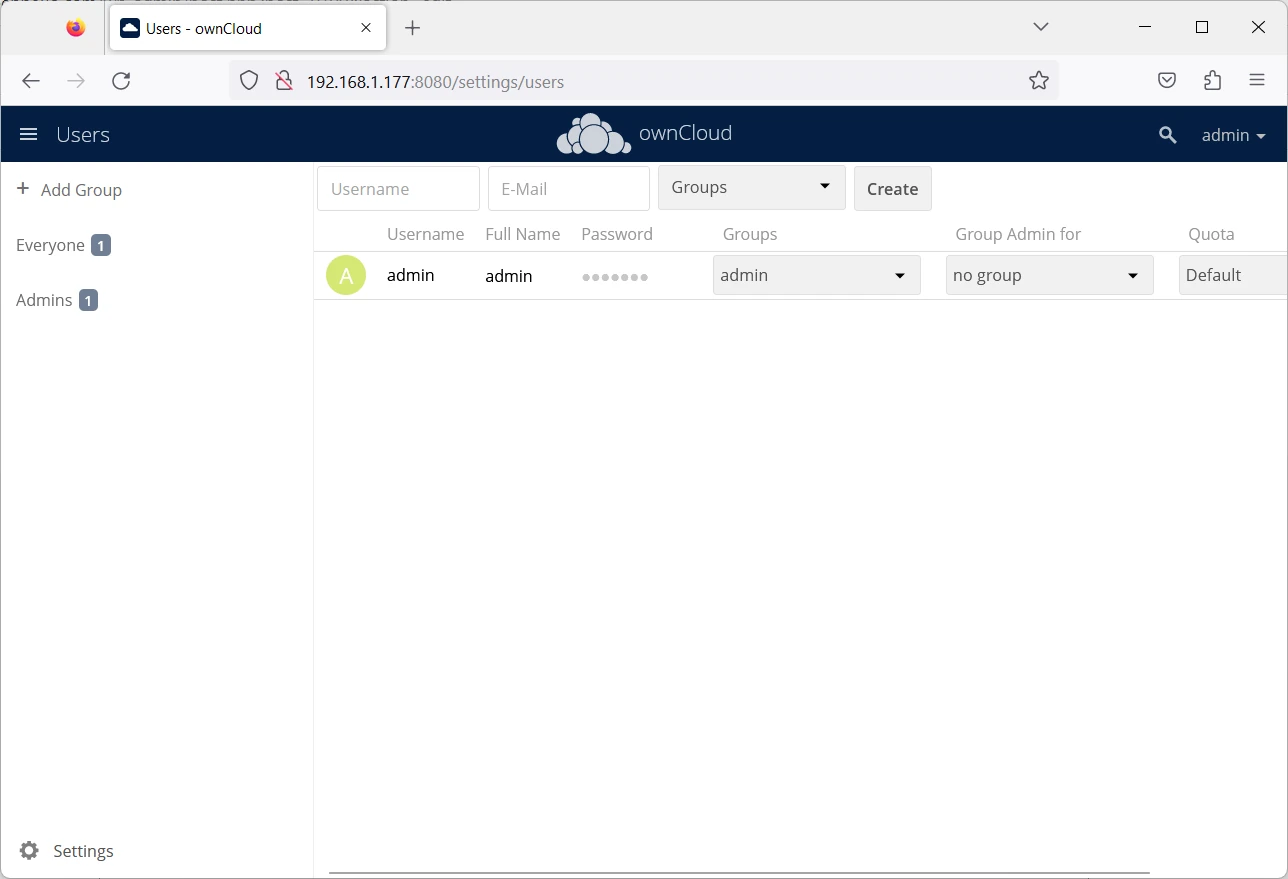
Here you will find the list of all the users enabled in your OwnCloud installation (only the admin in a fresh installation):
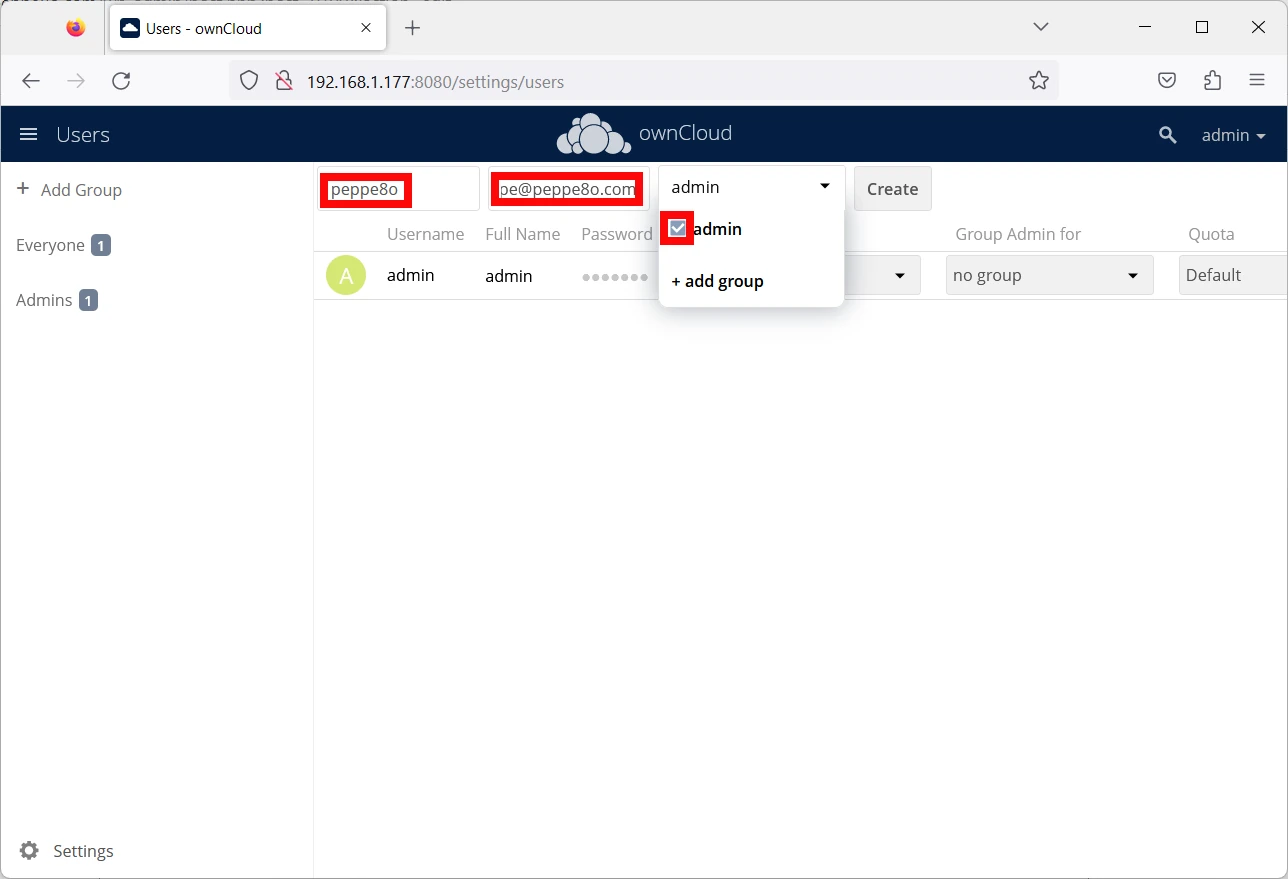
Fill in the username and email fields on top. The drop-down menu on the right side of these fields will allow you to assign the new user to a specified group. You can also create a new group on the fly by using the “add group” button. Then click the “Create” button:
A new user will be created and listed. From the Admin user, you can also edit a user password, (for example to give the new user a password that he’ll change at its login) by moving the mouse on the user row and clicking the pencil icon appearing as in the following picture:
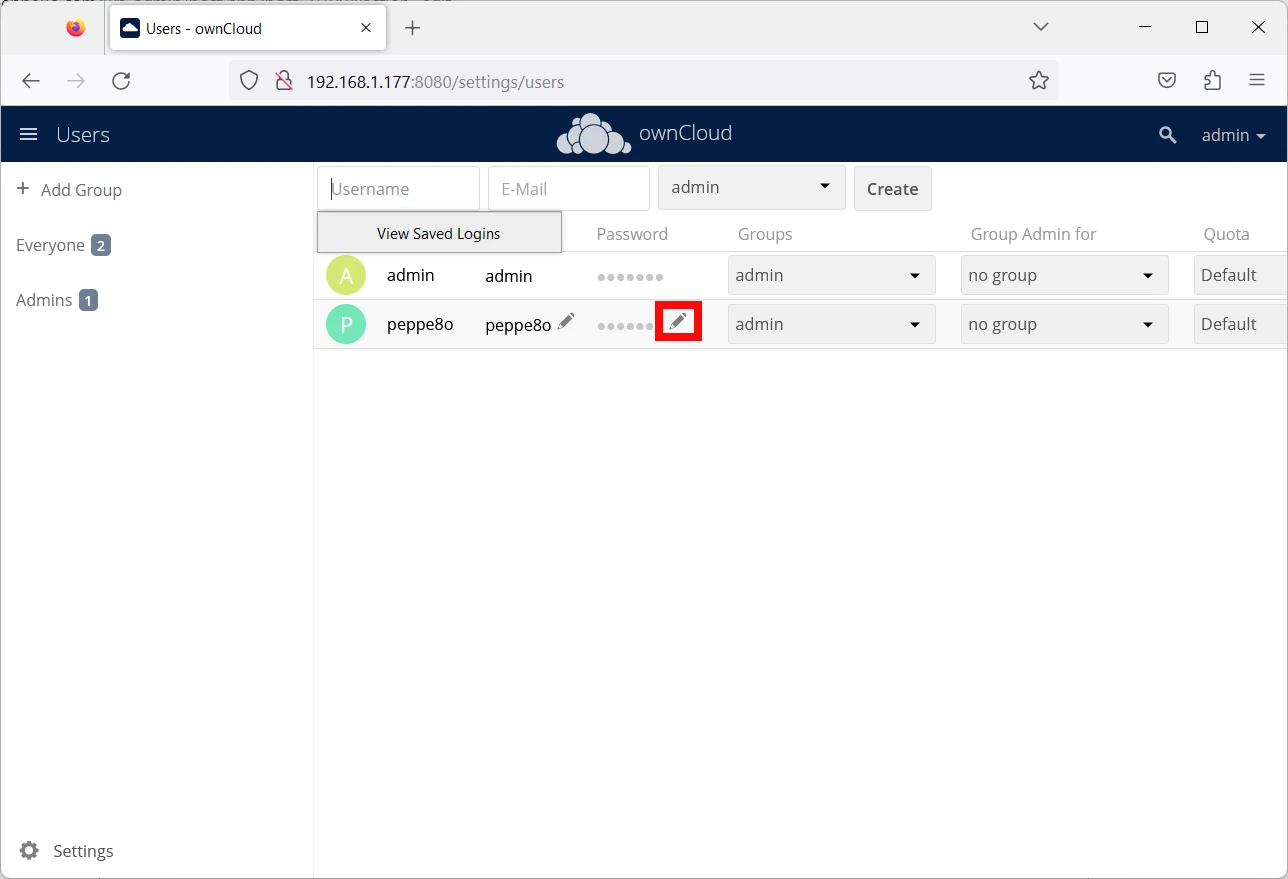
At this point, you can give the username, password, and OwnCloud URL to your user for logging in.
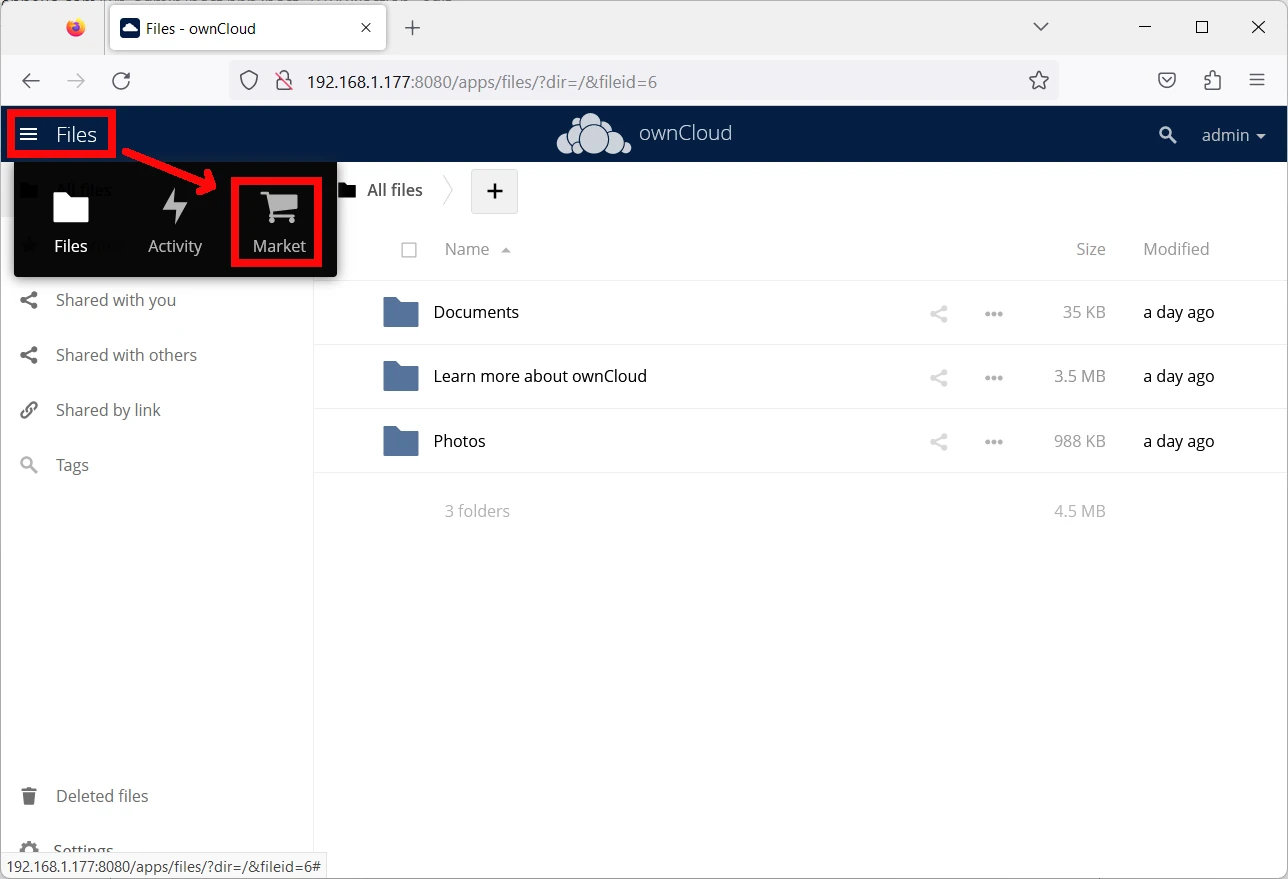
Installing Apps from Market
You can add more features to your OwnCloud installation by installing add-ons. The easiest way is by accessing the built-in marketplace available from the hamburger menu on top-left part of the admin page:
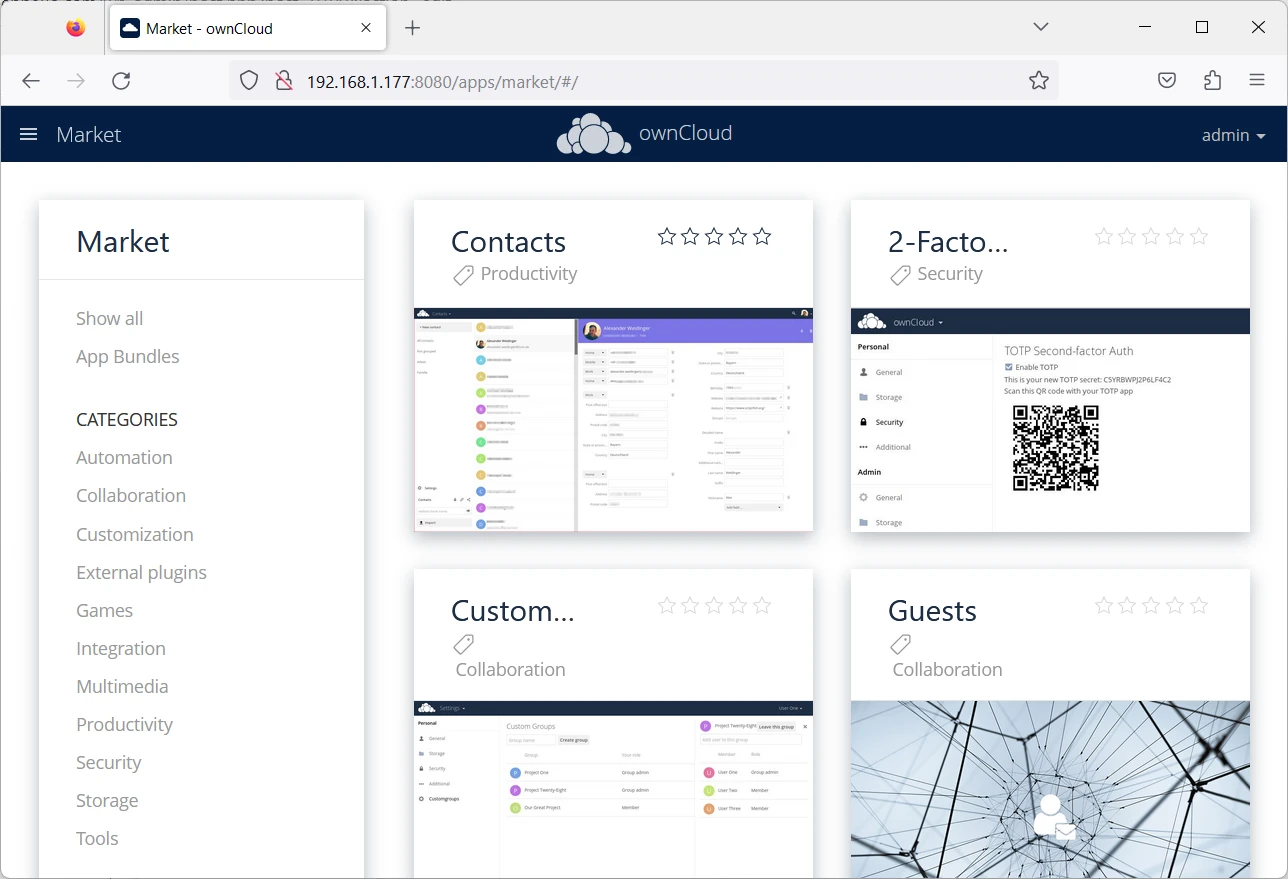
Here you can browse the available addons and get more details by selecting one from its heading link. You can also filter add-ons by using the categories menu on the left sidebar:
Let’s try, for example, installing the calendar addon. Filter the productivity category and identify the calendar addon:
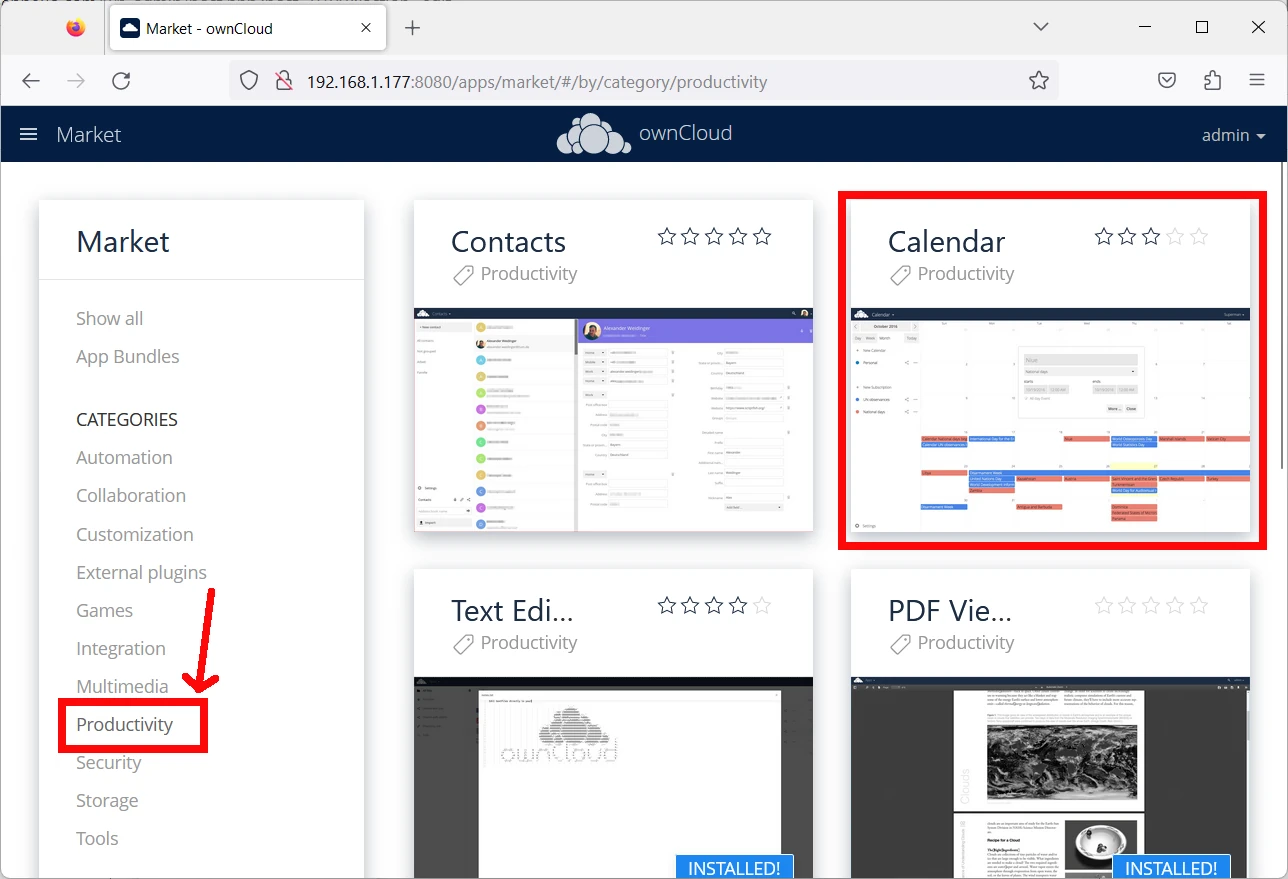
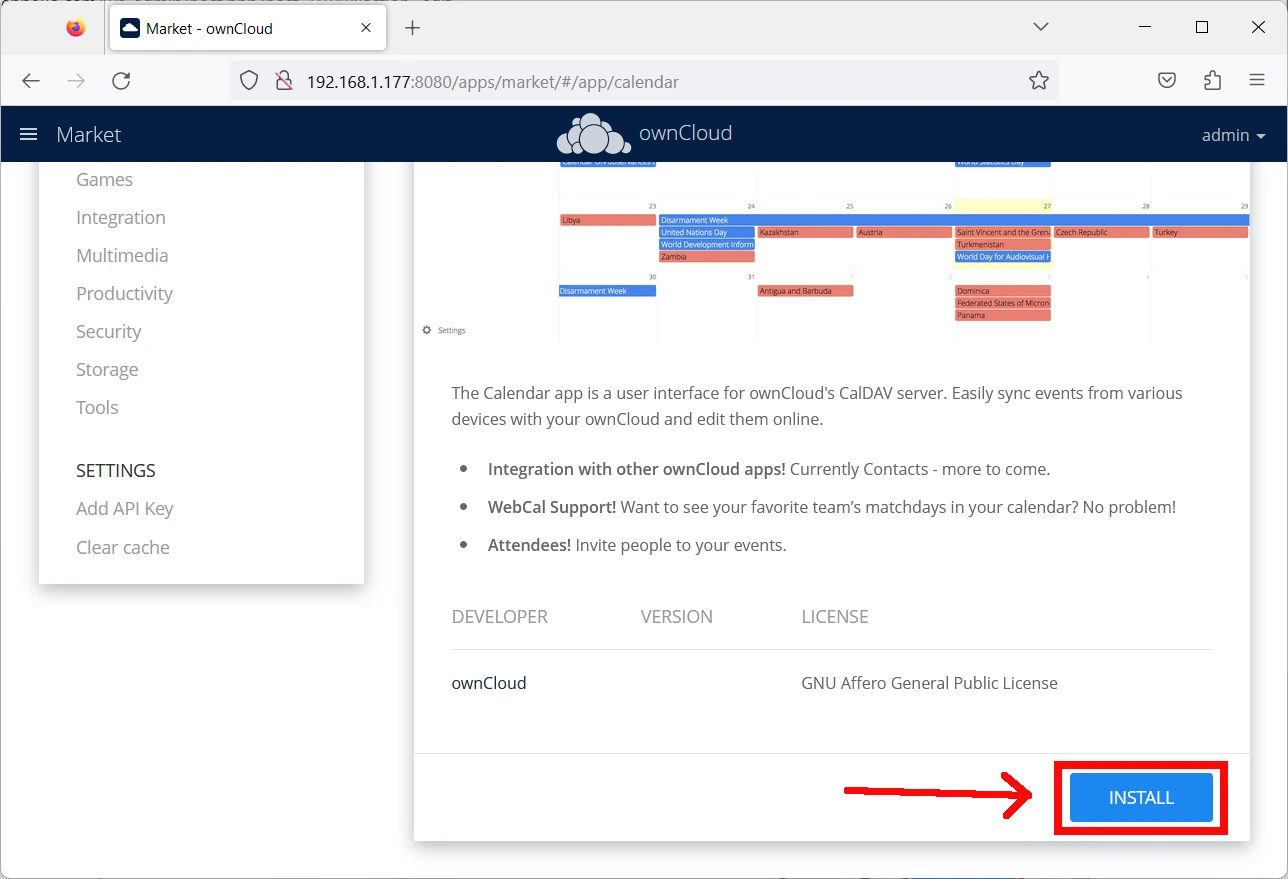
By clicking the calendar title, you will see a details page. Scrolling down you will be able to identify the “install” button. Click it to install:
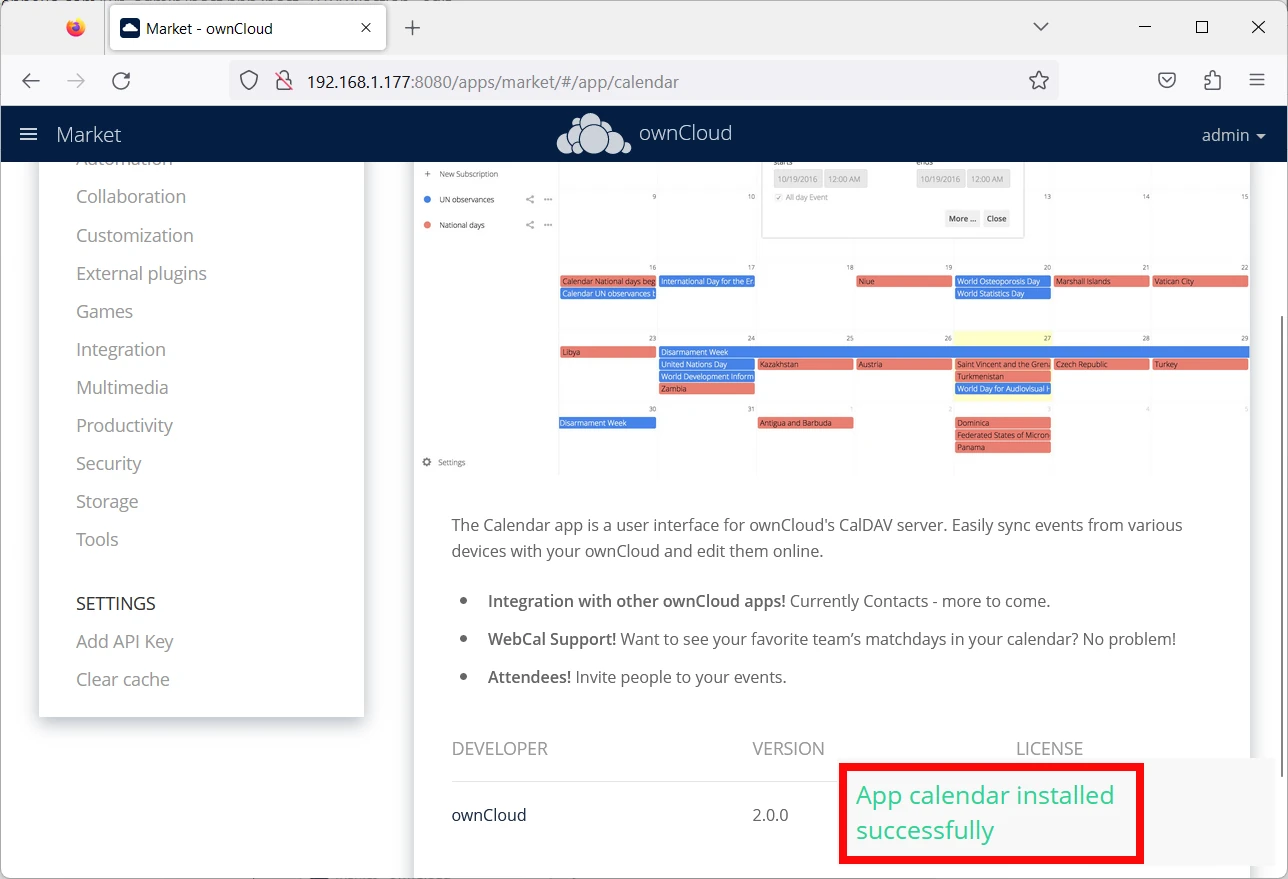
A confirmation message will appear once the addon is installed:
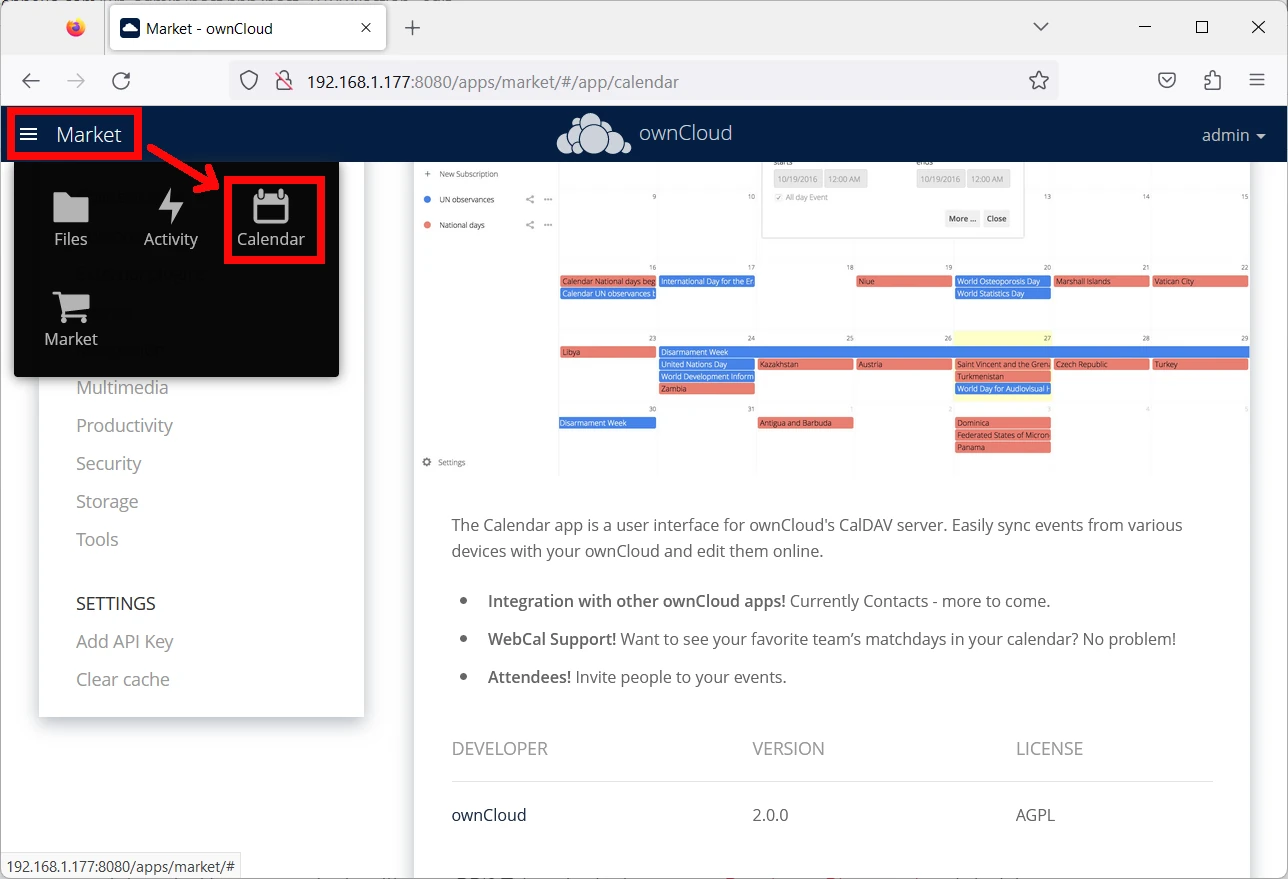
You can access this addon from the hamburger menu on the top-right and selecting Calendar:
More Info
The full doc is available from the official OwnCloud server manual page.
Next Steps
Interested in more projects with your RPI? Take a look at peppe8o Raspberry PI computers tutorials pages.
Enjoy!

Open source and Raspberry PI lover, writes tutorials for beginners since 2019. He's an ICT expert, with a strong experience in supporting medium to big companies and public administrations to manage their ICT infrastructures. He's supporting the Italian public administration in digital transformation projects.
![]()
![]()
![]()
![]()
![]()
![]()
![]()


Enabling cron background…
Set mode for background jobs to ‘cron’
Writing crontab file…
Touching cron configs…
touch: setting times of ‘/etc/cron.d/e2scrub_all’: Operation not permitted
touch: setting times of ‘/etc/cron.d/owncloud’: Operation not permitted
touch: setting times of ‘/etc/cron.d/php’: Operation not permitted
something is not right. the above errors happen and container keeps restarting. even if i start the docker run command as sudo.
Hi, are you using the 64-bit OS and did you add pi to docker group, then restarting the RPI? Are you working from a fresh Raspberry PI OS Lite installation?
Thanks for reply.
/etc/group contains docker:x:995:pi
so pi user is member of docker group.
I am using 32bit raspbian desktop system which was installed about a year ago.
The system was restarted after i initially installed docker and other containers i use work well. I did not reboot since I did not alter anything in the OS files at all.
I give up on this, just wanted to give feedback , maybe useful to you.
What RPI model are you using? Your operating system is Raspbian or Raspberry PI OS?
Thank you for the guide,
Had same problem with the container failing after the cron entries, using RPI 3 32bit (MXlinux build)
Found solution here:
https://github.com/owncloud-docker/server/issues/219But you need to find the latest file at the ftp site is now
http://ftp.us.debian.org/debian/pool/main/libs/libseccomp/libseccomp2_2.5.1-1~bpo10+1_armhf.debHi Jav, thank you for your feedback. This tutorial is based on official Raspberry PI OS 64-bit, but any suggestion shared for other readers is welcome
Thank you so so so much for including this! I highly recommend placing jav’s comment in the article for those like me who struggled with this issue.
Hi Jack,
sure it can be done. But please give me more time to:
-> reproduce the issue (with Raspberry PI OS 32-bit), by identifying what are the errors that people must check before using that fix
-> test the solution
-> write down the solution
Any help in these steps to speed up the process would be welcome 😉
Hi peppe80,
Thanks for the input. I’ll see if I can post what I documented when troubleshooting. I do have a quick question; could you tell me how to connect my owncloud container to my DDNS that I created from your No-IP tutorial so that I may remotely control owncloud from anywhere outside my home LAN where it is set up? Right now I am trying to get this up and running and not just have owncloud accessible from my home network. I know you briefly touched upon it here, and I have already set up port forwarding on my router to have my RPI be accessible from port 8080, but I’d like to know the specific steps. Perhaps we’d need to go into the owncloud container’s hostconfig.json or its config.v2.json file to add my DDNS name to it, but if you could answer my question here that would be awesome.
Try accessing the container (docker execute-it owncloud bash) and applying the following:
https://doc.owncloud.com/server/next/admin_manual/installation/changing_the_web_route.html
It’s not the best way with Docker (you should use docker-compose and enable a reverse proxy behind your docker container) but it could be the faster way
Hi peppe80,
Thanks for the input. I’ll see if I can post what I documented when troubleshooting. I do have a quick question; could you tell me how to connect my owncloud container to my DDNS that I created from your No-IP tutorial so that I may remotely control owncloud from anywhere outside my home LAN where it is set up? Right now I am trying to get this up and running and not just have owncloud accessible from my home network. I know you briefly touched upon it here, and I have already set up port forwarding on my router to have my RPI be accessible from port 8080, but I’d like to know the specific steps. Perhaps we’d need to go into the owncloud container’s hostconfig.json or its config.v2.json file to add my DDNS name to it, but if you could answer my question here that would be awesome.
I am a newbie.
The text is a translation from French by google
I ran the guide to the end without difficulty.
After putting the Ip address with the appropriate port in the browser, I do get an OWNCLOUD page but not the one expected. She tells me :
You are accessing the server from an untrusted domain.
Please contact your administrator. If you are an administrator of this instance, configure the “trusted_domains” setting in config/config.php. An example configuration is provided in config/config.sample.php or at the documentation.
Can you tell me the procedure to follow to do what is requested.
Thanks
Hi. This problem may appear on some browsers like Firefox. This tells you that the destination IP address hasn’t a certification and may be dangerous. Now, if the IP is in your local network and it is safe from external accesses, you should be able to give your consent and move to the next page. Also consider that some browsers (like, for example, Chrome/ium if I remember correctly) give you a less invasive warning and bring you directly to the following page. To fix this, you can install a certificate. You can search my blog to install let’s encrypt (if your Owncloud is exposed to Internet and has a public IP) or you can install a self signed certificate (also this covered by my blog). Hope this can help you