
Last Updated on 13th April 2024 by peppe8o
In this post, I’m going to show you a Raspberry PI Pico car available on e-commerce stores: the SunFounder Pico-4wd kit.
Building a Raspberry PI Pico car is a great project for people wishing to create their own robot and is a funny way to get kids started with microelectronics and programming.
A Raspberry Pi Pico Smart Car project is great for several reasons:
- It is affordable: the kit is low-cost, combining inexpensive components that make the project accessible for all budgets.
- It is versatile: The smart car can be programmed to do a variety of tasks, from remote control to following a line and avoiding obstacles.
- It is educational: The Raspberry Pi Pico Car is a great way to learn about electronics and programming. It can teach beginners about programming, circuits, and sensors, as well as more advanced topics like control theory and robotics.
- It is customizable: Because the software is open-source, users can modify and customize the smart car to fit their needs. This can range from adding more sensors to changing the body of the car.
- It is fun: Perhaps most importantly, a Raspberry Pi Pico Car is a fun project that can provide hours of entertainment and education. Building and programming the car can be a rewarding experience, and watching it move into your home or perform your tasks can be satisfying.
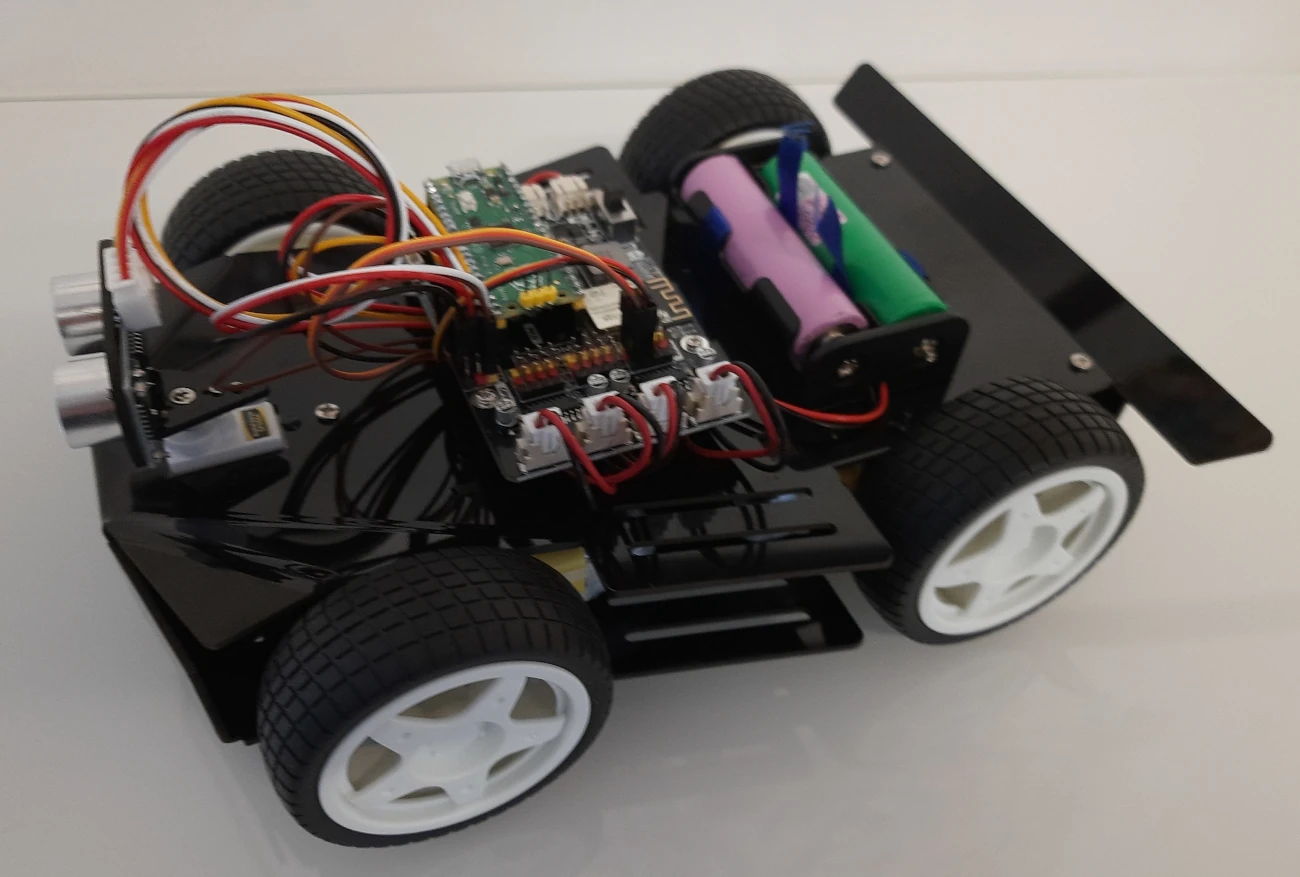
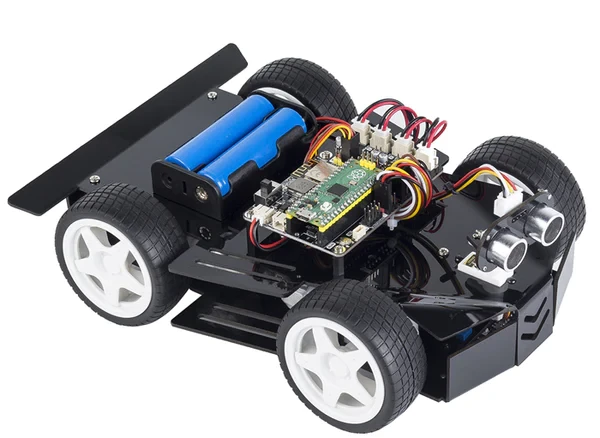
The SunFounder Pico-4wd
The SunFounder Pico-4wd is a small, four-wheel-drive robot car kit, designed to be controlled by the Raspberry Pi Pico microcontroller.
The kit comes with all the necessary components, including the robot car chassis, four motors, a battery holder, a motor driver board, and various sensors such as an ultrasonic sensor and a line-following sensor. The kit excludes only the two 18650 batteries required to power the car (you must buy them separately).
The SunFounder Pico-4wd is easy to assemble and includes detailed instructions, making it accessible to beginners. However, it also offers a range of customization options, such as adding additional sensors or modifying the programming code, which can provide a challenge for more advanced users.
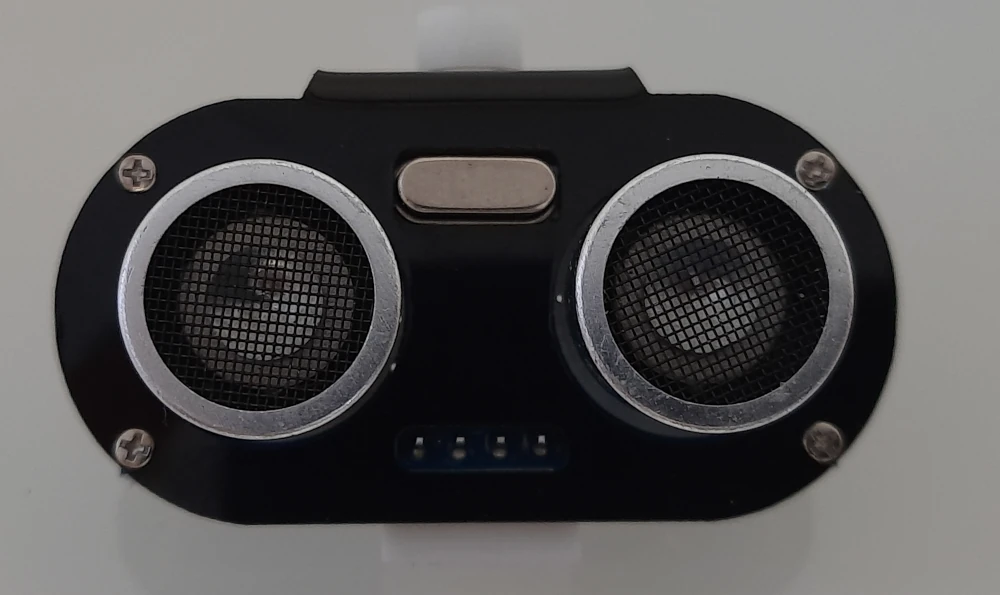
It can be controlled using a remote control or programmed to navigate autonomously using its sensors. The ultrasonic sensor allows the robot to detect obstacles and avoid collisions, while the line-following sensor allows it to follow a line on the ground.
What We Need
As usual, I suggest adding from now to your favourite e-commerce shopping cart all the needed hardware, so that at the end you will be able to evaluate overall costs and decide if to continue with the project or remove them from the shopping cart. So, hardware will be only:
- SunFounder Pico-4wd (you can also find it in SunFounder Shop). It already includes the Raspberry PI Pico microcontroller
- two 18650 batteries
- a 18650 battery charger (to charge your batteries)
Assembling the Raspberry PI Pico car kit
Before starting, I suggest taking with you a bit of tape. It will be useful to keep fixed the wires when assembling the parts.
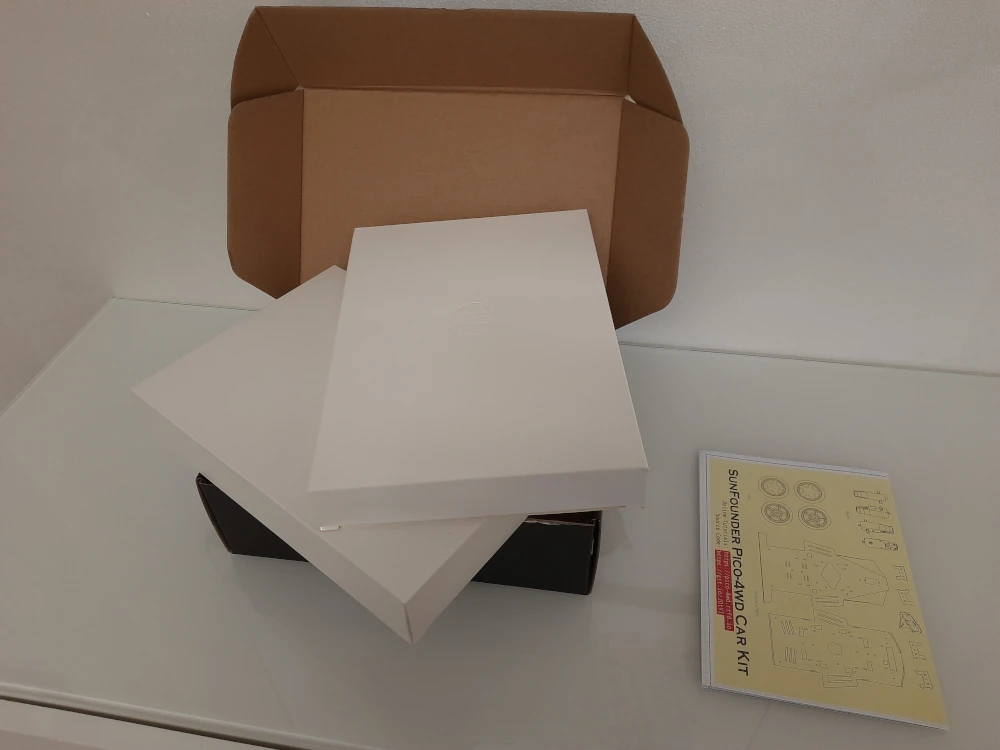
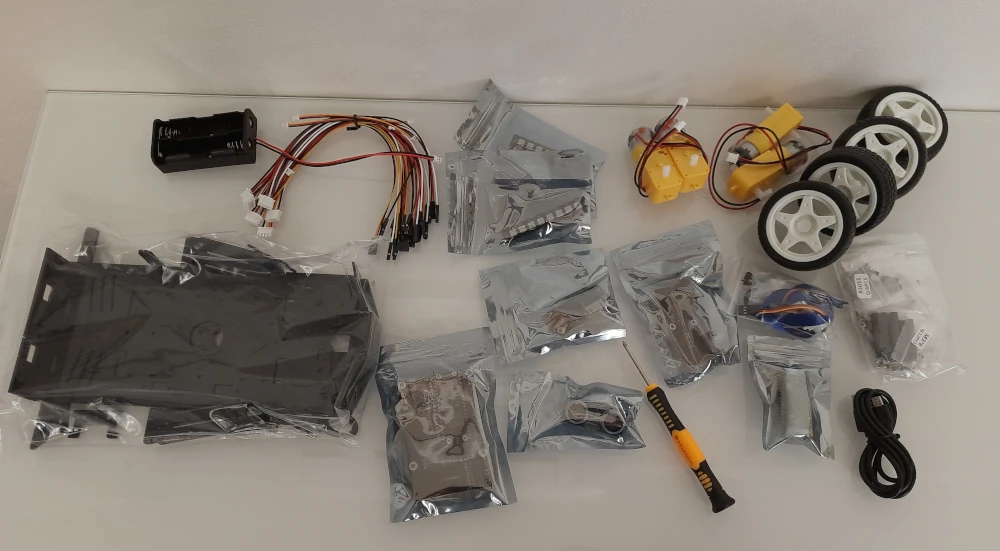
The kit comes with a good package that includes all the parts:
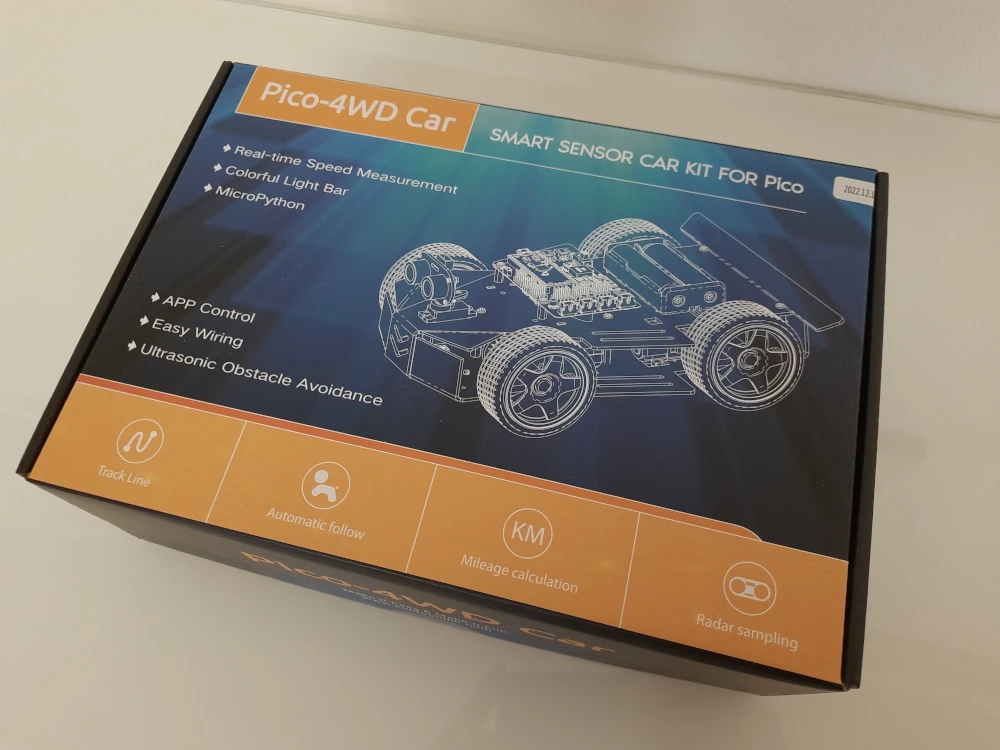
Besides the instruction sheets, two boxes will enclose all the parts, wires and screws:
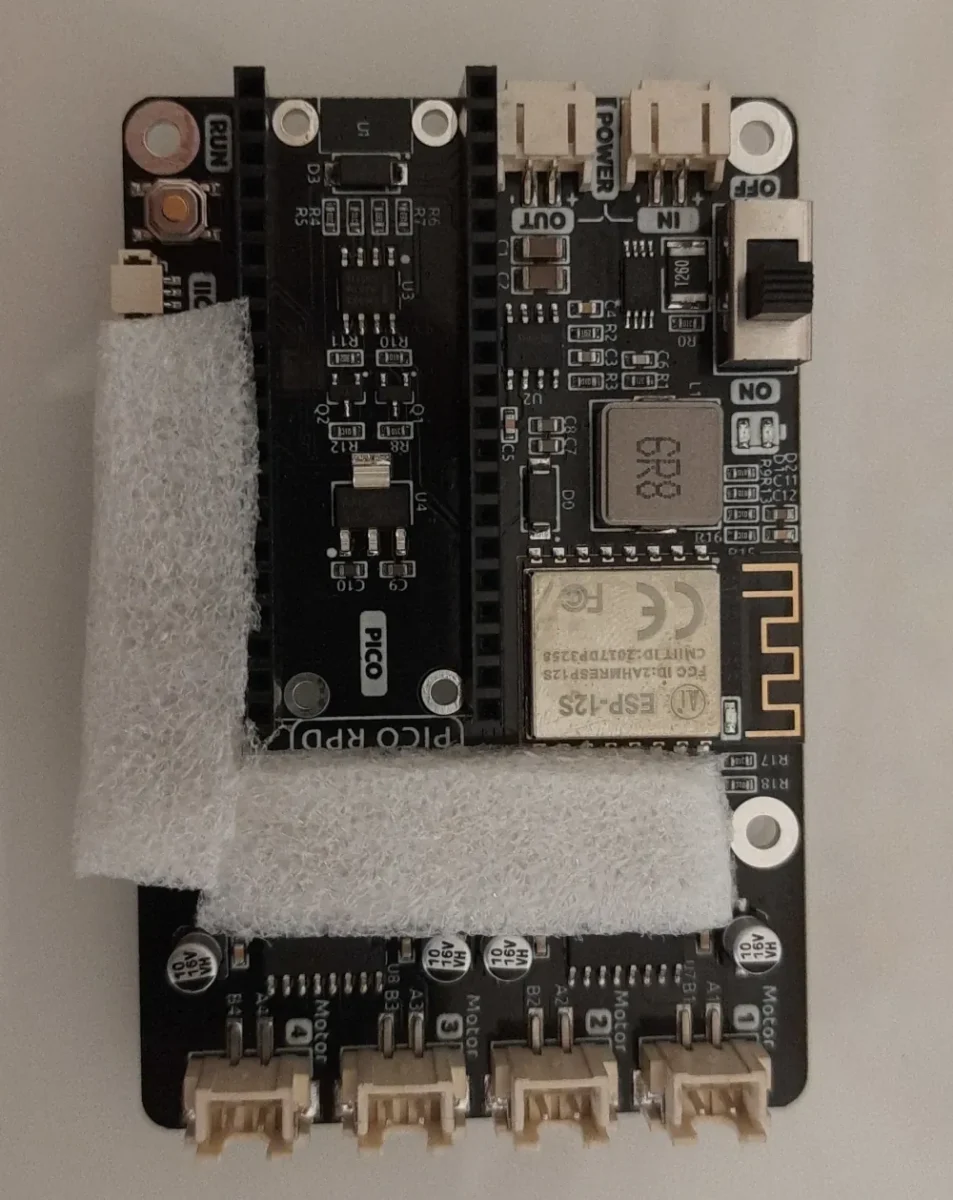
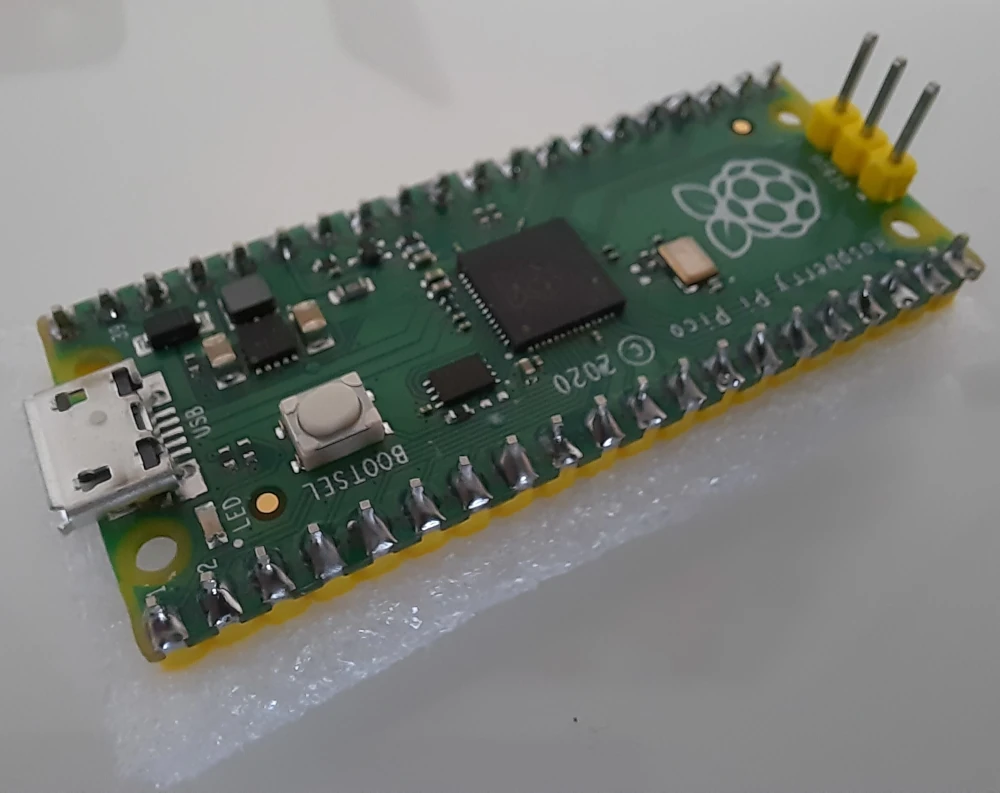
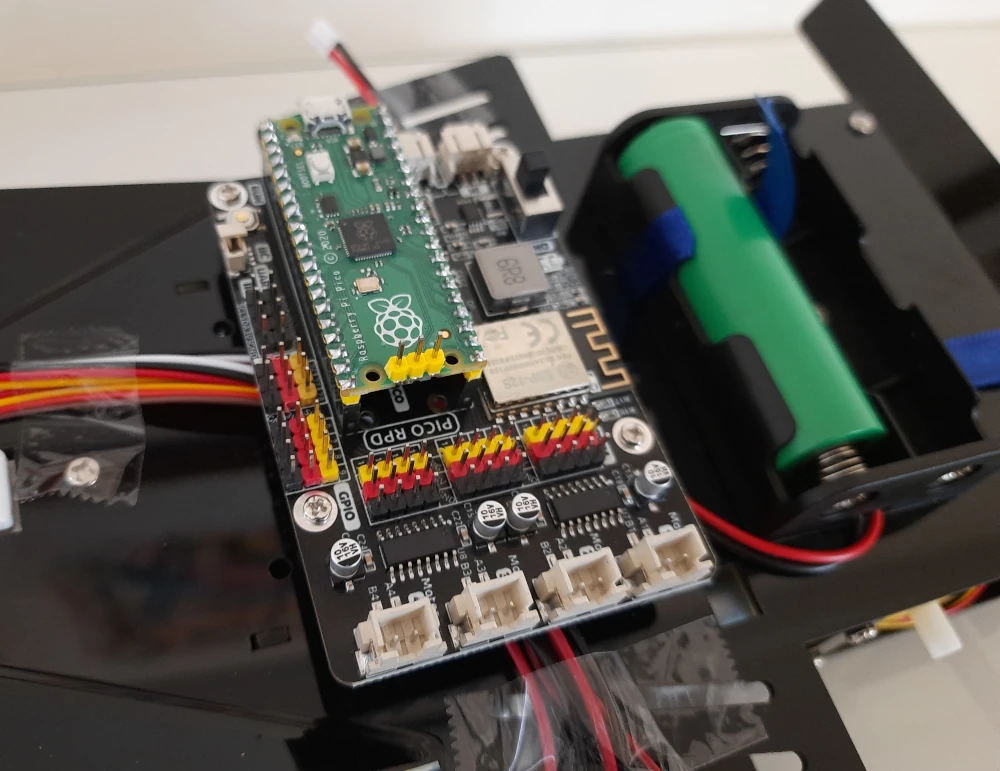
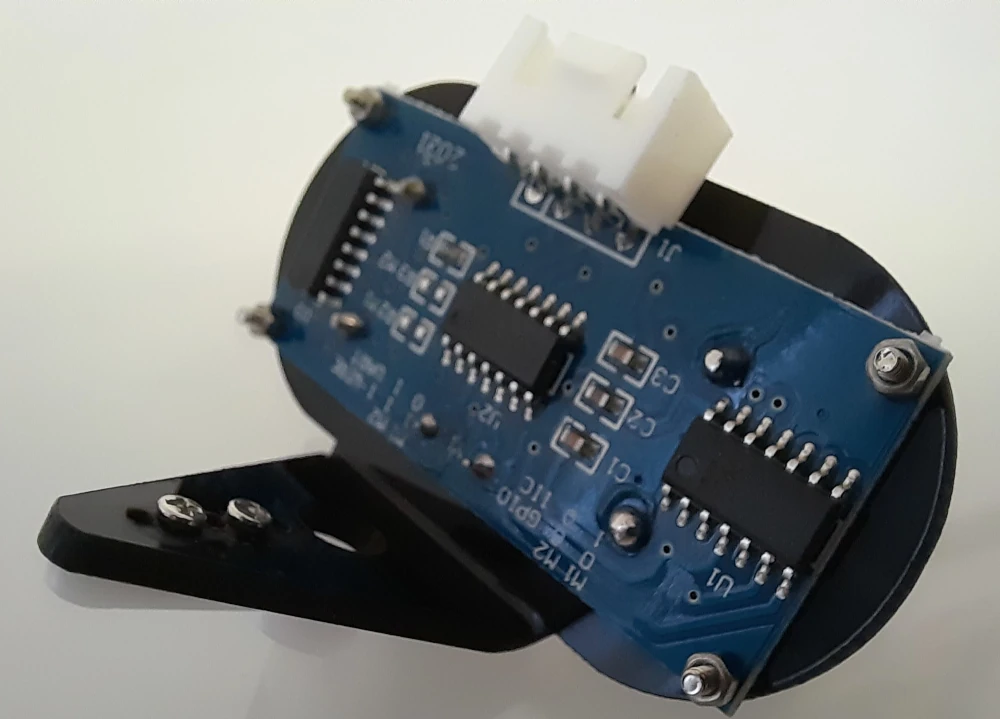
The core part will be the Pico RDP, a PCB board that will host our Raspberry PI Pico and will make all the connections simpler:
Moreover, the instructions sheet is really clear to follow, and it is available in electronic format at https://github.com/sunfounder/sf-pdf/raw/master/assembly_file/a0000648-pico-4wd.pdf.
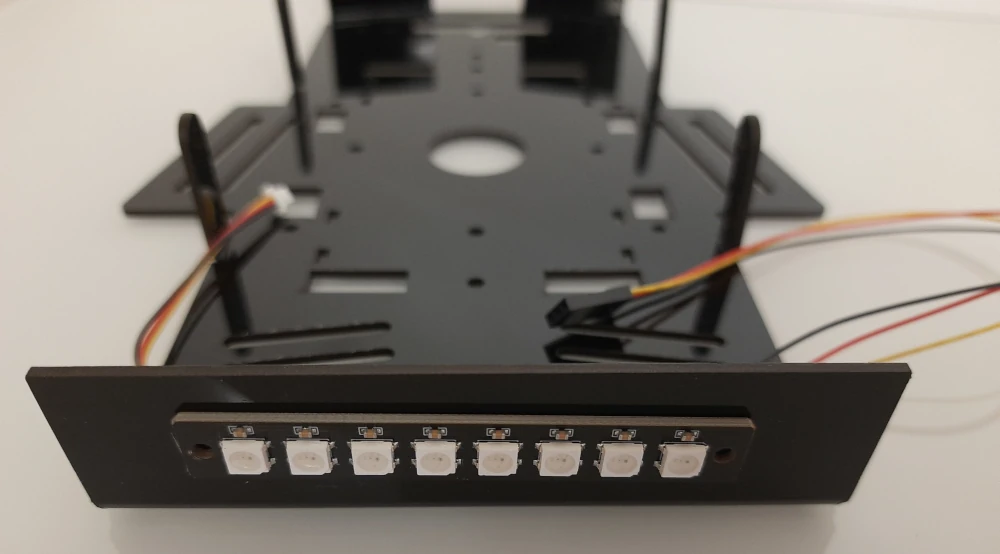
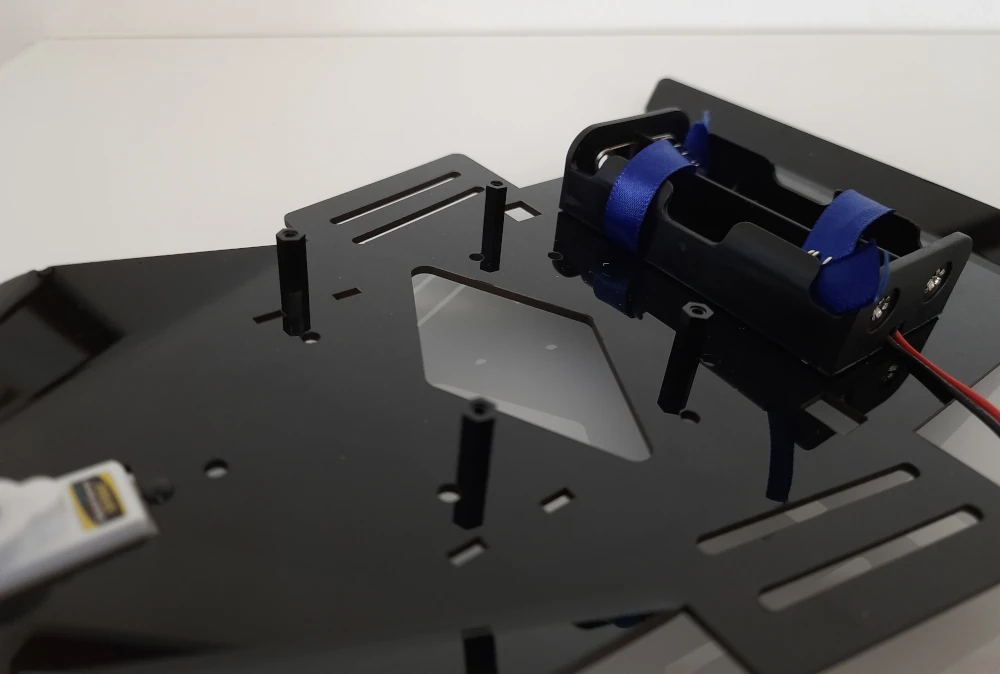
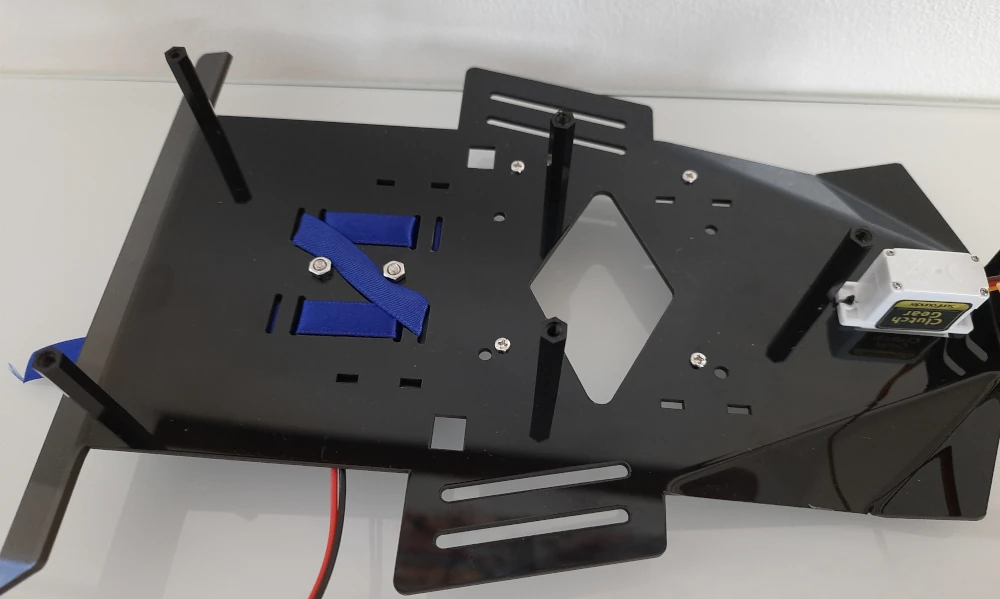
The following pictures will show you the assembly process. You can refer to the following pictures in case of doubts while mounting your pico-4wd kit.
Pico-4wd assembly pictures
Many parts are fixed with plastic rivets. They are a common assembling part, faster than screws and nuts, and are often used in bikes and real-world cars. They can be installed and removed in case of errors, but when you’ll remove them you have to be careful to avoid breaking them, even if this is really rare. In any case, the pico-4wd kit include also spare parts for every rivet size. When mounting, please check that the head is pushed till the end as in the following pictures.
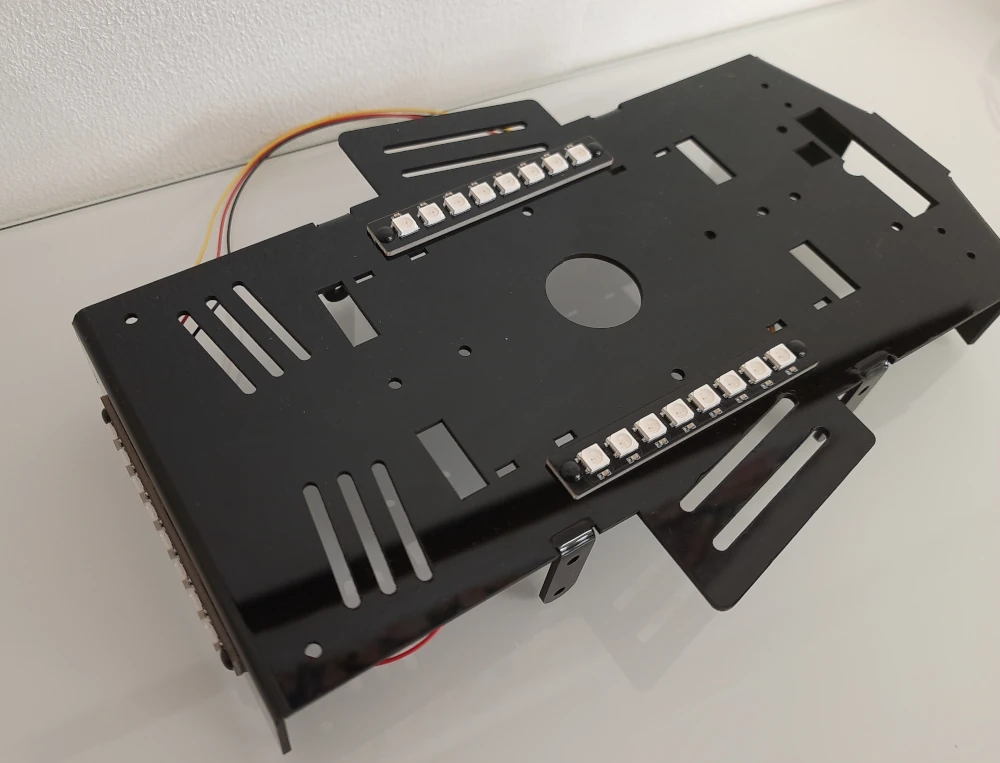

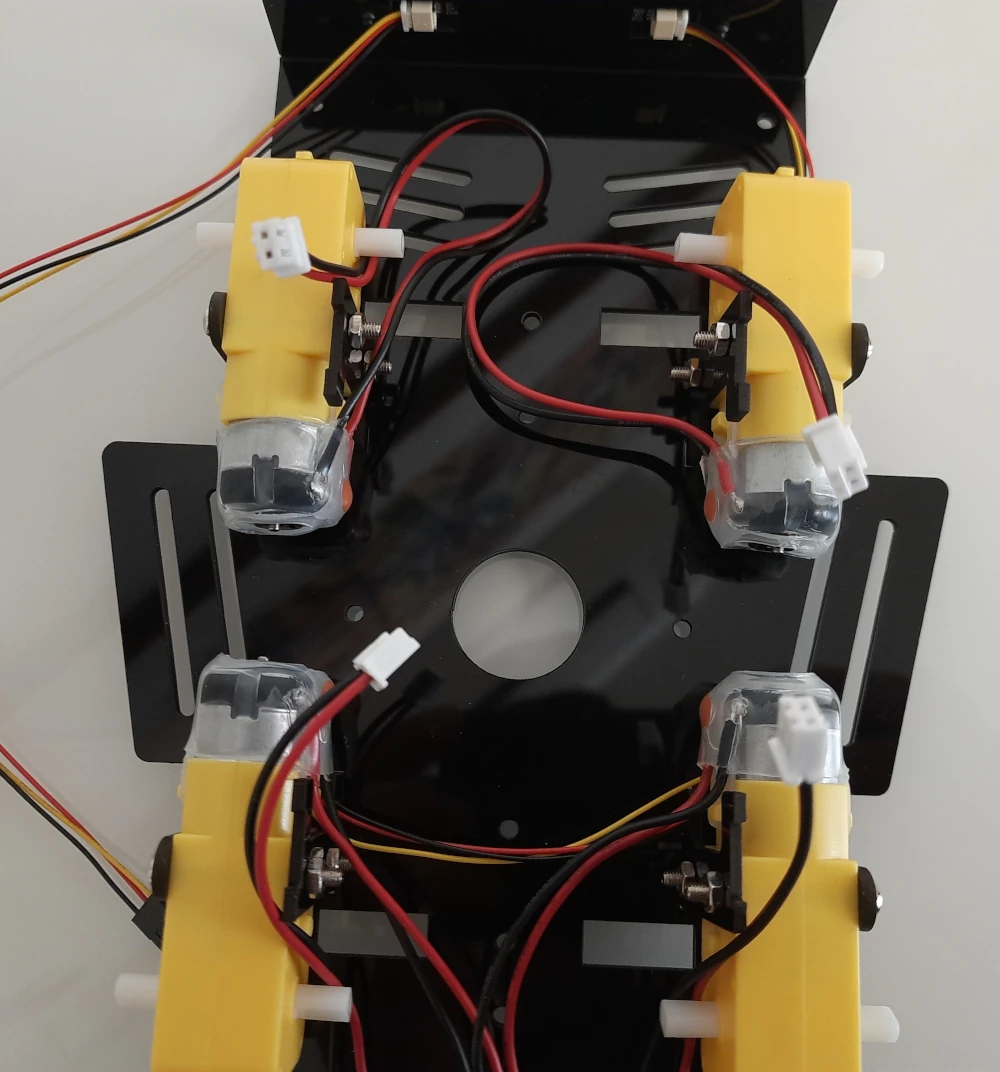
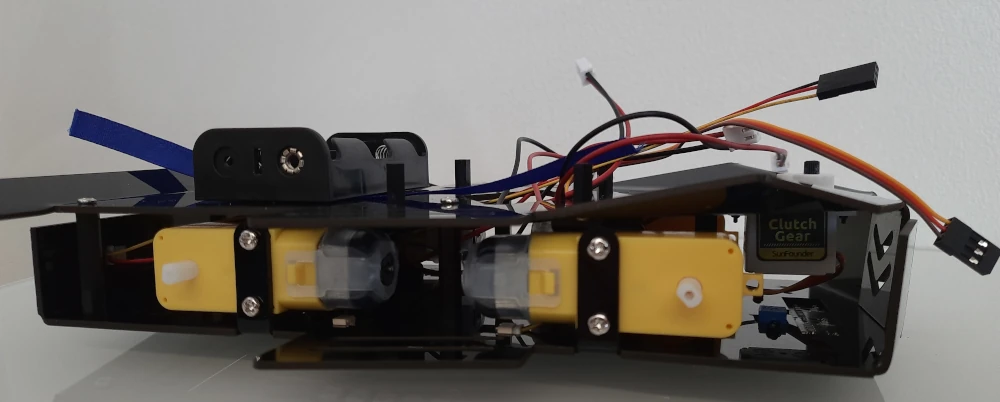
While mounting the motors, take care in mounting them in the right position. The motor side with cables must be routed to the internal side, as in the following pictures.
I suggest attaching labels to the motor cables, in order to easily identify what is the front-left, front-right, rear-left and rear-right. These labels are not available in my pictures, as I realized this only at a late stage.
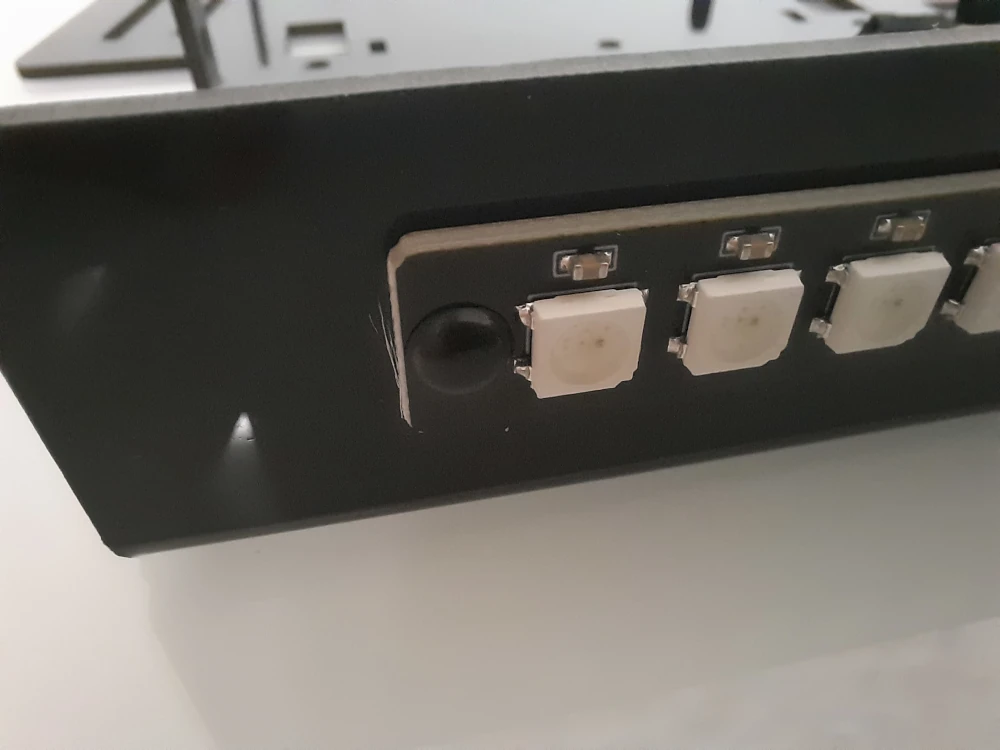
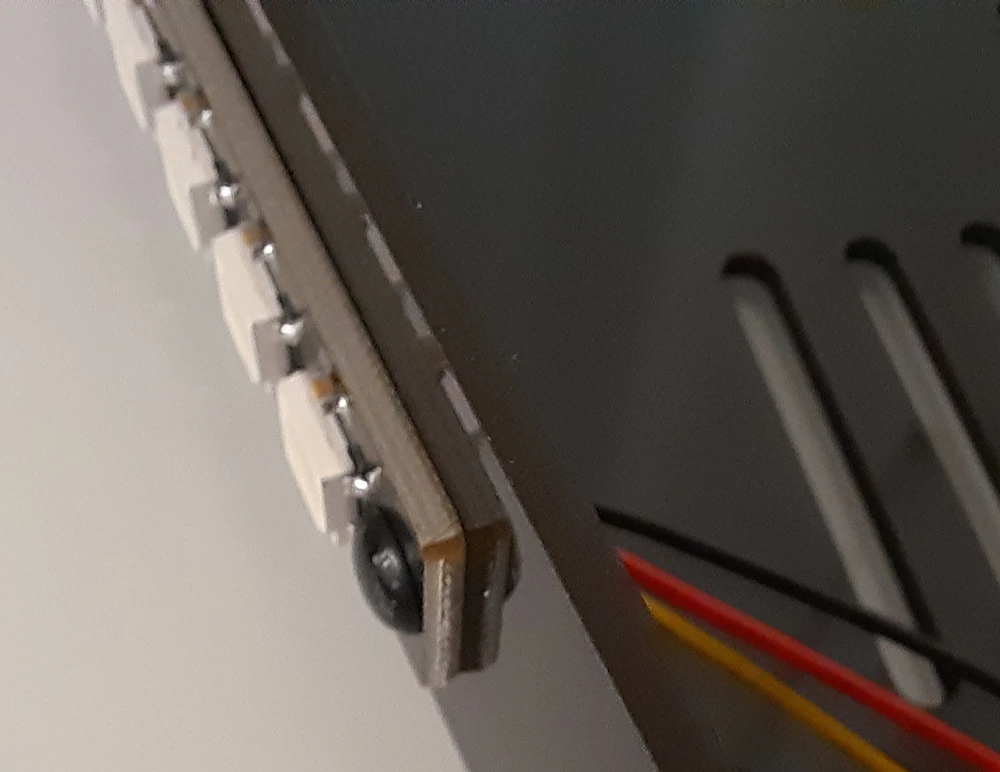
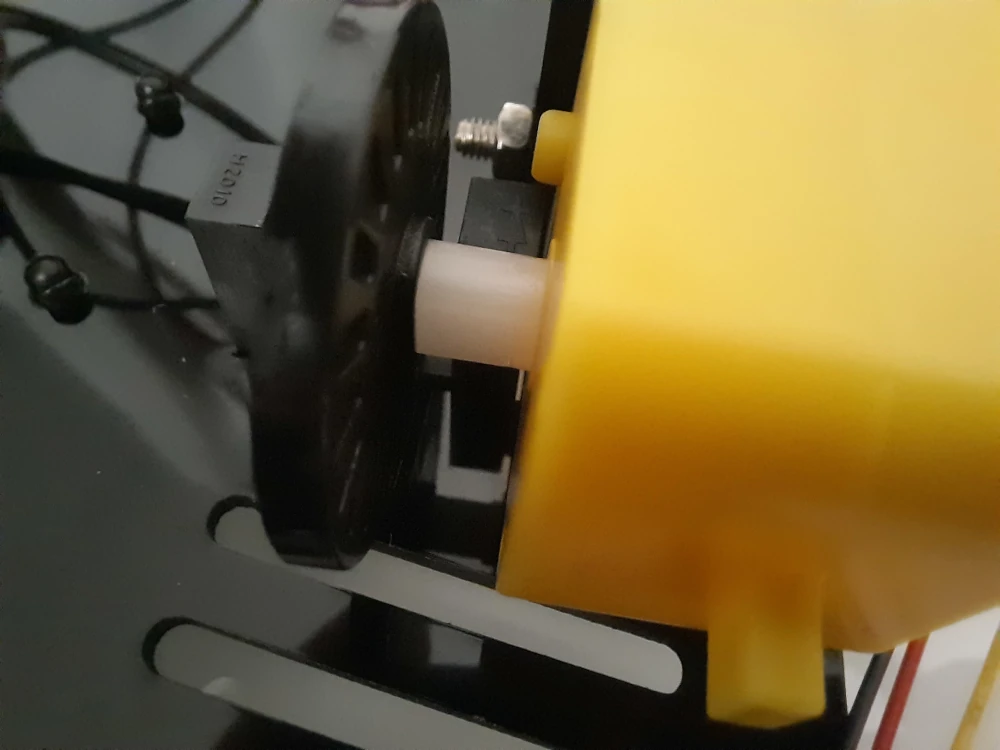
Another point of attention goes to the encoder disks. Even if they may appear symmetric, they have a side with a small distance and the other side without:

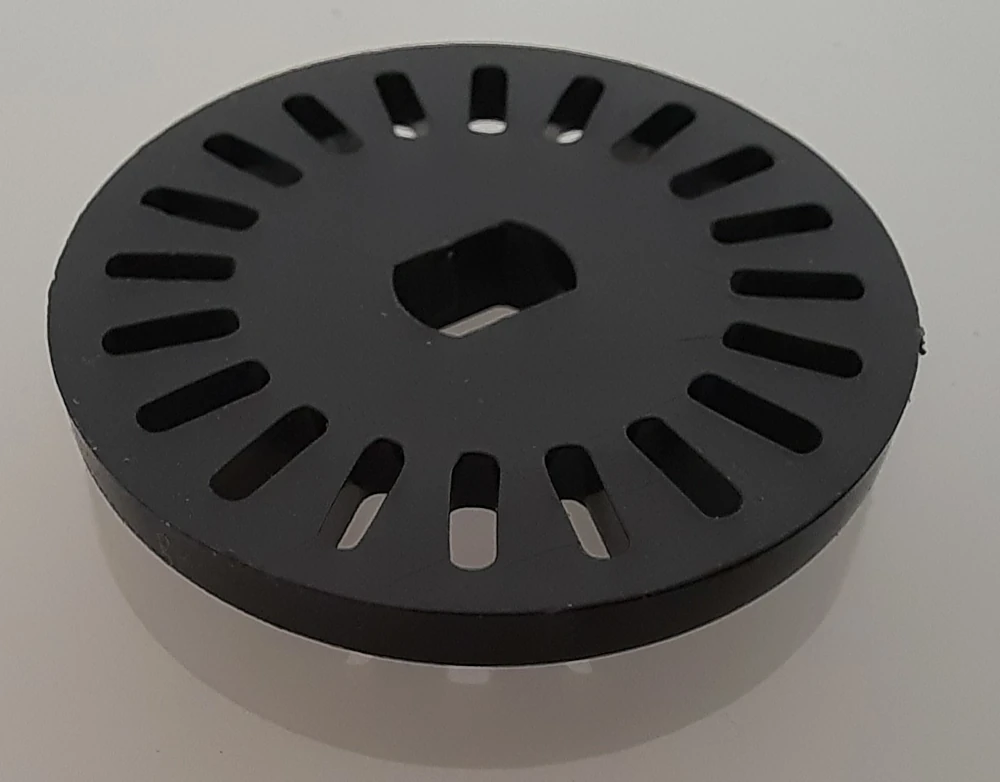
The distancer should be mounted in the direction of motor, as in the following pictures.
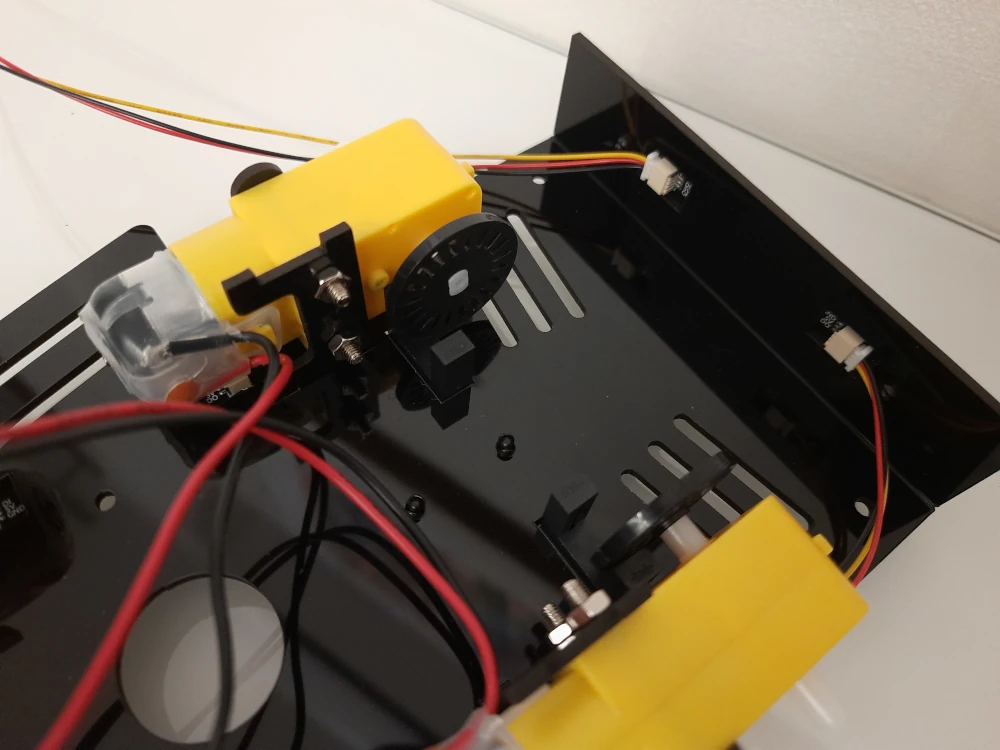
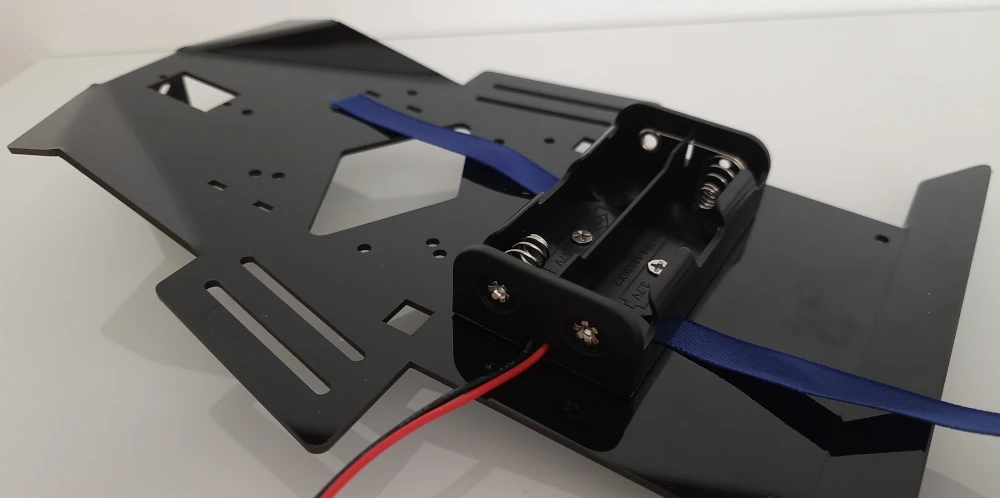
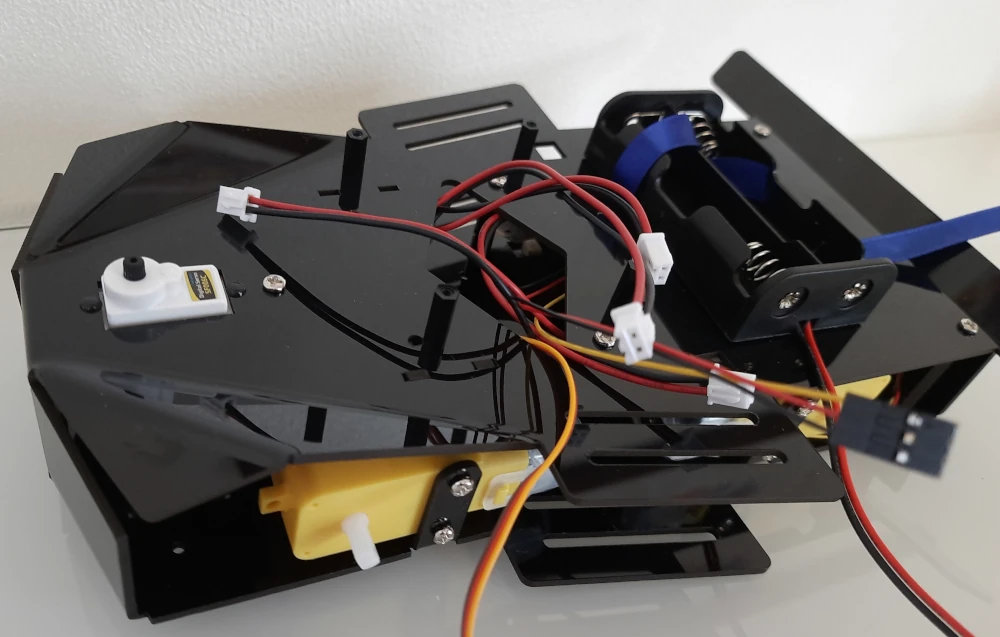
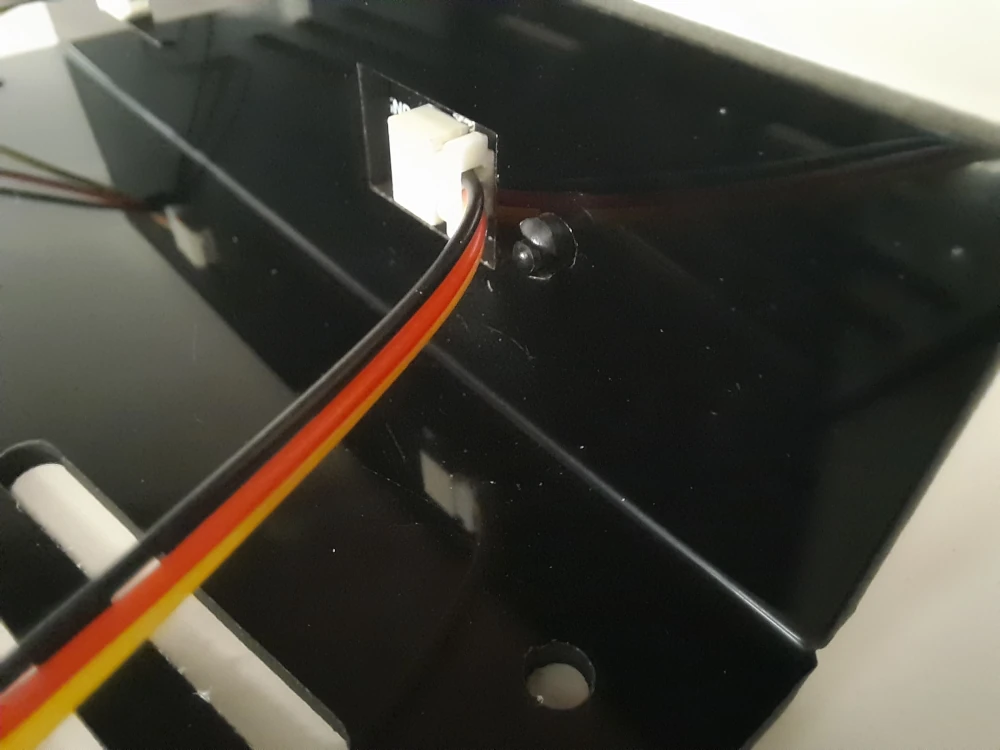
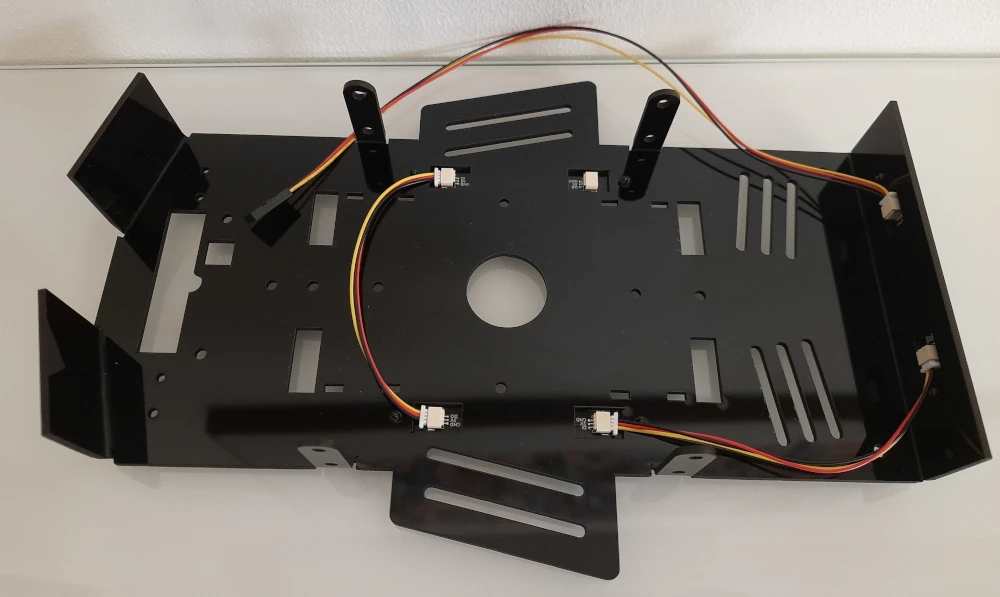
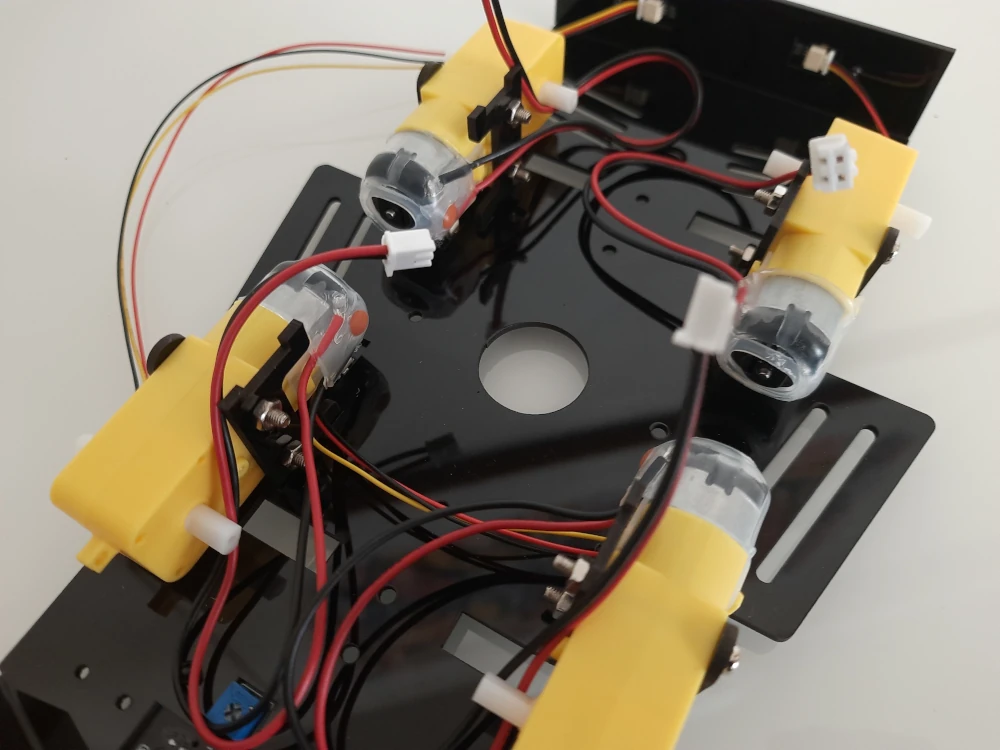
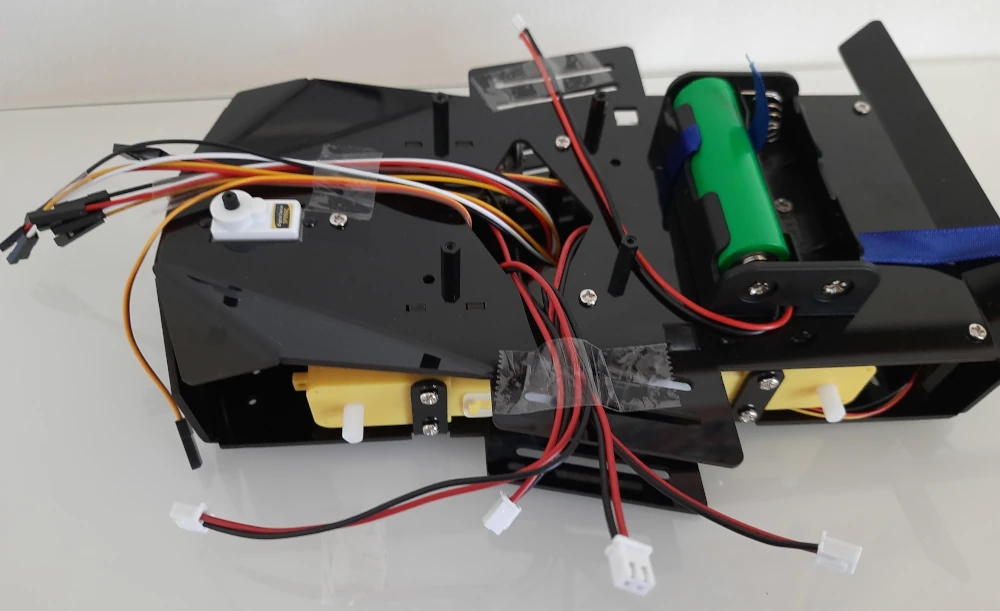
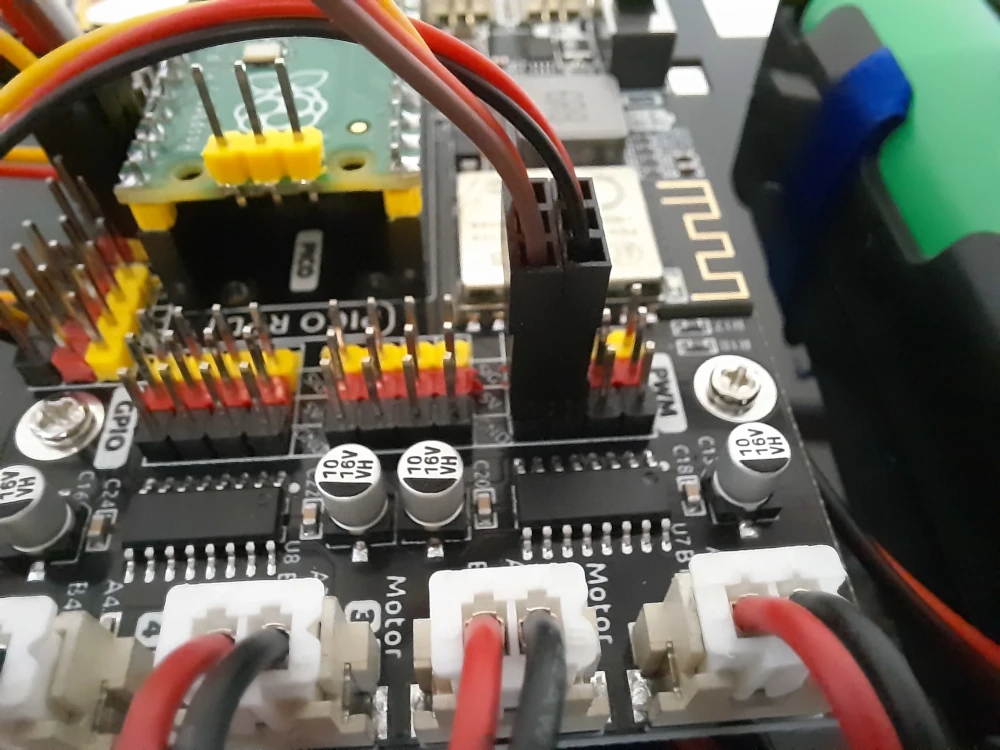
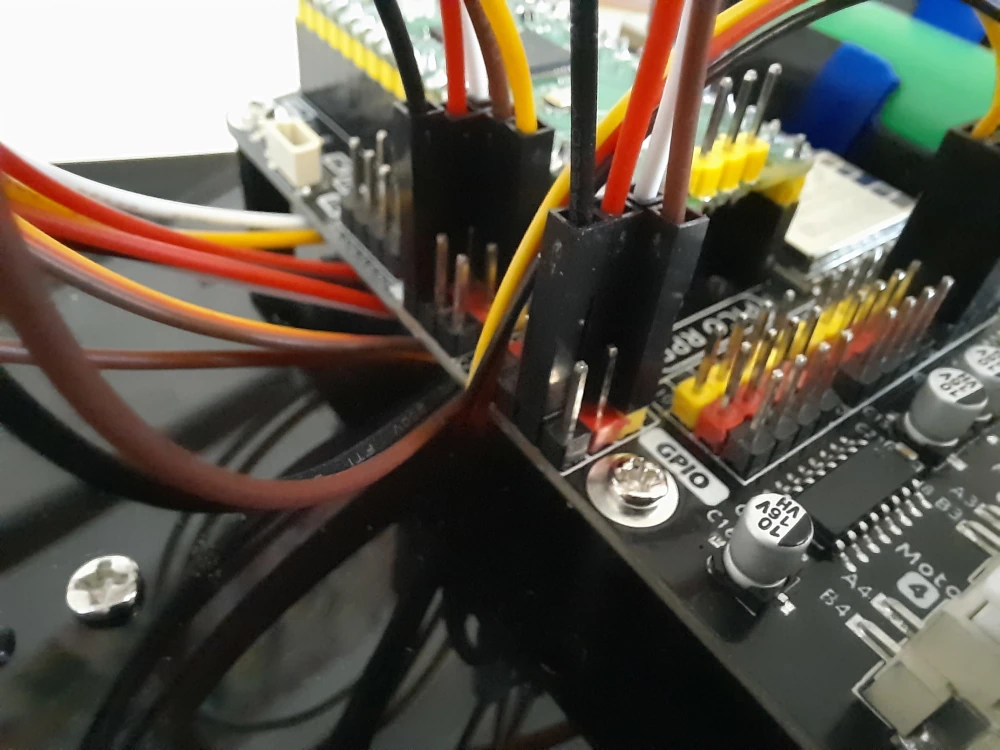
At this point, the cables start to be a lot. Using tape to keep together the cables coming from each sensor (at least for the greyscale sensor and the speed sensor) will help you to make the assembling more ordered.
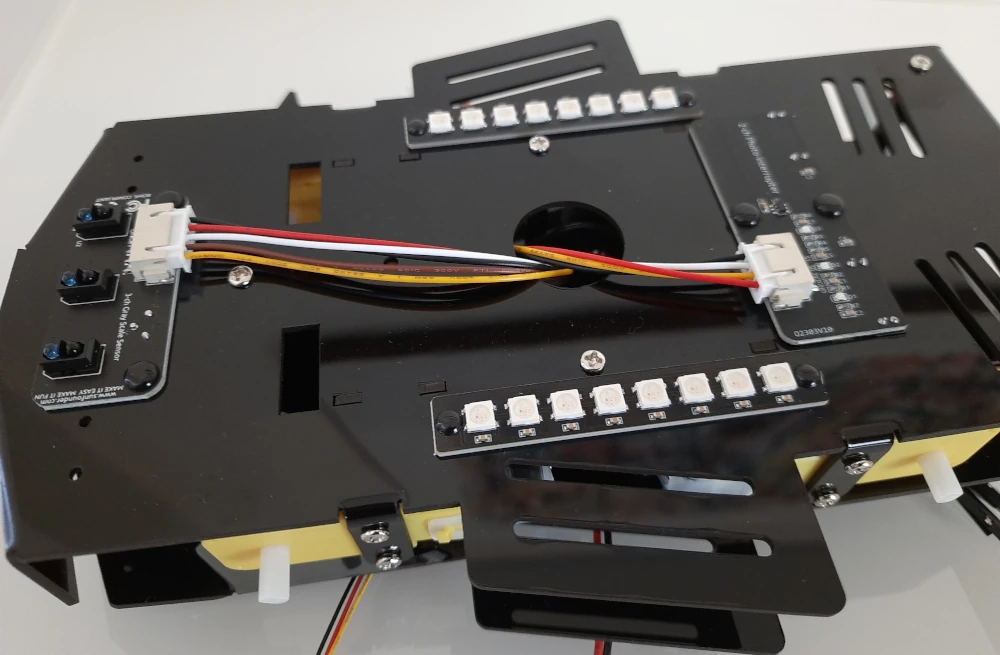
Also, when passing all the cables to the upper side of the car, using tape will help you to fix them and mount the Pico RDP in a simpler way.
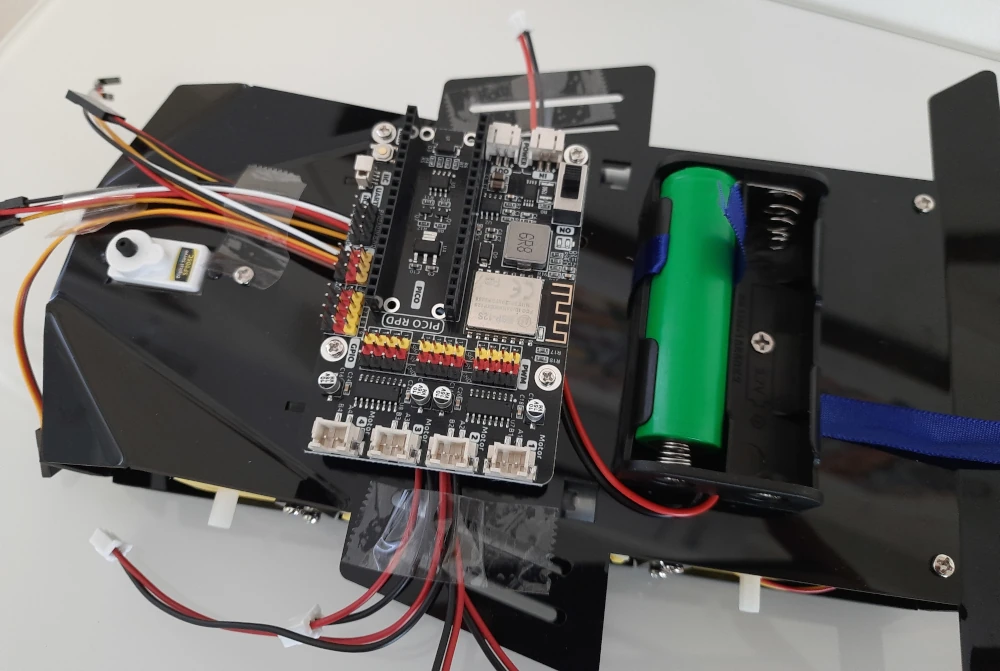
The included Raspberry PI Pico has the headings pre-soldered. This is really useful as there is no need of soldering actions from you.
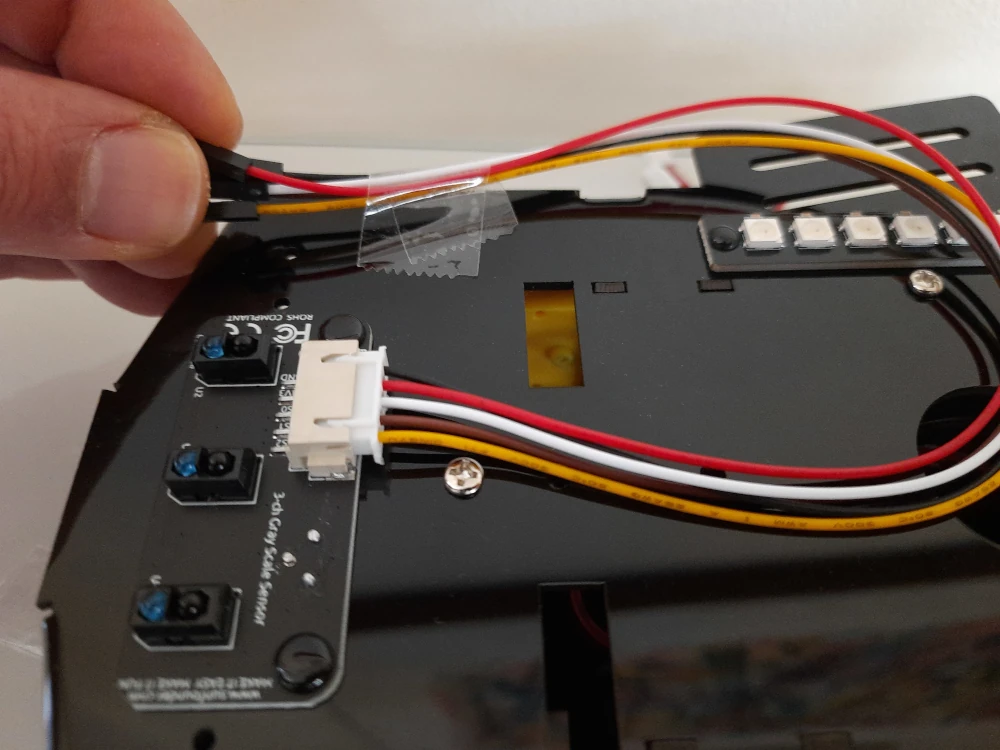
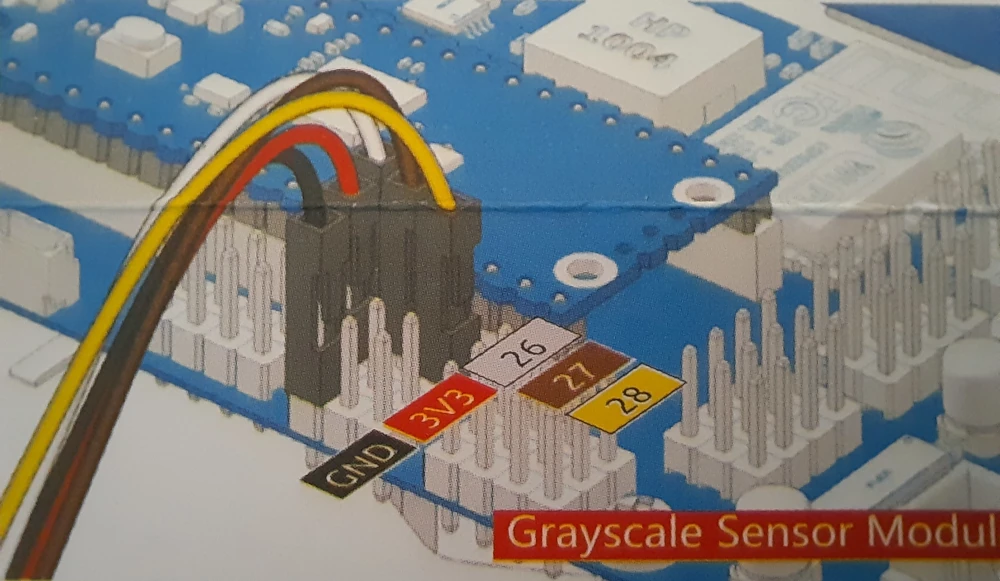
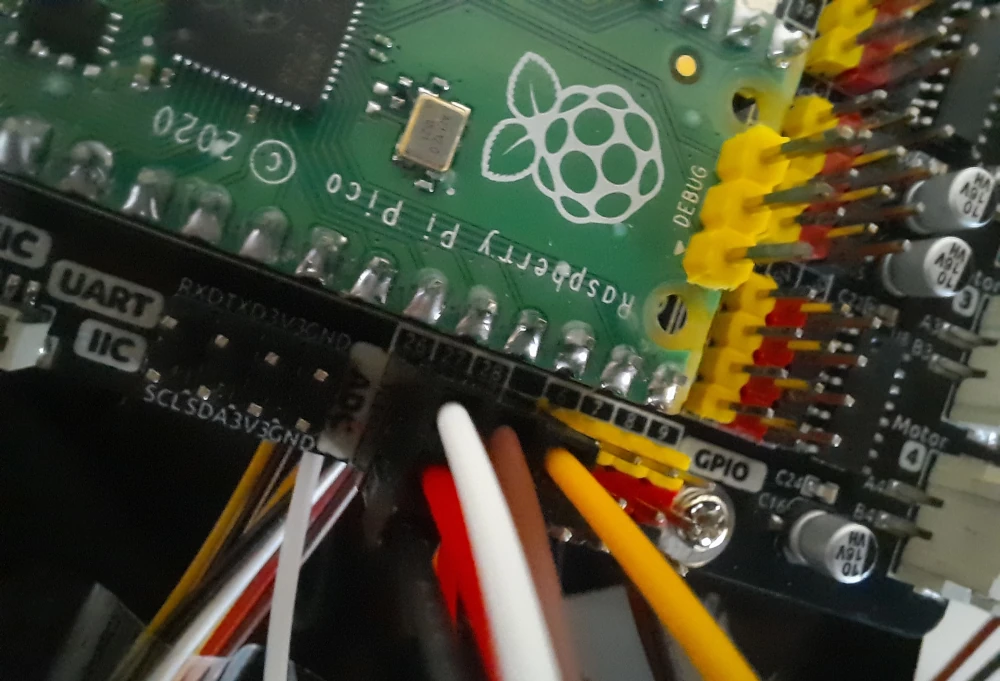
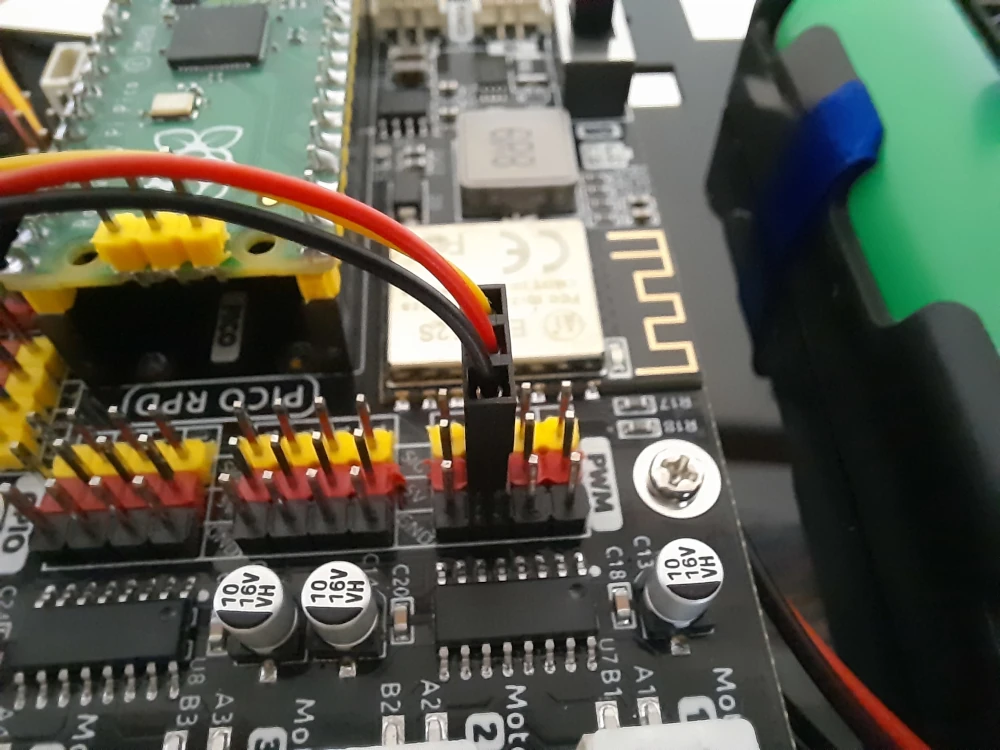
Every PIN from the Pico RDP has a label showing the PIN number (in the following picture, the PINs 26, 27, 28, 6, 7, and so on). This is really useful when plugging the connectors.
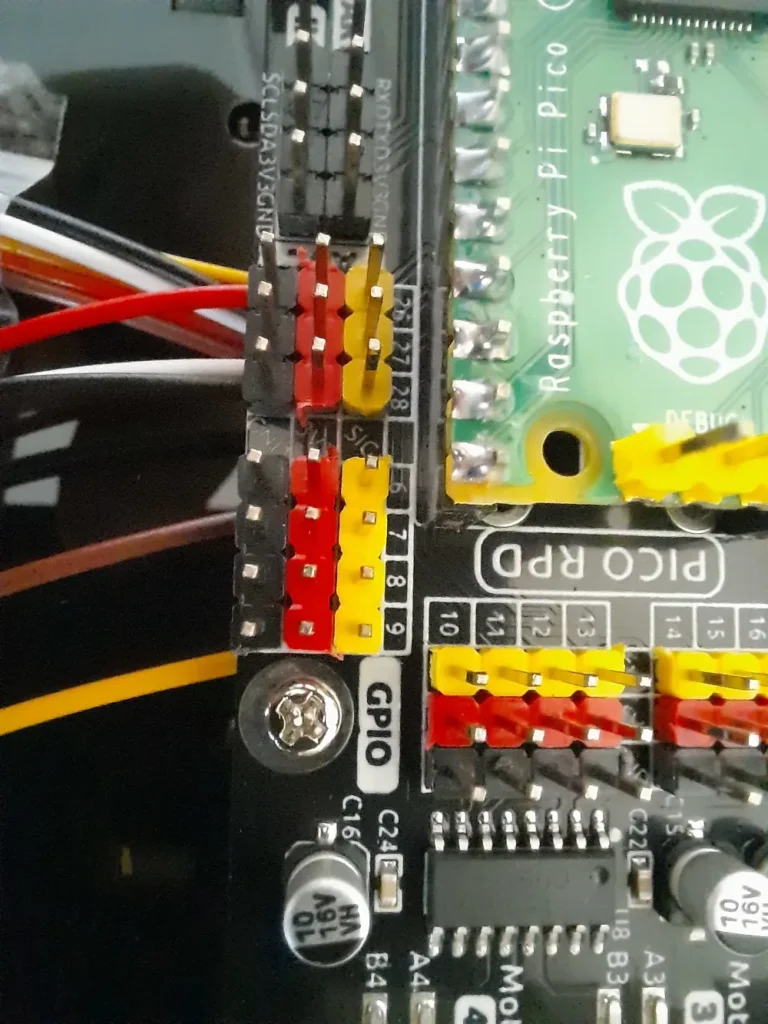
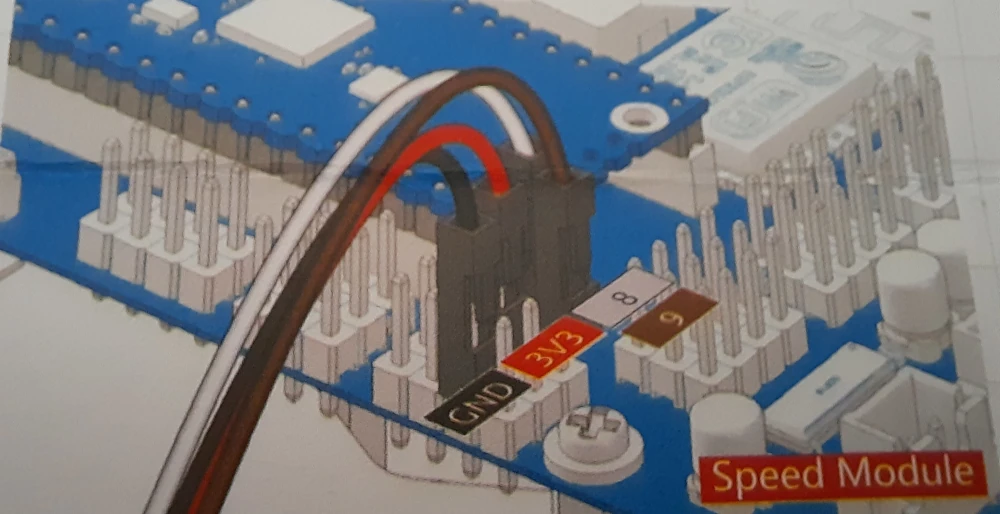
Using the instructions sheet, you will find for each connector a picture showing the PIN’s number and color. For example, the following picture shows clearly that the Grayscale Sensor has 5 connectors and the white goes to PIN 26, the brown to PIN 27, the yellow to 28 and so on.
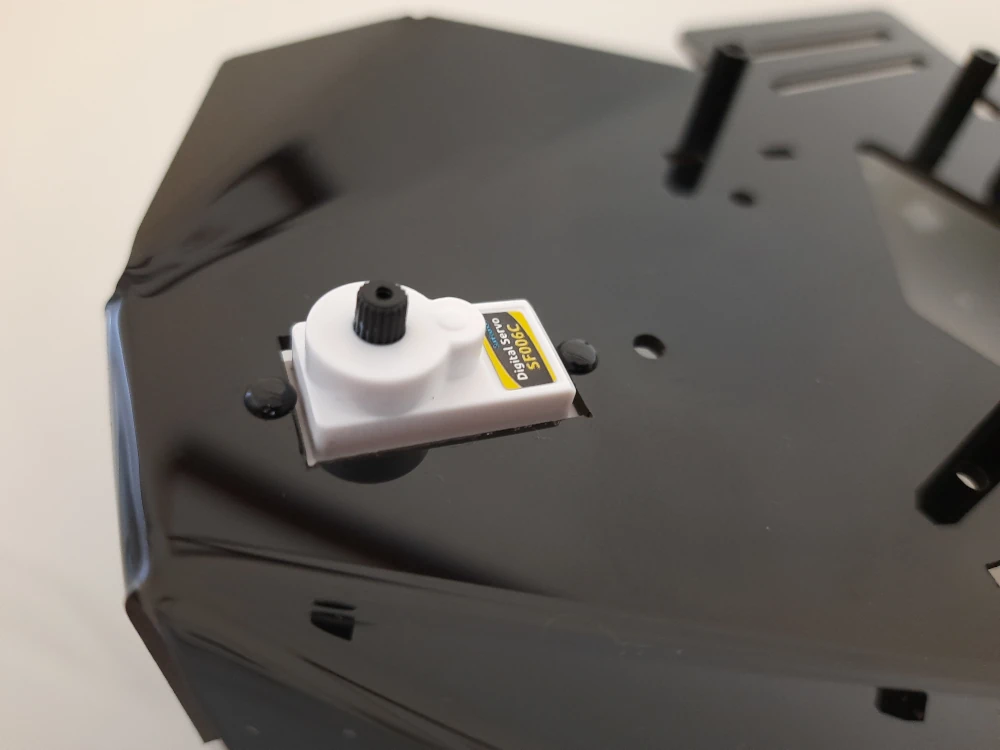
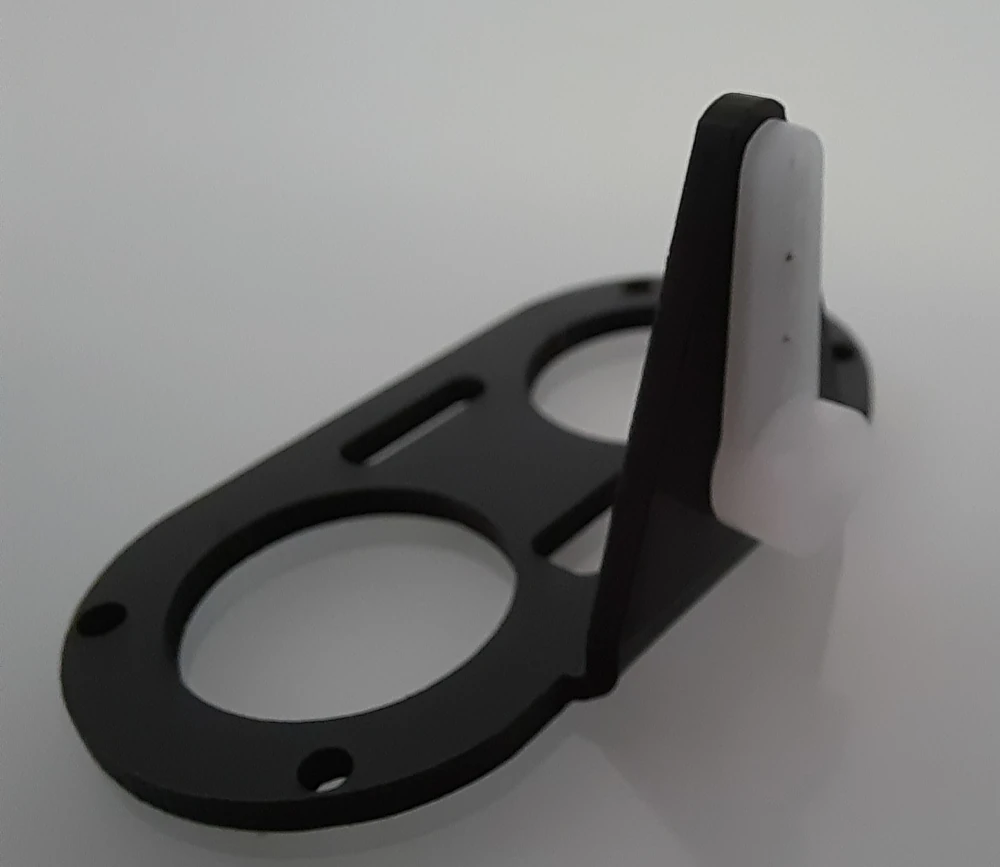
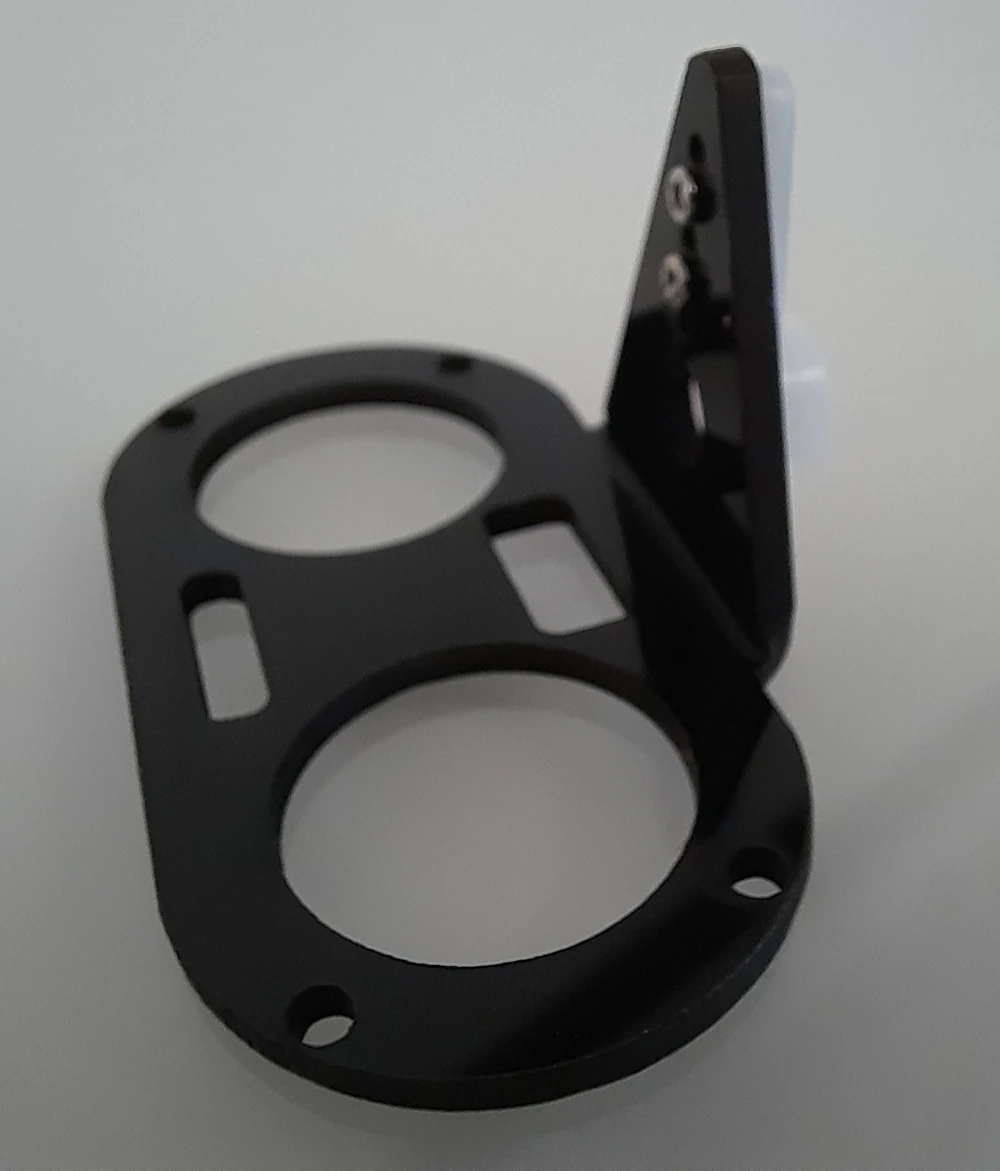
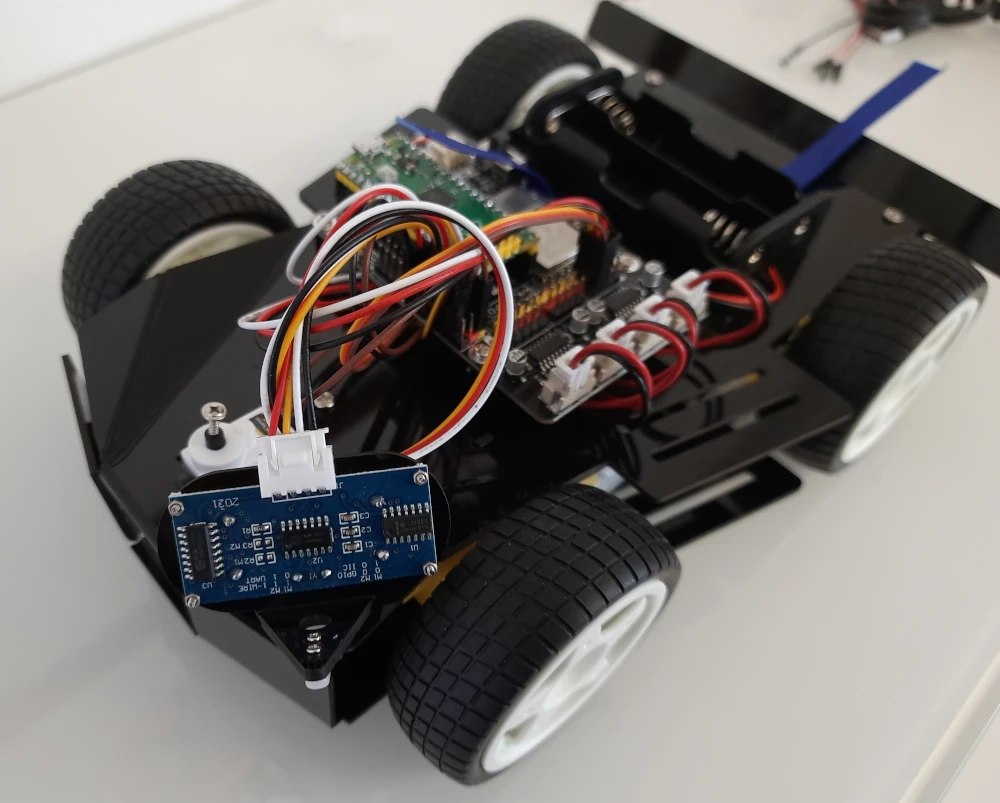
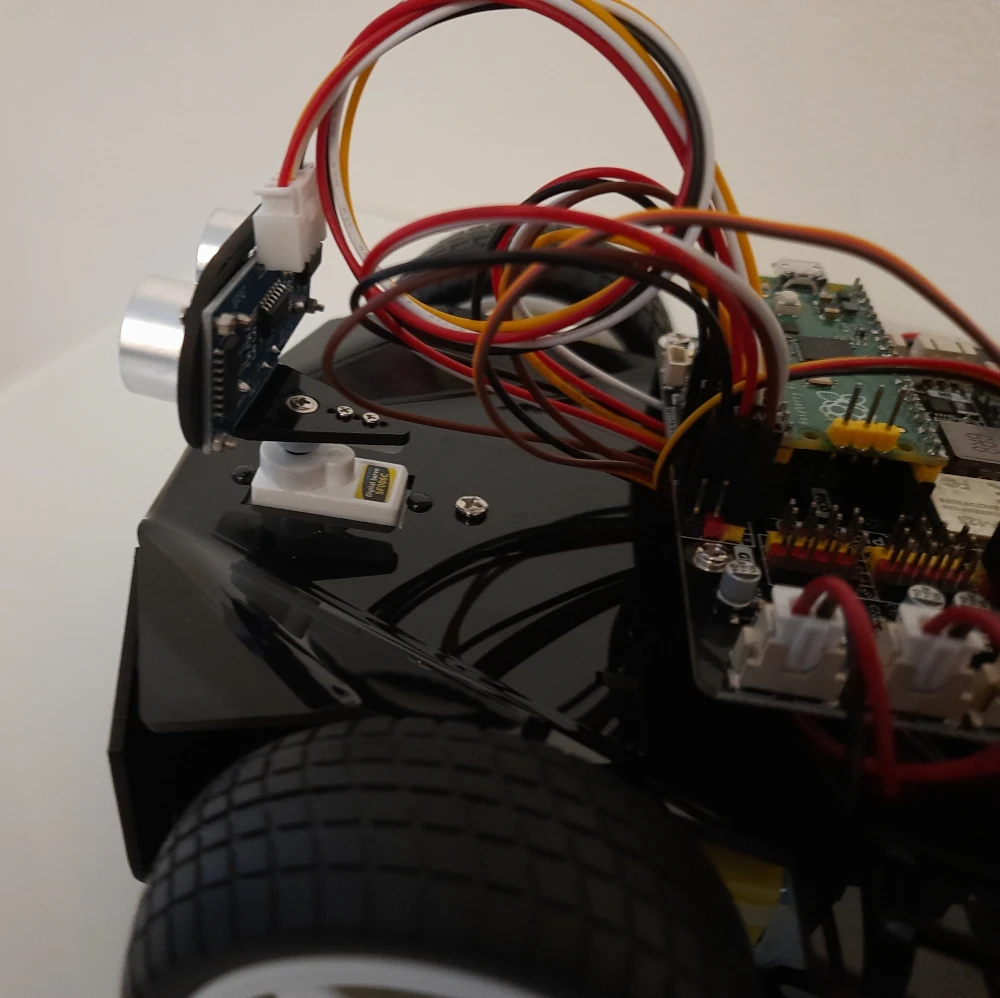
The eye plate that will include the ultrasonic sensor module can be assembled now, but you must avoid attaching it to the servo before performing the servo tests as described in the following chapter.
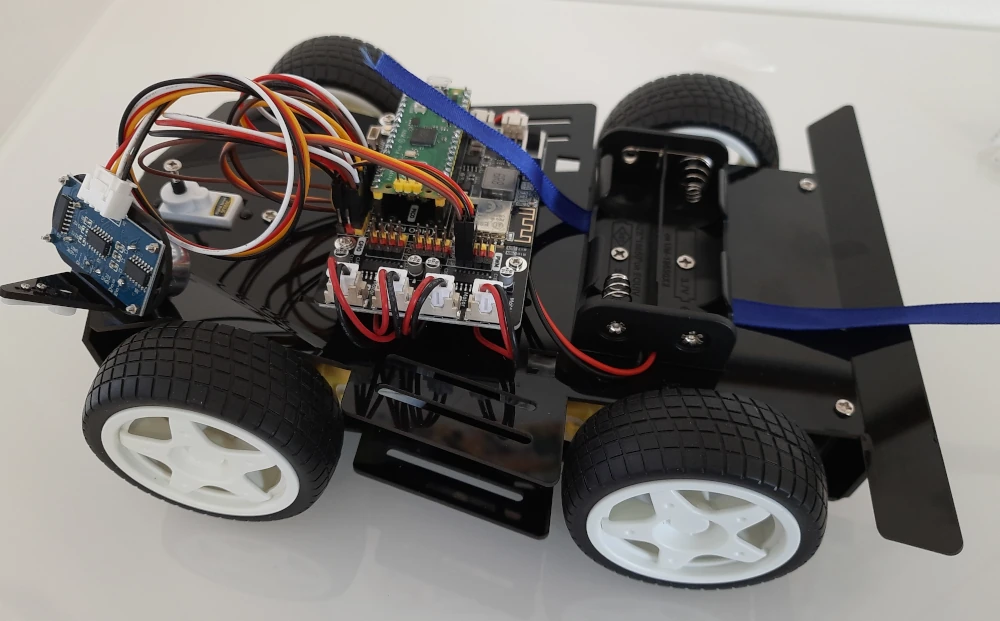
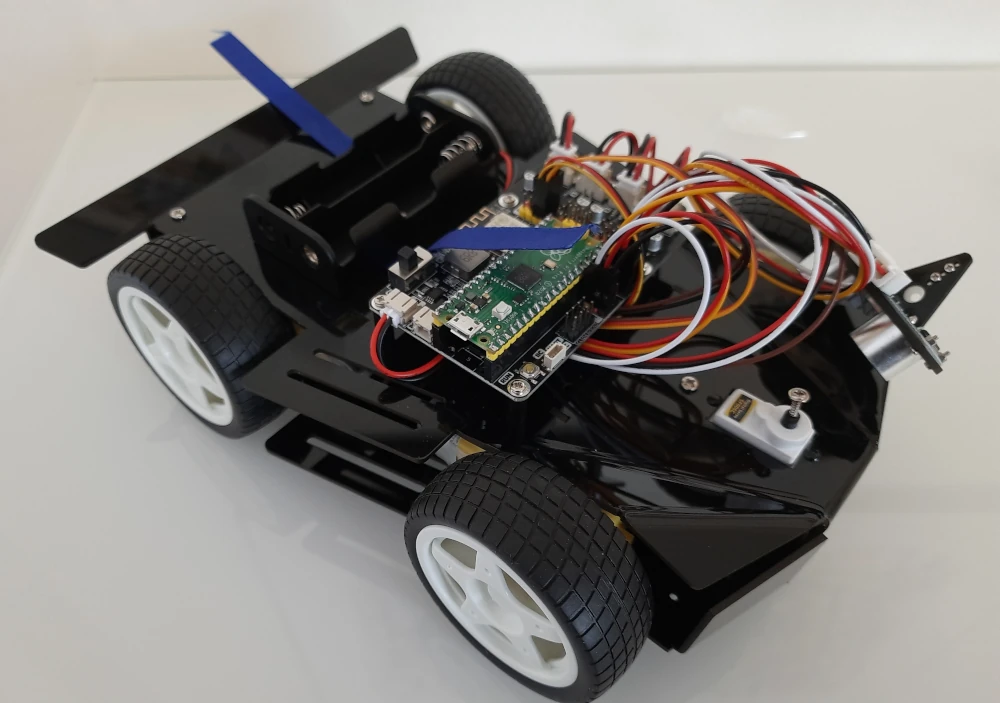
The Raspberry PI Pico car is now ready from the hardware side. We can now move to the software.
Installing the Raspberry PI Pico car software
The core of Pico-4wd car is a Raspberry PI Pico. And it works with MicroPython.
For this reason, the software preparation steps will be similar to my First steps with Raspberry PI Pico for Beginners tutorial for any doubt.
You have to start by installing Thonny on a remote computer that will be used to program the Raspberry PI Pico.
On Raspberry PI Pico, push and hold the Bootsel button and plug the cable between your microcontroller and your computer. You can now install the MicroPython firmware according to the above referenced tutorial. By the way, your Thonny IDE may show different versions for Pico and Pico W, please use the Pico one.
Please download the Pico-4wd libraries to your computer from the SunFounder GitHub page: https://github.com/sunfounder/pico_4wd_car/archive/refs/heads/main.zip. Once downloaded, please extract them in a folder of your PC.
From the Thonny files explorer, enter the folder where you have extracted the libraries (click View -> Files in Thonny if you don’t see the file explorer):

Select all the 3 files available in the libs folder, right-click with your mouse, and click on “Upload to /”
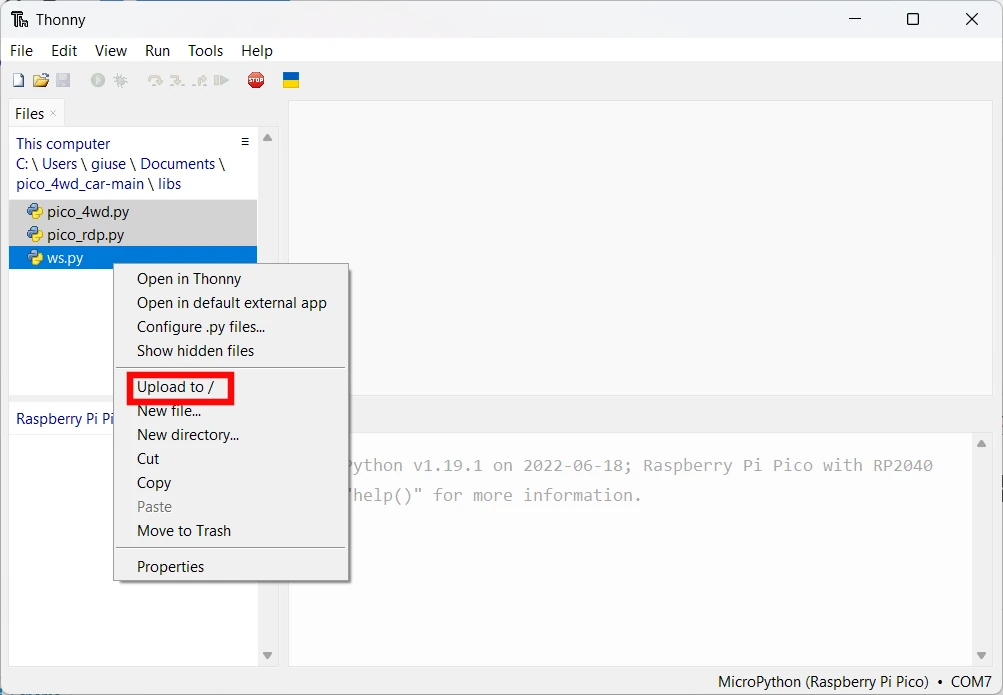
This will upload the libraries in your Raspberry PI Pico storage, at the root directory.
Pico-4wd Tests
Before having our Pico-4wd car running in our home, we need to perform some basic tests.
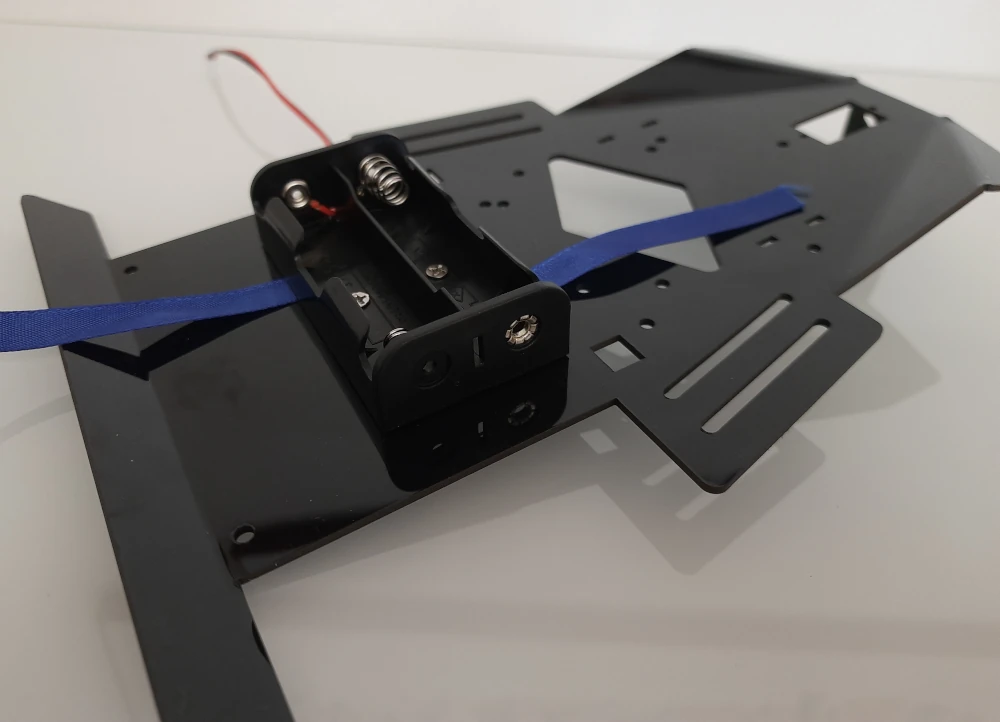
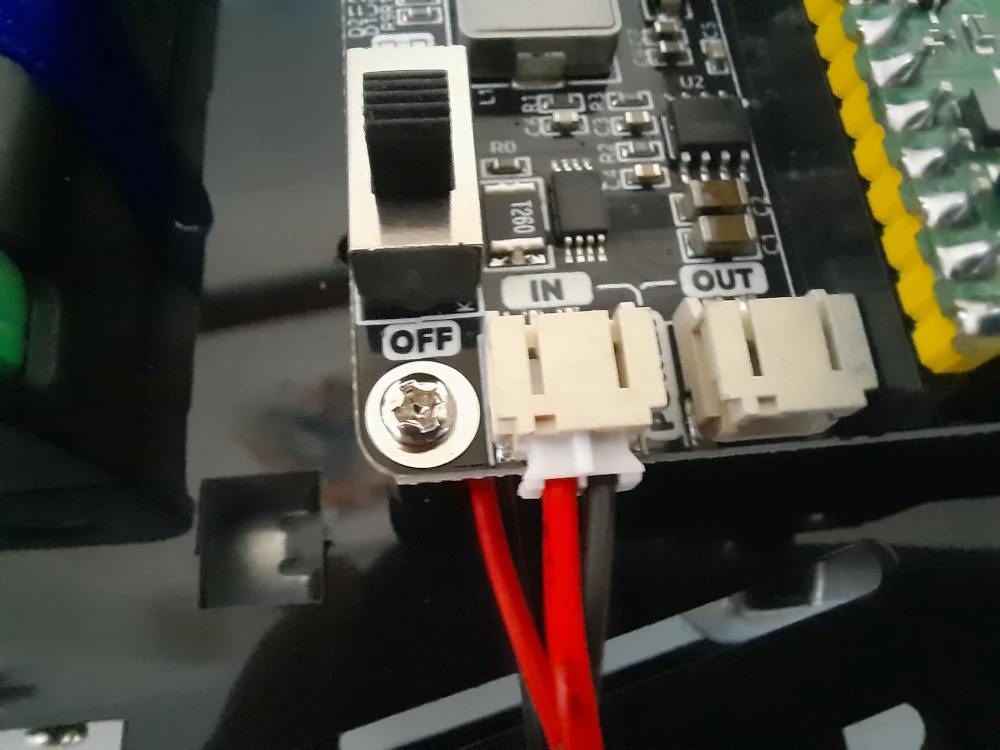
Please insert the 18650 batteries and move the switch on:
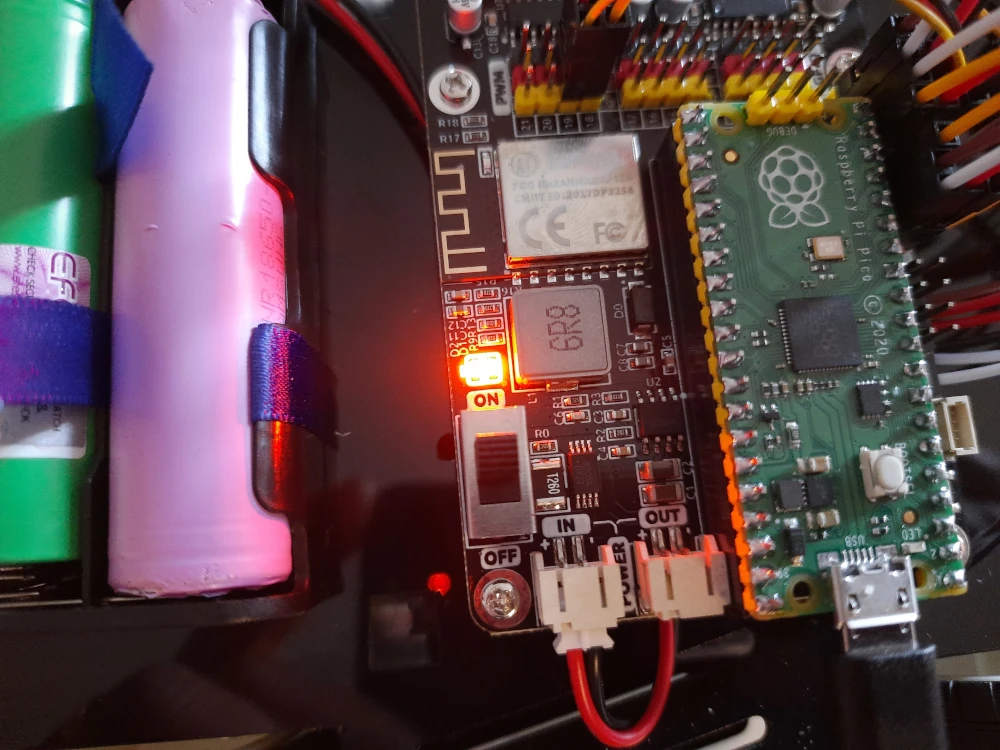
Please look at the fixes in the following chapters if the Pico RDP doesn’t power on.
Testing the motors
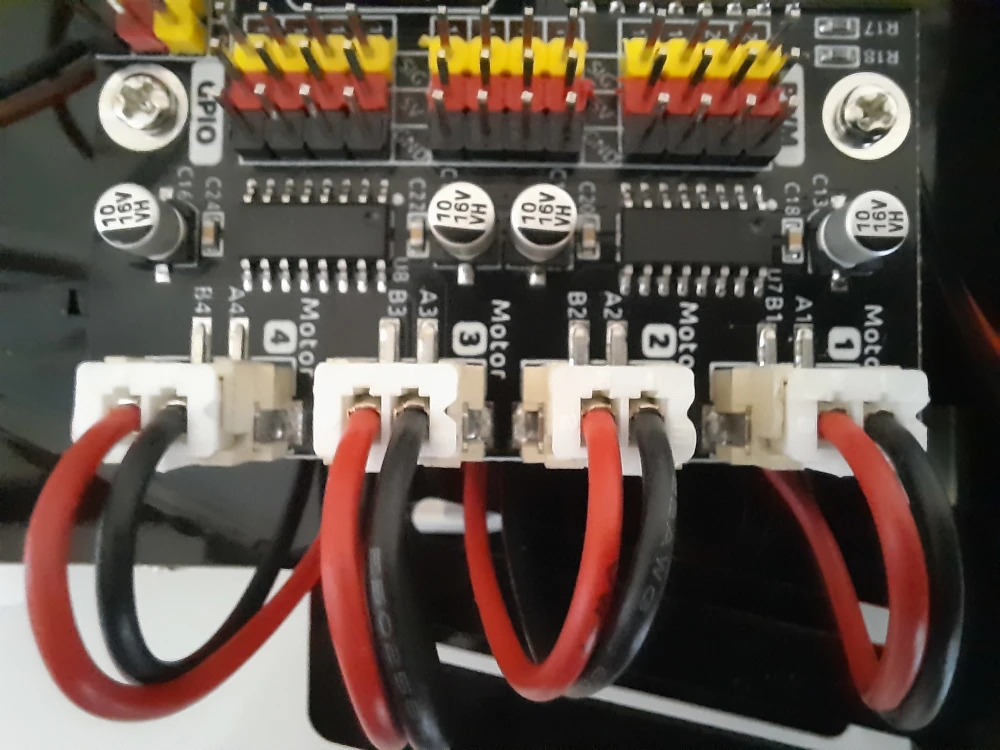
Move the file explorer to the tests folder included in the previously extracted content and open the “test_motor.py” file:
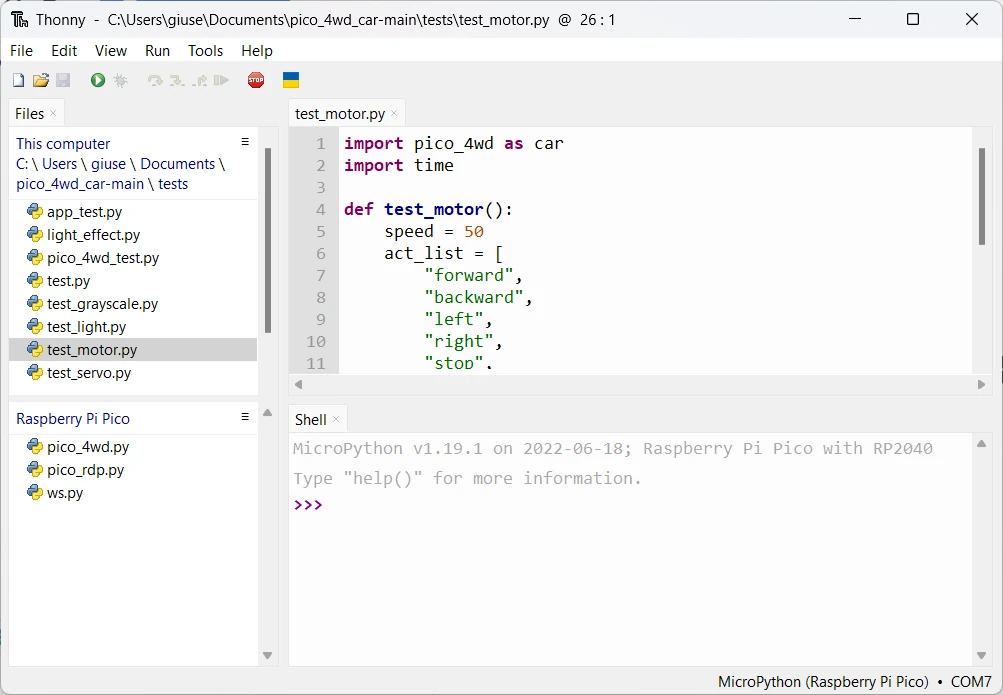
Place the car in a space that will allow the movement tests.
Run this file and the pico-4wd car will perform a move forward, backwards, left, and right movement, finally stopping.
Testing and calibrating the servo
Besides the other tests, the most important to complete your pico-4wd Raspberry PI Pico car assembly is the test_servo.py. Run this test in a similar way to the previous one in order to make the servo positioning at the center.
After this test, you can complete the assembly by adding the Ultrasonic module.

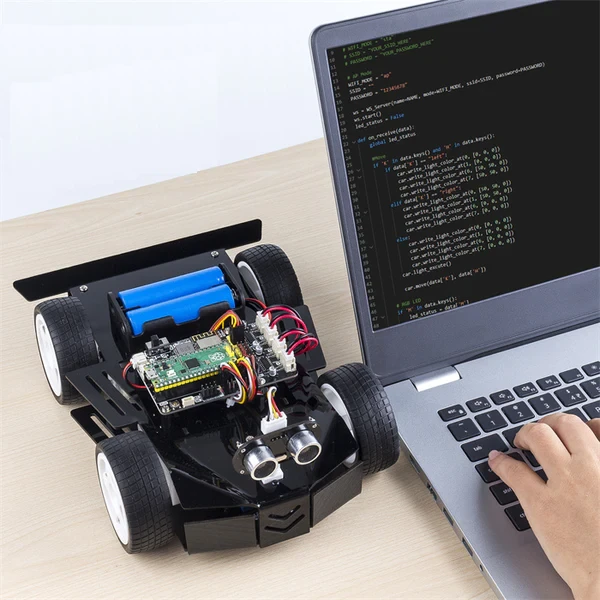
Controlling the Pico-4wd from a smartphone
Besides the several available examples, there is one allowing us to remote control the Raspberry PI Pico car from a smartphone. I will show you this test.
Install the SunFounder Controller app on your smartphone. It is available both for Android smartphones and Apple iPhones at their stores:
- Android -> Google Play: https://play.google.com/store/apps/details?id=com.sunfounder.sunfoundercontroller&hl=it&gl=US
- Apple -> Apple Store: https://apps.apple.com/us/app/sunfounder-controller/id1538719422
Turn off the power switch on Pico RDP.
From Thonny, go to the PC folder “Examples”, then open the app_control.py. This code will transform your Raspberry PI Pico (with the ESP WiFi module from the Pico RDP) into a WiFi access point, without internet connectivity. So, you will be able to connect to this WiFi network and control the Raspberry PI Pico car from your smartphone.
Run it with the Raspberry PI Pico connected to your PC in order to get the Raspberry PI Pico IP address in the newly created network:
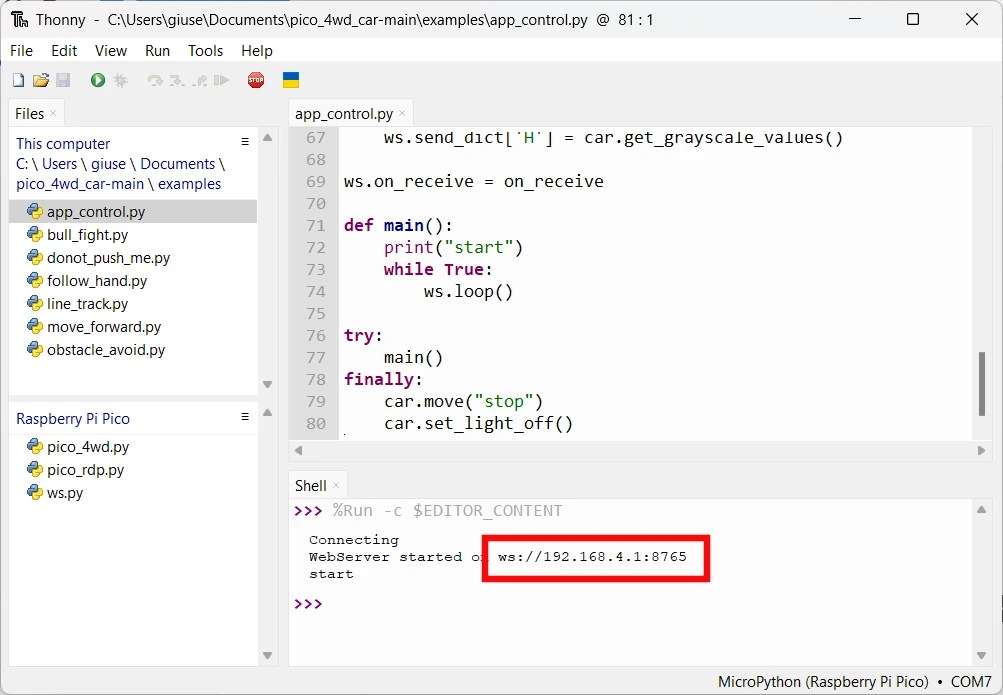
Even if I didn’t need it, this may be useful if your SunFounder Control app doesn’t detect automatically the car when connected to the newly created network.
Upload the “app_control.py” in your Raspberry PI Pico storage and rename it as “main.py”. This will allow this script to run at boot even if the pico isn’t connected to your PC:

Now you can unplug the USB cable, and turn on the power switch of Pico-4wd.
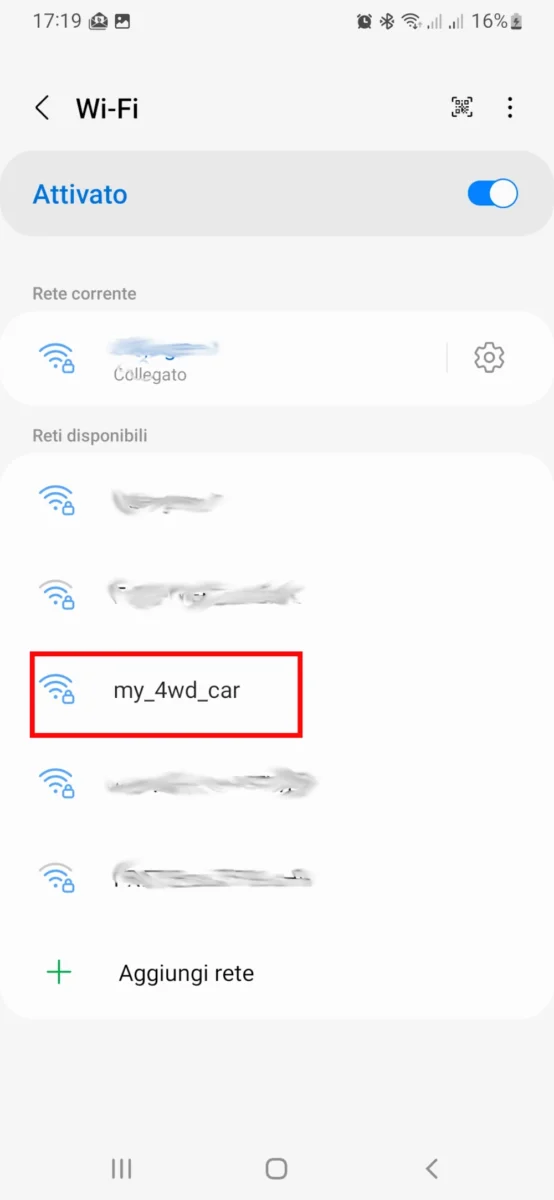
It will automatically run this main.py script and create a WiFi network with SSID “my_4wd_car” and password “12345678”. You will have to connect to this network before connecting the SunFounder app with your pico-4wd car and controlling it (sorry for the Italian language in the following picture, but you should have this page familiar in your smartphone).
You can now open the SunFounder Controller app:
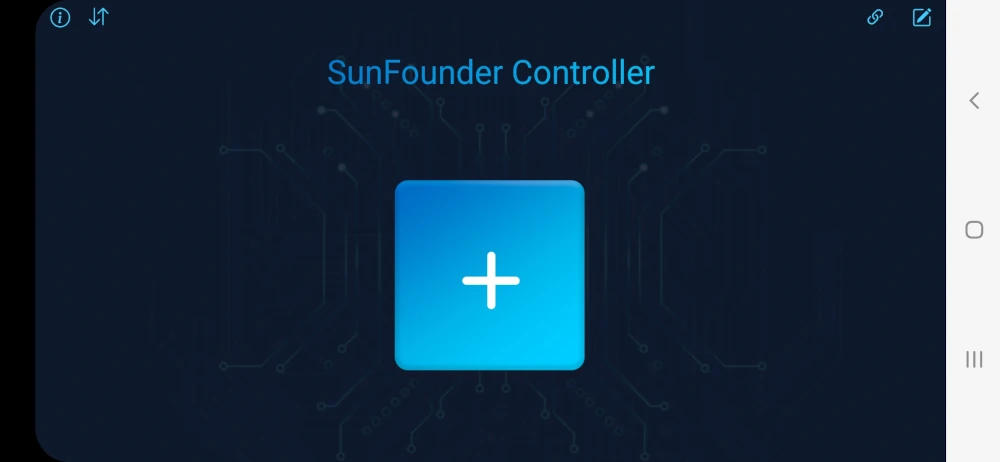
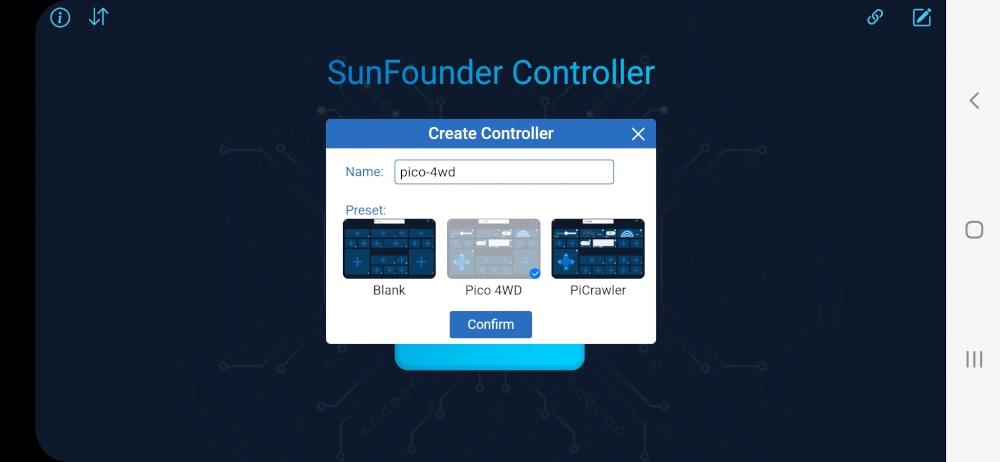
Click the “+” button to open a very simple controller configuration wizard:
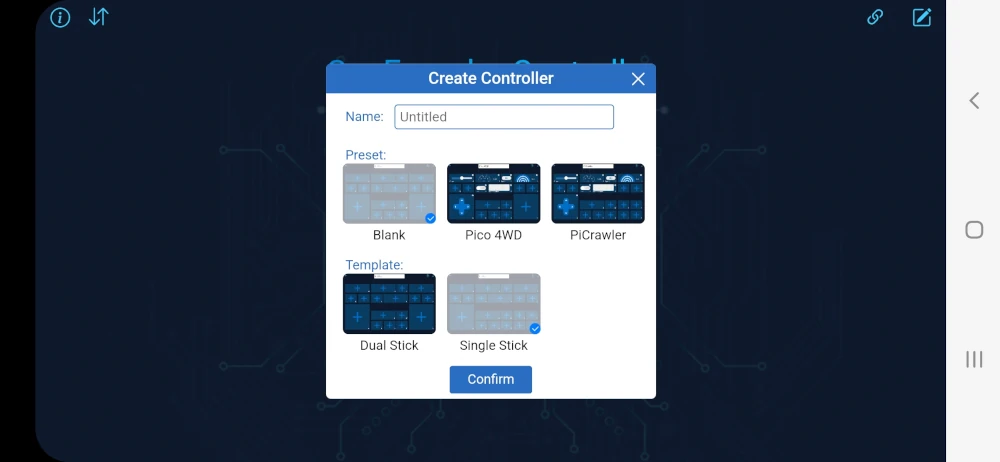
Select the Pico 4WD option and tap “Confirm”:
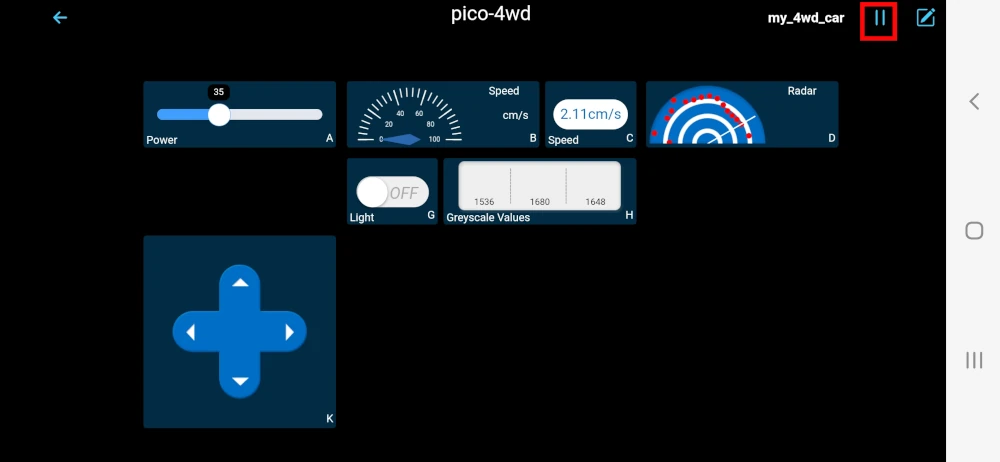
The Pico-4wd control dashboard should now appear. On the top-right side you should see a classic play button. tap on it and your app should connect automatically to the Pico-4wd car, while the play button should become a pause button (that you will use when you have finished controlling your car). In the meanwhile, the sonar should start rotating left and right to identify objects near the car and it should map these objects in the “Radar” widget.
Please note that the car will move only when you set the “Power” slider to a value higher than zero, with the speed you want to your to run your car:
Fixes for the Pico-4wd Raspberry PI Pico Car
Power fix
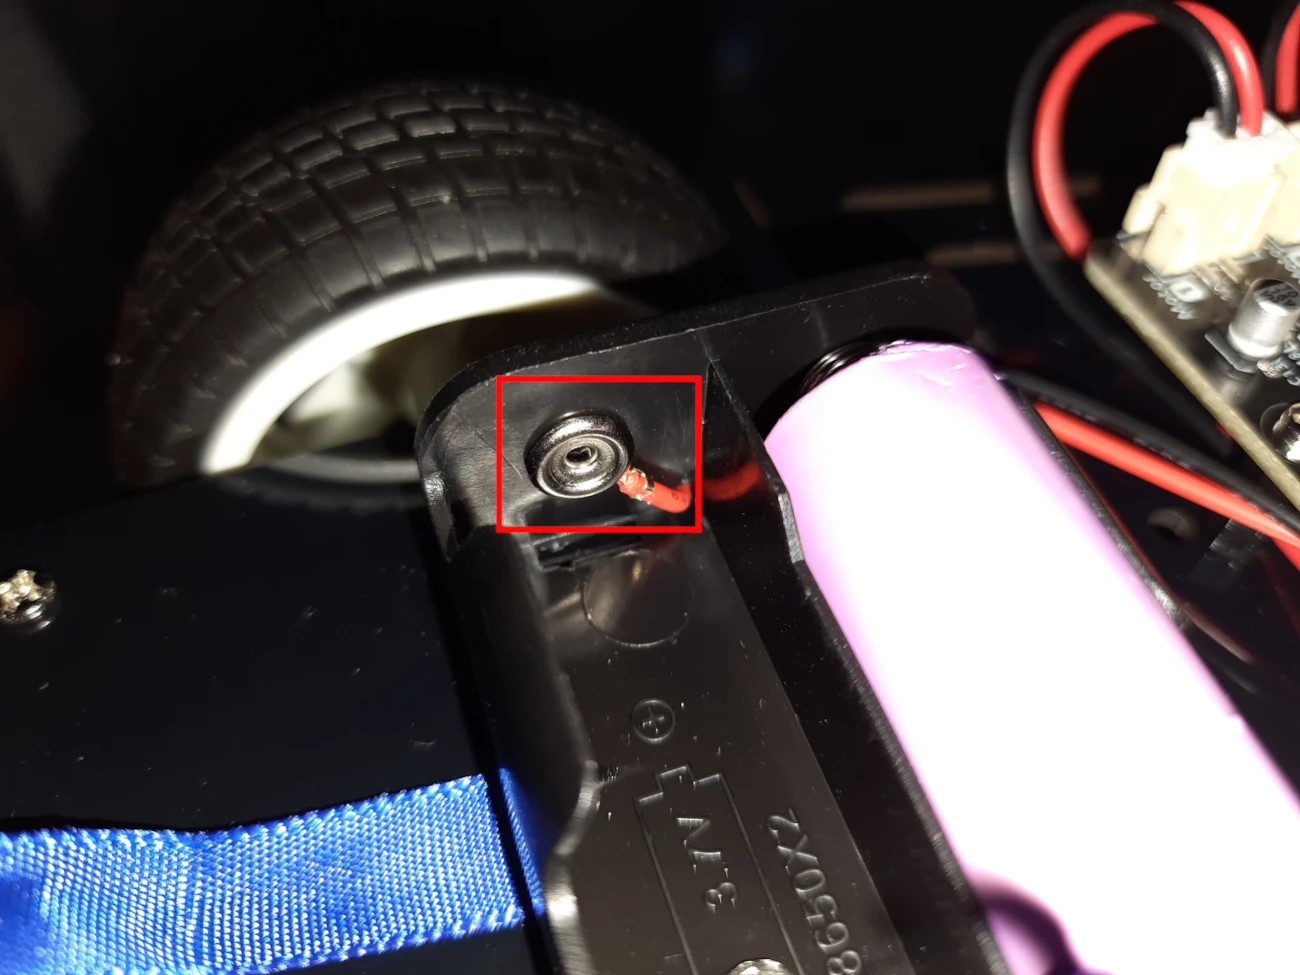
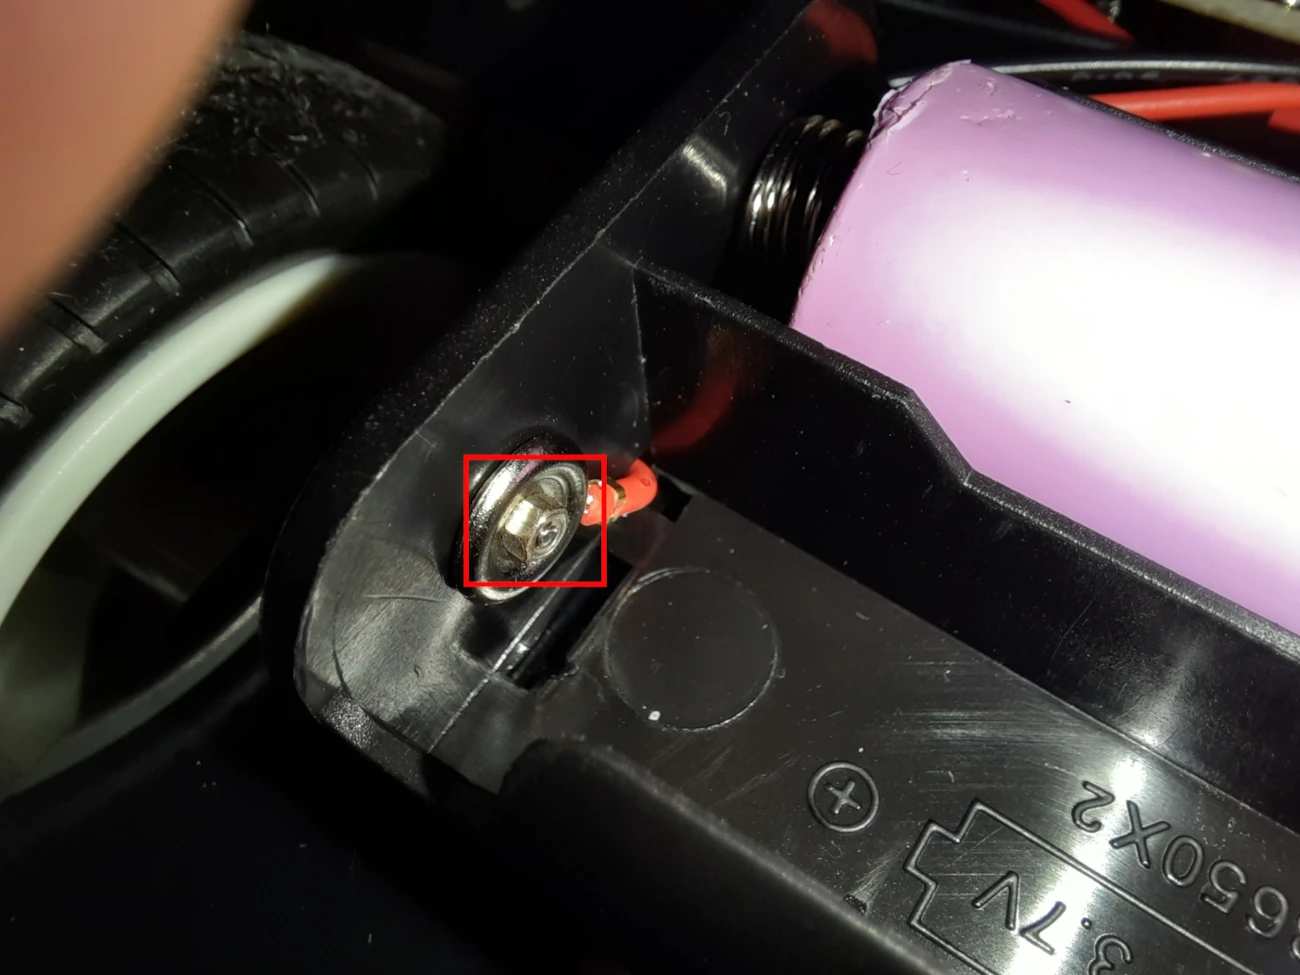
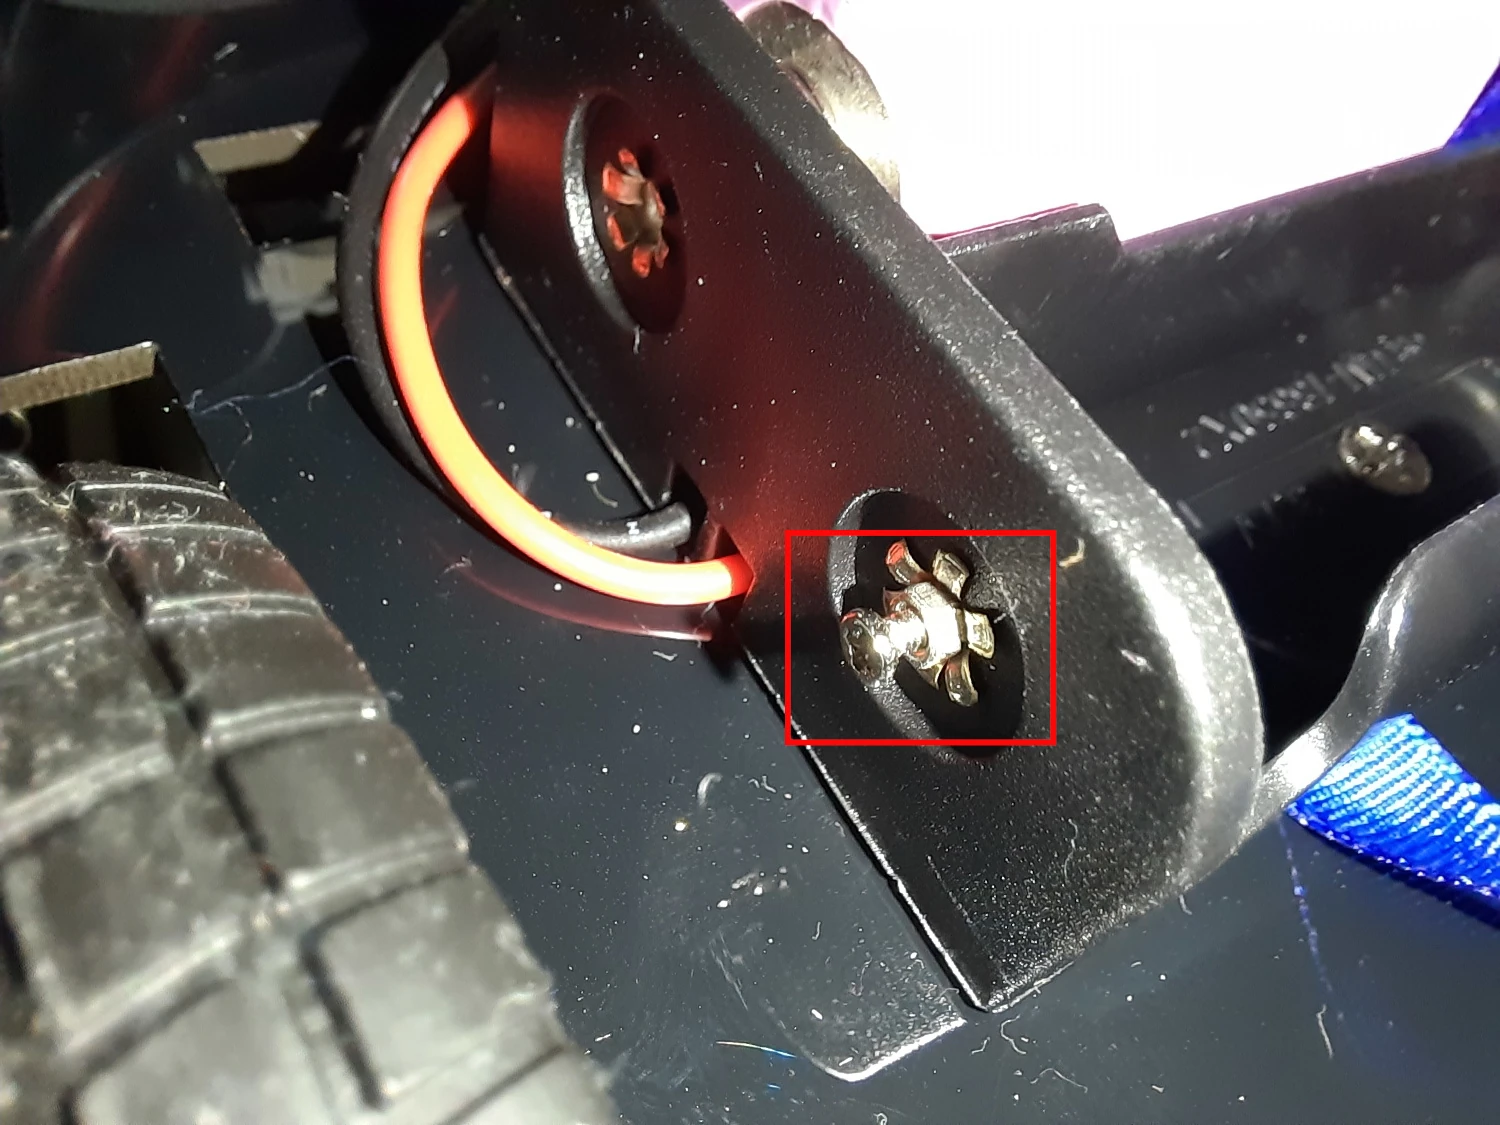
Symptom: the Pico RDP board doesn’t power on.
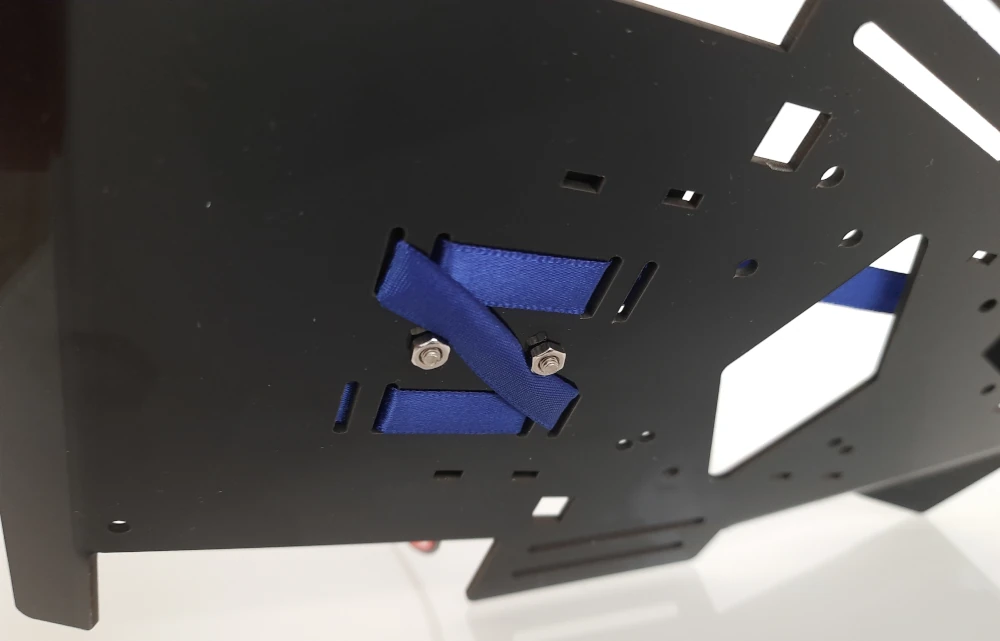
Fix: some 18650 batteries have a very small positive pole that could impact the 18650 battery holder cables, preventing the battery from touching closing the circuit. Using the spare 1.4 screw an nuts you can create a pole contact for your battery as in the following pictures
Opposite move fix
Symptom: the Pico-4wd car moves in the opposite direction compared to the expected one.
Fix: because of mounting, the motors could move in the opposite direction. Instead of unmounting all the car, you can edit the “pico_4wd.py” code by identifying the following lines:
left_front = Motor(17, 16, dir=1) # motor 1
right_front = Motor(15, 14, dir=-1) # motor 2
left_rear = Motor(13, 12, dir=1) # motor 3
right_rear = Motor(11, 10, dir=-1) # motor 4
and changing “dir” values with the opposite ones:
left_front = Motor(17, 16, dir=-1) # motor 1
right_front = Motor(15, 14, dir=1) # motor 2
left_rear = Motor(13, 12, dir=-1) # motor 3
right_rear = Motor(11, 10, dir=1) # motor 4
Final evaluation of this Raspberry PI Pico Car
PROs
- Clear mounting instructions
- Screwdriver with magnet, useful for very small screws
- Spare parts for screws, nuts and standoff
- Open-source code, so that you can customize it to your need
CONs:
- The Sunfounder Control app should be improved: the pad dimensions are really small with medium-big fingers, especially with small smartphone displays
IMPROVEMENTS:
- Better picture for encoder disk assembling stage
- Including in the kit some adhesive labels to attach to the cables
- Using the newer Raspberry PI Pico W could simplify the circuit by removing the ESP module
The SunFounder Pico-4wd info pages
More details on mounting and examples are available on the Sunfounder pico-4wd projects page: https://pico-4wd.rtfd.io/.
What’s Next
Interested to do more with your Raspberry PI Pico? Try to look at my Raspberry PI Pico tutorials for useful and funny projects!
Enjoy your Raspberry PI Pico car!

Open source and Raspberry PI lover, writes tutorials for beginners since 2019. He's an ICT expert, with a strong experience in supporting medium to big companies and public administrations to manage their ICT infrastructures. He's supporting the Italian public administration in digital transformation projects.
![]()
![]()
![]()
![]()
![]()
![]()
![]()


