This tutorial will show you how to install Qloapps on your Raspberry PI computer board.
Raspberry PI OS Lite version can be very versatile and can implement several useful home services (see also my Raspberry Pi projects article). Some addicting features can be achieved by searching open-source software and testing it with this fantastic device. An interesting example is installing a complete open-source hotel reservation and booking system with Raspberry Pi and Qloapps.
What Is Qloapps
QloApps is an open-source software with all the features to help Hotel Business management. Qloapps features include:
- Launch Hotel Booking Website
- Manage Offline Booking
- Partial Payment Booking
- Integrated Payment Gateway
- Multirooms/hotels in Single Order
- Manage Refund Rules
It is composed of a web front end, which is the page that customers can reach from the internet, and a web back end, which is where the owner manages hotels, rooms, prices and many other customizations.
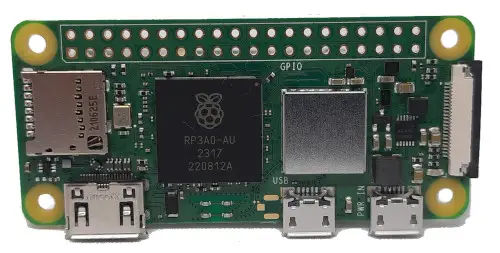
For this tutorial, I’ll use my Raspberry PI Zero 2 W, even if this will give us a very slow installation of Qloapps, usable only if you want to try it to discover the software. Anyway, this tutorial will apply to any Raspberry PI computer board compatible with the 64-bit Raspberry PI OS (from Raspberry PI 3 models and Raspberry PI Zero 2 W), with newer Raspberry PI computer boards able to serve a limited number of customers.
What We Need
As usual, I suggest adding from now to your favourite e-commerce shopping cart all the needed hardware, so that at the end you will be able to evaluate overall costs and decide if to continue with the project or remove them from the shopping cart. So, hardware will be only:
- Raspberry PI Computer Board (including proper power supply or using a smartphone micro USB charger with at least 3A)
- high speed micro SD card (at least 16 GB, at least class 10)
Step-By-Step procedure
Install Raspberry PI OS Lite
The first step is installing the Raspberry PI OS Lite (please note that we need the 64-bit version) to get a fast and light operating system (headless). In this case, you will need to work from a remote SSH terminal. If you need a desktop environment, you can also use the Raspberry PI OS Desktop, in this case working from its terminal app. Please find the differences between the 2 OS versions in my Raspberry PI OS Lite vs Desktop article. NOTE: if you’re working with a low capabilities Raspberry PI (like a Raspberry PI Zero 2 W) you must use the OS Lite version.
Make sure that your system is up to date. Connect via SSH terminal and type the following command:
sudo apt update && sudo apt upgradeWe also need to install Docker. For this step, please refer to my Beginner’s Guide to Install and Use Docker with Raspberry PI.
Install Qloapps in Raspberry PI with Docker
Instead of the official “manual” Qloapps installation guide, we’ll use the Qloppas Docker installation which avoids a lot of work and gives us the same results.
Copy the whole content of the following command in your notepad (please avoid using programs like MS Word or similar, as they tend to change the “–” symbols with different characters):
docker run -d \
   -p 80:80 \
   -p 3306:3306 \
   -p 2222:22 \
   --name qloapp_srv \
   --restart unless-stopped \
   -e USER_PASSWORD=qloappsuserpassword \
   -e MYSQL_ROOT_PASSWORD=myrootpassword \
   -e MYSQL_DATABASE=qloappsdb \
   -v qloapps_mysql:/var/lib/mysql \
   webkul/qloapps_docker:latest
Differently from the docker installation guide of Qloapps, I’ve added in this command a restart policy (--restart unless-stopped), which automatically restarts the Qloapps server after Raspberry PI’s reboots, and a persistent volume for your database data (-v qloapps_mysql:/var/lib/mysql), which makes the database data safe from the container remotions.
Before running it in your Raspberry PI, please edit the “USER_PASSWORD”, “MYSQL_ROOT_PASSWORD”, and “MYSQL_DATABASE” with your favourite one. These are the credentials to access your database and must be kept secret.
Now you can paste the edited docker command in your Raspberry PI and press ENTER to run it. It will take time to complete the image download (which is around 500 MB) and the container start. Even if the prompt will come back to you soon after this second stage, you can periodically check the progress with the following command:
docker logs qloapp_srvQloapps Installation Wizard
From your computer, please browse the URL “http://<<YourRpiIPAddress>>”, where <<YourRpiIPAddress>> means your Raspberry PI’s IP address, to start the Qloapps installation wizard. If this doesn’t show the correct page, please give your Raspberry PI a few minutes more.
On the first page, you will be able to change the installation language with the related selector:
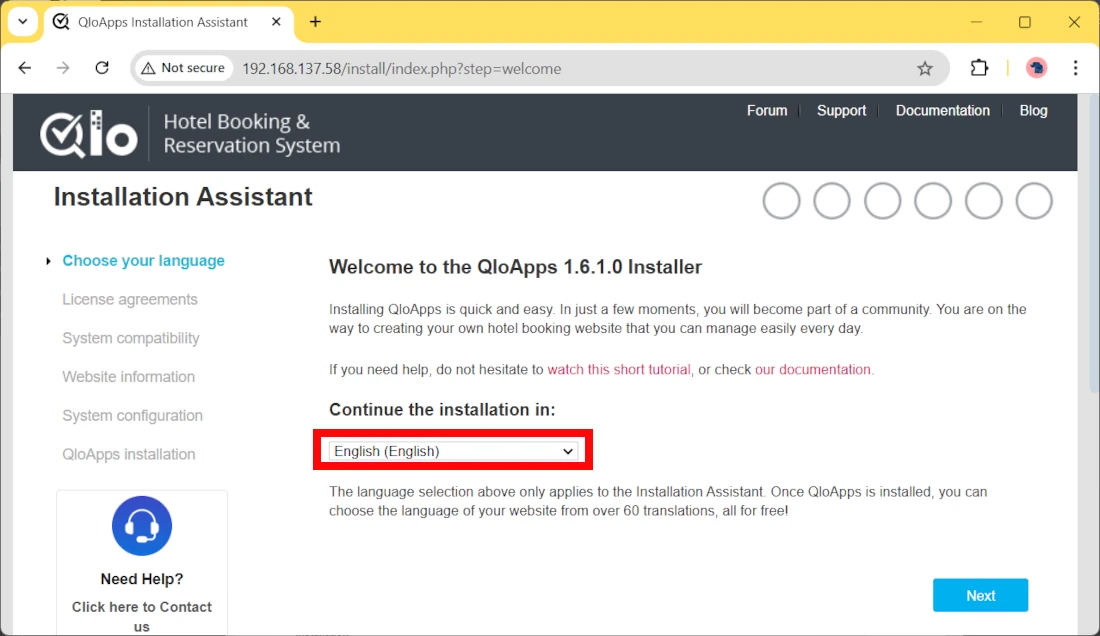
Select your favourite language and press Next.
The following page will ask you to read the Qloapps License and will allow you to proceed with the installation only if you check the agreement flag:
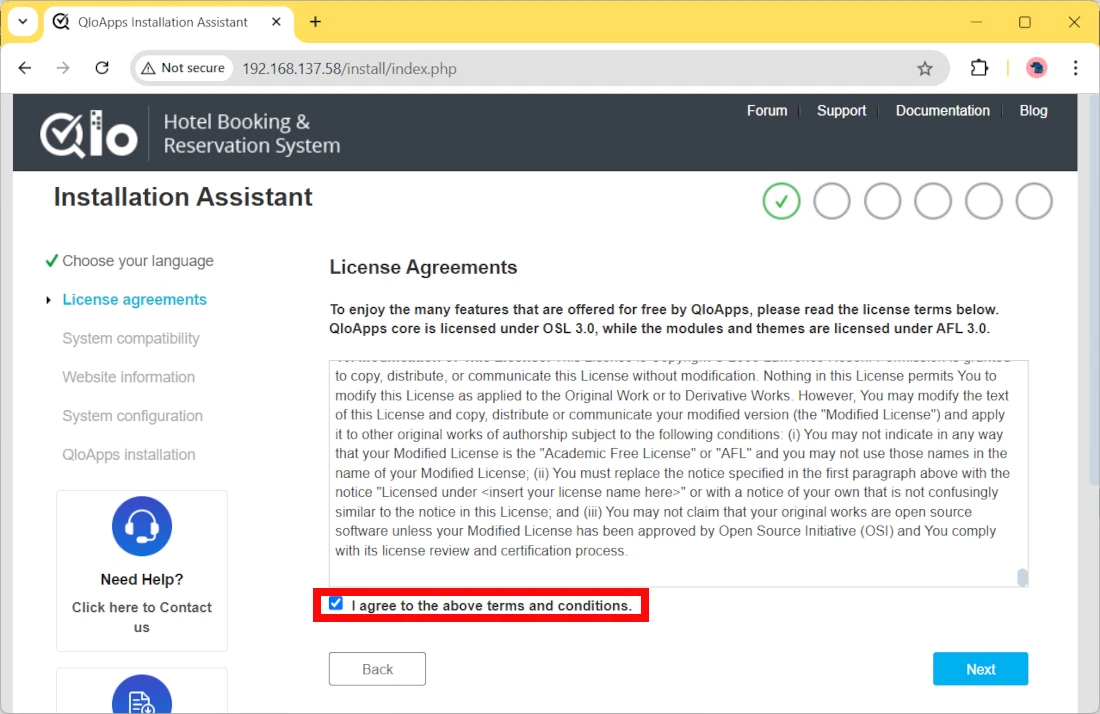
After clicking the flag you can press the “Next” button.
The following page will ask you to insert your website name and create your first account to manage the whole website. You can choose whatever website name you like. Regarding the demo data, they are useful to test the Qloapps features before going in production with the website. As I don’t recommend to publish the Qloapps website with demo data, you can keep these data during the installation and remove them in a second moment with a specific plugin, or you can stop the docker container, remove it, remove the volume, and finally re-install the container moving to “No” this option:
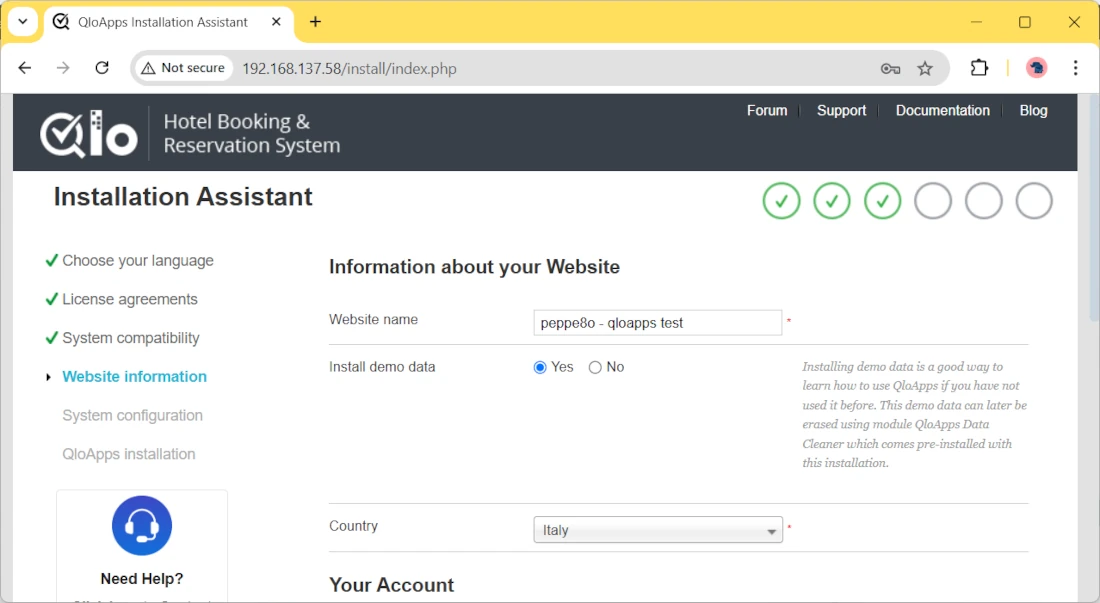
The second part of this page (scrolling down) will enable you to create your first user, that you will use to administrate the website. Fill the form according to your preferences:
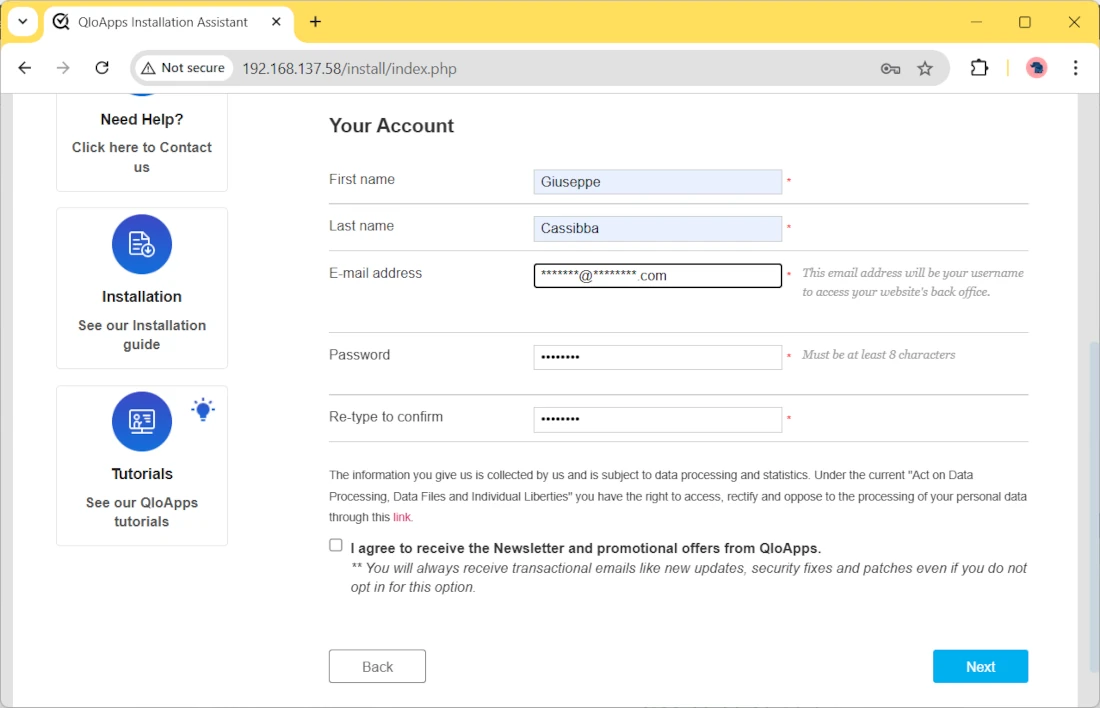
After pressing the “Next” button, you will reach the Database setup page. Here you must change the database server address, database name, and database password according to the parameters you gave in the Docker run command previously seen. The tables prefix can remain as is unless you have specific needs. After completing the form, please test the Database connection with the blue button at the bottom part of the page. This test should give you a positive message:
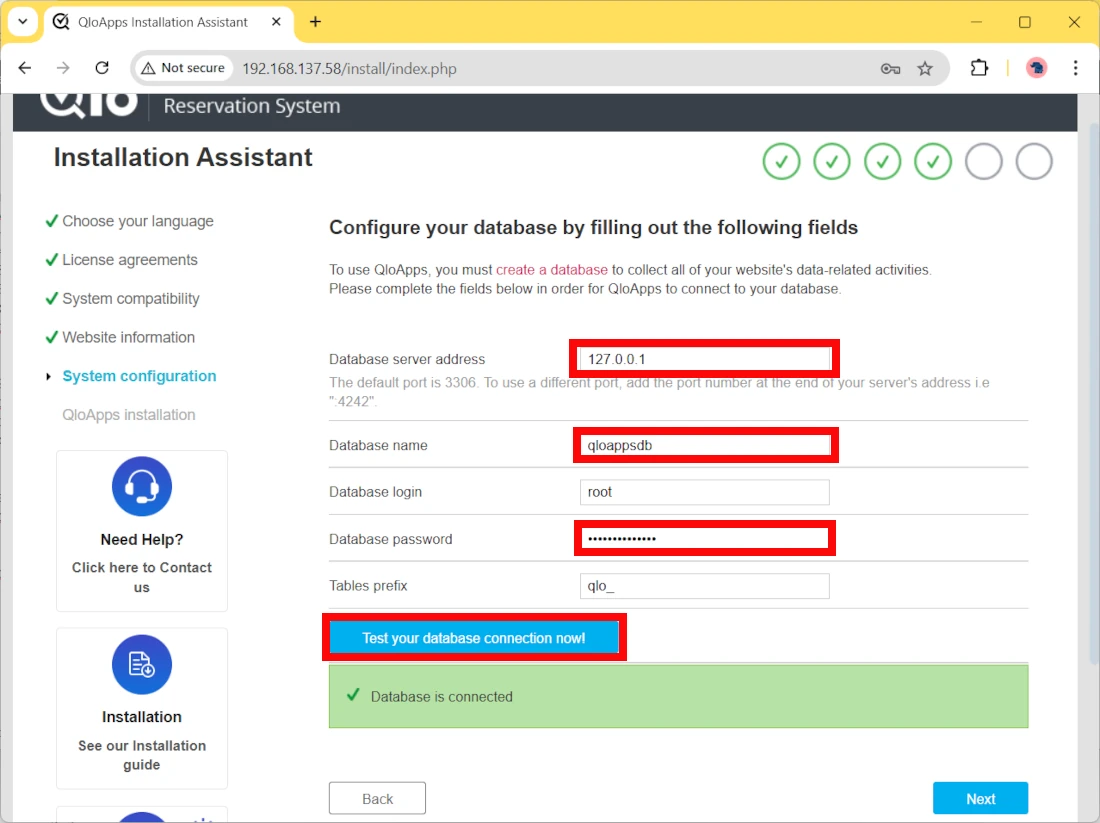
Please click the “Next” button to move onward.
After this, you will see a progress bar showing the in-progress operations to complete the installation of Qloapps in your Raspberry PI. It may take time depending on the speed of your Raspberry PI and micro SD card. At the end, a confirmation message will be shown:
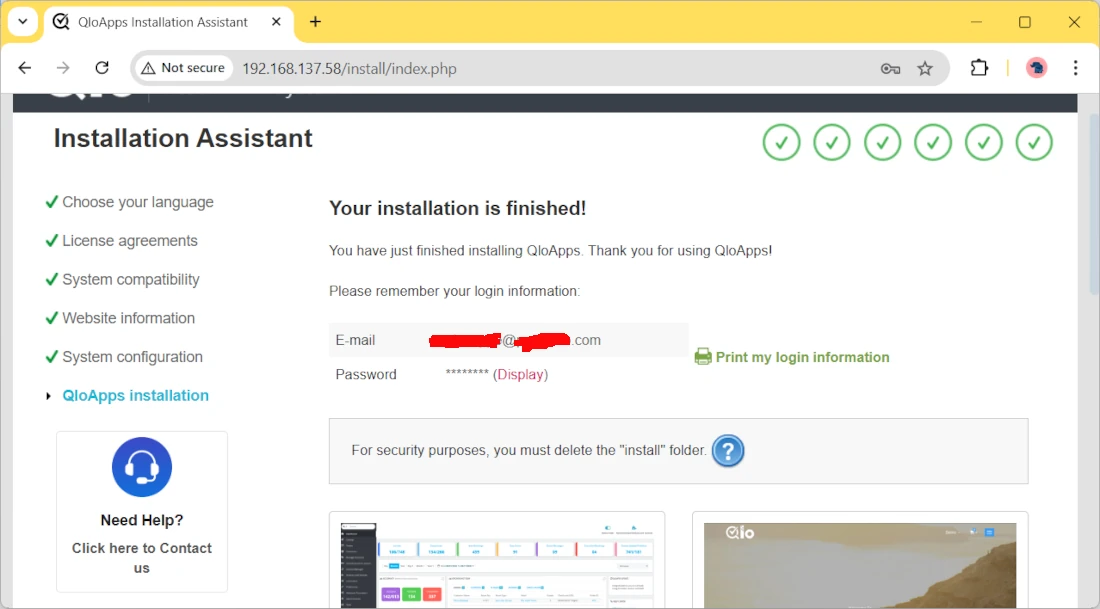
As you can see there, you will be required to remove the install folder before using your Qloapps website.
With the Docker installation, this process is as easy as running the following command:
docker exec -i qloapp_srv rm -rf /home/qloapps/www/QloApps/installMoreover, you must rename the admin page (which is the directory you use in your URL to access the back end of Qloapps). Supposing that we want to rename the “admin” to “myadmin”, please use the following command.
docker exec -i qloapp_srv mv /home/qloapps/www/QloApps/admin /home/qloapps/www/QloApps/myadminOf course, you can change the “myadmin” with whatever label you prefer.
Qloapps Main Pages
Now your booking web server is ready.
You can reach the front-end (pages for customers) by using the “http://<<YourRpiIPAddress>>” URL in your browser:
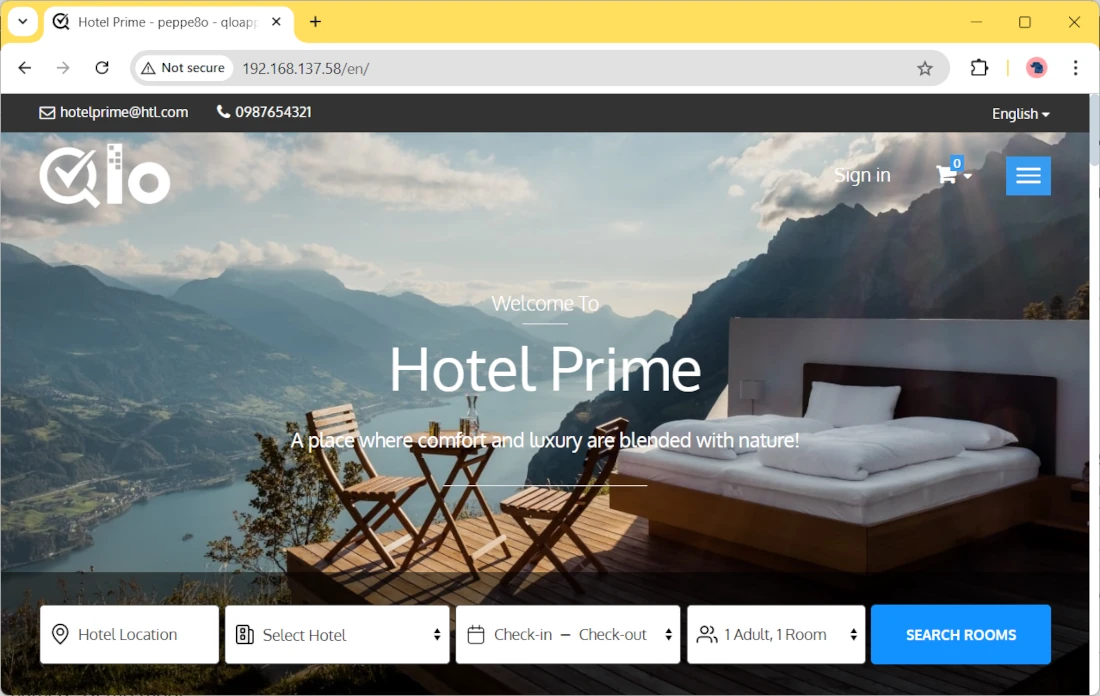
Moreover, you can reach the back-end (administration page) by using the “http://<<YourRpiIPAddress>>/myadmin” URL in your Browser. This will automatically redirect to the login page where you must use the credentials set in the installation wizard:
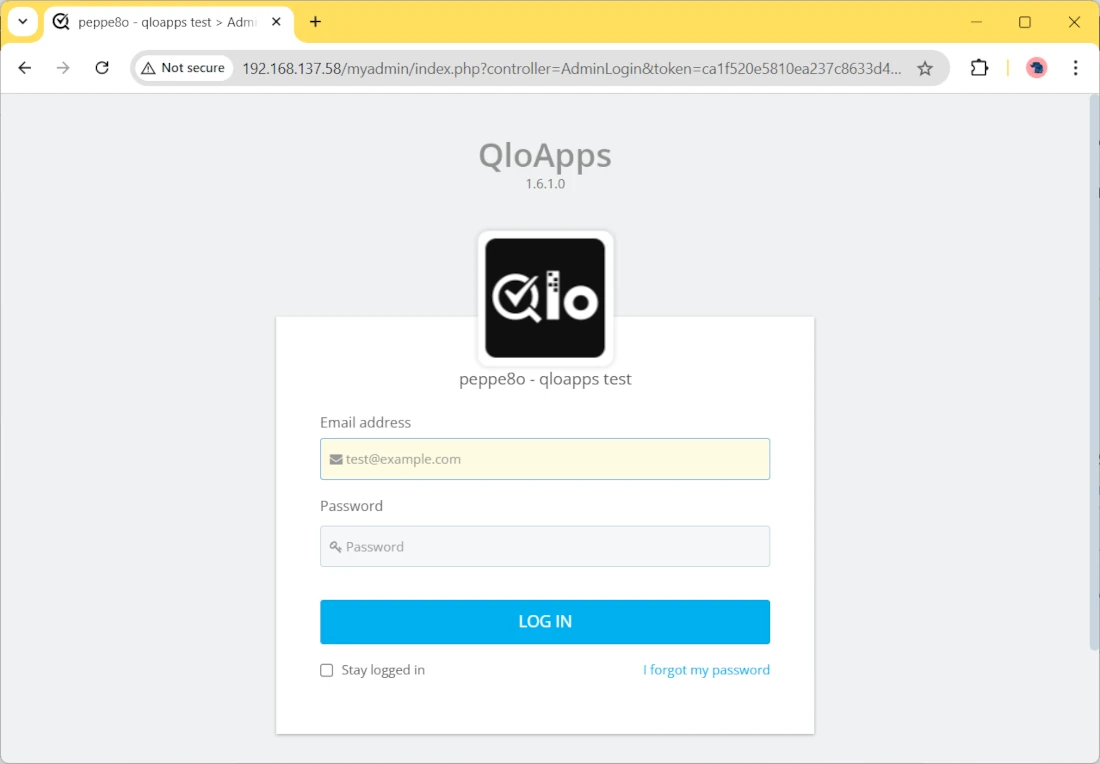
Once you use the email and password set there, you will be able to reach the administration page:
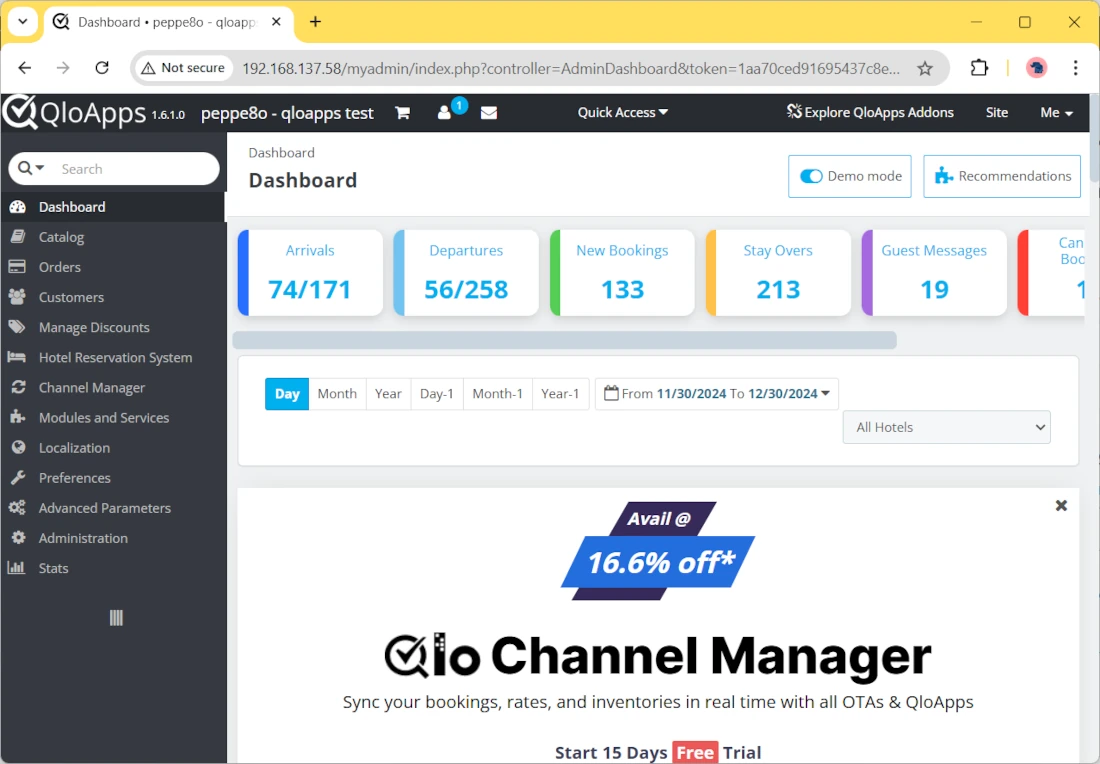
You will find your pages filled with demo data as by default the administration pages go into “demo mode“. This can be disabled with the switch button on the top-right side of the page named “Demo mode”.
To use and customize your installation of Qloapps on Raspberry PI, please refer to the official Qloapps user guide.
Remove Qloapps from Raspberry PI
With Docker, you can easily manage containers without affecting your Rapsberry PI OS system and leaving it always clean from unwanted software (as all of the installed packages will be removed with the containers when you remove then).
So, if you want to completely delete the Qloapps installation (maybe because you want to run it again from start), please use the following 3 commands:
docker stop qloapp_srv
docker rm qloapp_srv
docker volume rm qloapps_mysql
If you want to remove even the Qloapps image from your system, you can run the following command:
docker image rm webkul/qloapps_docker:latestWhat’s Next
Interested in what you can do with your Raspberry PI? Take a look at my Raspberry PI tutorials and subscribe my newsletter!
Enjoy!

Open source and Raspberry PI lover, writes tutorials for beginners since 2019. He's an ICT expert, with a strong experience in supporting medium to big companies and public administrations to manage their ICT infrastructures. He's supporting the Italian public administration in digital transformation projects.

The docker run command gives me the following error:
docker: Error response from daemon: failed to set up container networking: driver failed programming external connectivit y on endpoint qloapp_srv (6a27bbf822a63408008ee73ca9f017606aa41d4803543f0891c7fa484eeebf92): failed to bind host port for 0.0.0.0:80:172.17.0.2:80/tcp: address already in use
Hi Salomon. The error tells you that your Raspberry PI already has a service using the 80 port (maybe an Apache service installed in your RPI or another container using it). In this case, you can expose the Qloapps service on a different port. For example, you can try the docker run command with the following option:
-p 8080:80and the Qloapps service should work for you at the URL
http://your_rpi_ip_address:8080