In this tutorial I will show you how to connect and use a Traffic Light Module with Raspberry PI, showing the required wiring and an example with Python.
For my tests, I will use a Raspberry PI 5 Model B computer board, but this should work with any Raspberry PI computer board.
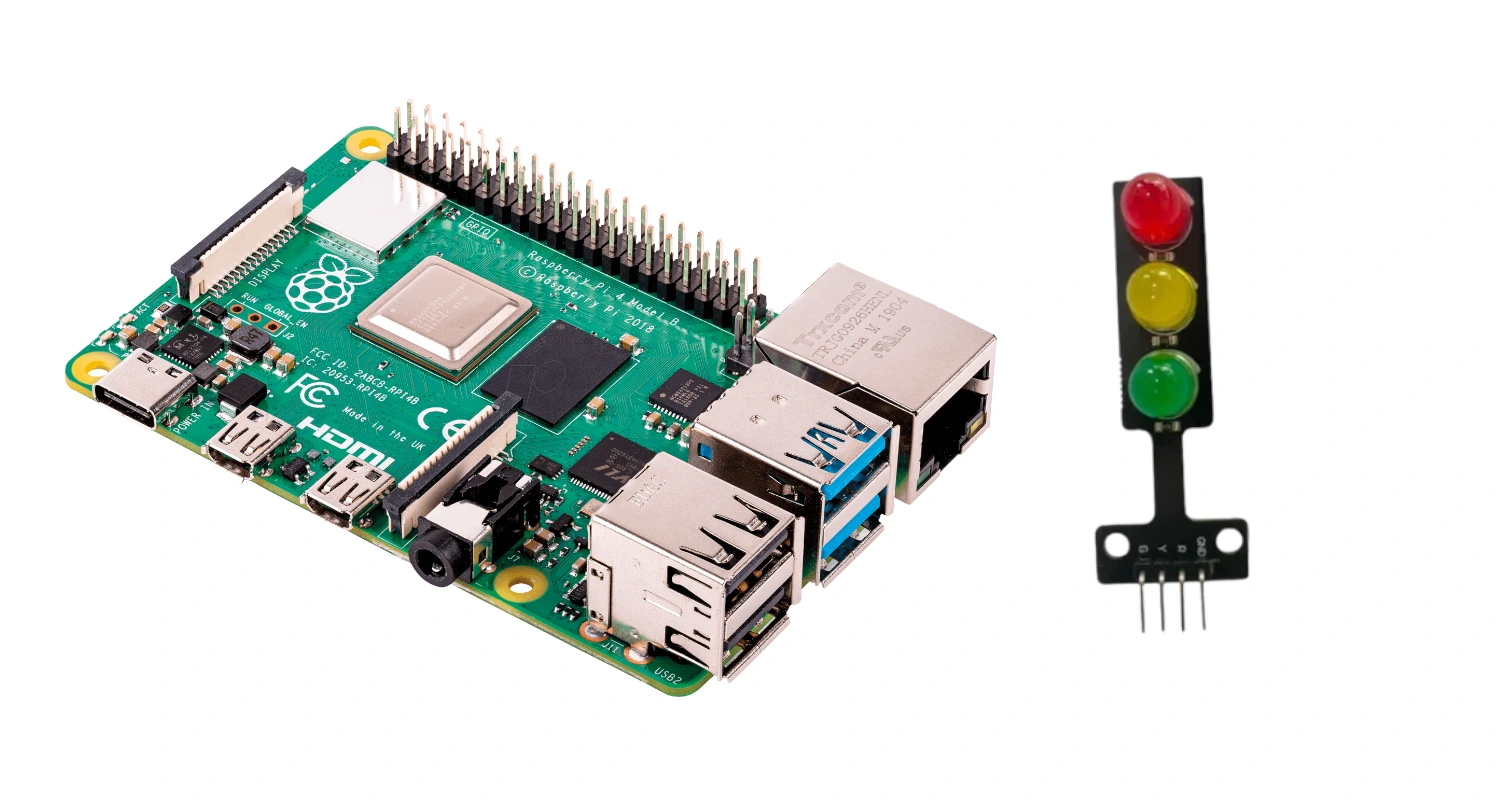
The traffic light module combines 3 LEDs, having the same colors and order of real traffic lights:
It simplifies LEDs management because it adds by default the required resistors attached to every LED, so you don’t have to worry about protecting the LEDs from burning. You can see these resistors below each LED, as shown in the following picture:
The module can be interfaced with 4 simple PINs, each one having an intuitive naming:
The PINs function is described below:
Once you have connected the GND PIN with any ground reference of your board, you can pull up one or more of the other PINs to switch on the related LED(s).
As usual, I suggest adding from now to your favourite e-commerce shopping cart all the needed hardware, so that at the end you will be able to evaluate overall costs and decide if to continue with the project or remove them from the shopping cart. So, hardware will be only:
Please arrange the wiring as shown in the following picture, according to the Raspberry PI pinout (all the most recent Raspberry PI computer boards have the same pinout of Raspberry PI Zero):
Please find below some pictures from my home lab:
The first step is installing the Raspberry PI OS Lite (I suggest the 64-bit version, for boards supporting it) to get a fast and light operating system (headless). If you need a desktop environment, you can also use the Raspberry PI OS Desktop, in this case working from its terminal app. Please find the differences between the 2 OS versions in my Raspberry PI OS Lite vs Desktop article.
Please make sure that your OS is up to date. From your terminal, use the following command::
sudo apt update -y && sudo apt upgrade -yI’ve created a library that will help you keep your Python code simpler to read and use. You can get the p8o-pi library in your Raspberry PI from my GitHub repository with the following command:
wget https://raw.githubusercontent.com/peppe8o/p8o_pi/main/p8o_pi.pyThis will download a “p8o_pi.py” file, that must stay in the same folder of the file with the test example (that we’ll see below) or in the default Python path.
Now, please download a simple test. You can get it from my download area in your Raspberry PI with the following command:
wget https://peppe8o.com/download/python/trafficlight/traffic_light_test.pyThe following paragraphs will explain this test script.
In the beginning, we import the required modules. The sleep function from the time module allows us to add a specific delay (in seconds) with the traffic light module fixed in a state (red or green).
from time import sleep
from p8o_pi import traffic_light
Then, we must set the LED variables where we tell the script the used GPIOs. If you used my same connection schema, you can leave them unchanged, if you used different GPIOs, please update the numbers here:
green_LED = 14
yellow_LED = 15
red_LED = 18
Now, we initialize the traffic_light object with the following line:
tl = traffic_light(red_LED, yellow_LED, green_LED)This object has 3 main methods:
The main program runs a loop where the green light activates for 3 seconds, then the yellow blinks (with the green LED fixed) for 3 seconds, and finally the red LED activates for 3 seconds:
try:
    while True:
        tl.go()
        sleep(3)
        tl.stop()
        sleep(3)
The final except statement will allow you to stop the loop by pressing the CTRL+C combination from your keyboard, switching off all the LEDs:
except KeyboardInterrupt:
    # Turn off all LEDs and exit safely on keyboard interrupt
tl.off()You can run this test with the following command:
python3 traffic_light_test.pyInterested in more cool projects for your Raspberry PI? Take a look at peppe8o Raspberry PI tutorials.
Enjoy!
Raspberry Pi and Docker project: creating a videosurveillance system based on opernsource software motionEye
In this tutorial, I will show you my review of the Elecrow Advanced Kit for…
In this summer, the Raspberry PI company announced a new release of the Raspberry PI…
In this tutorial, we will use a Barometric pressure/temperature sensor BMP180 with Arduino Uno. This…
In this tutorial, I will show you how to send smartphone notifications from Raspberry PI…
This tutorial will show you how to install OSMC on Raspberry PI computer boards. The…


