Some links in this post may be affiliate links. We may get paid if you buy something or take an action after clicking one of these, but without addictional costs for you compared to direct buying.
2fa-raspberry-pi-featured-image

How to add 2 Factor Authentication (2FA) in Raspberry PI OS with Google Authenticator for SSH login

5
(2)

Last Updated on 5th July 2025 by peppe8o

This guide will show how to setup a 2 Factor Authentication (2FA) on a Raspberry PI computer board to add security to access the board from SSH with Google Authenticator.

With hacker attacks on ICT systems increasing around the world, accessing your Raspberry PI from a remote location can make it insecure and an easy target for malicious men. Adding two-factor authentication to your SSH session highly increases the safety for your small computer board and makes it harder for a third person to access your system and your files. With the free Google Authenticator app, we can perform this job in minutes.

it is important to note that this guide shows you how to secure only SSH sessions, even if you can add the 2FA authentication also for your desktop environment and VNC sessions in a similar way, by editing the related files in the /etc/pam.d/ folder.

What We Need

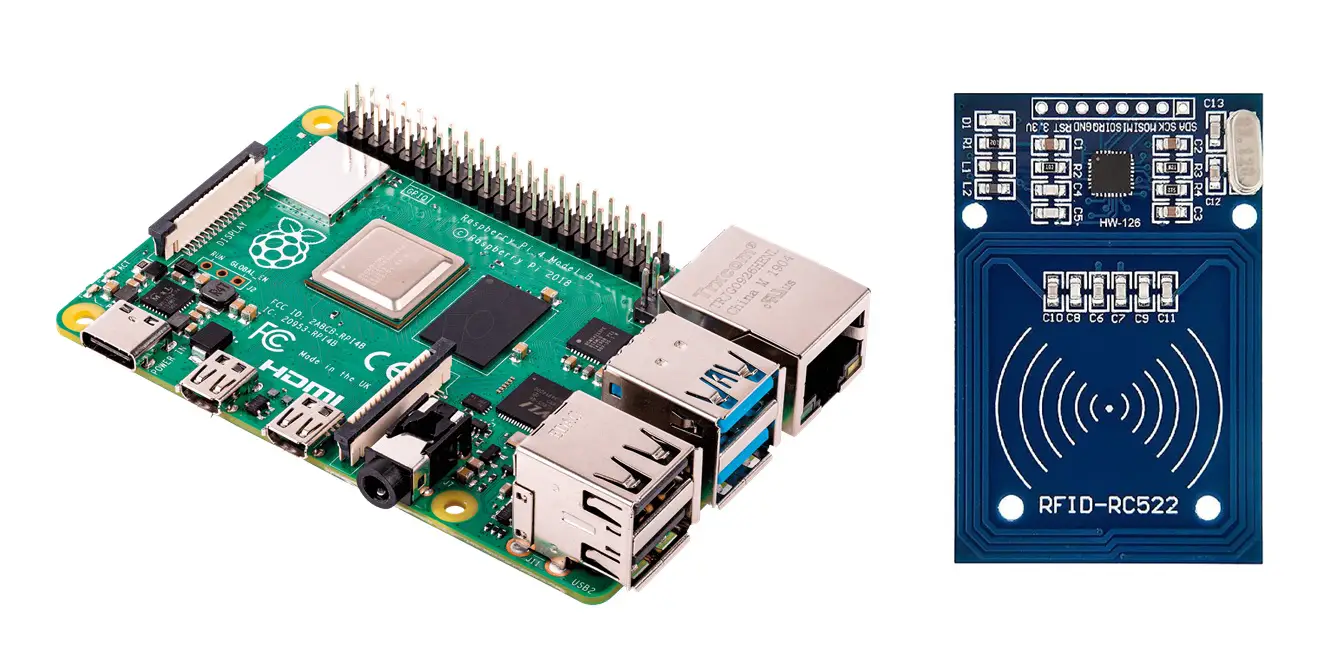
As usual, I suggest adding from now to your favourite e-commerce shopping cart all the needed hardware, so that at the end you will be able to evaluate overall costs and decide if to continue with the project or remove them from the shopping cart. So, hardware will be only:

raspberry-pi-5-model-b-board

Step-by-Step Procedure

Install the Google Authenticator App

First of all, with your smartphone, install the Google Authenticator App from the Google Play Store (for Android) or from the App Store (for iOS). For this step, please refer to your smartphone’s manual.

Install the Raspberry PI OS Operating System

The next step is installing the Raspberry PI OS Lite to get a fast and light operating system (headless). In this case, you will need to work from a remote SSH terminal. If you need a desktop environment, you can also use the Raspberry PI OS Desktop, in this case working from its terminal app. Please find the differences between the 2 OS versions in my Raspberry PI OS Lite vs Desktop article.

Make sure that your system is up to date. Connect via SSH terminal and type the following command:

sudo apt update -y && sudo apt full-upgrade -y

Install and Configure the Google Authenticator Library

We also need to install the Google Authenticator PAM module into the Raspberry PI:

sudo apt install libpam-google-authenticator -y

As we’ll use it to secure our SSH access, we need to edit the following file from the pam.d folder in our Raspberry PI storage:

sudo nano /etc/pam.d/sshd

Please append this line at the end of the file:

auth required pam_google_authenticator.so

Save and close the file. We can now restart the SSH service:

sudo systemctl restart ssh.service

Now, please enable the challenge in the SSH authentication config. Open the following file for editing:

sudo nano /etc/ssh/sshd_config

Change KbdInteractiveAuthentication from no to yes, so that this part appears like the following:

# Change to yes to enable challenge-response passwords (beware issues with
# some PAM modules and threads)
KbdInteractiveAuthentication yes

Generate the Authentication Token

Now, from your Raspberry PI’s terminal, please run the Google Authenticator application by simply typing the following command:

google-authenticator

At the beginning, it will ask you if the authentication token must be time-based. This means that it will change time by time (usually every 30 seconds), and it is the safest method. I suggest answering y (yes):

Do you want authentication tokens to be time-based (y/n) y

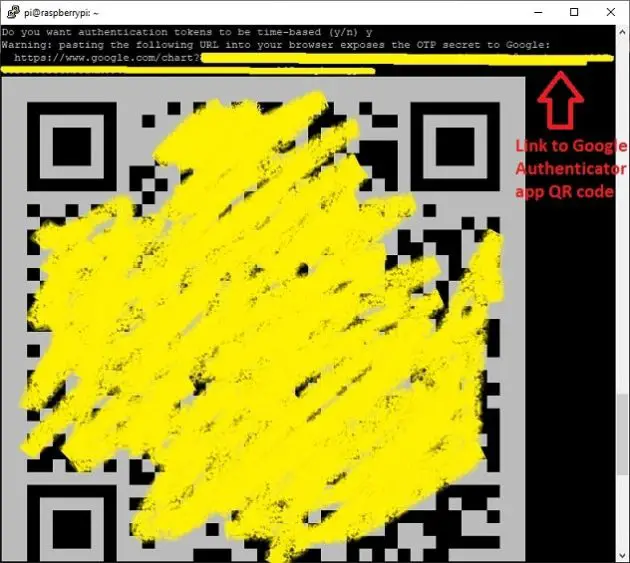
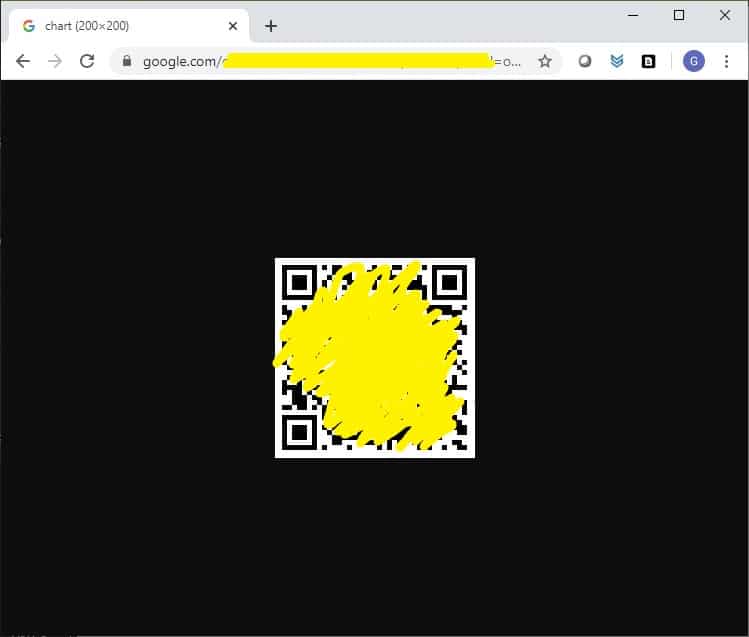
The following step will generate a QR code in your terminal. It also gives you a link to show it in your browser but, honestly, the page gave me a 404 (page not found) error. In any case, you can use the QR code shown in the terminal:

2fa-raspberry-pi-google-authenticator-qr-code_2

The last row, as you can see, expects a code that will come from the Google Authenticator app once we associate the 2 devices.

From your smartphone, please open the Google Authenticator app and tap the button with a cross on the bottom right side. The appearance of this button may change:

Google Authenticator add code

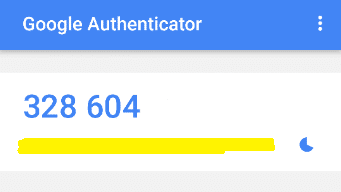
Then, please select the “Scan a Barcode” option. With your camera, please scan the QR code available from the previous step. A new token will appear on your app, similar to the following:

2fa-raspberry-pi-google-authenticator-token

This code will be refreshed approximately every 30 seconds. Please insert the resulting code in your Raspberry PI terminal.

You will get a confirmation that the code is valid and the “emergency scratch codes” that you will be able to use to recover access to your Raspberry PI if you have problems in the future. For privacy, the mine in the following are hidden. Please note and save these codes in a secure place!

Enter code from app (-1 to skip): ******
Code confirmed
Your emergency scratch codes are:
  2*******
  ***3****
  *1*****6
  ****9*6*
  5**7**17

After this operation, you will be prompted with a few questions to fine-tune your token settings.

The first question is if you want to update the google_authenticator file. Please answer yes:

Do you want me to update your "/home/pi/.google_authenticator" file? (y/n) y

The following allows you to use a newly generated token for every new session. For security reasons, I suggest you to answer yes:

Do you want to disallow multiple uses of the same authentication
token? This restricts you to one login about every 30s, but it increases
your chances to notice or even prevent man-in-the-middle attacks (y/n) y

The following question will allow you to increase the time you can use a specific token: even if the Google Authenticator app shows you a new token, you can still use the old one until the new will expire. For this option, it is safe enough to answer yes:

By default, a new token is generated every 30 seconds by the mobile app.
In order to compensate for possible time-skew between the client and the server,
we allow an extra token before and after the current time. This allows for a
time skew of up to 30 seconds between authentication server and client. If you
experience problems with poor time synchronization, you can increase the window
from its default size of 3 permitted codes (one previous code, the current
code, the next code) to 17 permitted codes (the 8 previous codes, the current
code, and the 8 next codes). This will permit for a time skew of up to 4 minutes
between client and server.
Do you want to do so? (y/n)

The following question will ask you if you want to enable security enforcement against brute-force attacks: if there are 3 login attempts failed in 30 seconds, it will disable the login for the same time (30 seconds). I suggest again to answer yes:

If the computer that you are logging into isn't hardened against brute-force
login attempts, you can enable rate-limiting for the authentication module.
By default, this limits attackers to no more than 3 login attempts every 30s.
Do you want to enable rate-limiting? (y/n)

With this last question, we finished the setup and you can now reboot your Raspberry PI to test the new access security:

sudo reboot

Testing the 2FA for Raspberry PI’s SSH Access

In your new SSH login, you will be able to test the new authentication. As in the previous logins, it will ask you for the username and password. But, this time, the terminal will also ask you for the “Verification code”, where you can write the code you get from your Google Authenticator app:

login as: pi
Keyboard-interactive authentication prompts from server:
| Password:
| Verification code:
End of keyboard-interactive prompts from server

What’s next

If you are interested in more Raspberry PI projects (both with Lite and Desktop OS), take a look at my Raspberry PI Tutorials.

Enjoy!

How useful was this post?

Click on a star to rate it anonymously!

Average rating 5 / 5. Vote count: 2

No votes so far! Be the first to rate this post.

We are sorry that this post was not useful for you!

Let us improve this post!

Tell us how we can improve this post?

2 thoughts on “How to add 2 Factor Authentication (2FA) in Raspberry PI OS with Google Authenticator for SSH login”

  1. Excellent post, just added 2 factor codes to SSH access. Using Yubikey Authenticator with a Yubi NFC key.
    Had looked at other websites, but above most straightforward explanation and as a raspberry noob very important

Leave a Comment

Your email address will not be published. Required fields are marked *

×