Last Updated on 30th November 2025 by peppe8o
Raspberry PI boards can perform very well to provide complete web server functions with very small budgets. They also have very low power consumption, so many people can start a web page at affordable costs.
LAMP is a server composed of the following elements (each one composing the LAMP acronym):
- Linux – Operating System – to manage hardware integration and general software operations
- Apache – Web Server Application – to expose HTML pages
- MySQL – Database – to store records and data which need to be managed with apposite structures
- Php – Server-side Scripting – to create dynamic pages
Besides installing LAMP server to publish a website, you need to set also some networking configurations.
The very first thing to configure is to ensure that your Raspberry PI will acquire always the same IP address on every boot. This can be achieved by setting a static IP address on Raspberry PI and configuring your router to leave the same IP address associated with the RPI Mac Address (this part depends on your router model).
If you want to publish your web page on the internet, you also need to configure your router port-forwarding. You must forward external ports 80 (for HTTP) and/or 443 (for HTTPS) to Raspberry PI. You should also use a domain, being able to start with a free No-IP domain (please refer to configure No-IP DUC guide for the last part).
In this tutorial, I’m going to show you how to install a LAMP server in your Raspberry PI. I’m going to use a cheap Raspberry PI Zero W, but this guide will apply to all Raspberry PI boards.
What We Need
As usual, I suggest adding from now to your favourite e-commerce shopping cart all the needed hardware, so that at the end you will be able to evaluate overall costs and decide if to continue with the project or remove them from the shopping cart. So, hardware will be only:
- Raspberry PI Zero W (including proper power supply or using a smartphone micro USB charger with at least 3A) or newer Raspberry PI Board
- high speed micro SD card (at least 16 GB, at least class 10)
Step-by-Step Procedure
Install Operating System – Linux
We’ll use a light OS without a desktop environment (headless), so we will have more power for services instead of wasting CPU and RAM on the not-needed desktop GUI. For this preparation part, please refer to install Raspberry PI OS Lite. If you want a Desktop environment to use your RPI as a Personal Computer together with web server services, then you can install Raspberry PI OS Desktop, proceeding with the next steps from the internal terminal.
Make your operating system up-to-date:
sudo apt update -y && sudo apt upgrade -yInstall Web Server – Apache
Apache is a fast HTTP server providing advanced functionalities to expose web pages. It is the most spread software used on the web to publish pages. It is available from all package repositories, so it makes its installation. From the terminal, issue the following command:
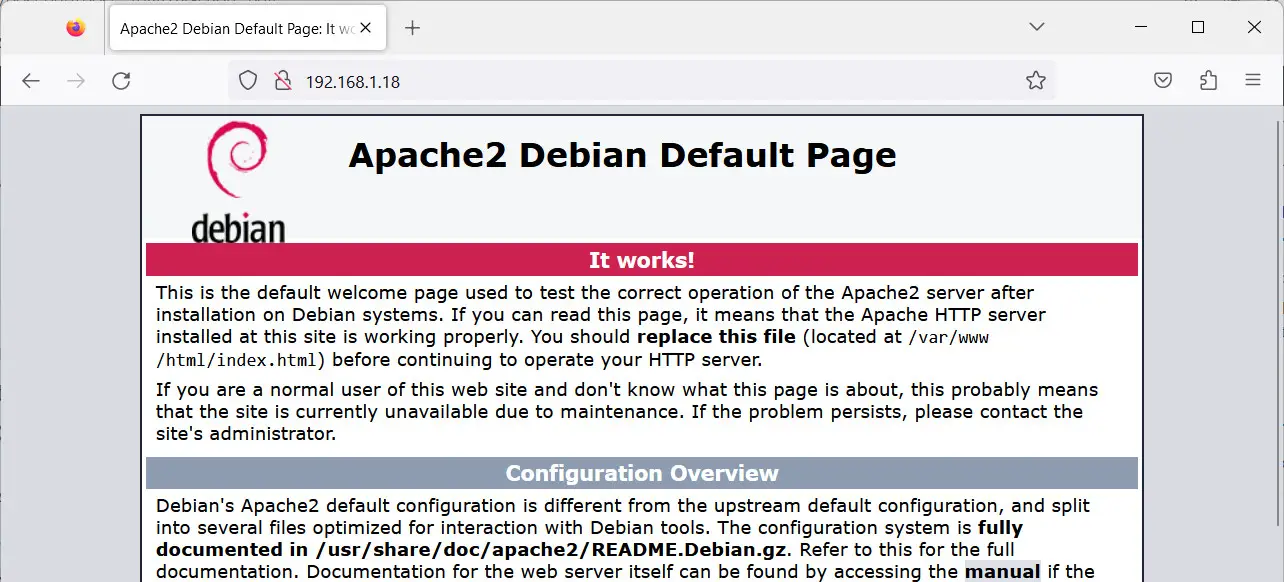
sudo apt install apache2 -yOnce installation is finished, you can check that Apache is working by using your web browser with a URL equal to “http://” followed by your Raspberry PI’s IP address. The following picture shows the expected result (192.168.1.18 is my RPI IP address):
Install PHP
Also, Php is so spread that it is available from all package repositories. To proceed with its installation, use the following from the terminal:
sudo apt install php -yTo check if the installation finished correctly, you can issue the following command from the terminal (with the result):
pi@raspberrypi:~ $ php -v
PHP 8.2.7 (cli) (built: Jun  9 2023 19:37:27) (NTS)
Copyright (c) The PHP Group
Zend Engine v4.2.7, Copyright (c) Zend Technologies
    with Zend OPcache v8.2.7, Copyright (c), by Zend Technologies
You can also test PHP and get system info by creating a simple PHP page on your web server. From terminal, create test.php in /var/www/html/ folder with following command:
sudo nano /var/www/html/test.phpAdd the following line:
<?php phpinfo(); ?>Save and exit. Back to your browser, append “/test.php” to Raspberry PI’s IP address, getting the following result:
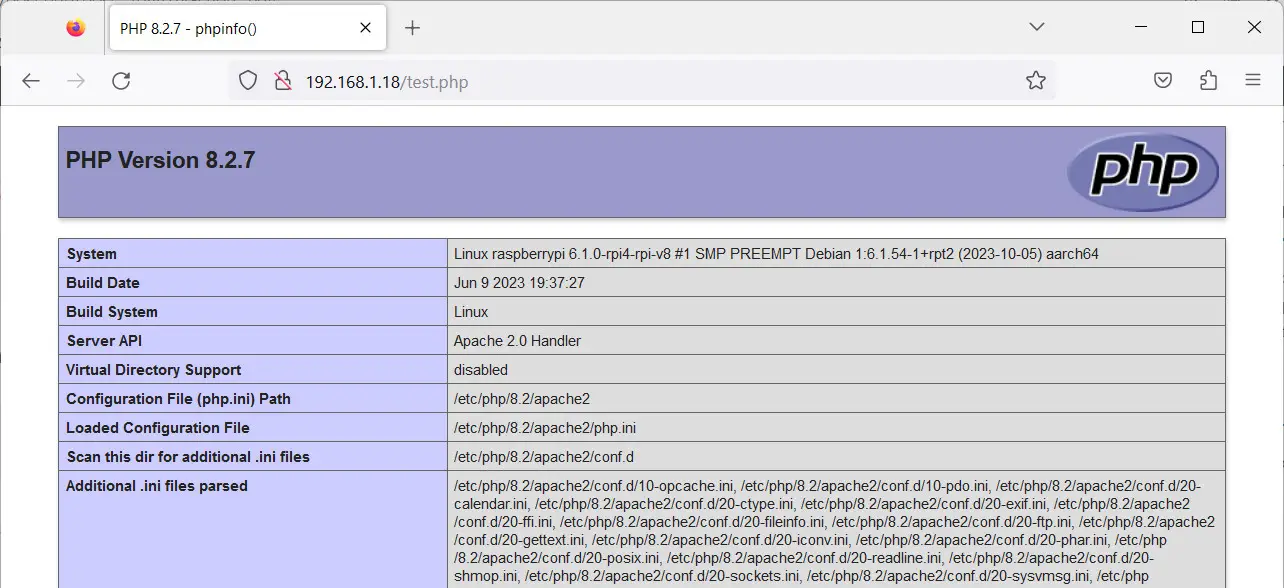
This is a useful page as it gives you fast access to your PHP configuration and variables.
Install Database – MariaDB instead of MySQL
From the database side, I suggest using MariaDB instead of MySQL. MariaDB is a fork of MySQL, resulting in lighter software (which better fits Raspberry PI resources) and keeping the same MySQL commands valid. We’ll install it together with the PHP connector so that MariaDB and PHP will be able to communicate. From terminal:
sudo apt install mariadb-server php-mysql -yOnce finished, a common best practice for a database is securing it. MariaDB gives you a procedure to set main configurations. From terminal:
sudo mariadb-secure-installationThe following questions will be asked (followed by my suggested answers):
- Enter current password for root (enter for none): > root password in fresh installation is empty, so simply press ENTER key or use your root password
- Switch to unix_socket authentication [Y/n] > I answered no
- Change the root password? [Y/n] > I suggest answering Y (yes)
- New password: > type your new root password
- Re-enter new password: > type again your new root password
- Remove anonymous users? [Y/n] > I suggest answering Y (yes)
- Disallow root login remotely? [Y/n] > I suggest answering Y (yes)
- Remove test database and access to it? [Y/n] > I suggest answering Y (yes)
- Reload privilege tables now? [Y/n] > Answer yes to make your answers effective
Your LAMP server is now ready!
Simplify Database management – Phpmyadmin
A useful tool to manage databases in LAMP servers is phpMyAdmin. It can be installed with the following terminal command:
sudo apt install phpmyadmin -yIn the phpMyAdmin setup screens, I suggest the following:
- Select Apache (mandatory) with the space key and press Ok
- Select Yes to configure the database for phpMyAdmin with dbconfig-common
- Insert your favourite phpMyAdmin password and press Ok
- Insert your phpMyAdmin password again to confirm and press Ok
Grant phpMyAdmin user DB privileges to manage DBs
We’ll connect to MariaDB with the root user (default password is one before set) to grant permissions (remember to use semicolumns at the end of each command row as shown below):
sudo mysql -uroot -p
grant all privileges on *.* to 'phpmyadmin'@'localhost';
flush privileges;
quit
From here, use your web browser to reach phpMyAdmin login page by using Raspberry PI’s IP address followed by “/phpmyadmin/”:
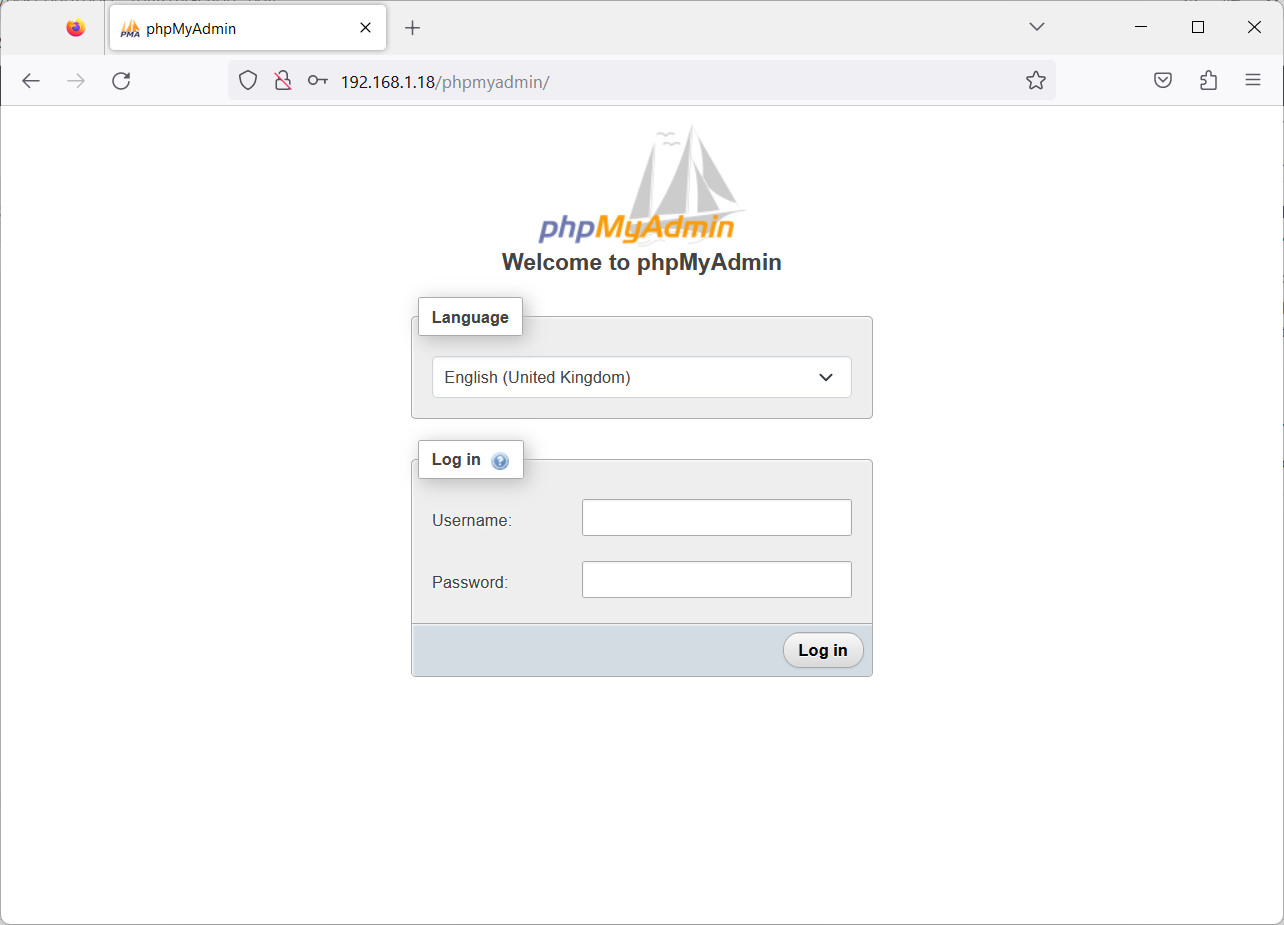
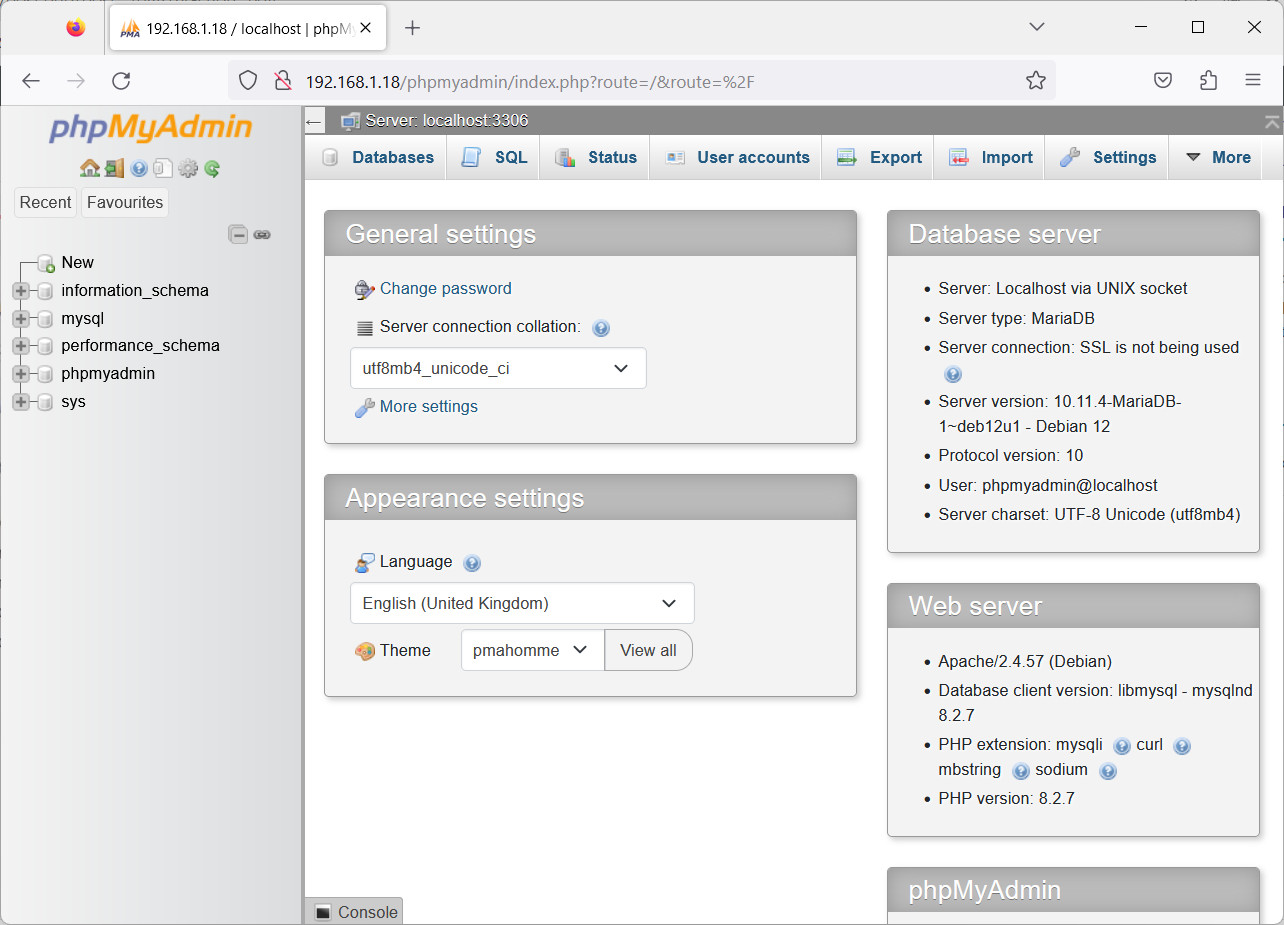
Use “phpmyadmin” as username and the password you set during phpMyAdmin installation. You will reach the phpMyAdmin home page:
Next Steps
You now need to secure your web server. If you don’t need an external Certification Authority, you can use Self Signed Certificate tutorial.
If you want to discover many other projects for your Raspberry PI, you can take a look at peppe8o Raspberry PI tutorials.
Enjoy!

Open source and Raspberry PI lover, writes tutorials for beginners since 2019. He's an ICT expert, with a strong experience in supporting medium to big companies and public administrations to manage their ICT infrastructures. He's supporting the Italian public administration in digital transformation projects.

Thank you very much, it was a great help! Written very understandable. Greetings, Ronaldi.
You are welcome, Ronaldi.
If you like this content, please share it with your friends! 😉
Clear, concise, correct and complete instructions.
Thank you, Wim
Thankyou for the guide.
Currently there appears to be an issue with versions phpMyAdmin and PHP, arising from the “sudo apt install phpmyadmin” command installing an older version that throws errors with PHP 7.3.
Hopefully the packages will be updated soon.
I wasn’t able to reproduce your issue, as I just re-installed it from fresh OS. It seems strange, as also latest phpmyadmin version requires only php7.2.5 or newer (please refer to https://docs.phpmyadmin.net/en/latest/require.html#php) and apt currently installs php 7.3. However, if you strictly need php7.4, you can try with a trick included in my Grocy tutorial (http://peppe8o.com/manage-your-home-stocks-like-a-pro-with-grocy-and-raspberry-pi/)
Hey, really good description, thank you!
Before I could access phpmyadmin in the browser, I had to make following steps:
edit the “Apache2.conf” file:
sudo nano /etc/apache2/apache2.conf
add the following line to the bottom of this file:
Include /etc/phpmyadmin/apache.conf
Exit with crtl+X
Now we need to restart the Apache service:
sudo service apache2 restart
And so will work phpmyadmin.
Thank you for your notes. Sometimes package updates can change or add some additional configurations. I’ll test your edit notes and add them in my tutorial soon
Thank you very much. This made it all work!
Lord, I was able to follow you. Thanks a lot. All my attempts to activate a PHP website to the Raspberry Pi local host failed, can you help me?
Hi Naamal,
you can both write here in comment area or email me at giuseppe@peppe8o.com to let me know what are the errors you are getting or what is the expected output you can’t get
Sir. Thanks you so much for seeing the quick response,
As an XMPPP Home Server for Windows I currently have the RFID Attendance Systems PHP website. I want to set it up as a Raspberry Pi home server, that website is taken from the internet. I will post its link here. I do not know how to connect this site to the lamp server. Can you explain the step-by-step procedure?
This is the website download link
https://drive.google.com/file/d/1P5c8MwKc_BlDYW9ApiZG-tF7qUJABQSx/view
Sorry, for this week I can’t test on my Raspberry PI computer boards as I’m on holiday and I’ve only a Raspberry PI Pico with me. But let me have a clear overview of what you have.
First of all, I want to ask you if you have an XMPP server or a XAMPP server, as the two things are quite different, just to be sure we are on same page.
Also consider that Windows computers usually have x64 or x86 CPU architecture, while RPI has an ARM CPU architecture. It is not always granted that you can perform this move without reinstalling some things. Another check is if your current php version on Windows server is compatible (or the same) with the two currently available from Raspberry PI OS repository (2.7 and 3.7, latter whould be better solution).
The simplest way to verify if it works (if you are very very lucky) is copying the entire content from your Windows root publishing path (usually C:/xampp/htdocs/) into the LAMP root publishing path (/var/www/html/), then setting correct permissions to allow ownership to www-data:www-data.
But if you had in past to install something and/or you use a database, this won’t give a working result…
yes sir, i have have a XAMPP
Sir, I know that the web version is stored in the htdocs folder in Xampp, but the htdocs folder is not found in the lamp server, how do I find it?
when I run;
[ grant all privileges on *.* to ‘phpmyadmin’@’localhost’; ]
I keep getting this error.
ERROR 1133 (28000): Can’t find any matching row in the user table
everything else has been working just fine
precise instructions. …Installed LAMP. Thanks a lot!!.
Wish to have some ideas on how to tweak the system.
Thank you for your feedback, Manaoj. Some tricks to improve system performance are available from my article
When I go to access the server via IP in google chrome, it tells me that the certificate is invalid. Yet, in firefox it opens as expected. Any idea as to why?
Hi John,
yes, it’s normal because you haven’t a certificate installed and modern browsers warn you that it can be a security issue. You can just tell the browser to proceed as you’re sure that the IP matches your Raspberry PI in your local network. Moreover, you can use self-signed certificates (if your Raspberry PI needs to stay within your local network) or you can use Let’s Encrypt (if you can add a forward route from your internet router)
At the early step of securing the database, I received this error; “mysql_secure_installation: command not found”. Looking elsewhere on the web, I found the new command to use;
sudo mariadb-secure-installation
I haven’t finished up yet, the goal is a self-hosted PHPBB forum, but this is the first error I have encountered. Excellent tutorials! Thank you so much.
Thank you for your feedback, Hans. I’ll update the tutorial by this week end. By the way, you can find also a tutorial about installing phpBB forum in my blog
Outstanding.
My forum has been up and running great. It’s all thanks to your excellent tutorials! Thank you so much and Merry Christmas!
Thank you Hans, enjoy your forum on Raspberry PI!