
Last Updated on 22nd March 2026 by peppe8o
In this tutorial, I will show you the SunFounder PiDog, a Raspberry PI-based robot dog.
This robot dog can be considered a project for beginners as, despite its complexity, there are very clear instructions within the packaging and a complete instructions website. With this support, everyone can assemble their Raspberry PI robot dog in a day or 2.
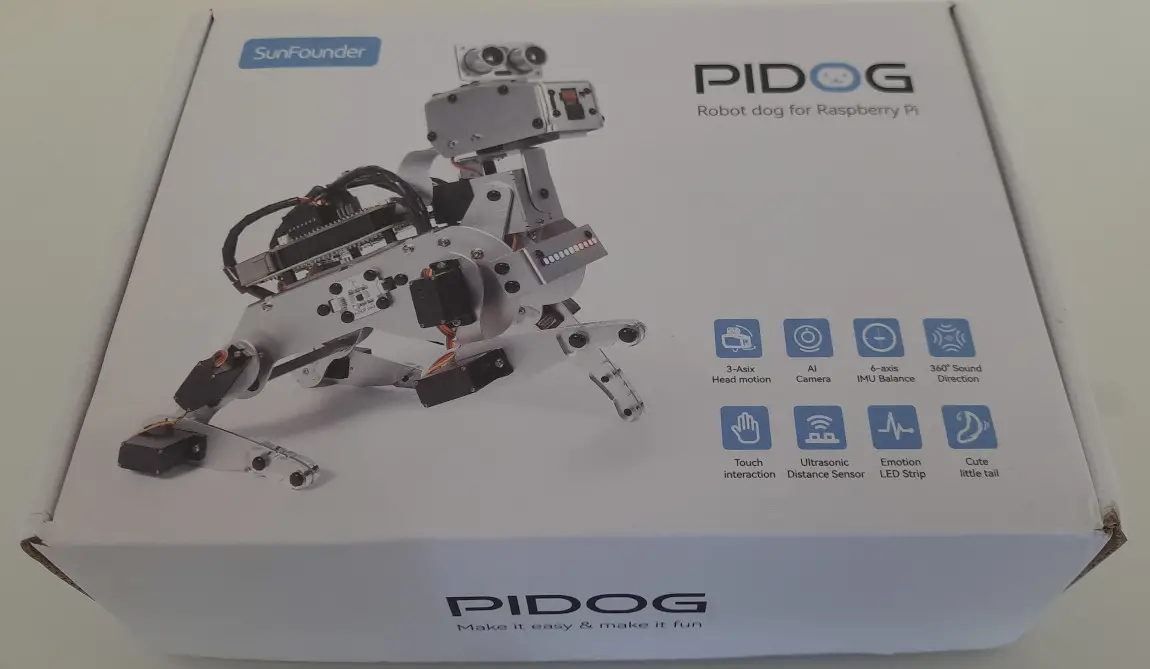
The PiDog packaging
The kit comes in a small box, as shown in the following image.
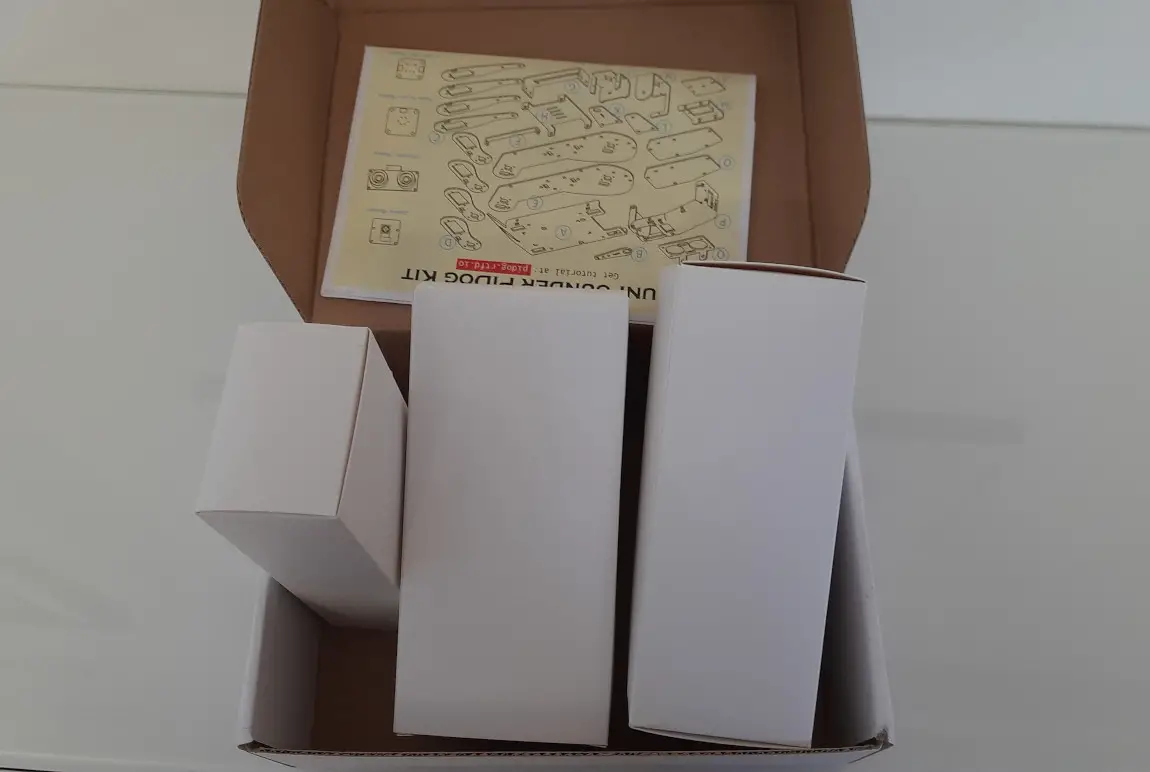
Inside the box, everything is organized into 3 smaller boxes, besides the instruction sheet. Please note that you can find the same instruction sheet on the Sunfounder PiDog pages:
https://docs.sunfounder.com/projects/pidog/en/latest/assemble_video.html
The following picture shows the whole content of the entire kit. Electronic parts are duly bagged for protection. There is a number of tiny screws required for the assembly process, but every screw bag has its own label, showing the content in a very clear way.
Moreover, the kit also includes the required screwdrivers with magnetic heads: this is a must for people, like me, with big fingers to manage those so tiny screws! Also, the package includes spare screws: this is a great contingency because if you lose one screw you don’t want to become crazy to find and buy just one of them!
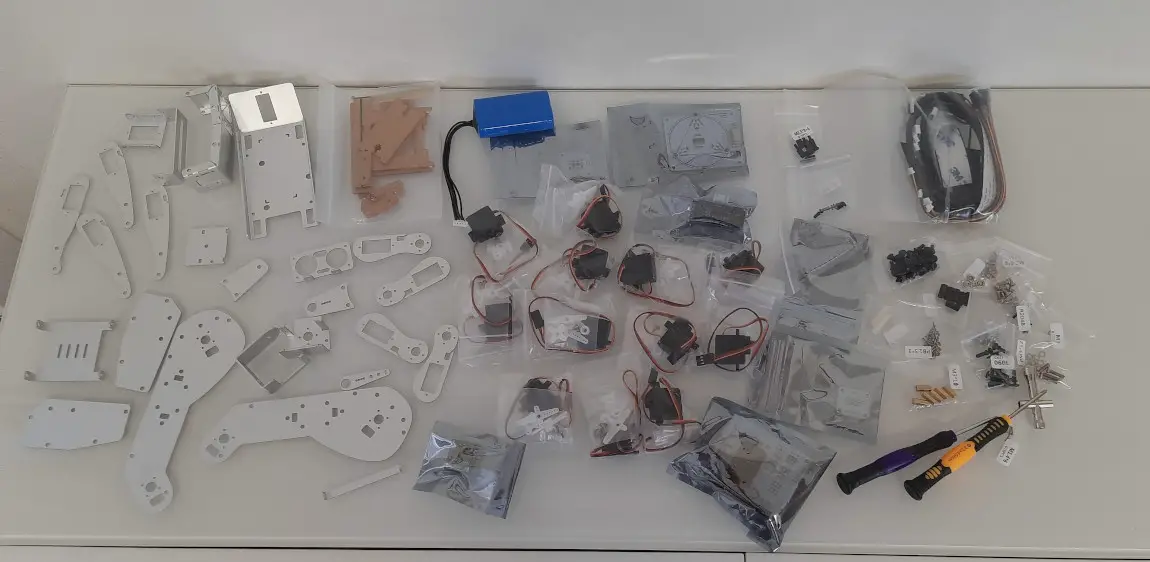
I suggest getting the whole content disposed into a table before starting the assembly process so that you can reach every part easily when required from the assembly steps.
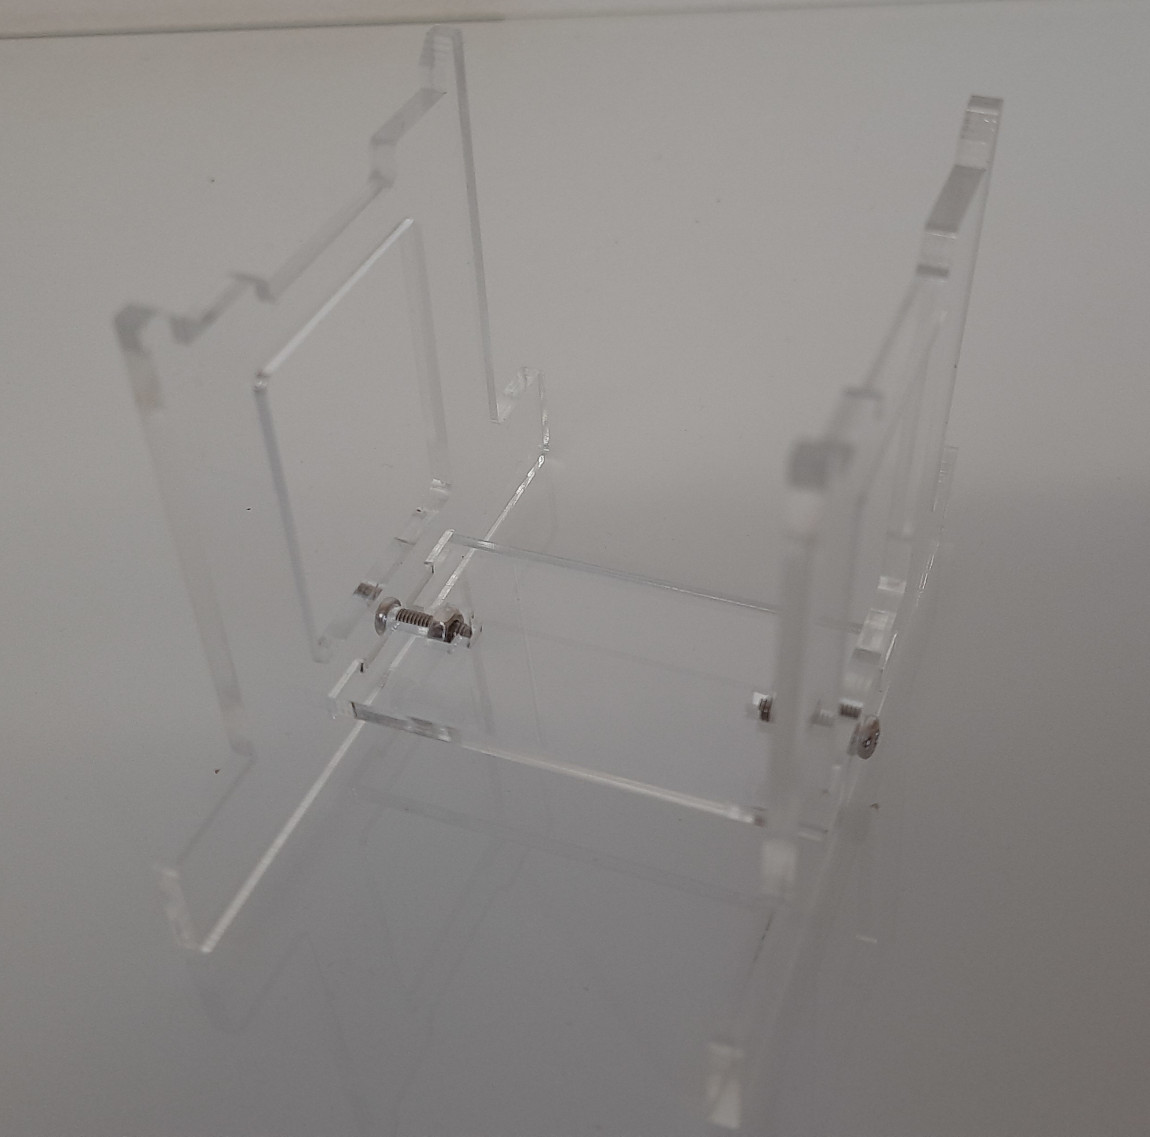
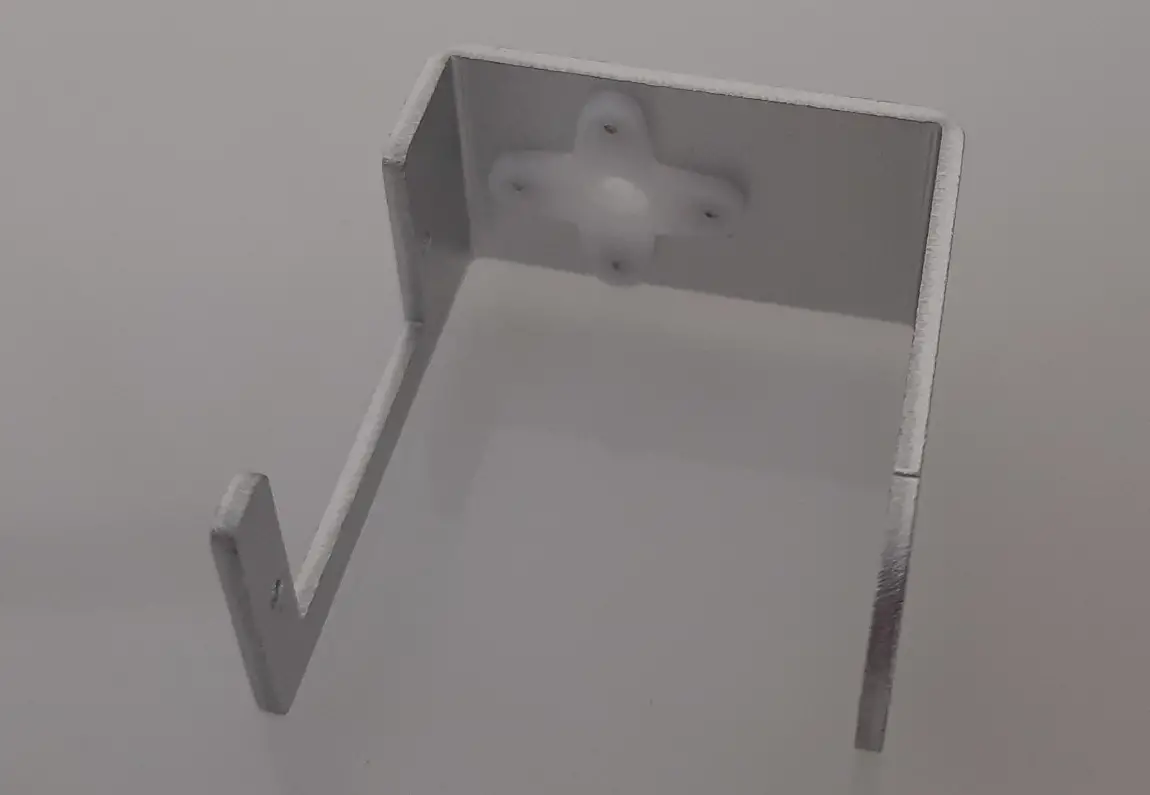
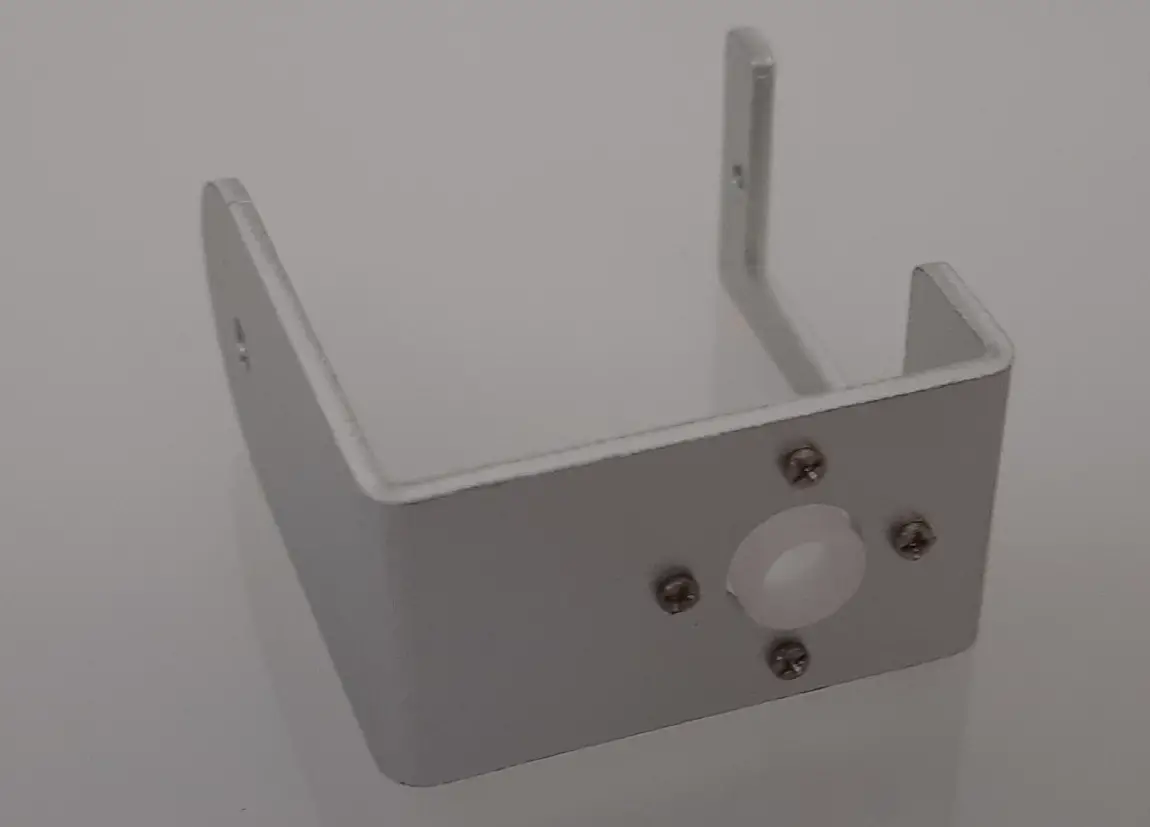
The PiDog Support Base
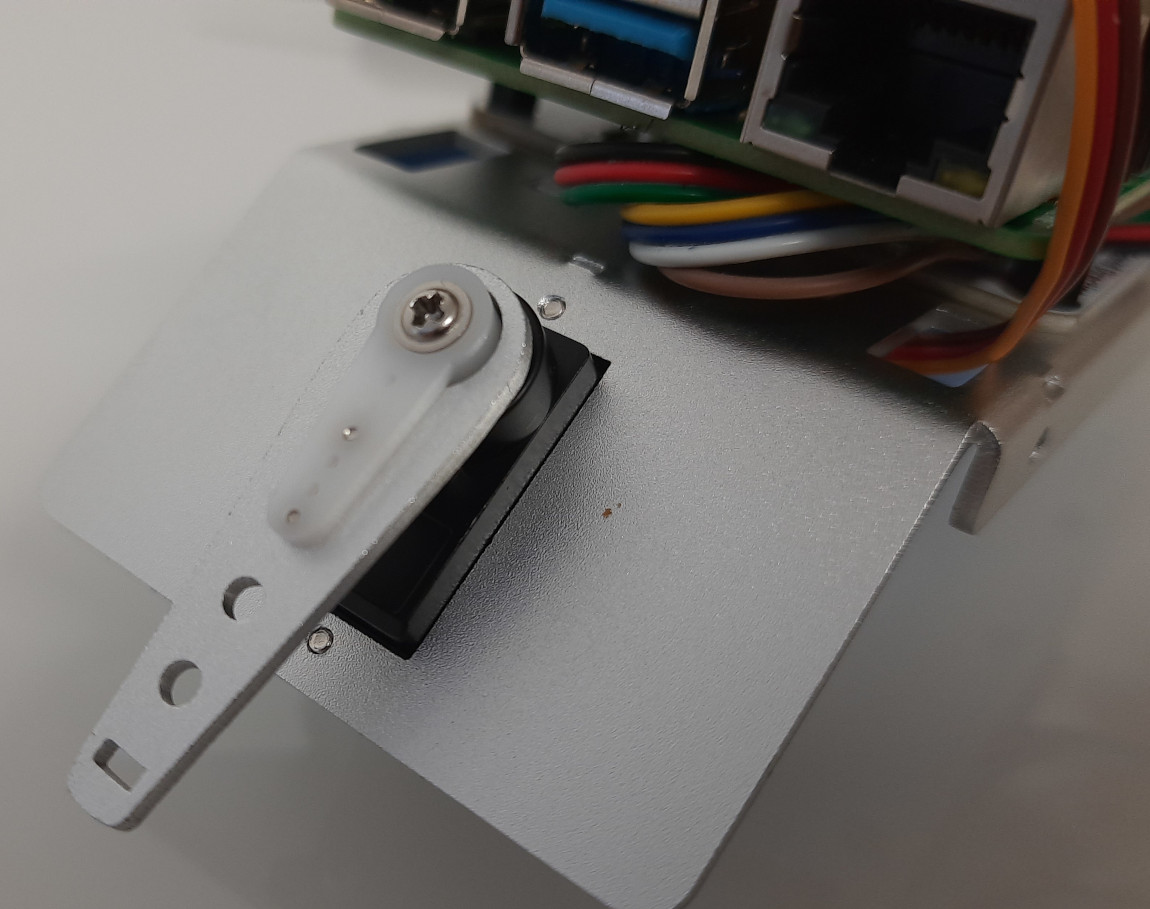
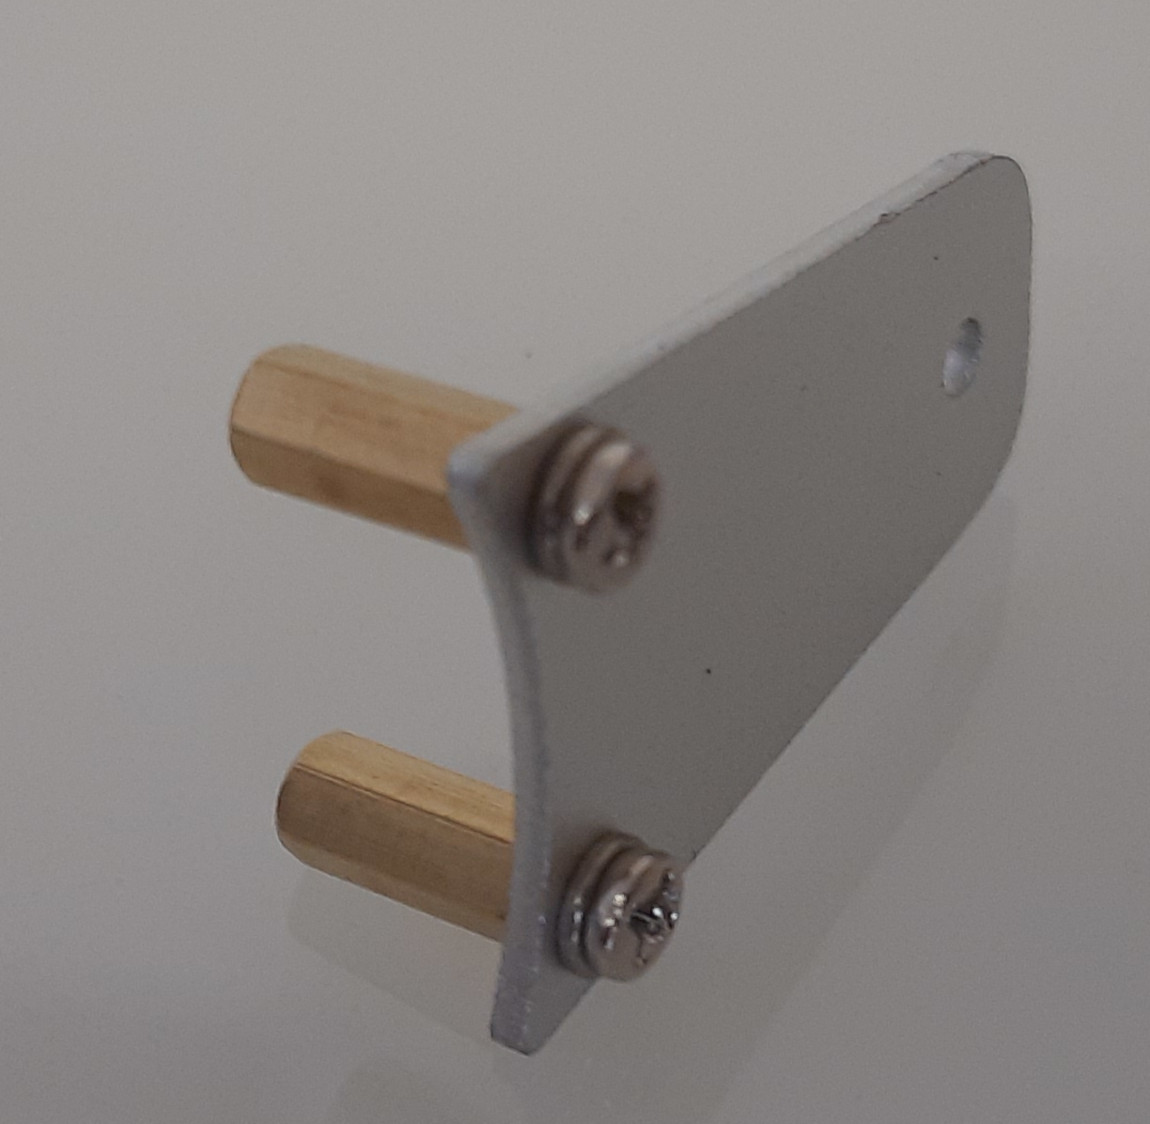
The kit includes a support base where to place your PiDog when powered off. It’s a solid piece which you can assemble with just 2 screws:
Assembling the PiDog
In the following parts, I will show you picture details and some warning notes useful for the PiDog assembling. Please note that some steps may have changed as I get a prototype model and, from what I know, the SunFounder issued some minor improvements.
Assemble the Body
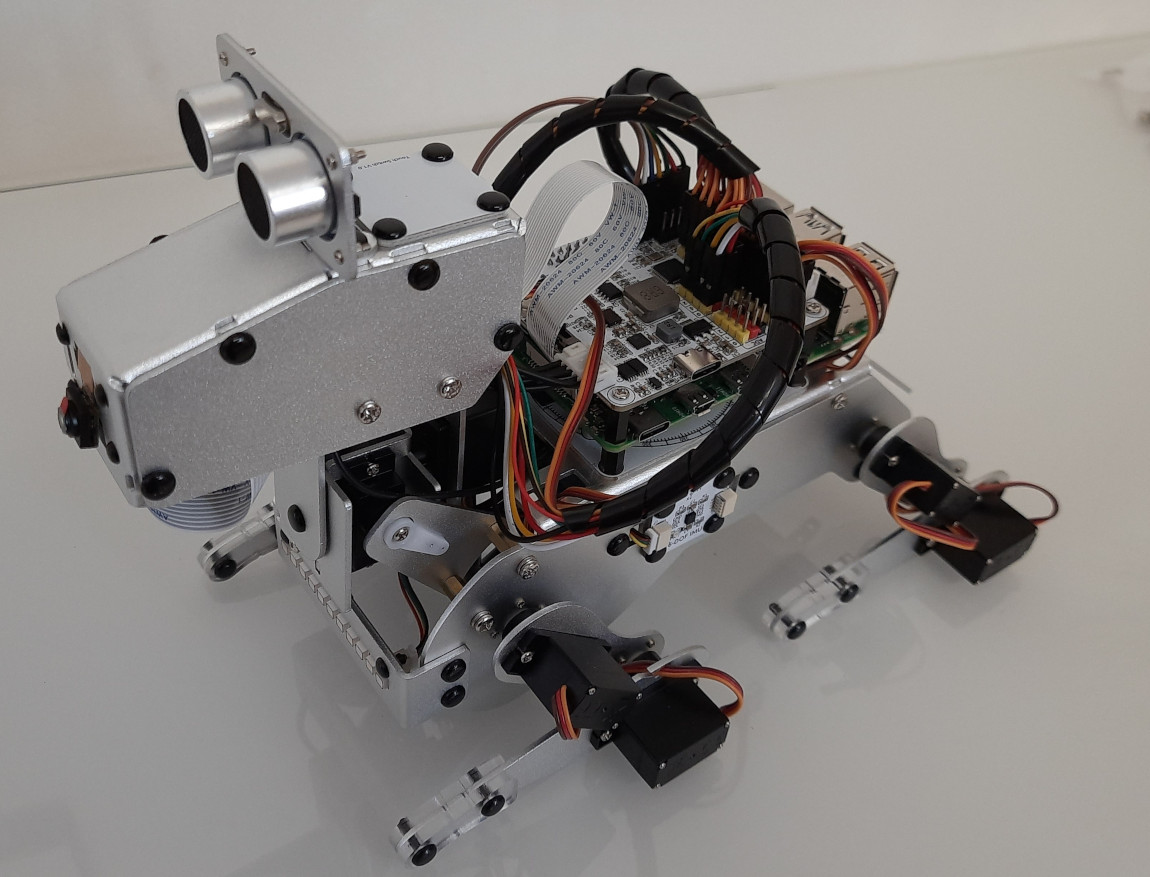
The first assembling steps regard the PiDog body, which includes the Raspberry PI and the SunFounder Robot Hat.
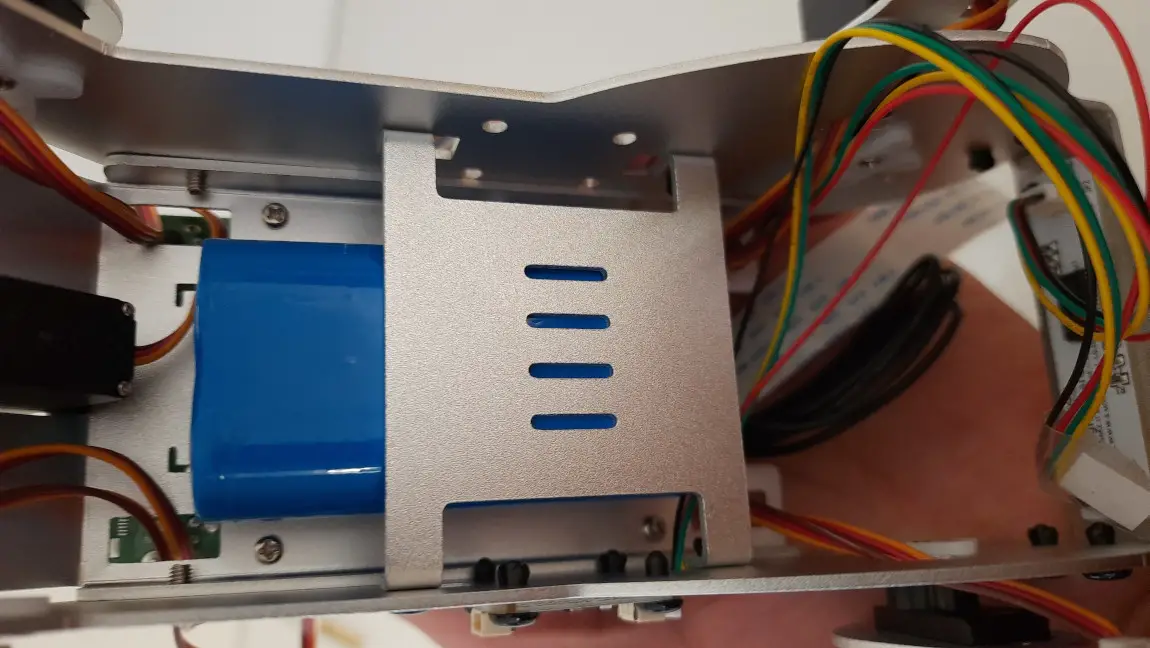
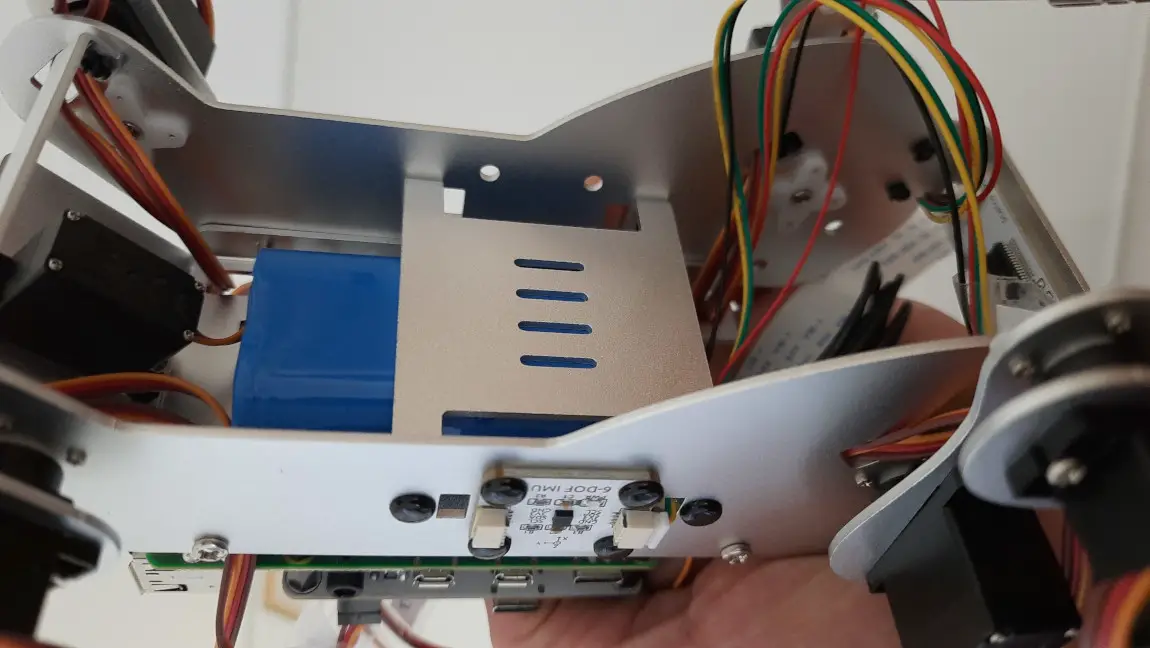
It starts from the PiDog’s “belly”, which will host the battery package:
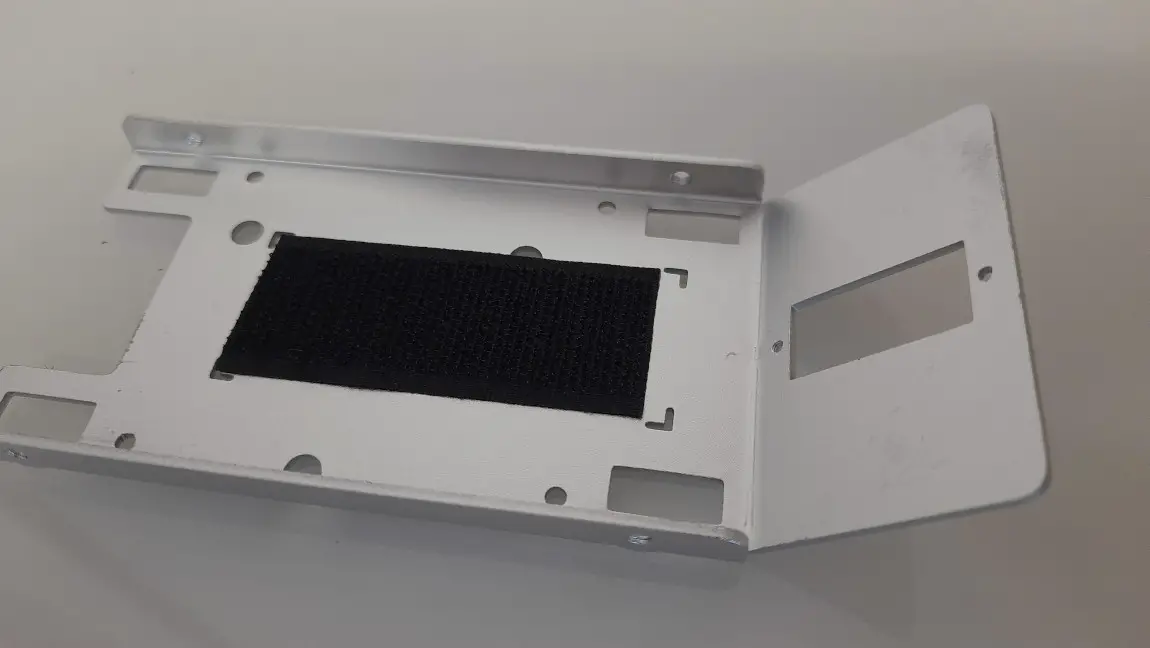
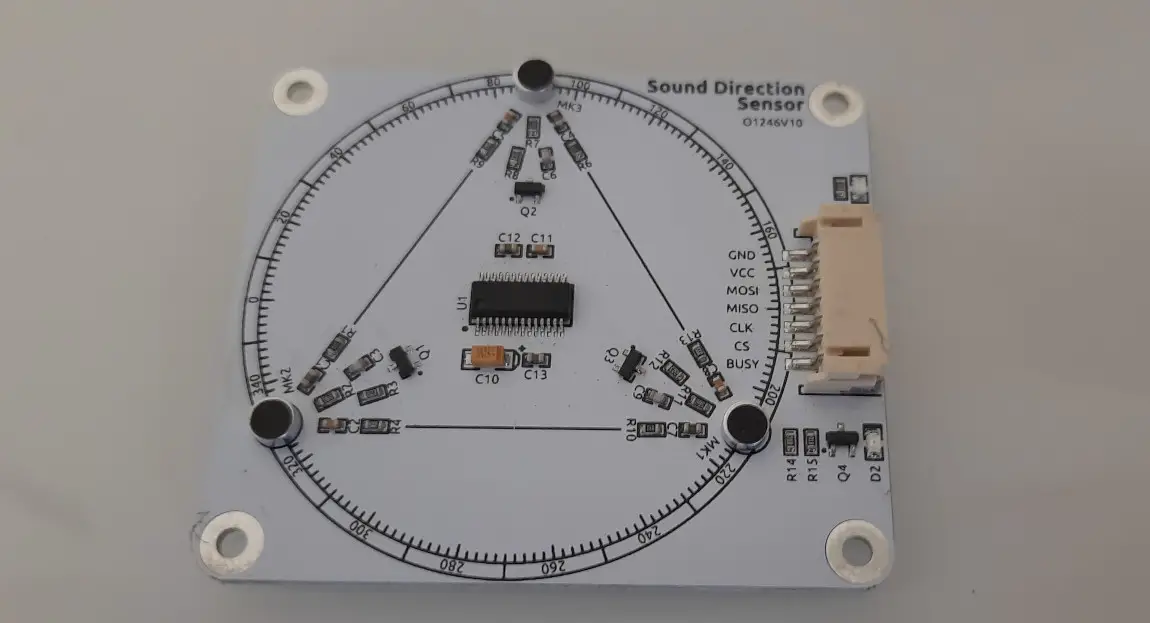
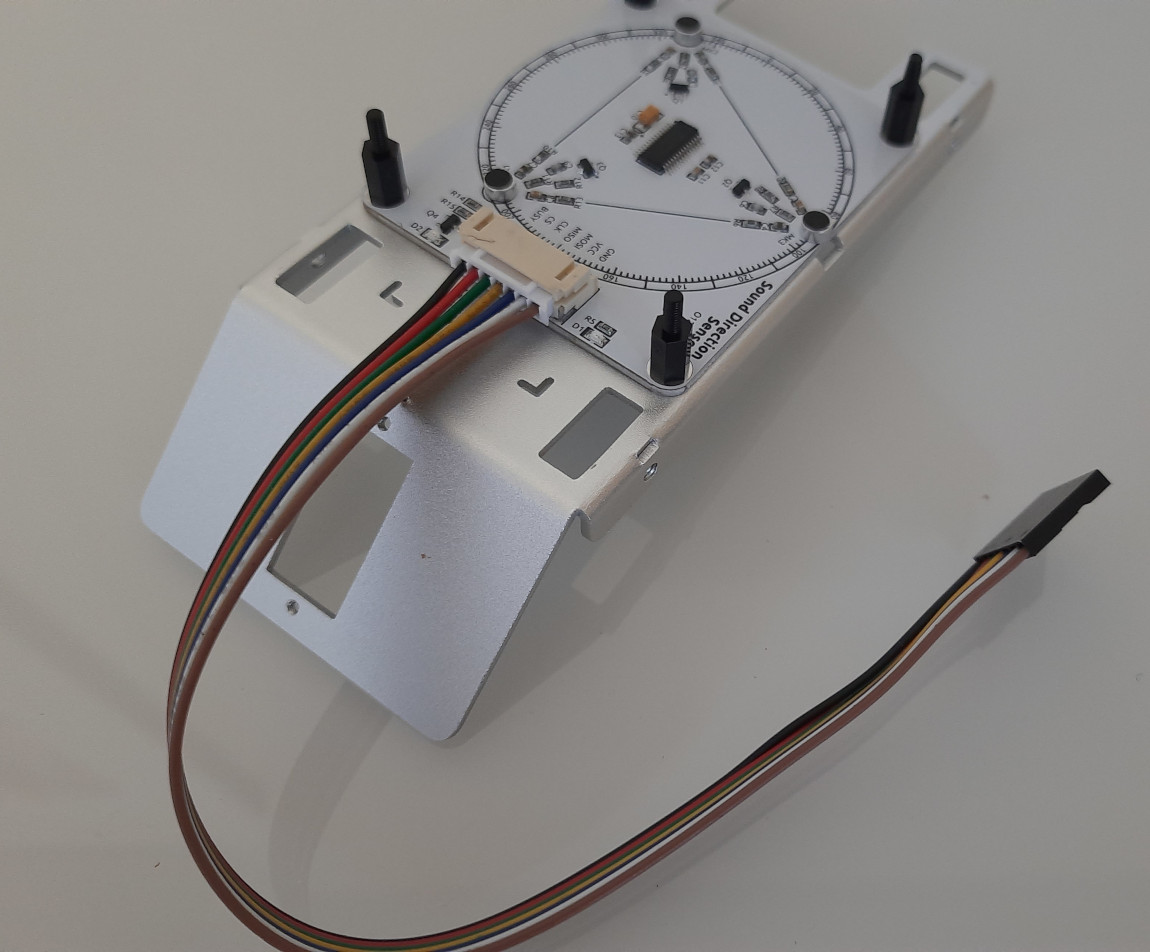
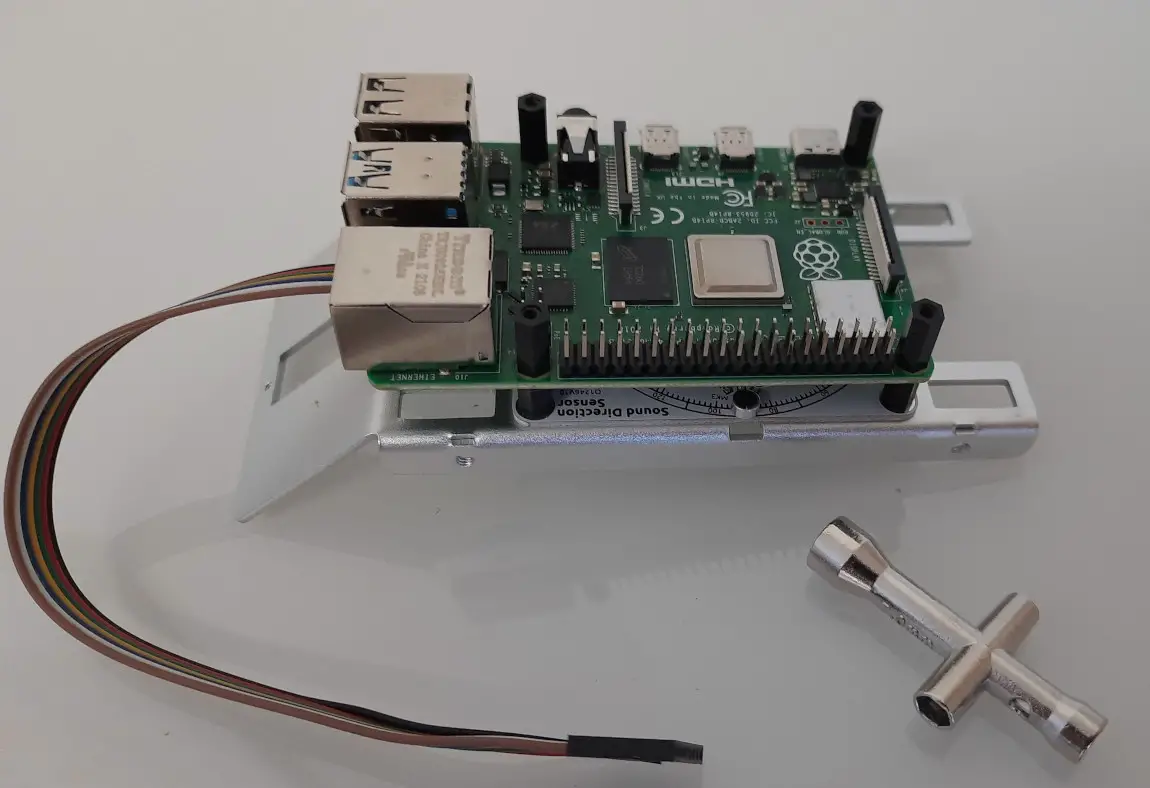
Here we’ll mount the Sound Direction sensor:
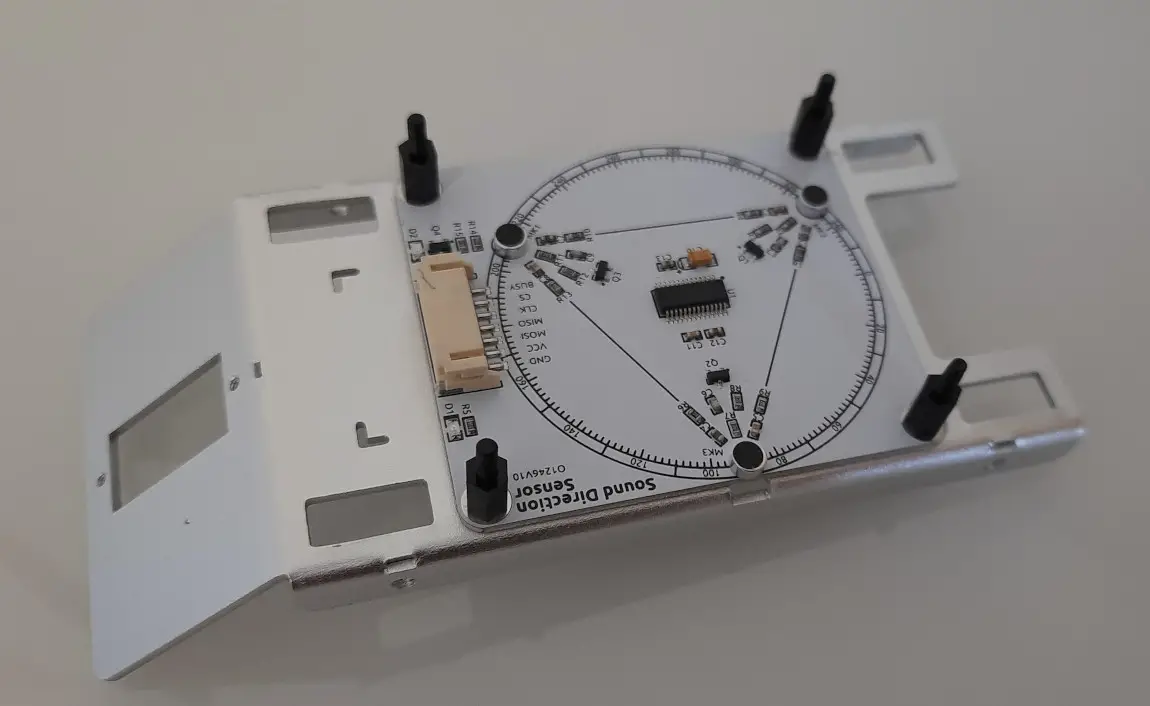
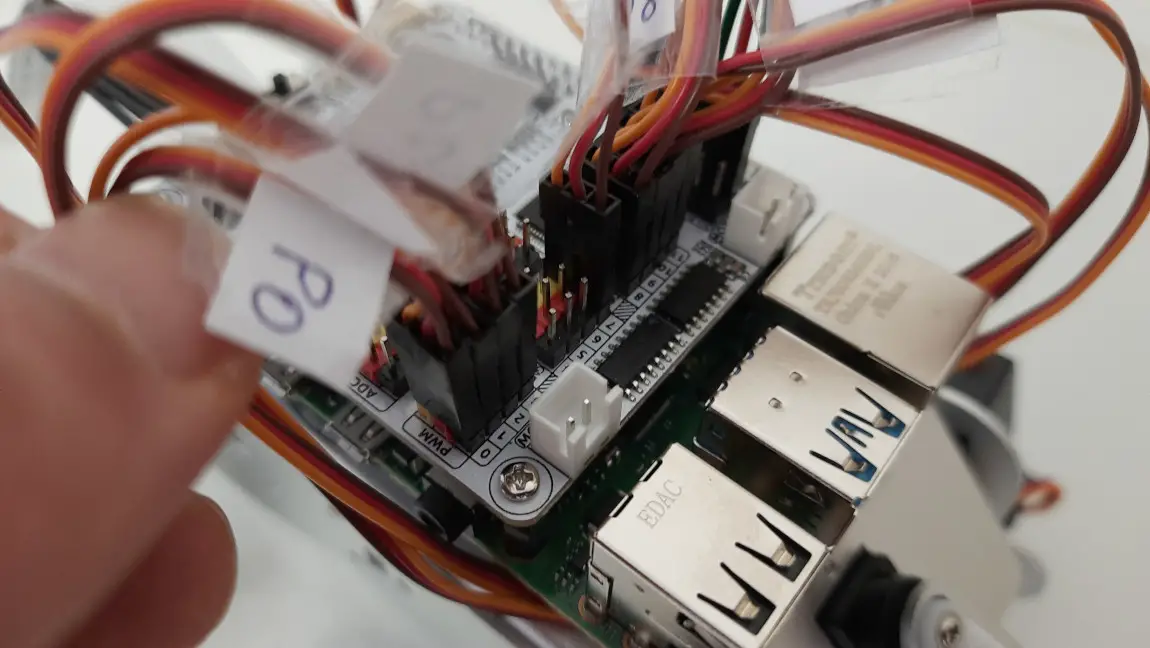
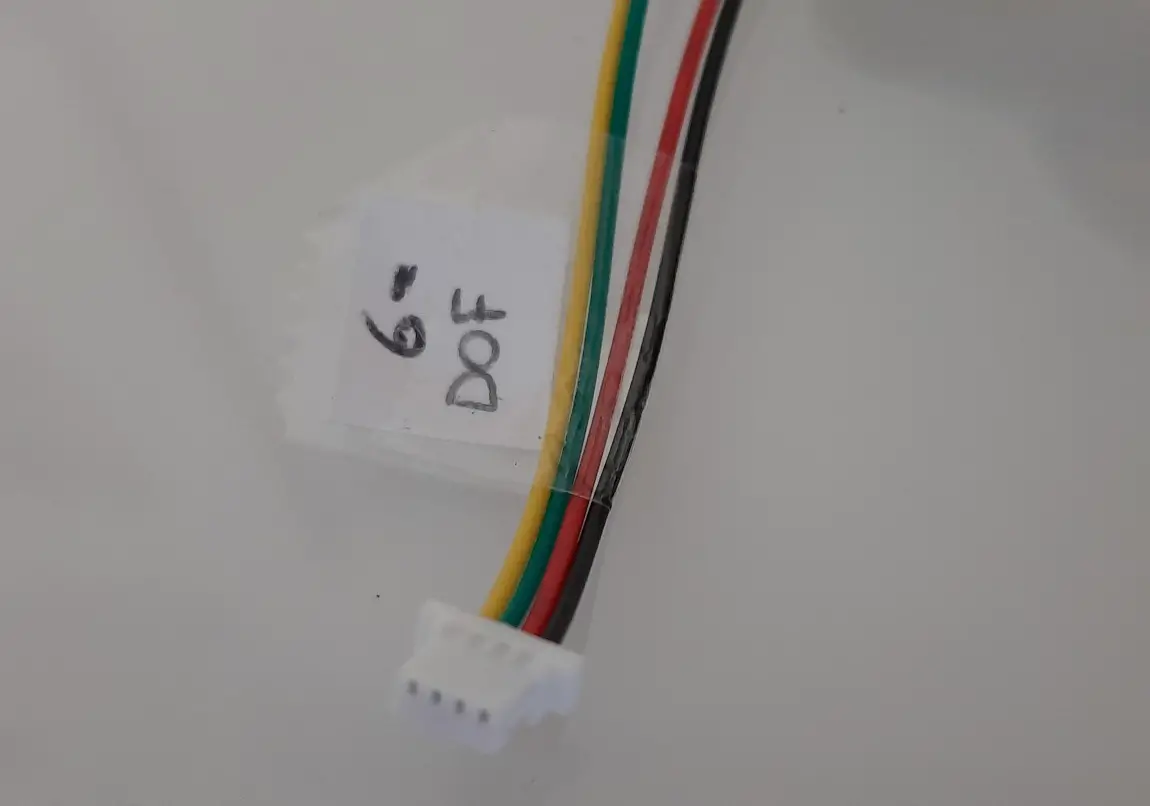
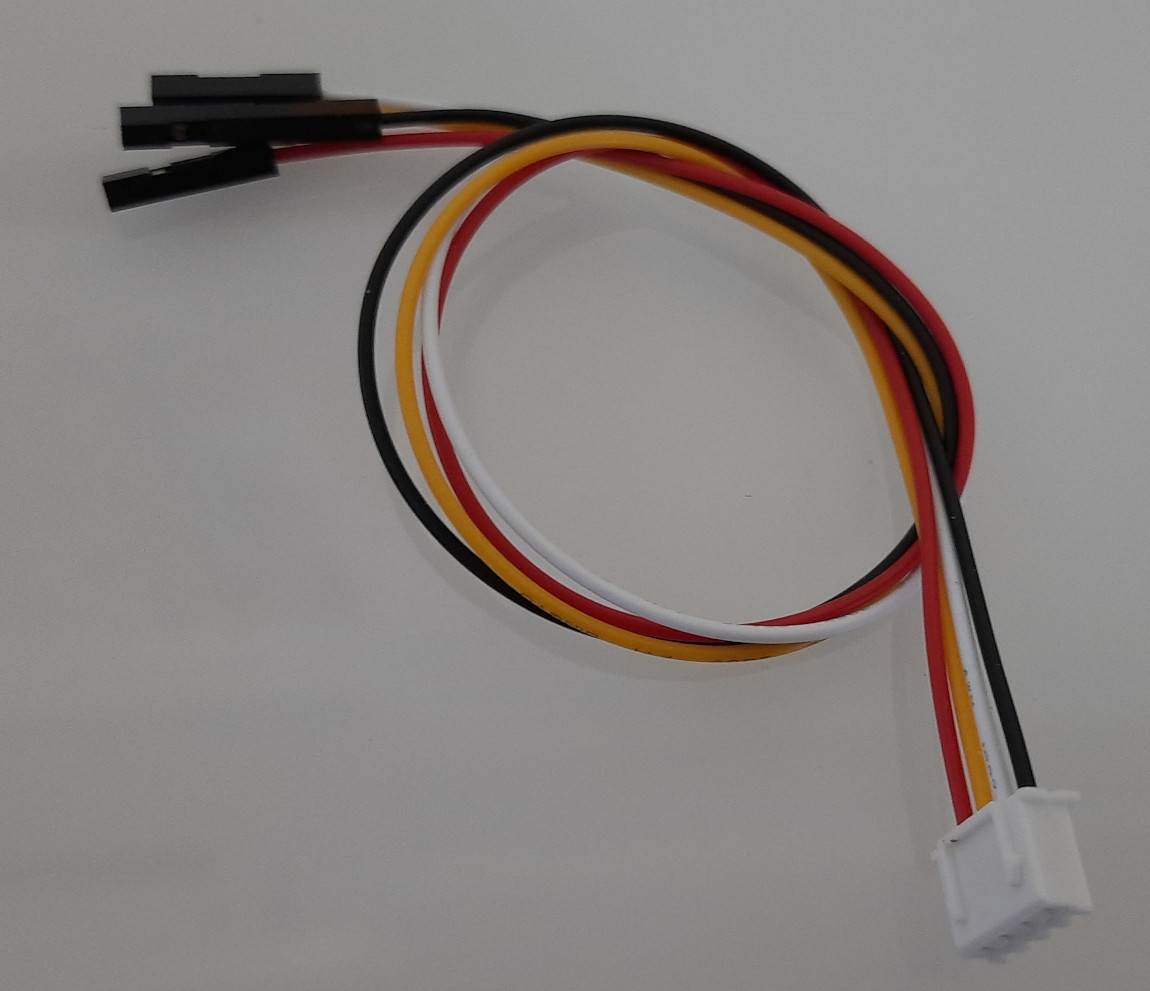
Please note in the following picture the cable that we’re going to plug in. There are many cables in the kit, each one with different endings from both sides. So, it’s important that you check that your cable is the correct one, in order to avoid having to unmount and re-mount some parts. I hope my photos can help with this job:
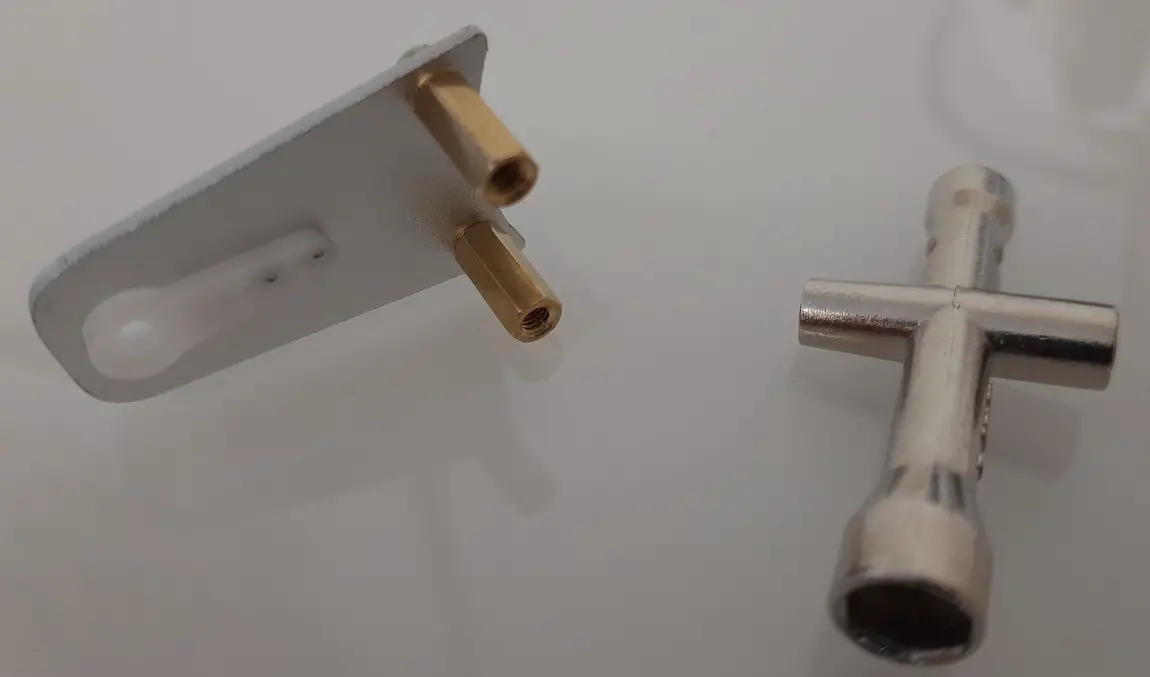
Here comes the time to integrate our PiDog Raspberry PI robot core. The tool provided with the kit will help you to fix the standoffs:
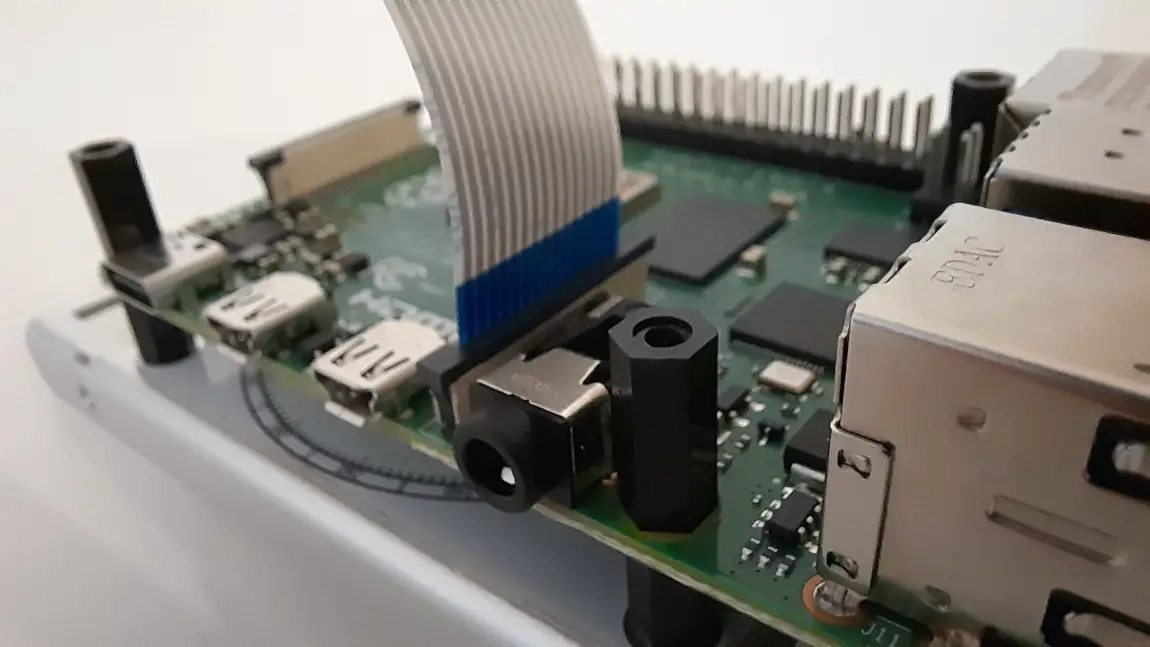
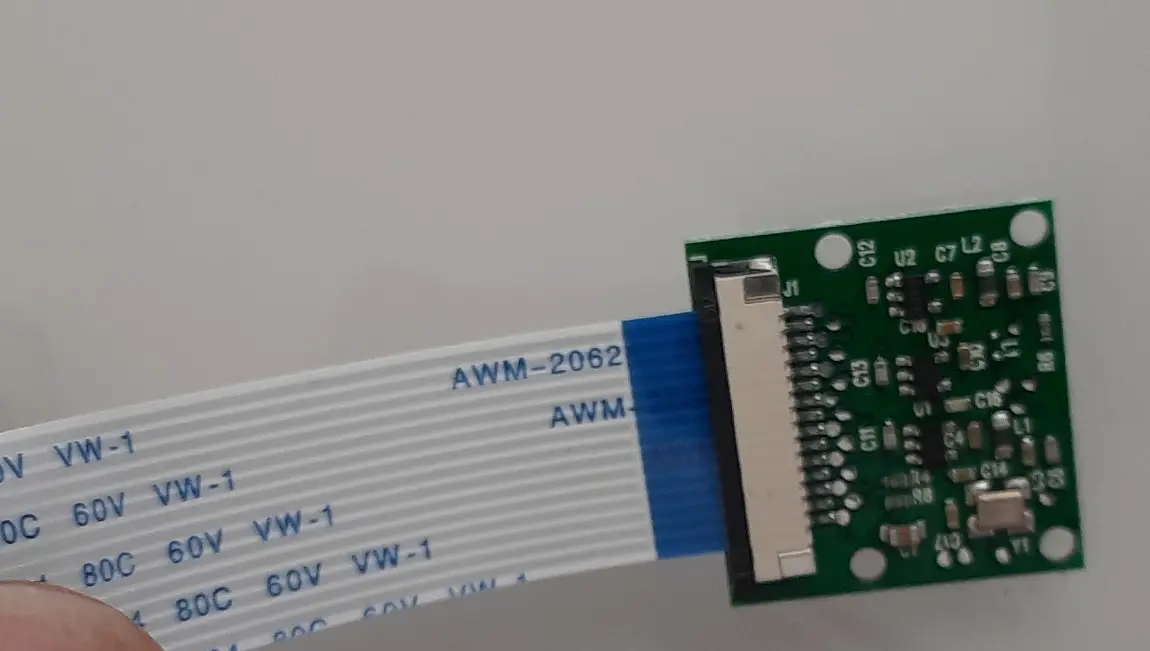
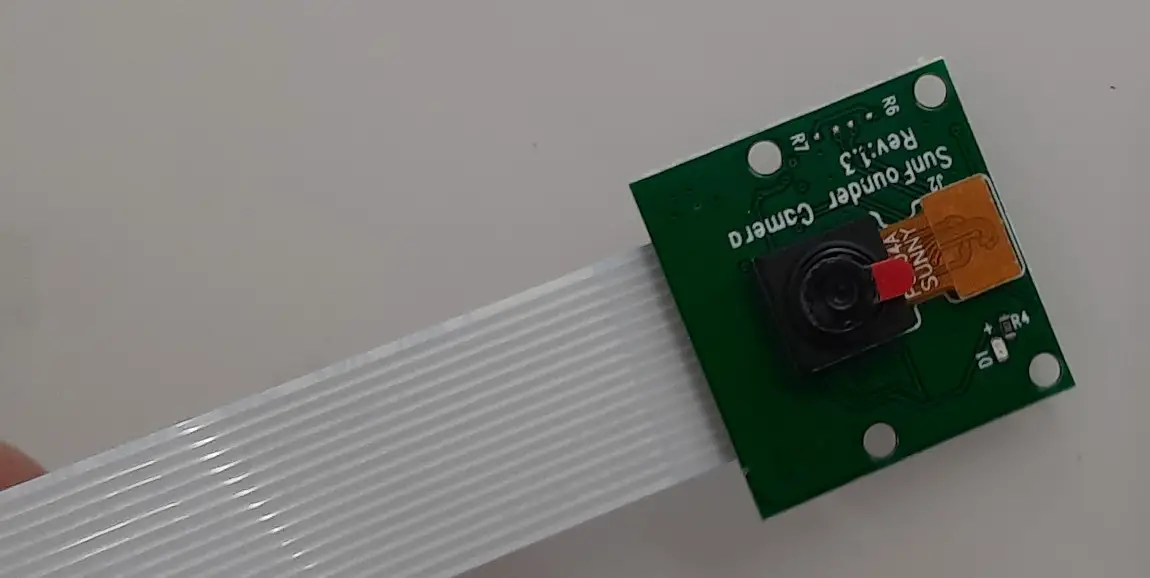
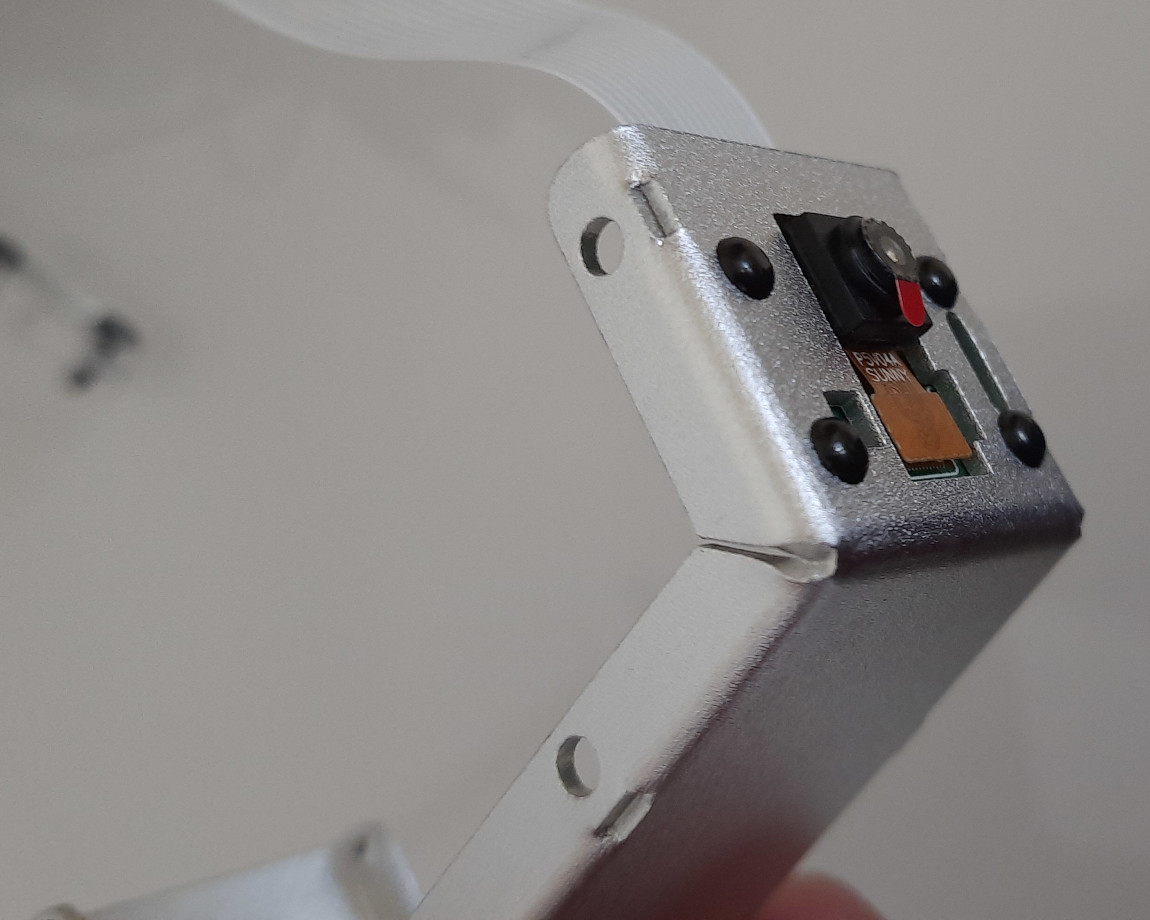
In the following picture, an important step. When you’ll add the camera module FFC to the Raspberry PI, please check that it is mounted in the right way, with the blue part as shown in the following photo:
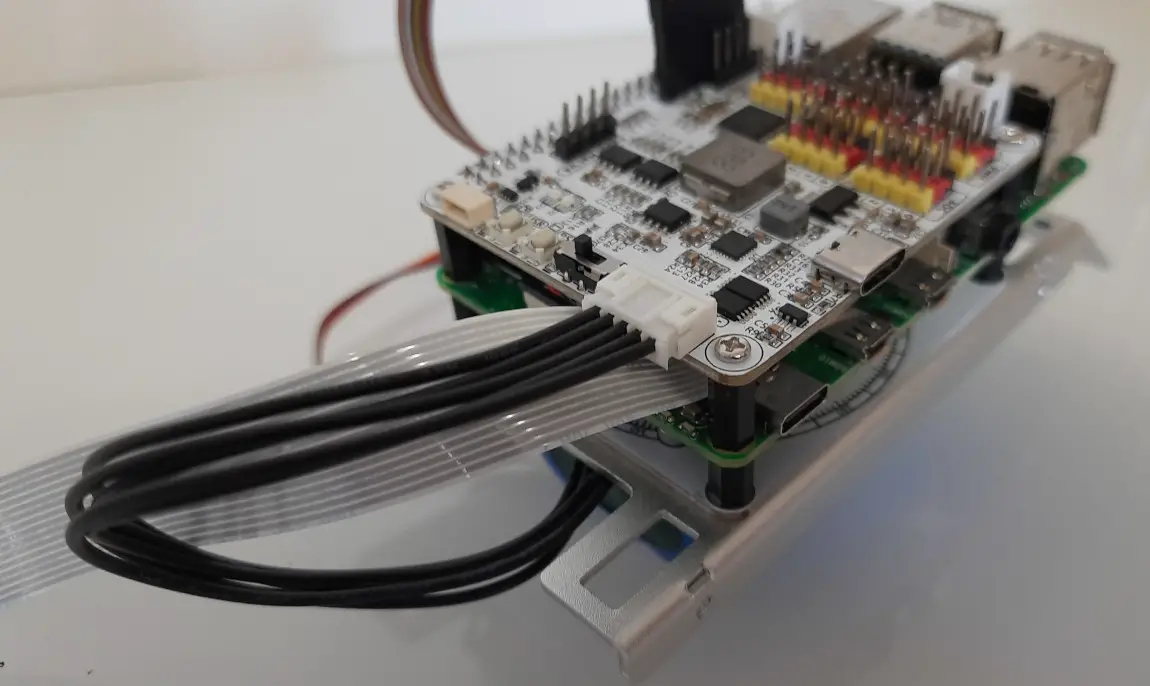
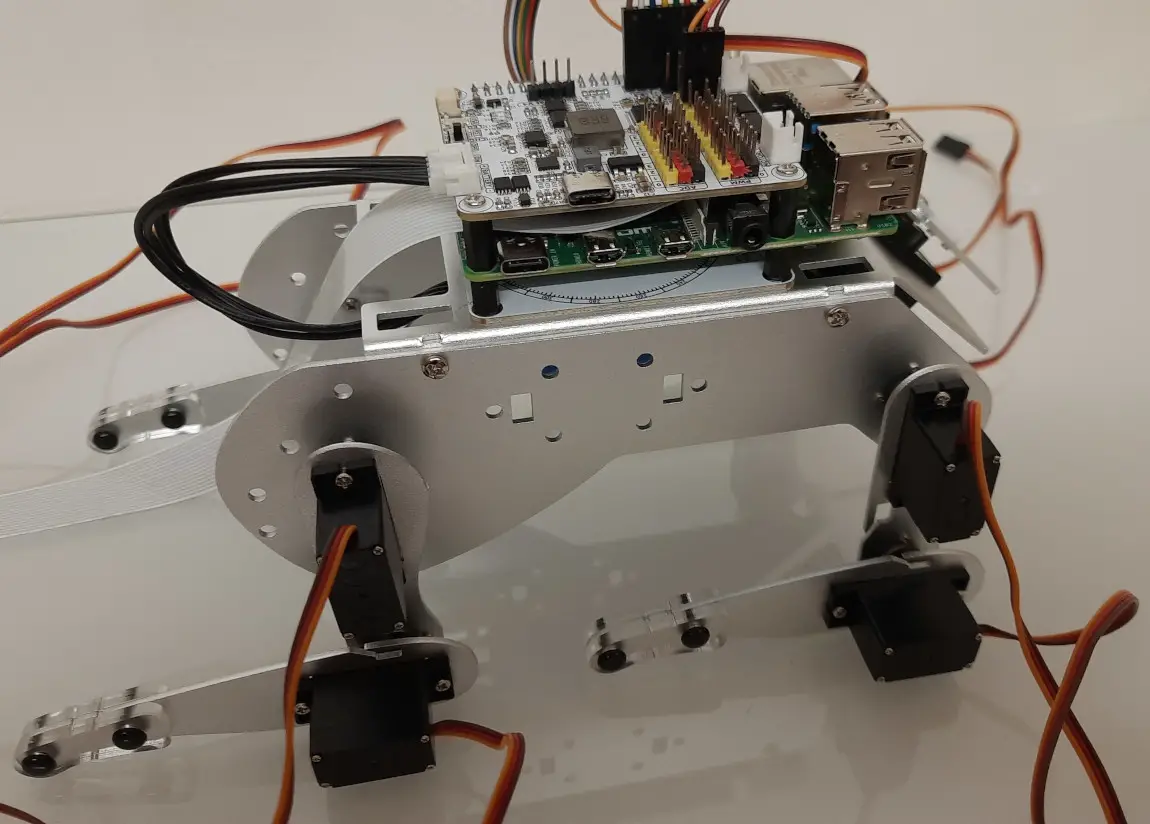
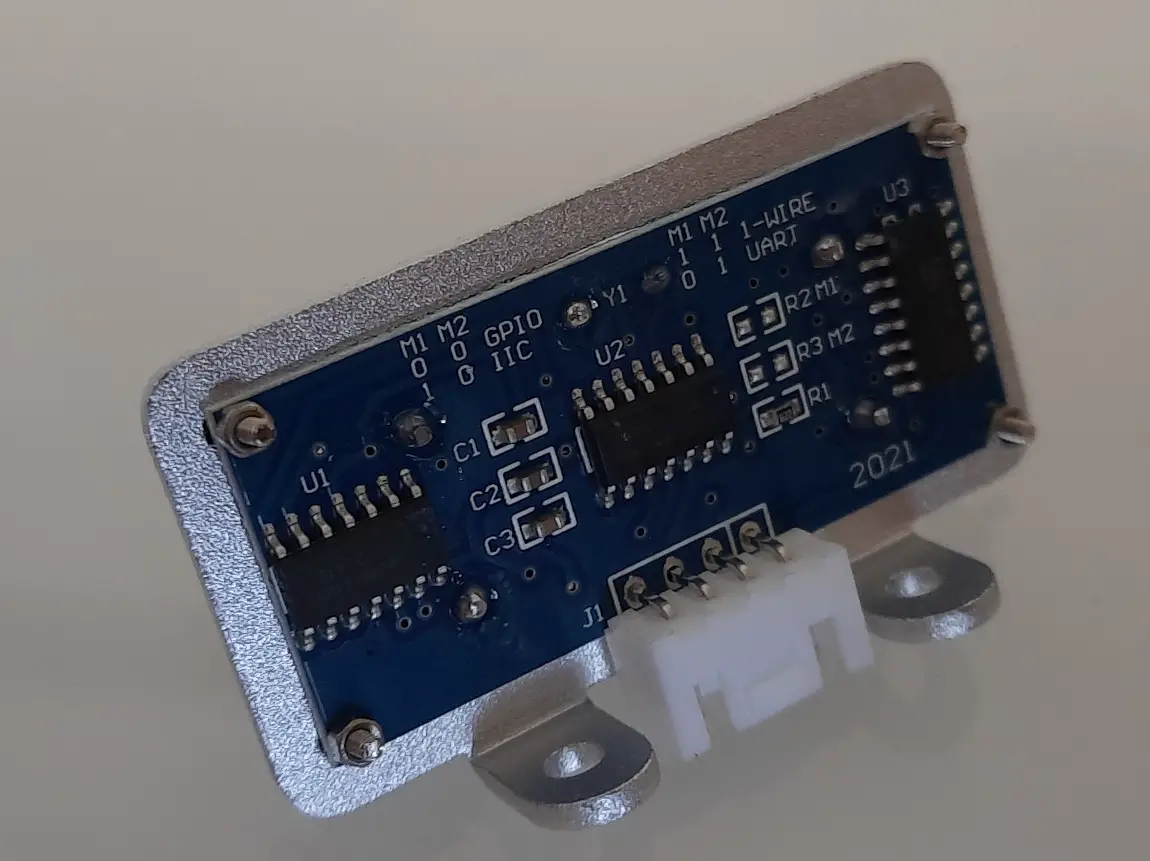
The SunFounder Robot Hat will take place just upon the Raspberry PI:
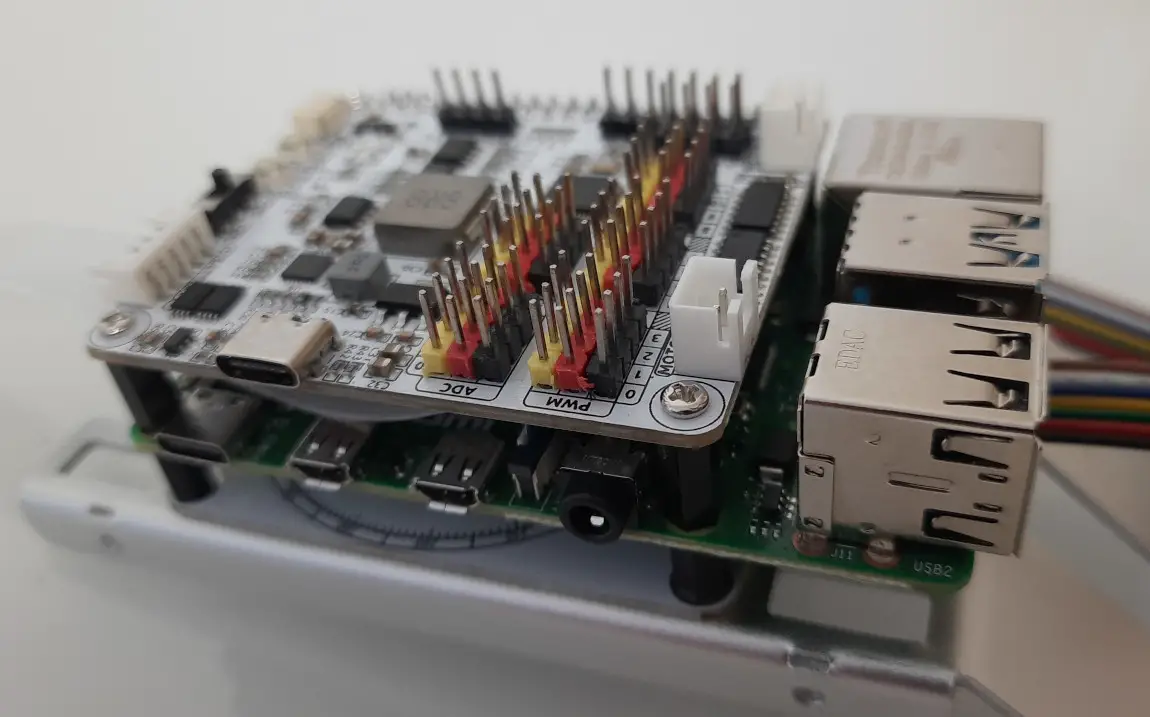
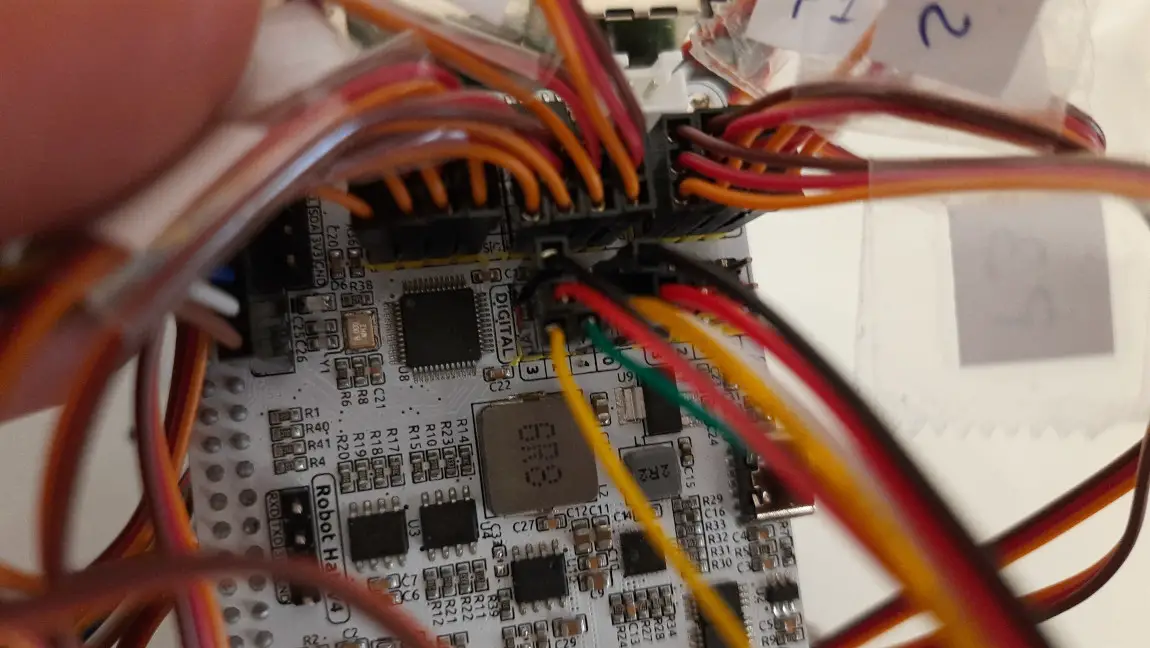
Another important note here. When connecting the Sound Direction sensor cable to the Robot Hat, please verify that the cable on the Robot Hat is mounted in the right direction. A very small triangle on the brown cable head will show you the external side:
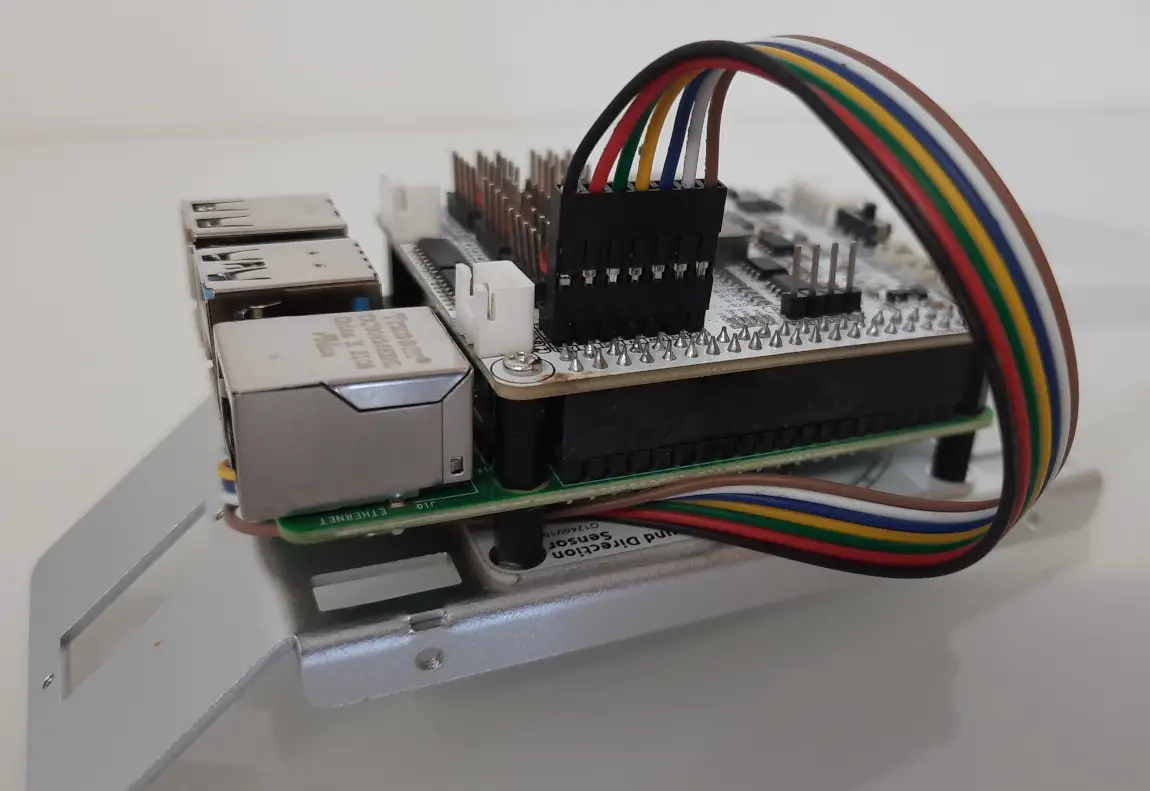
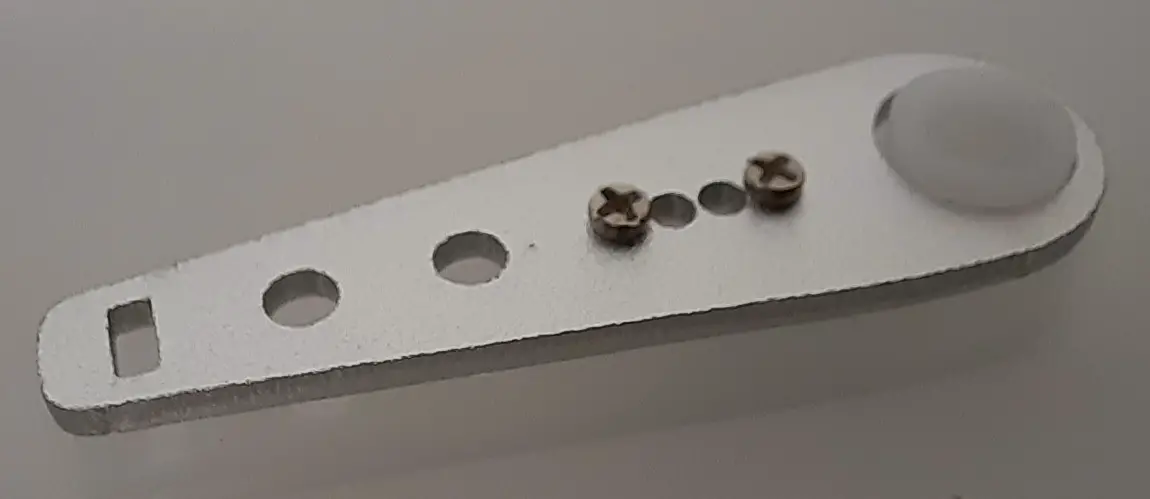
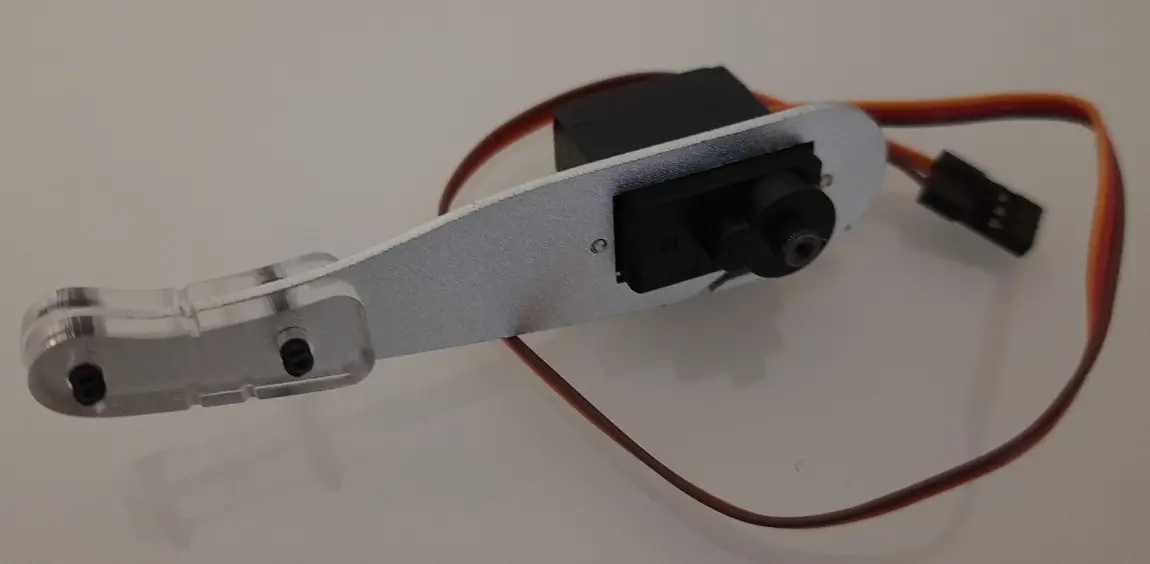
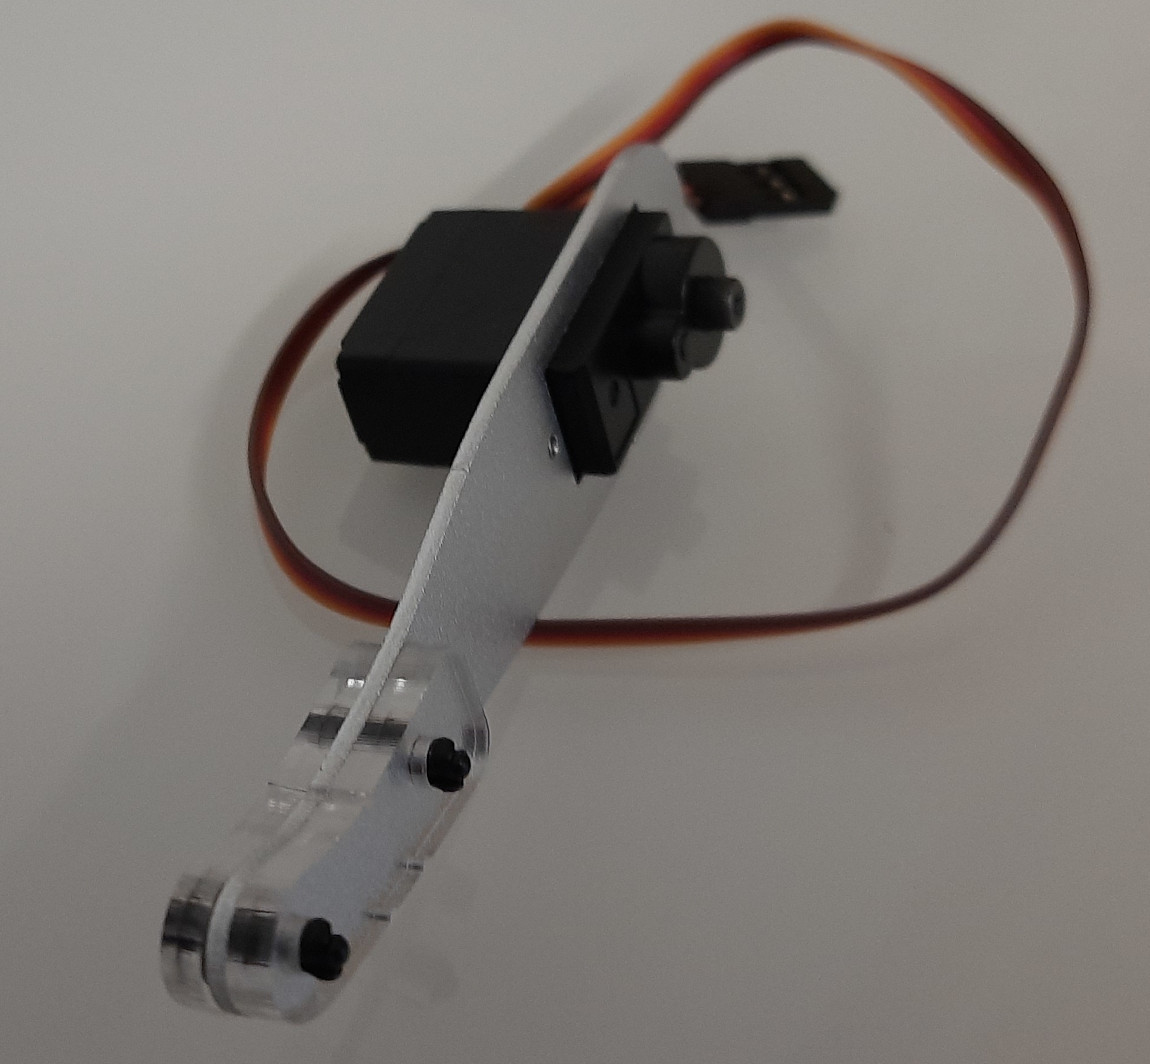
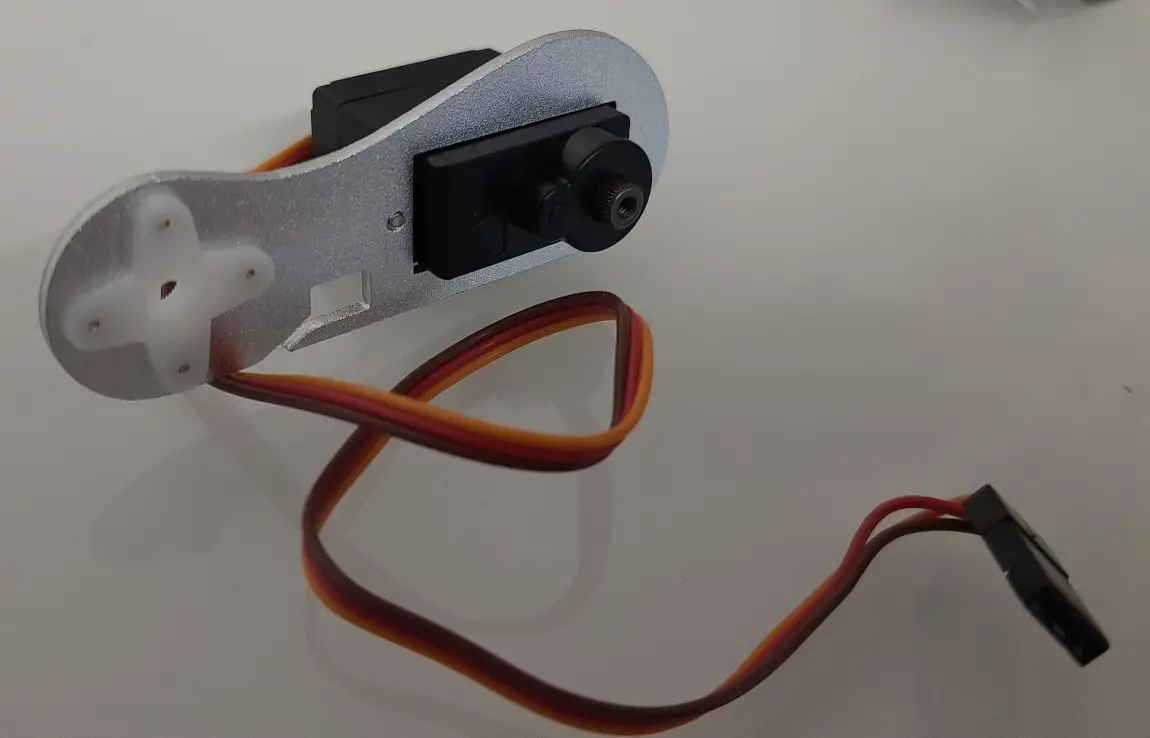
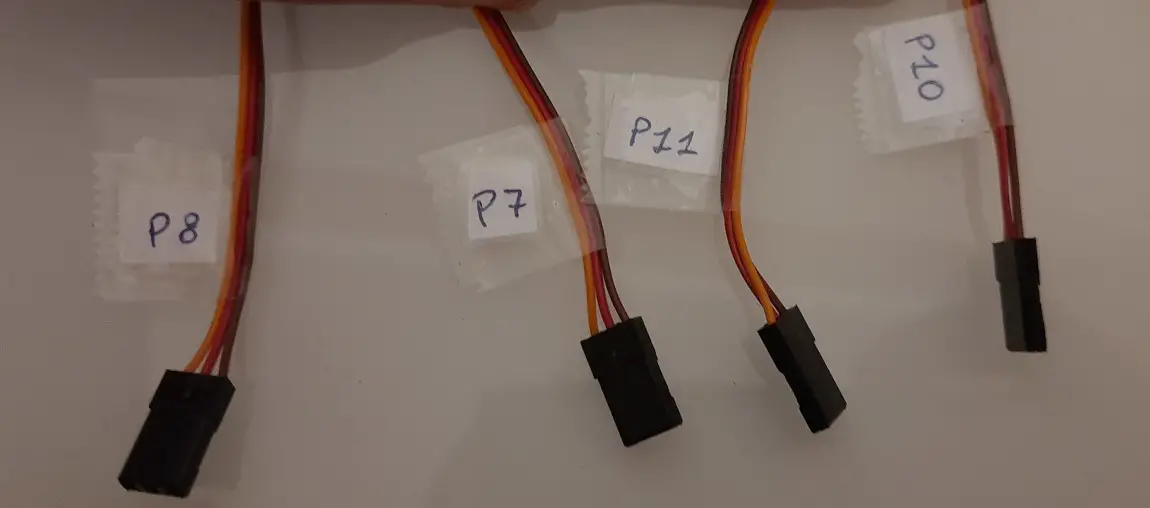
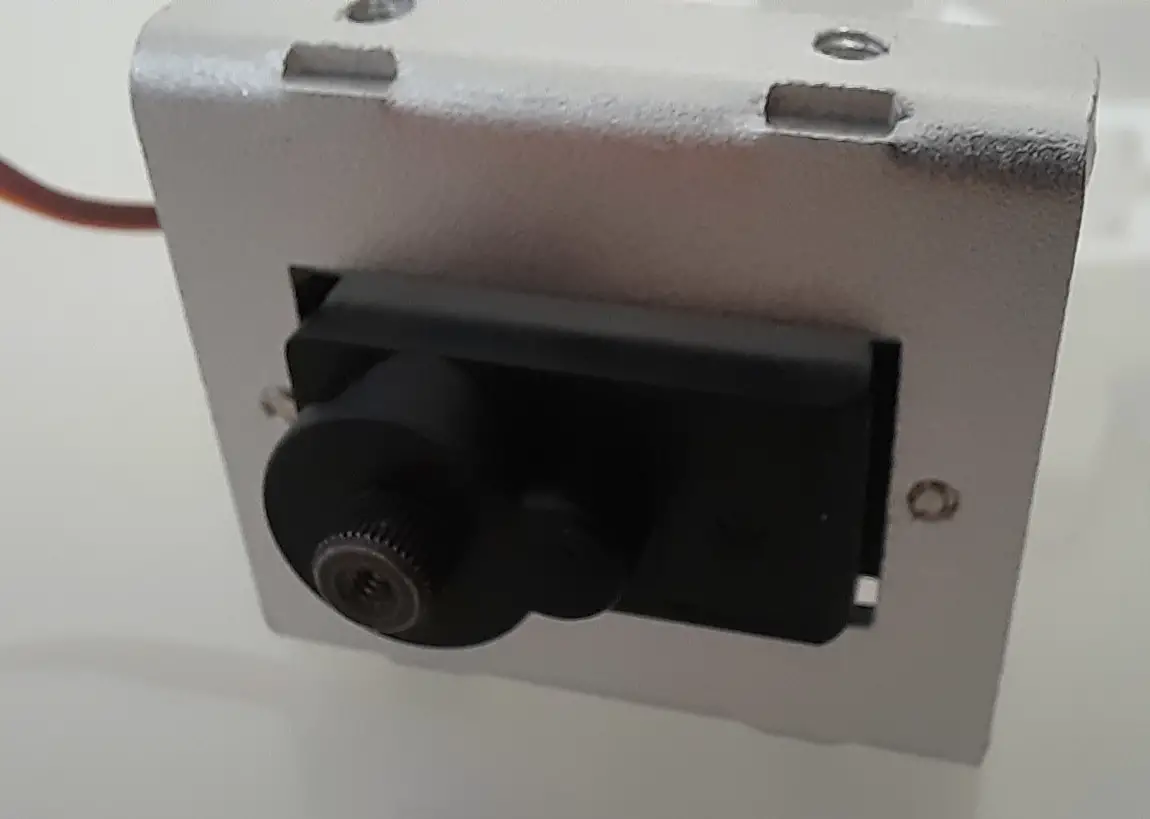
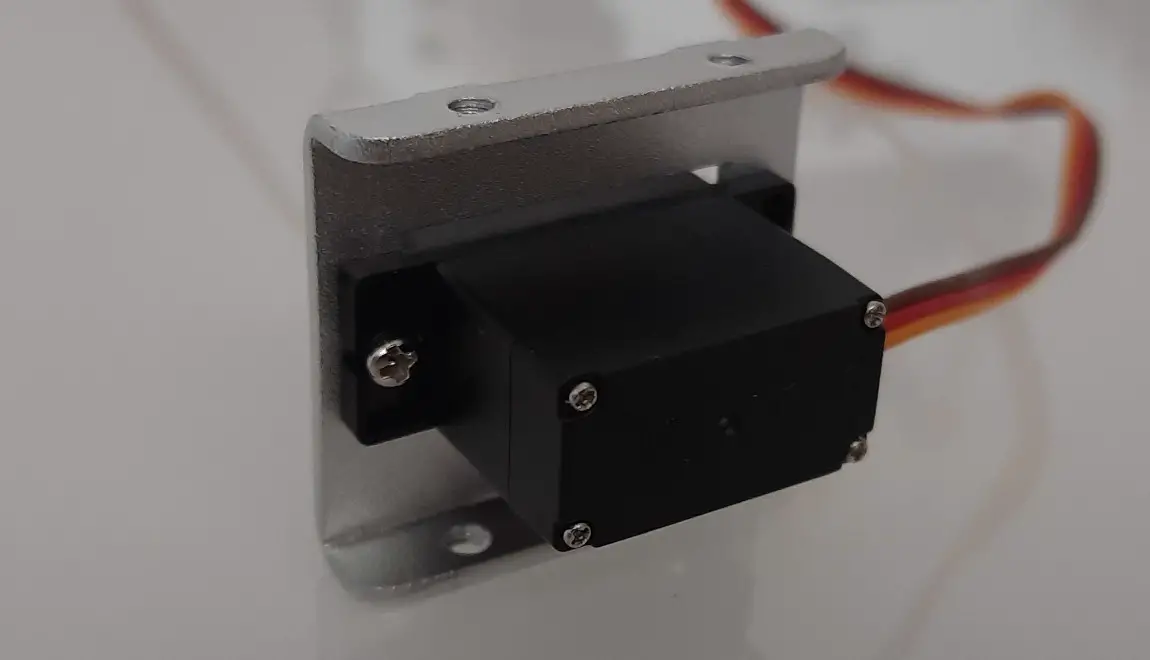
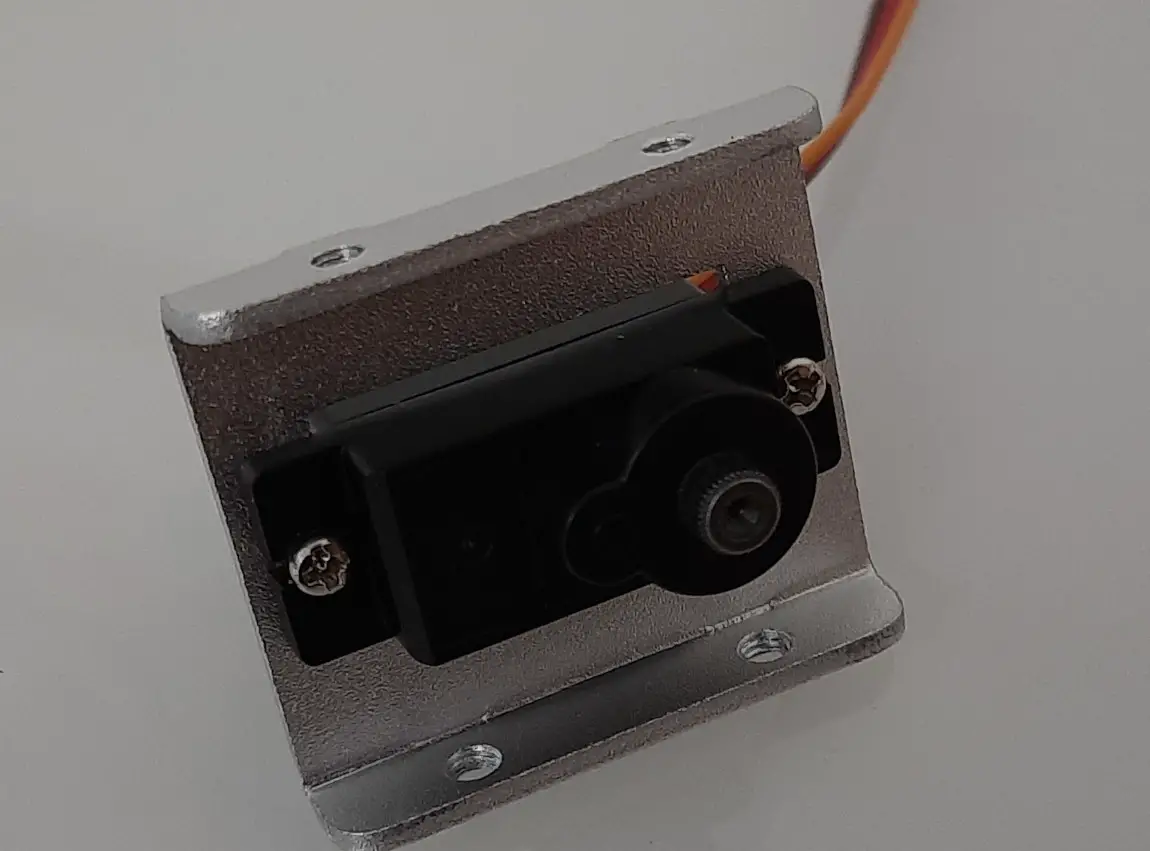
The first servo motor will make the PiDog’s tail. Another important suggestion here is to label the servo motor cables as shown in the following picture: it will be easier to connect them to the Robot Hat in the following steps, plugging them in the right order:
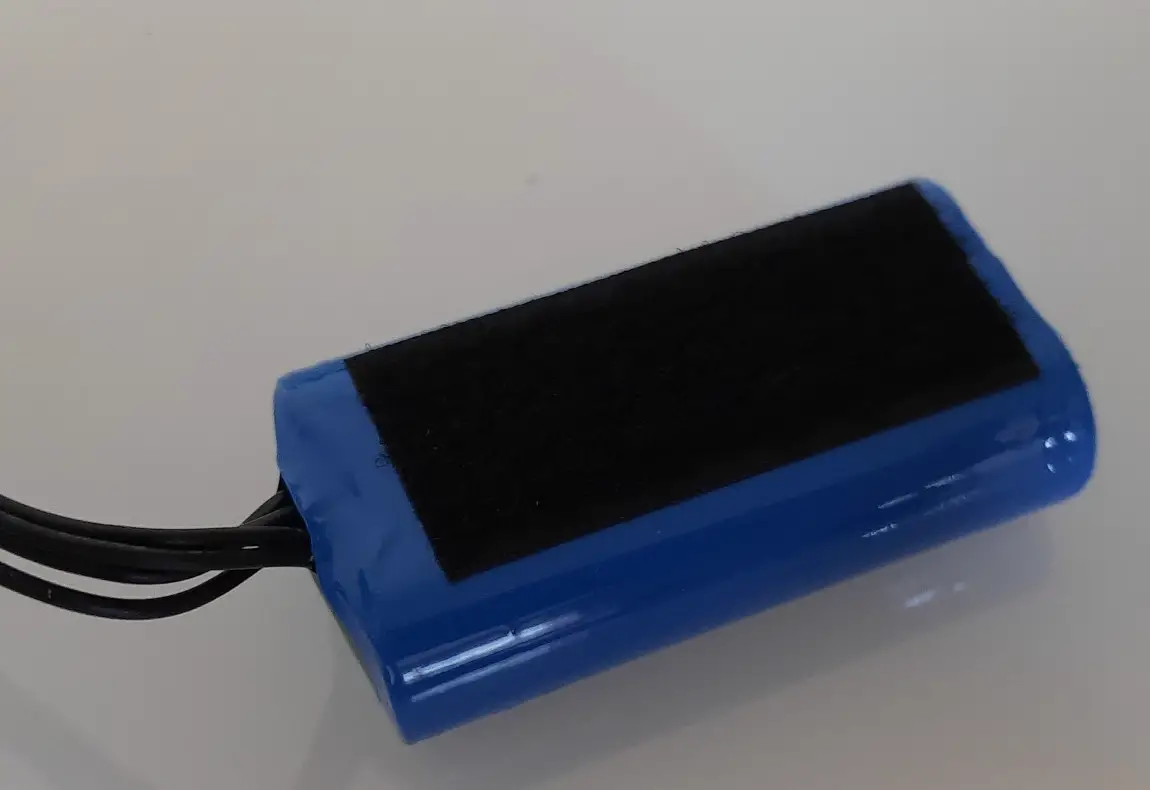
The kit also includes a battery pack, which will be fixed with a velcro strip under the PiDog’s belly:
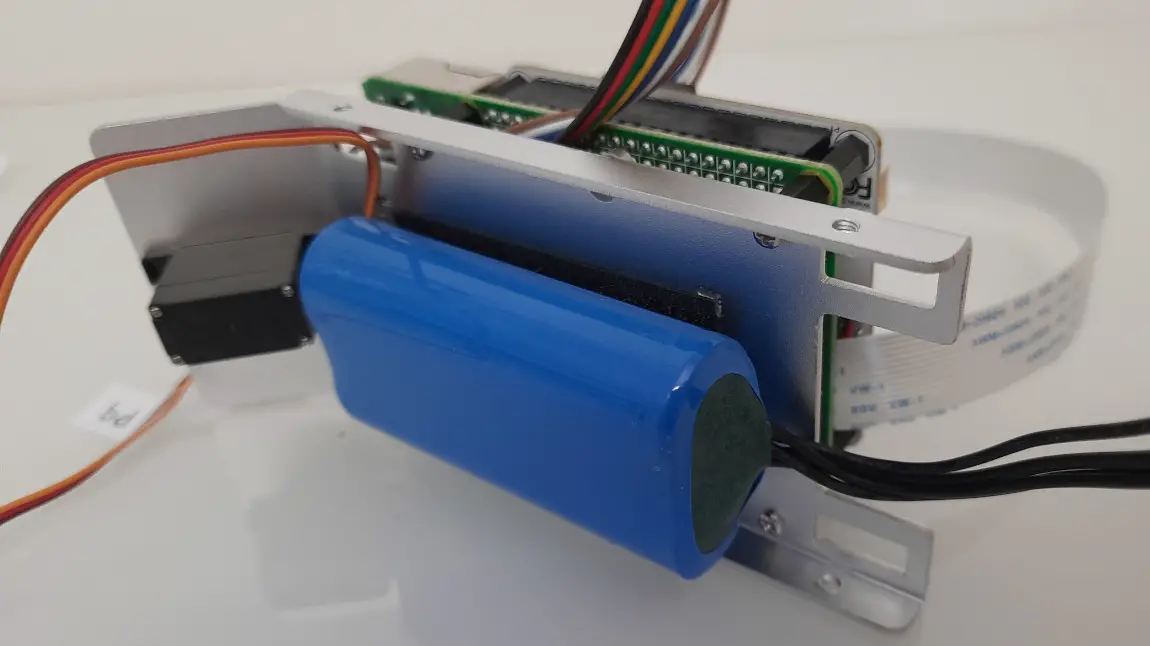
Now, we can connect the battery cable and the tail’s servo motor cable:
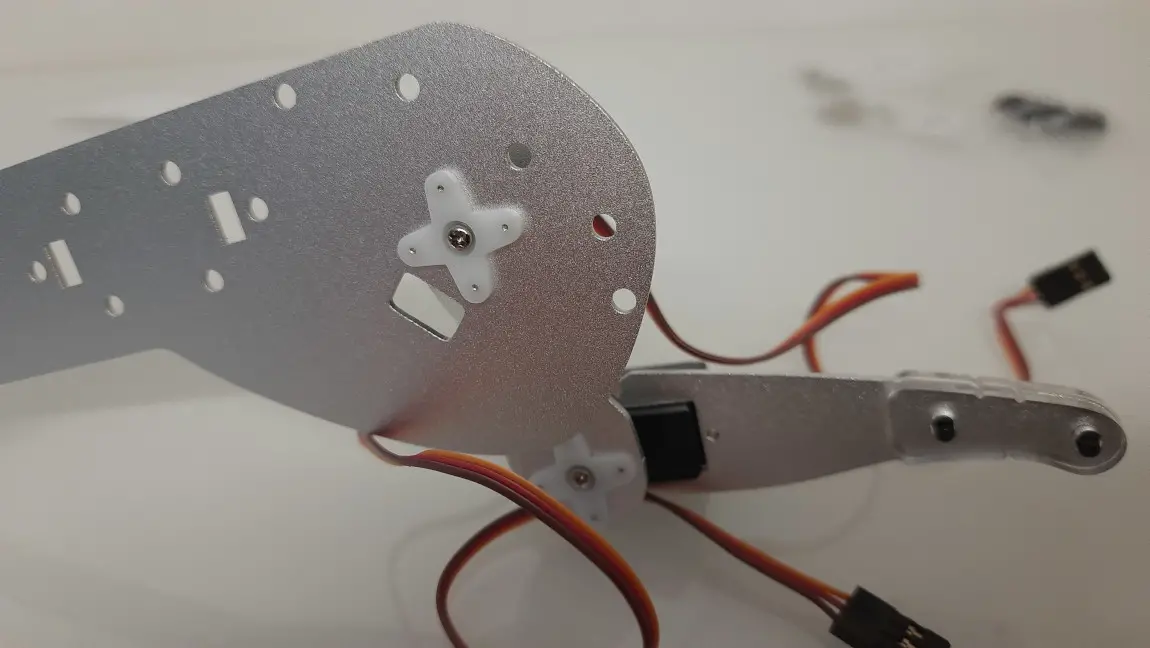
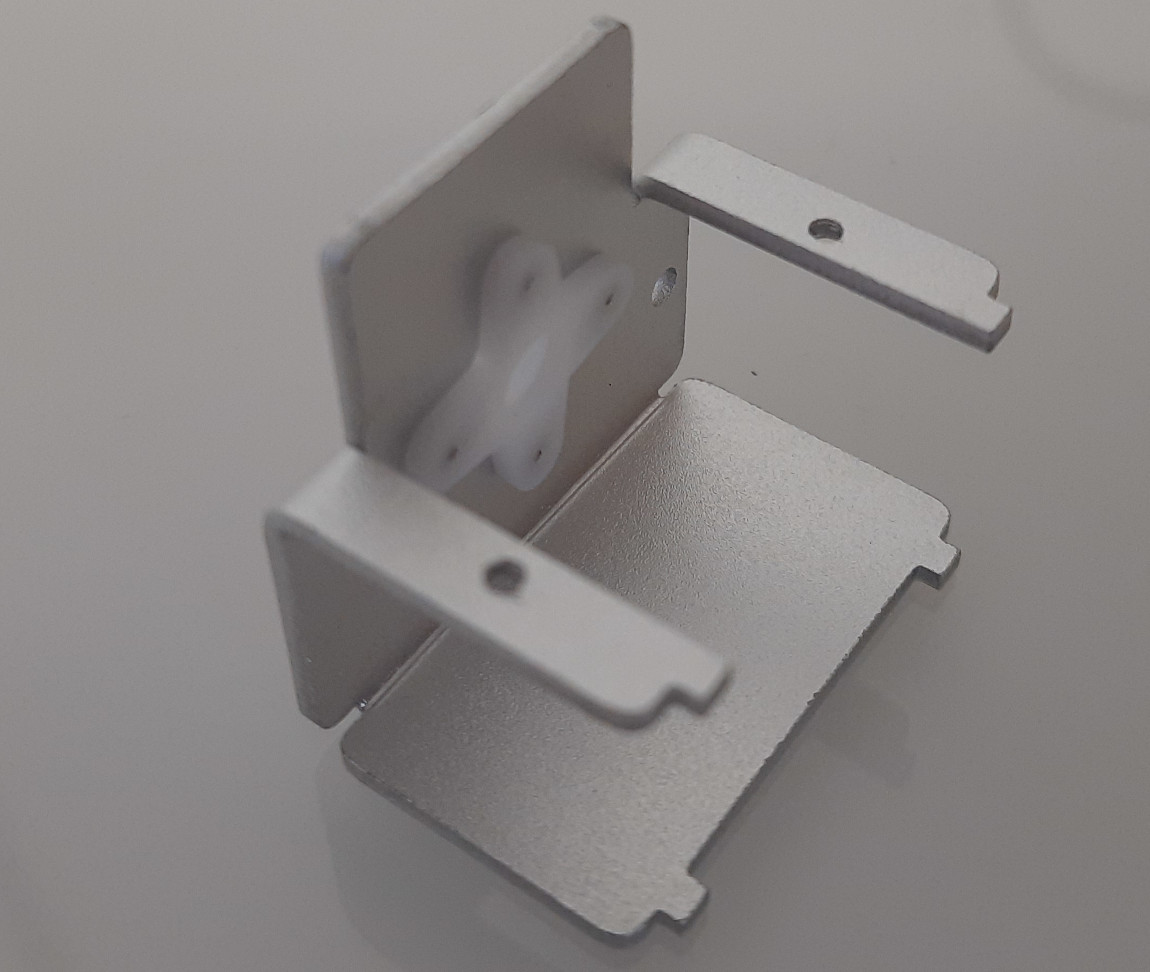
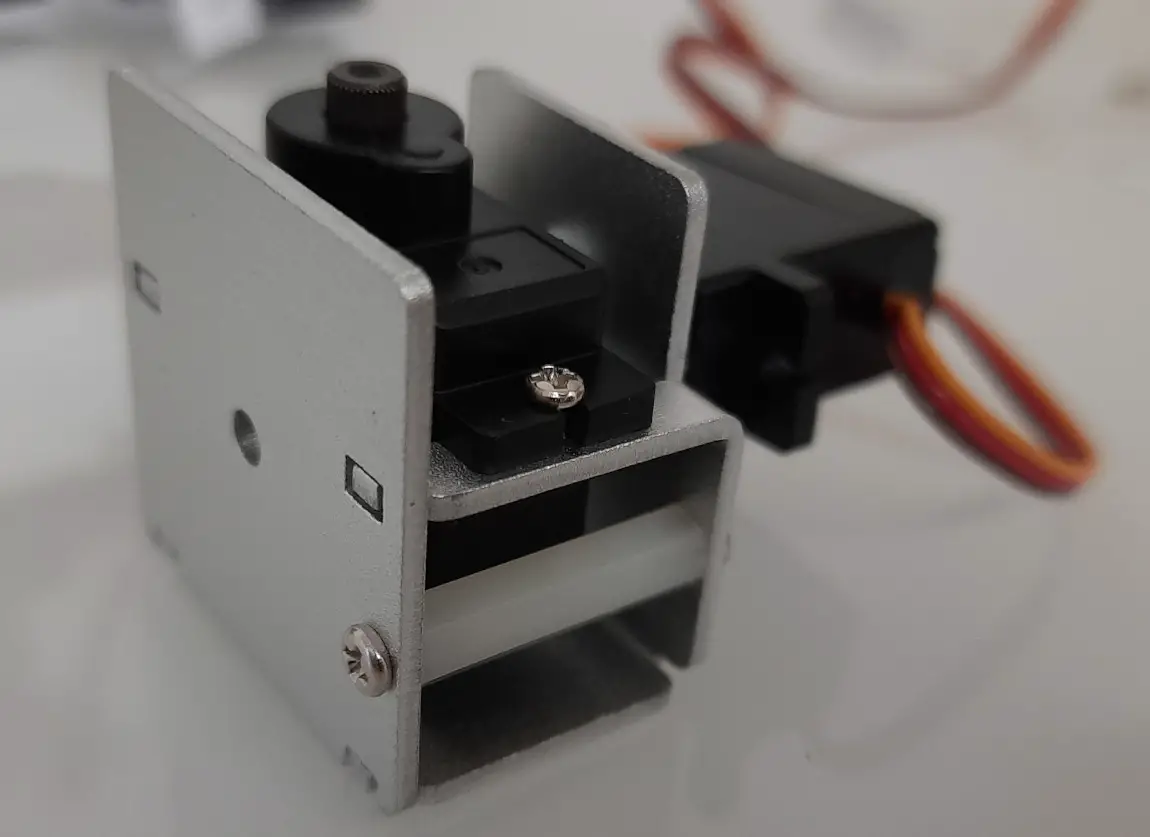
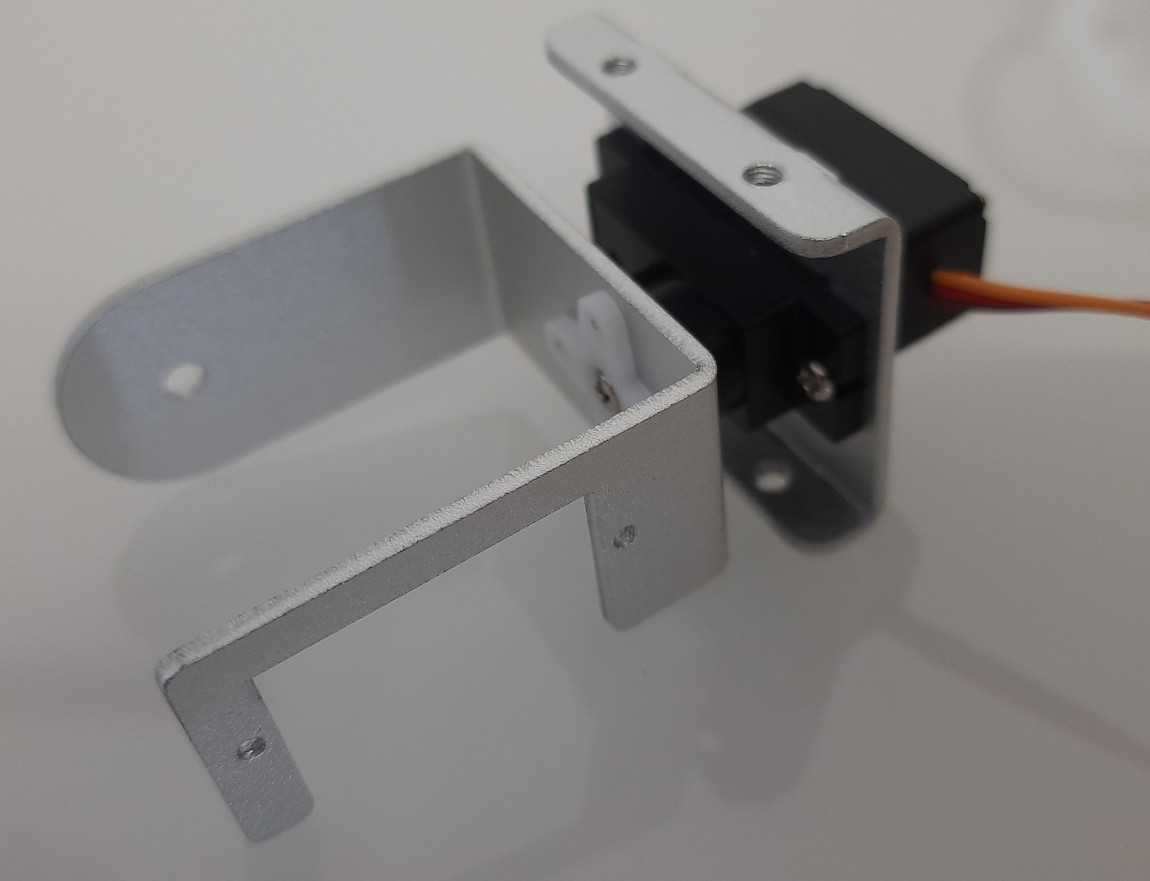
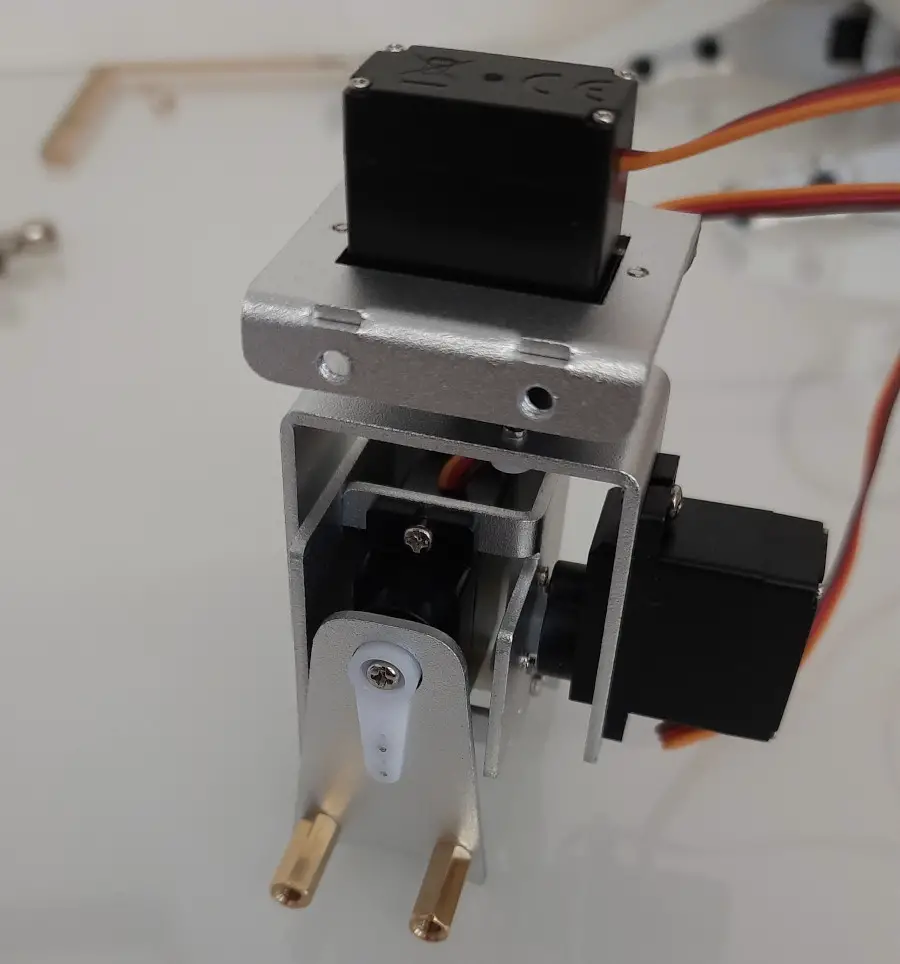
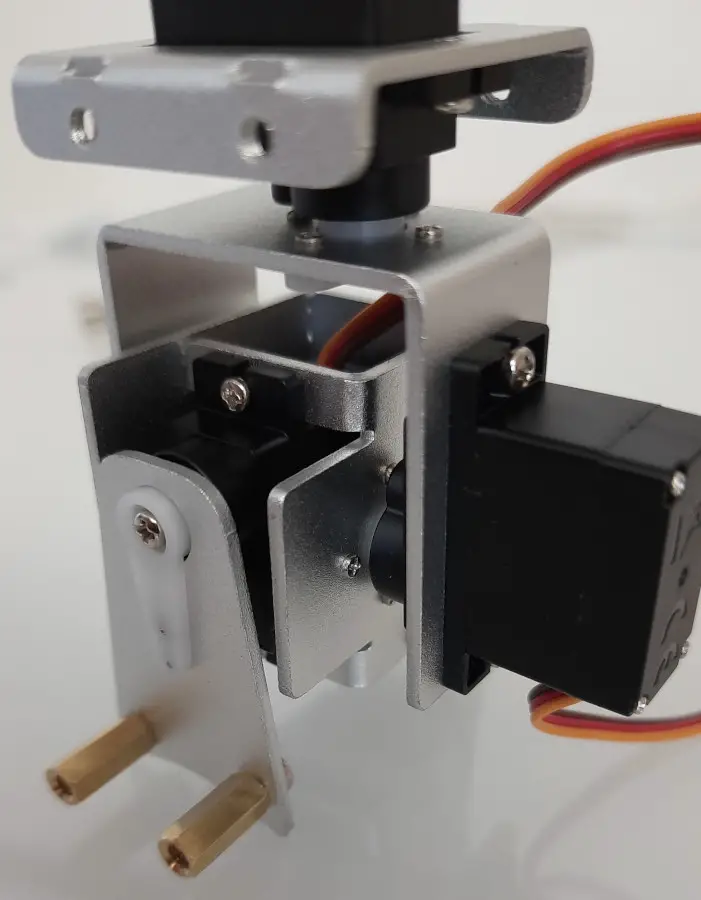
Assemble the Legs
Another assemble part regards the legs.
This part isn’t so complicated. The important step is mounting the servo motors for the 4 paws in the right side: the 2 right paws will have motors mounted on the opposite side of the 2 left ones.
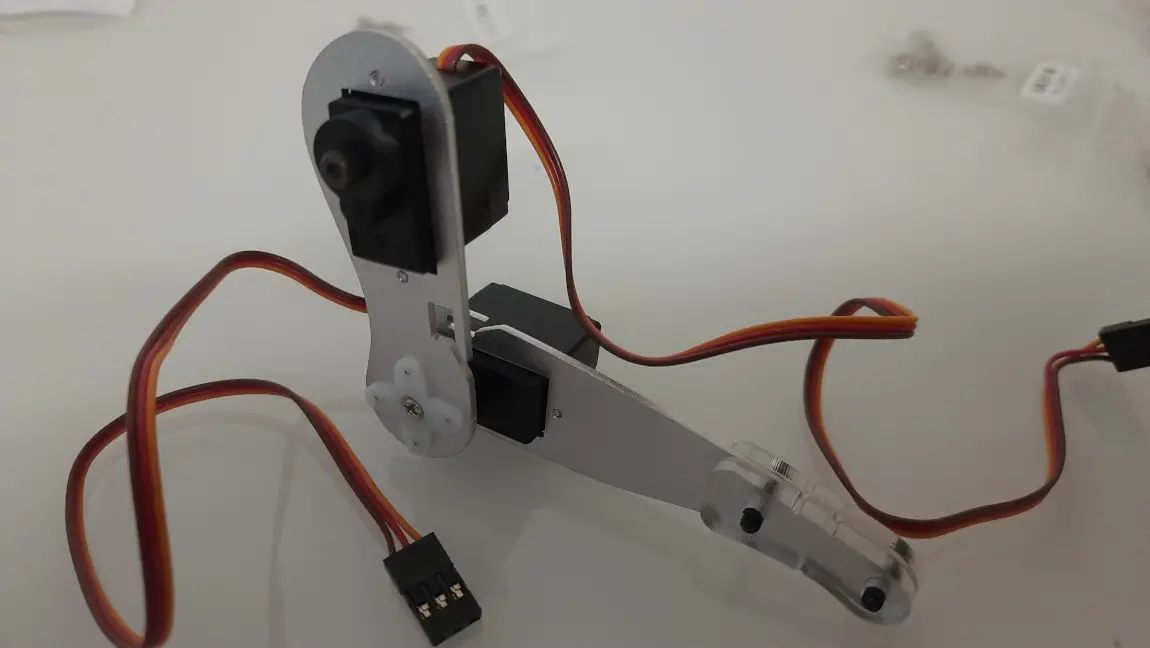
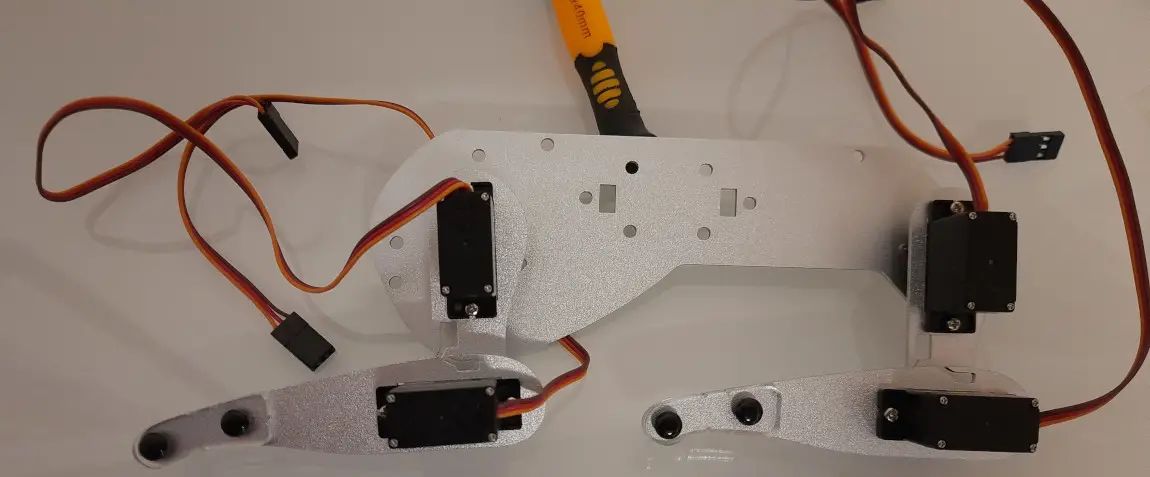
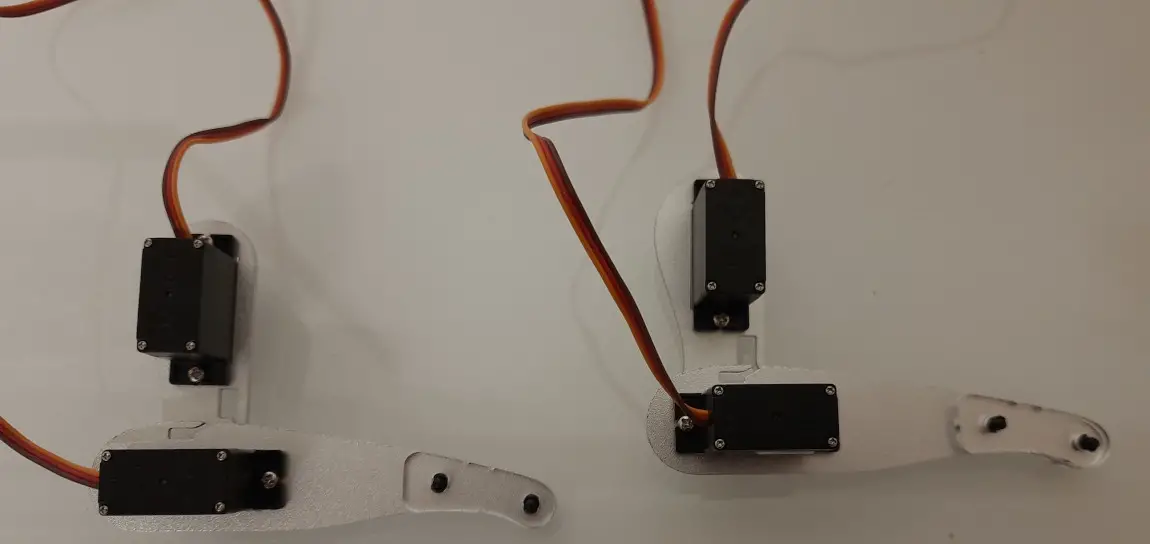
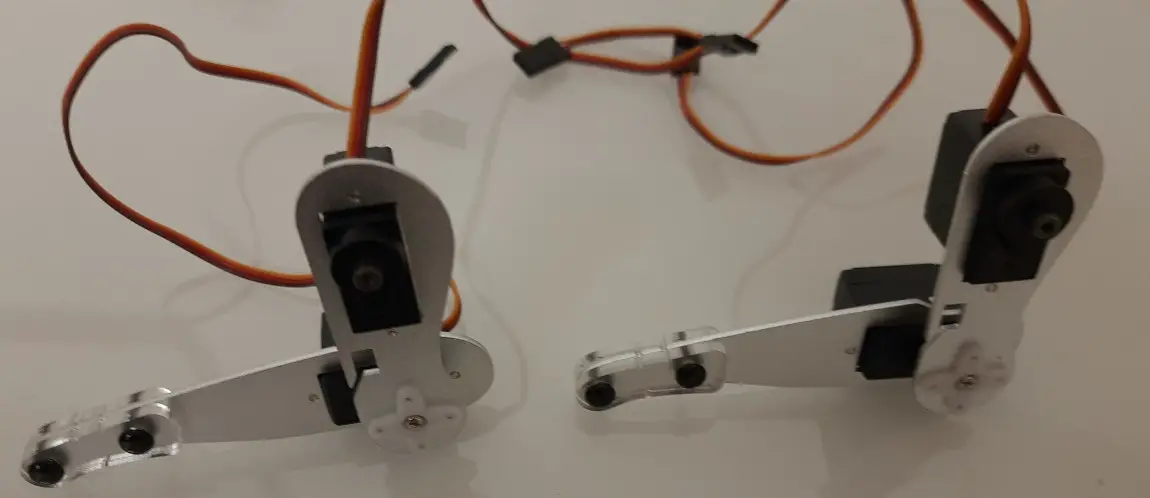
Also here, I strongly suggest labelling all the servo motor cables with the appropriate ID:
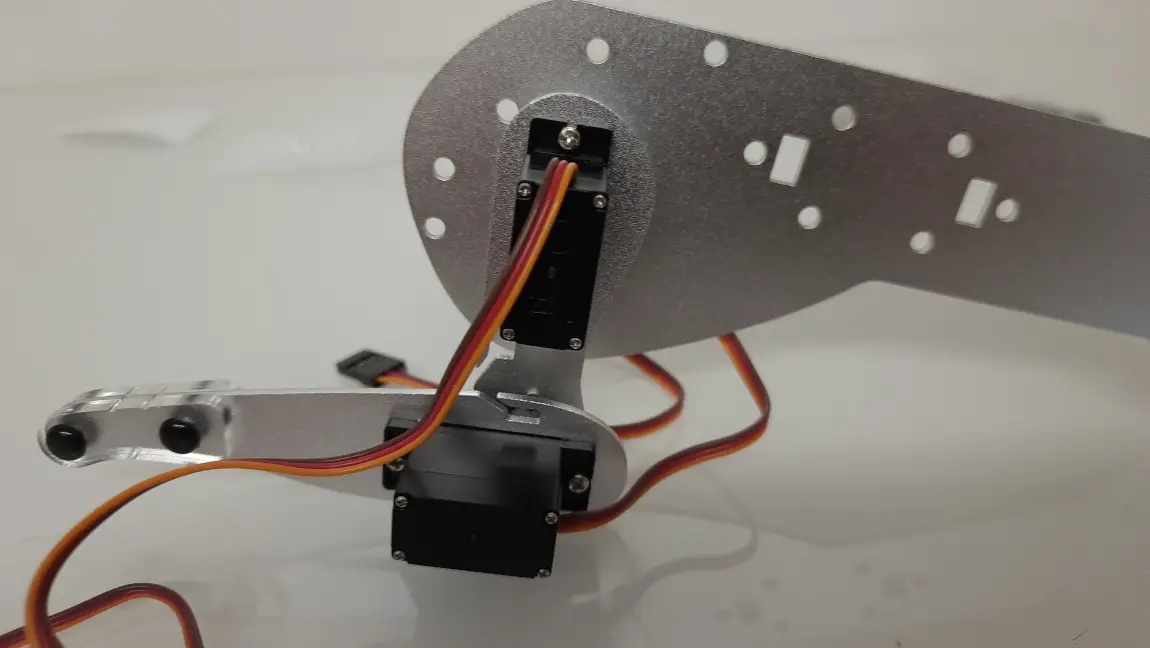
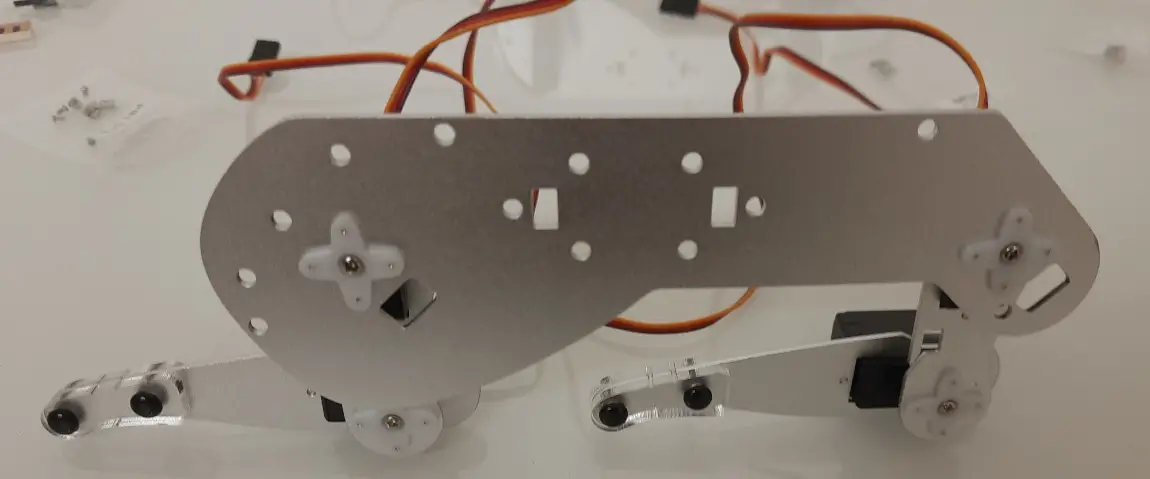
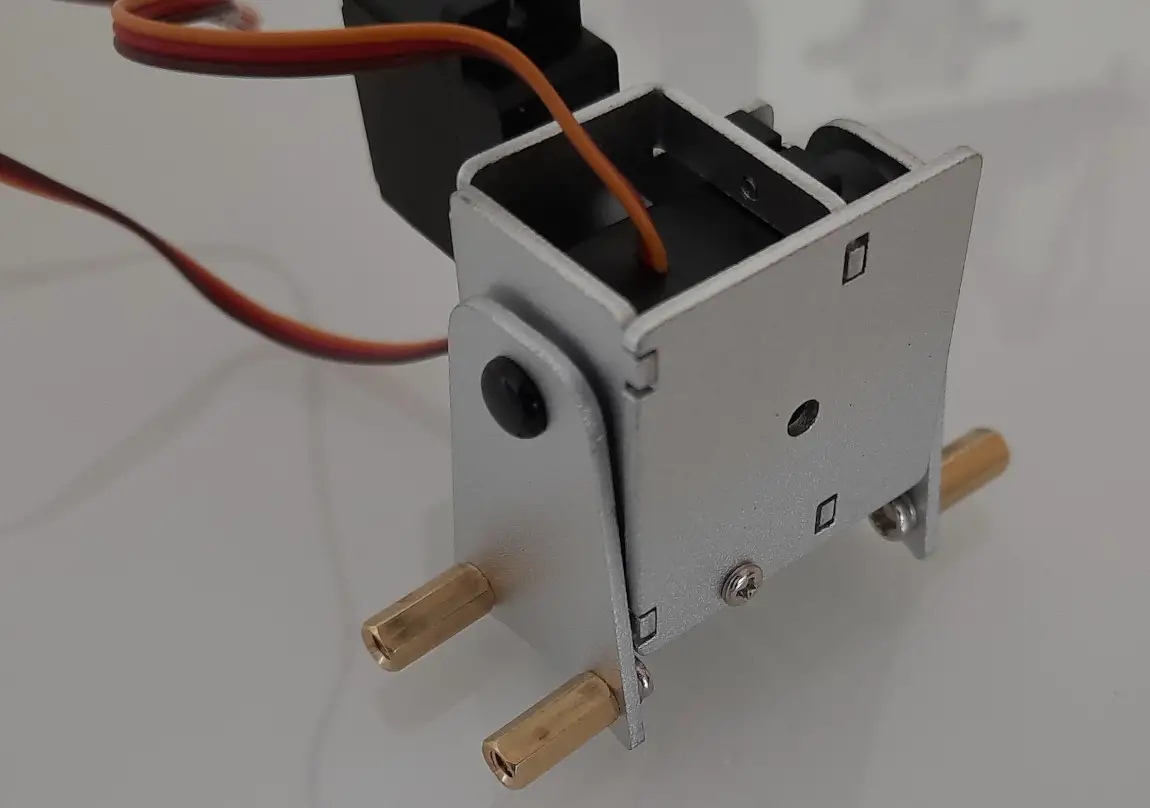
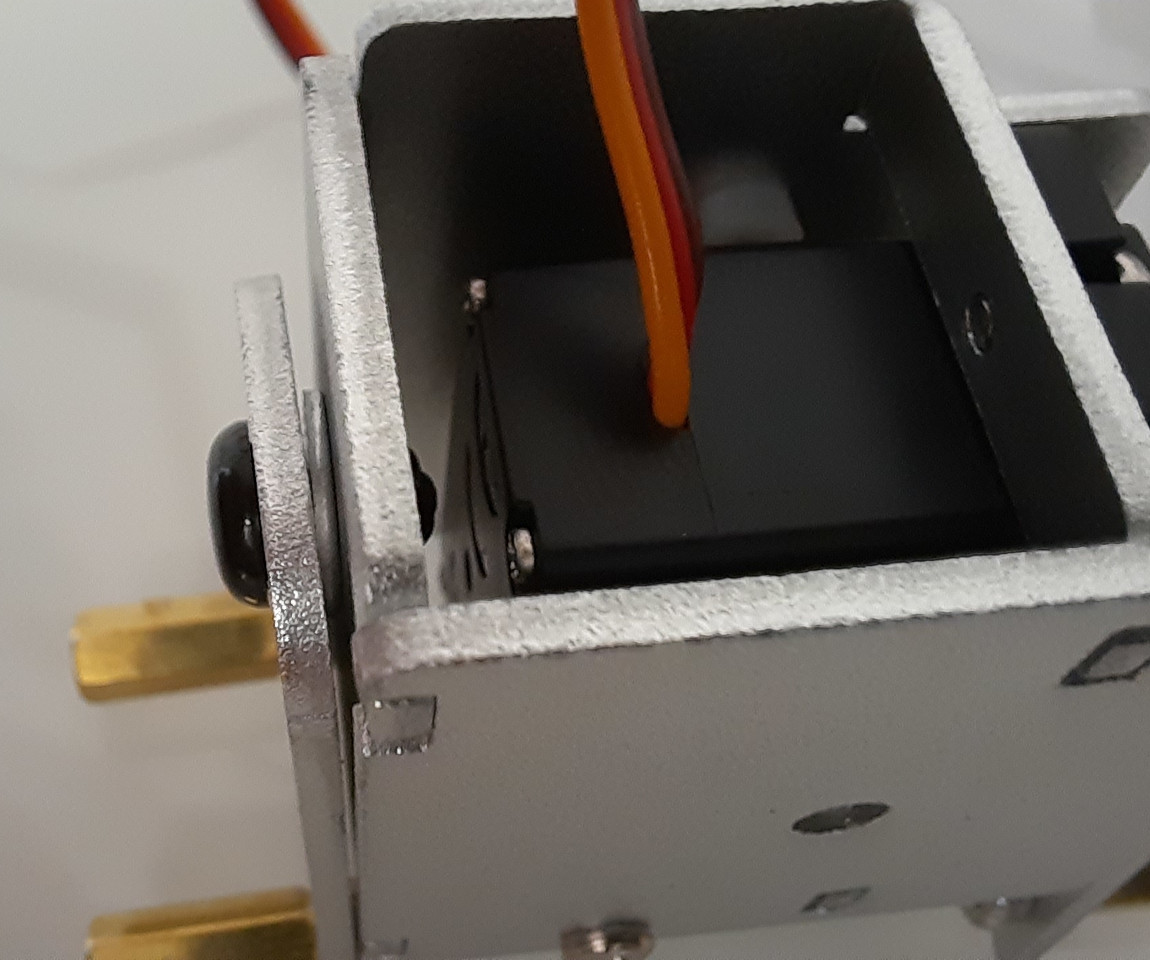
When we’ve finished assembling the legs, we can fix them to the PiDog body with a few screws:
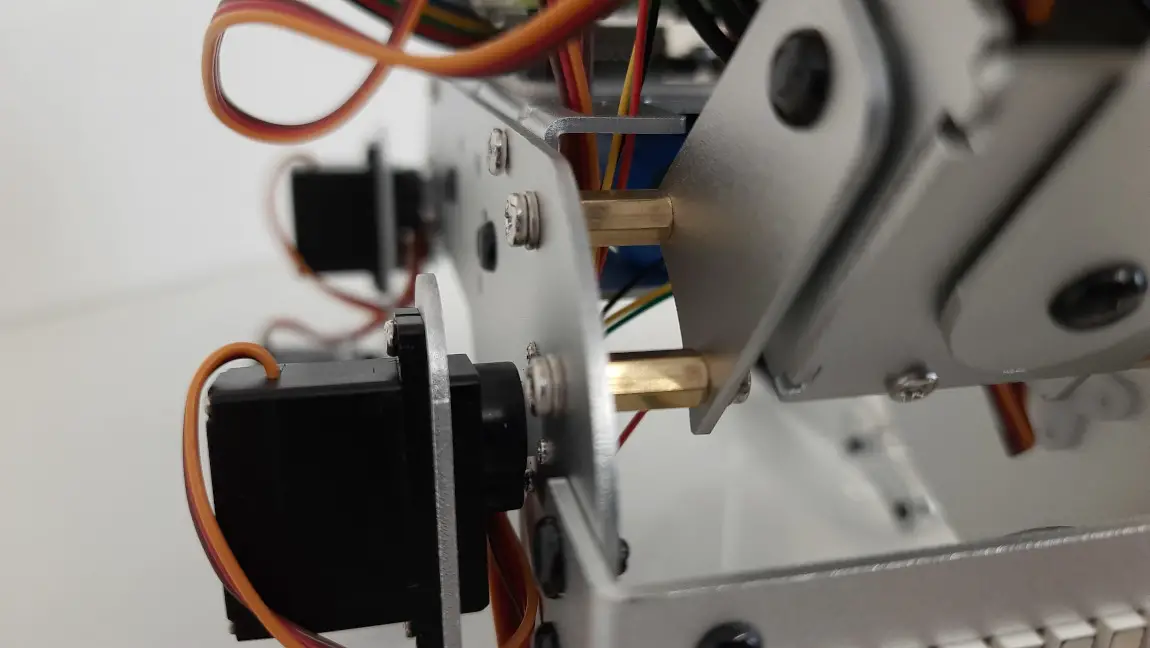
Every servo motor cable has its wire holes. Please use them to route cables correctly, so that there won’t be cables impacting the PiDog movements:
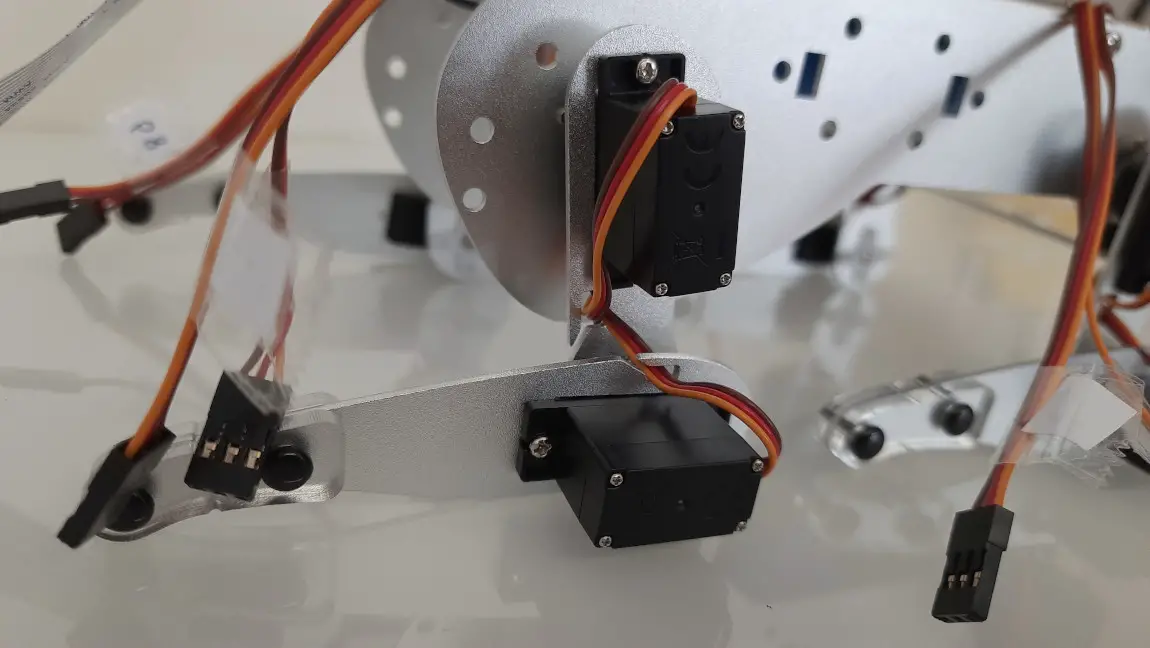
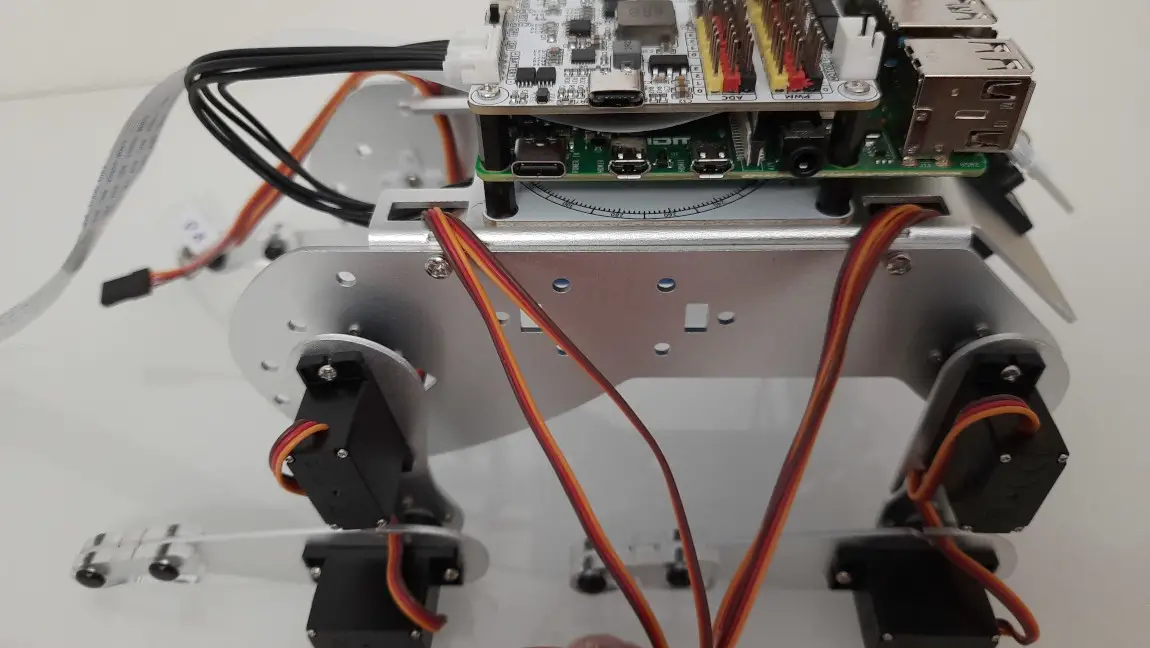
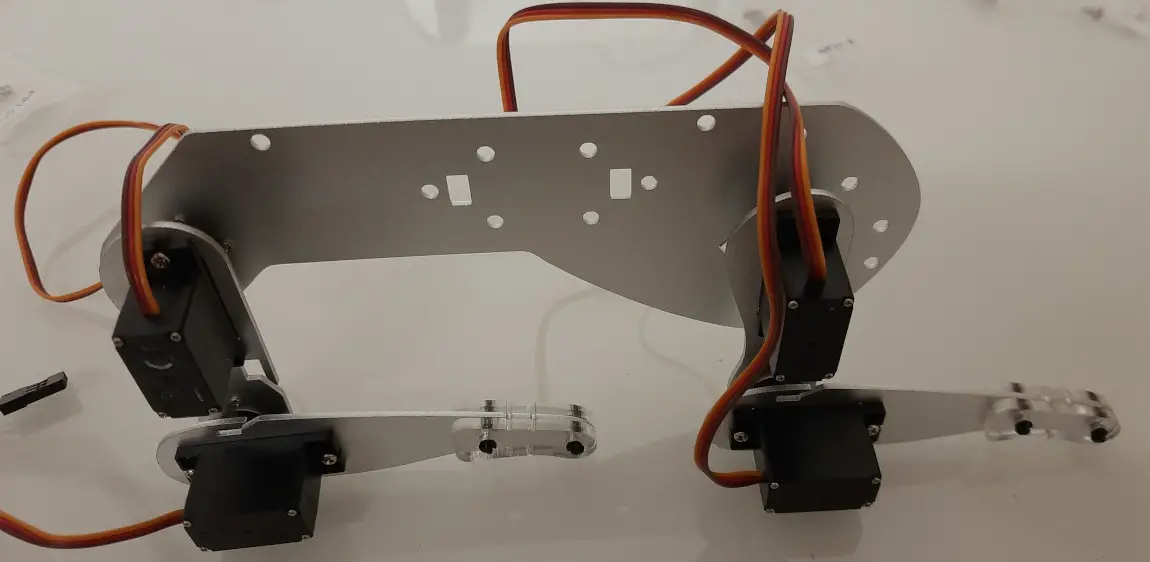
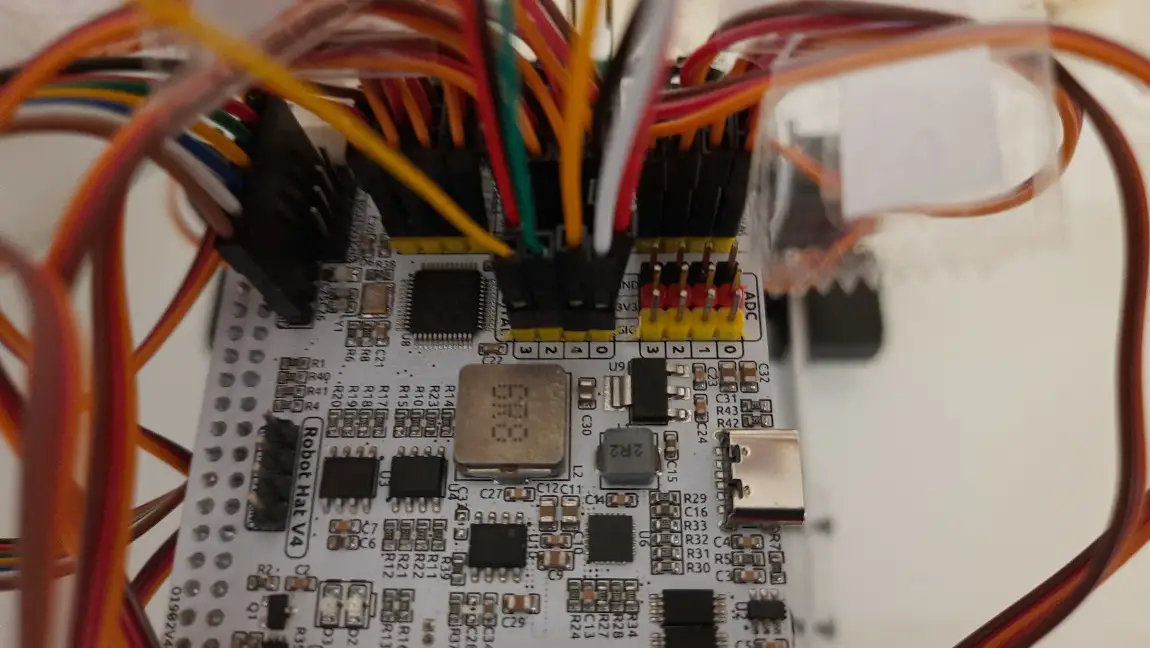
At the end of this process, we can connect the servo motor cables to the SunFounder Robot Hat. The labels will be helpful here to connect cables in the right order.
Assemble the Body Accessories
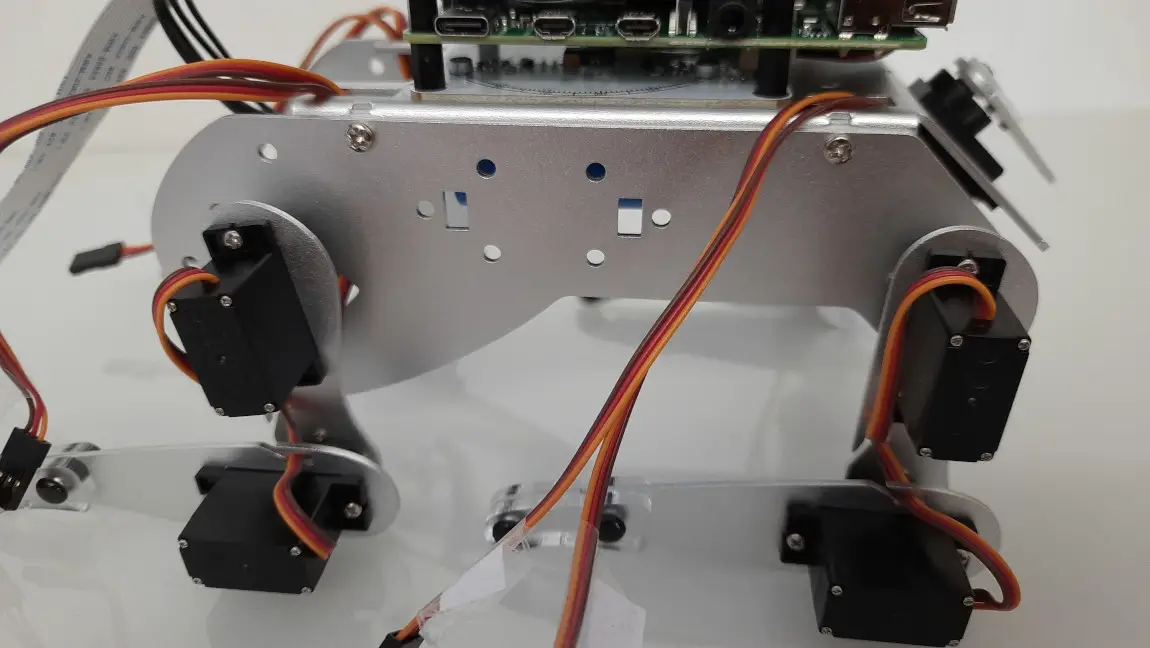
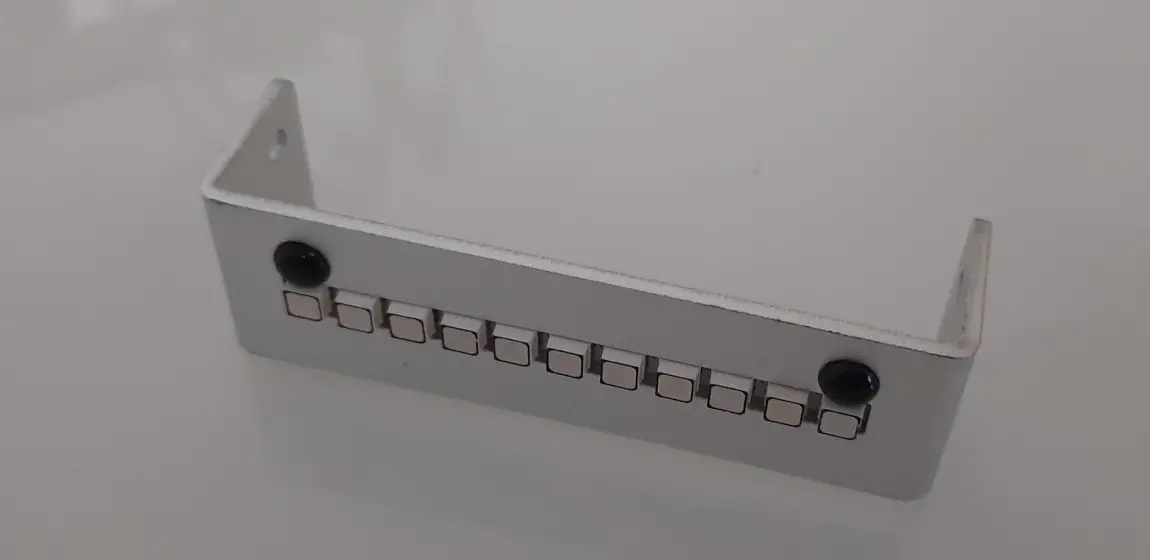
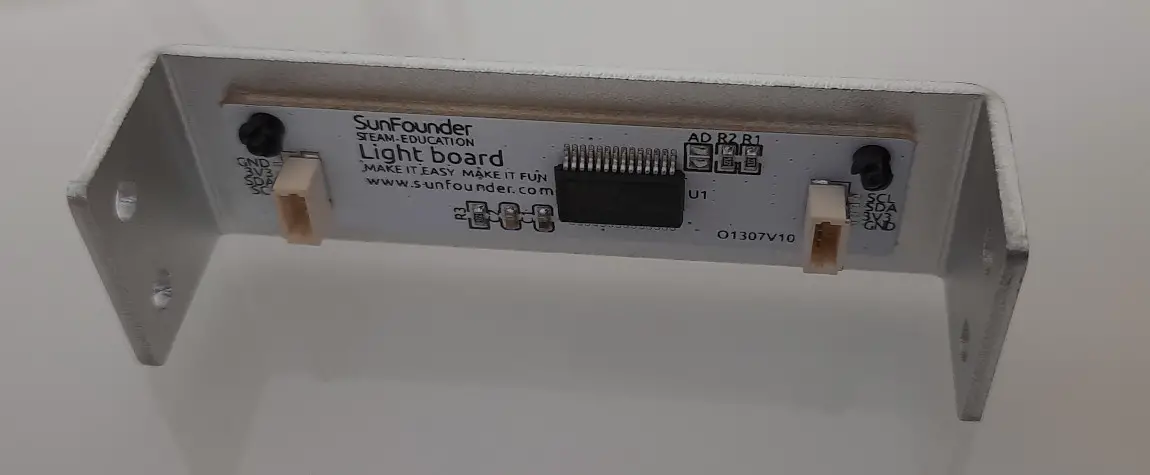
The body also includes an accelerometer and an LED string. At this point, we can add them according to the assembly instructions.
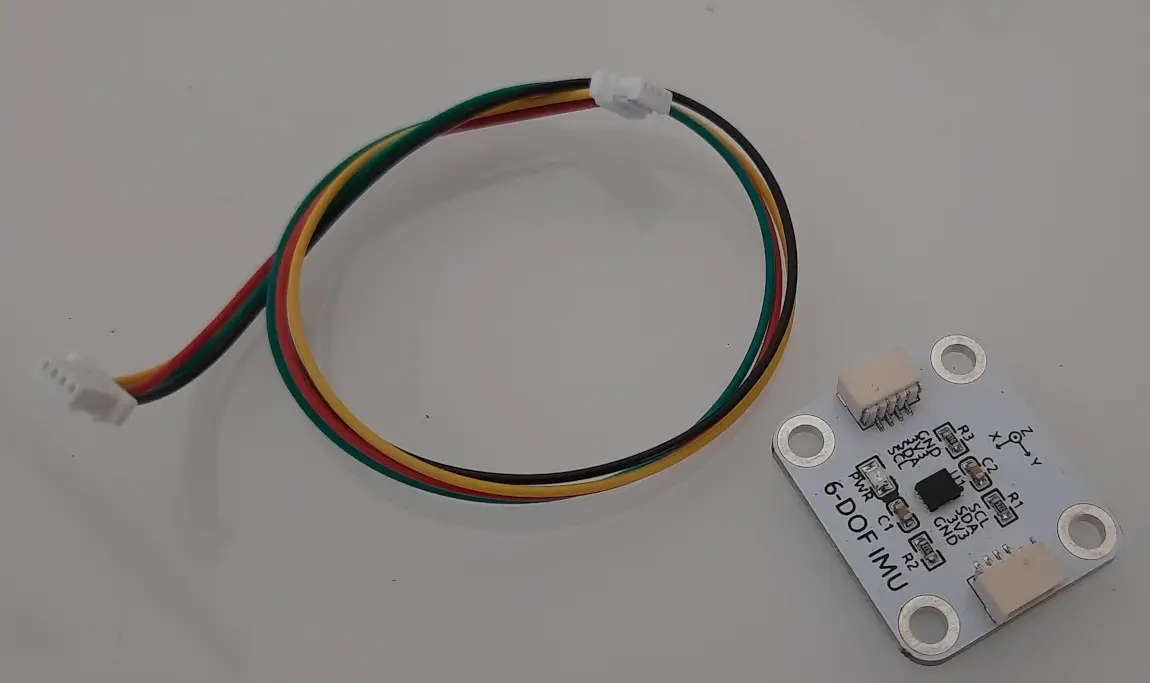
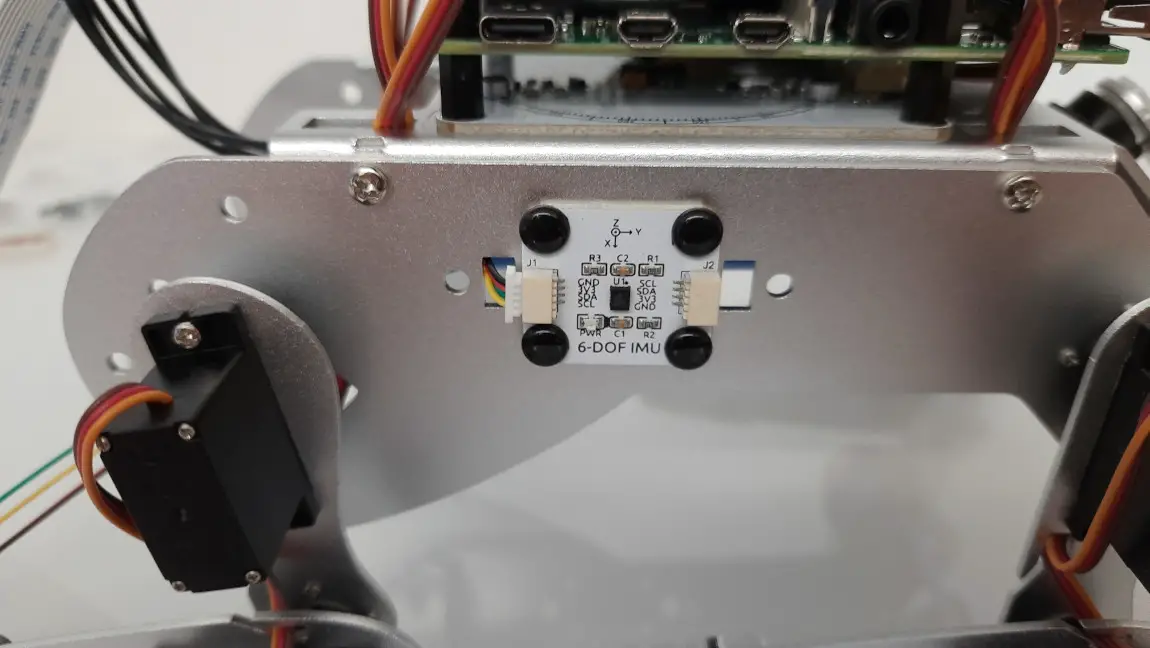
Also here, please remember to properly label the cable:
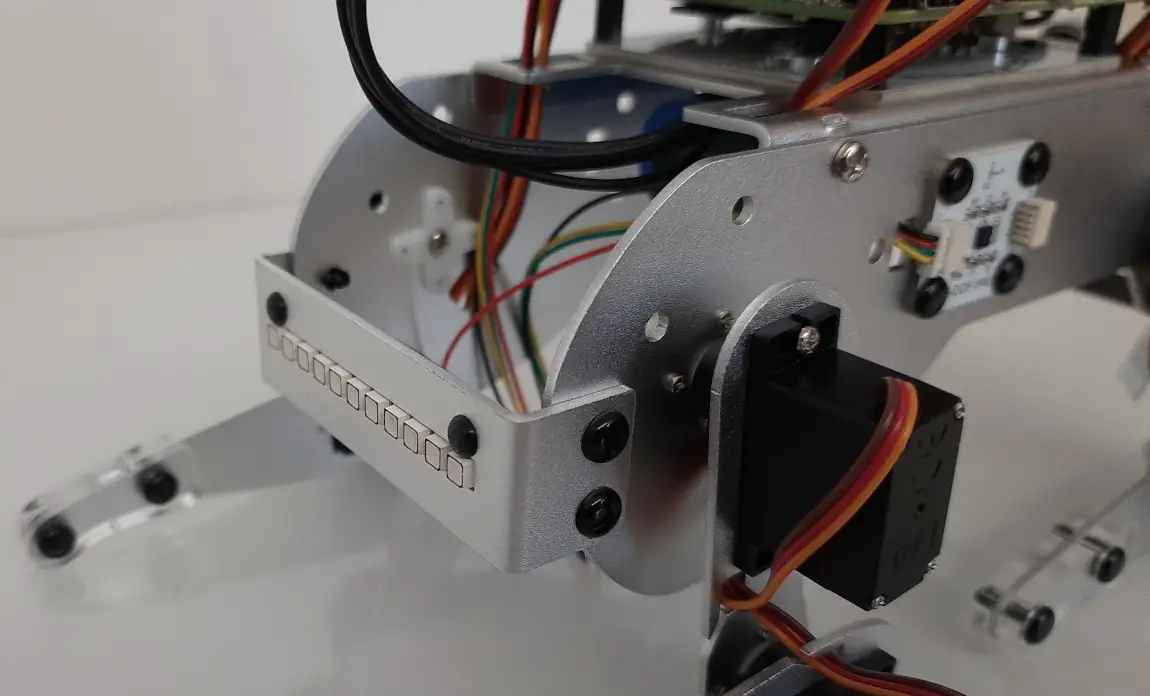
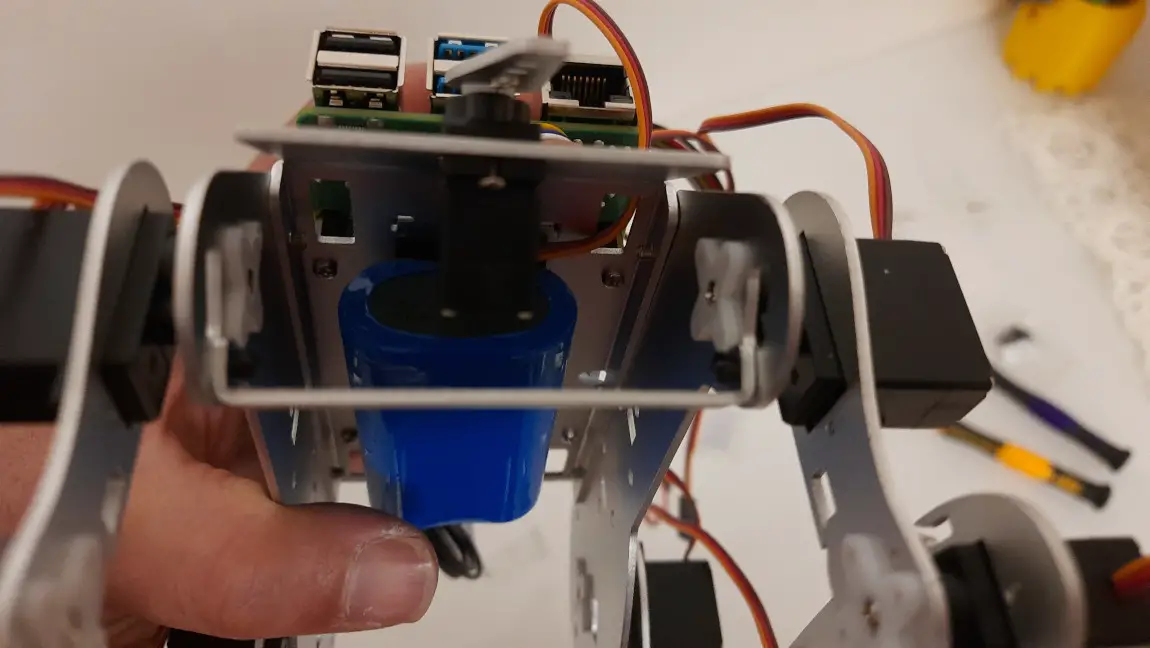
A plate will also protect our PiDog battery:
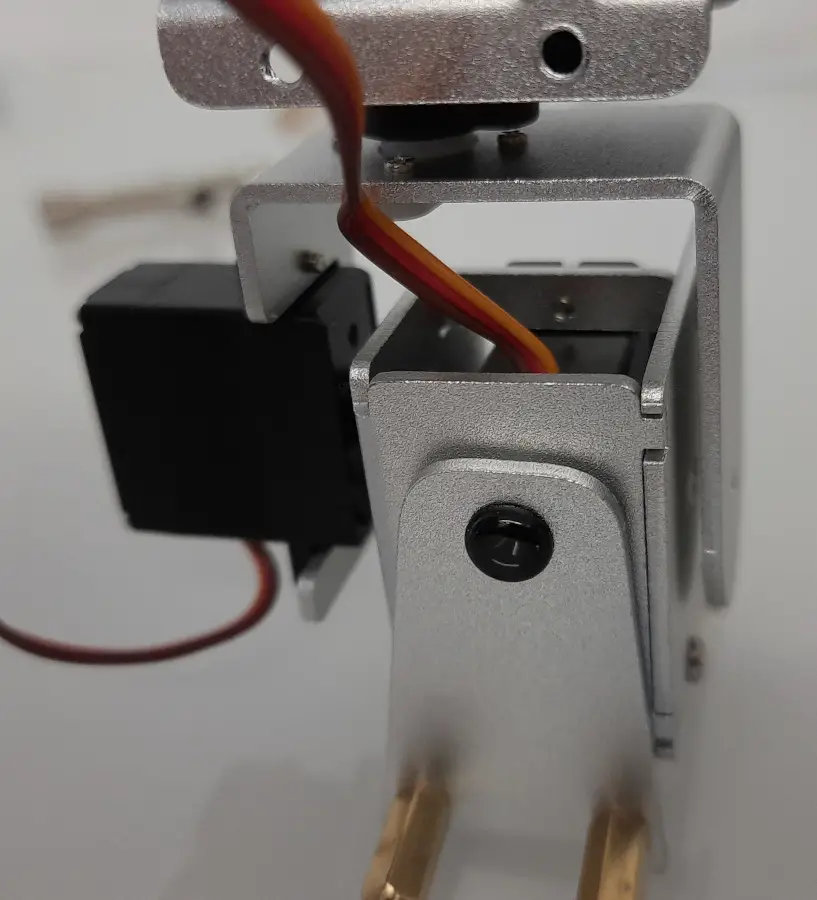
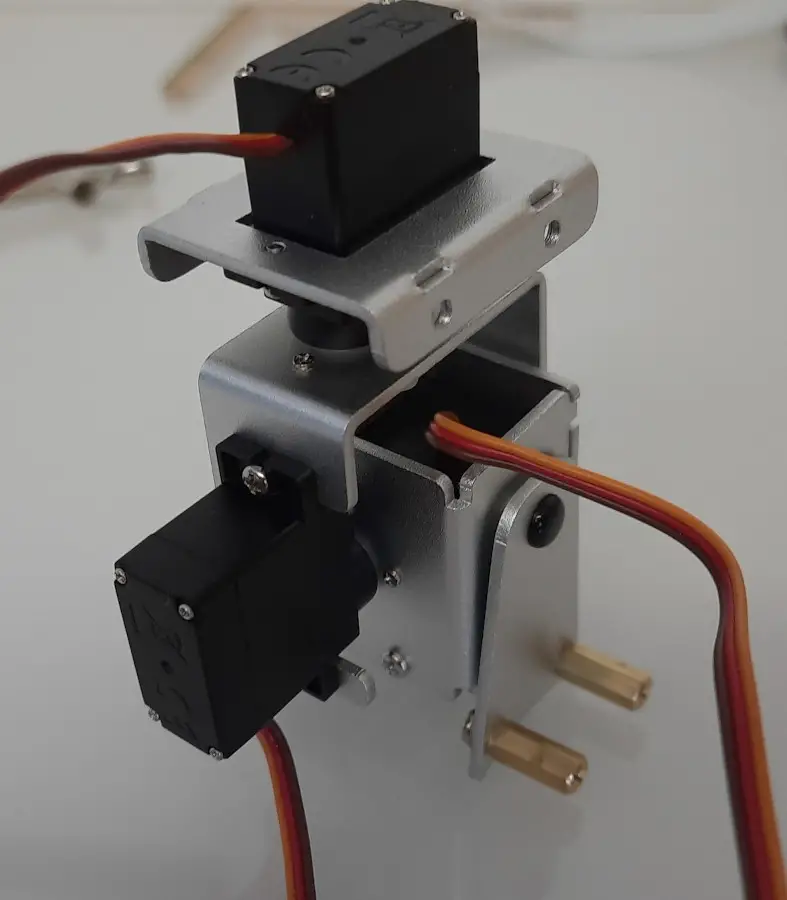
Assemble the PiDog Head
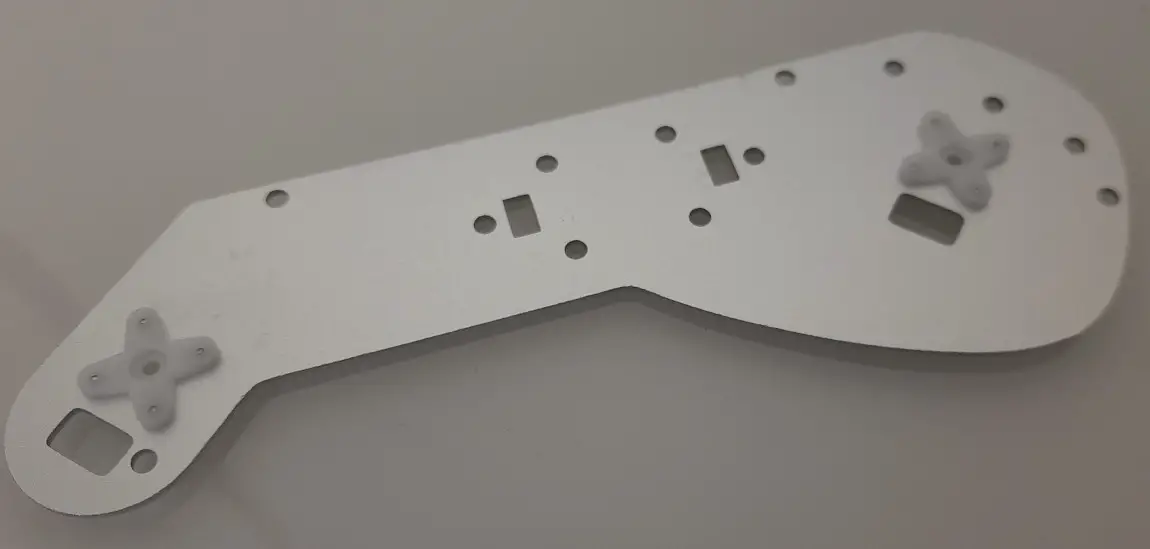
Also, the PiDog head includes a lot of servo motors and parts. The photos for this step follow.
Take care in mounting the servo motor parts at the right sides of the plates.
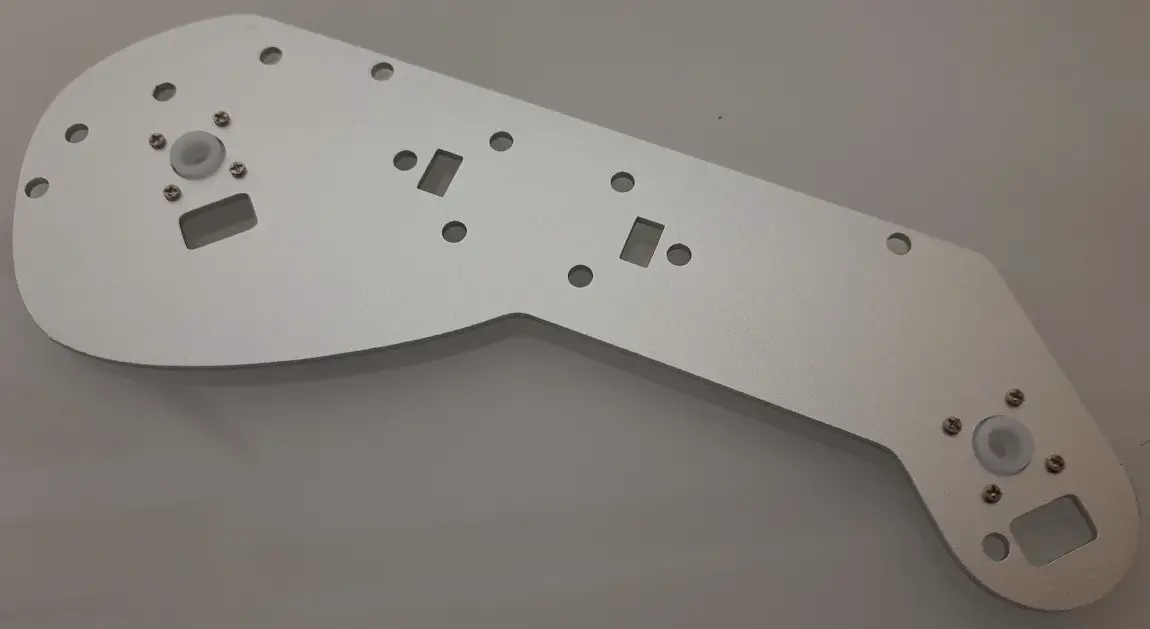
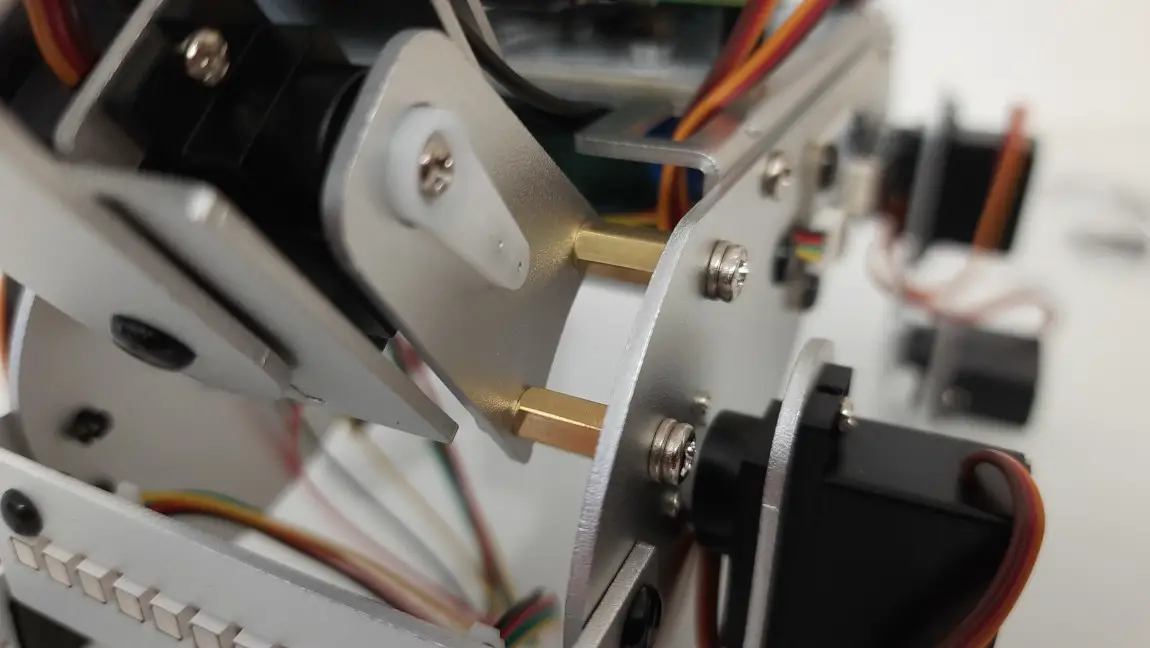
In the following picture, it’s important to use the right holes for the servo motor guide screws:


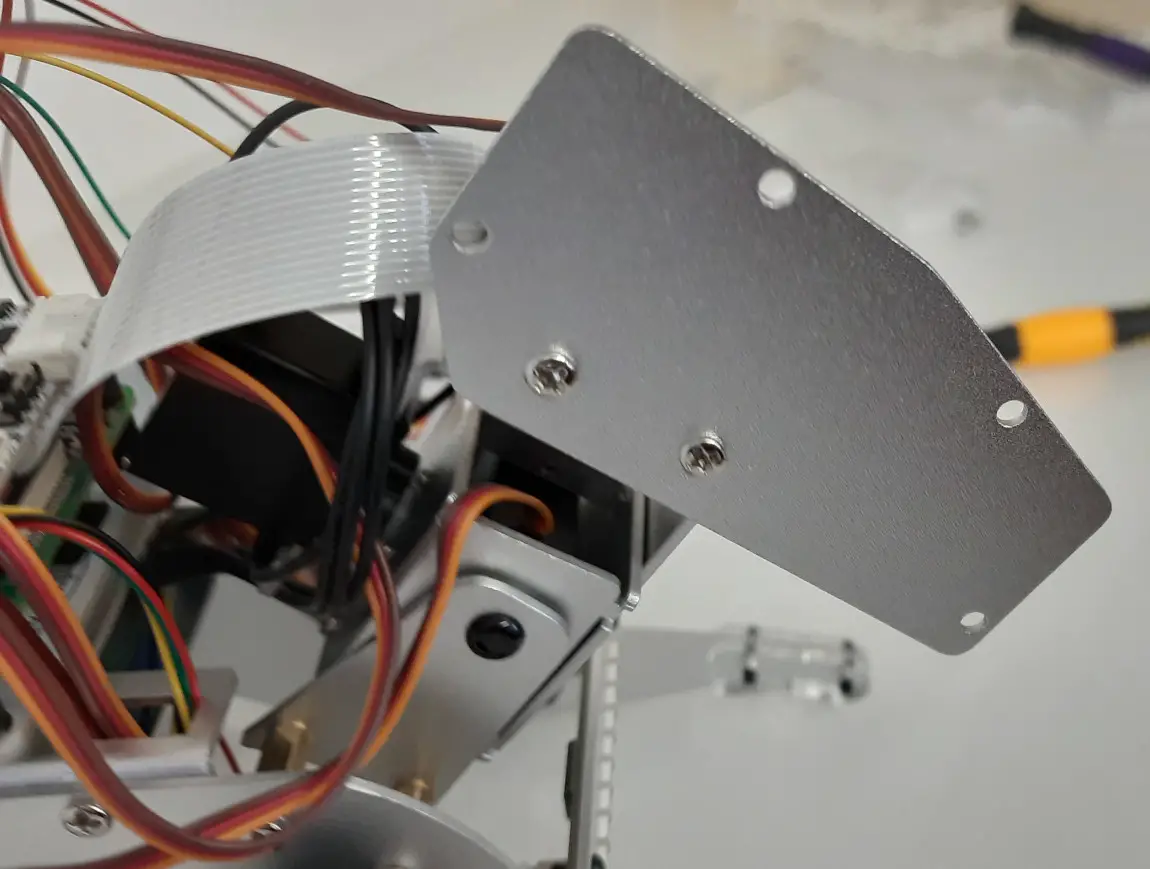
Here’s another important point. When mounting the face plates (the lateral ones), mount them with the diagonal cut on top as shown in the following picture:

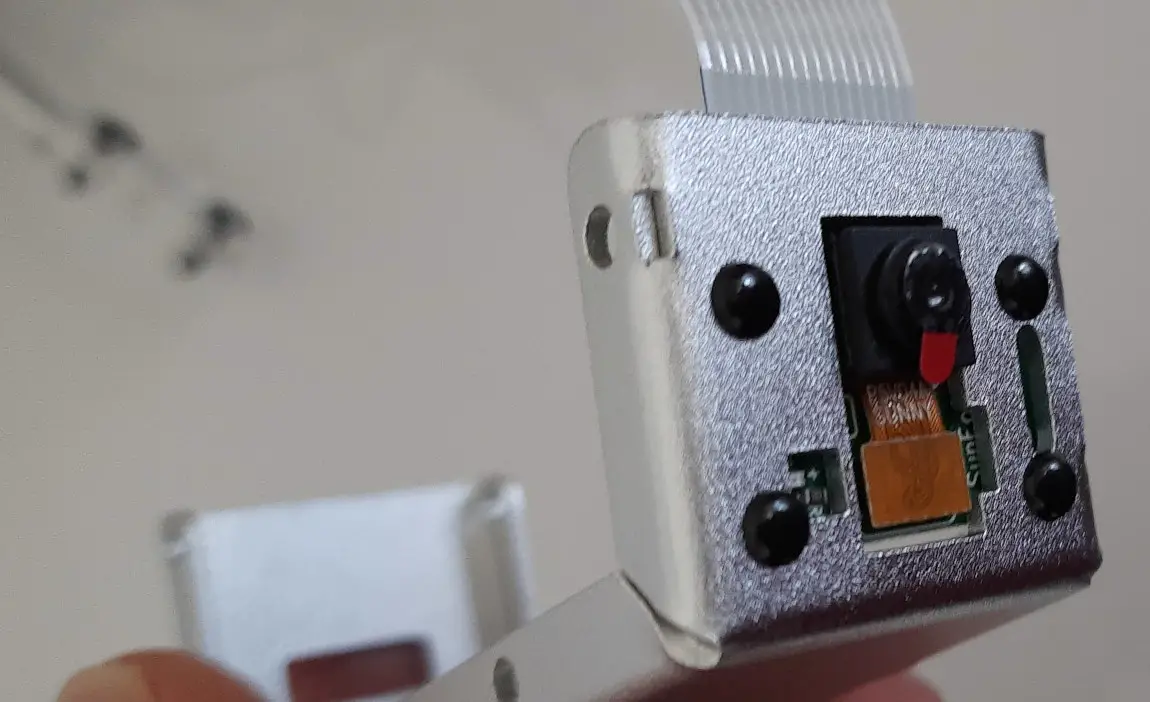
Assemble the Head Camera and Sensors
The last mounting steps will close your PiDog assembling process.
When connecting the camera to the related FFC cable, please pay attention to connect the cable in the right version (see the blue side), as shown in the following picture:

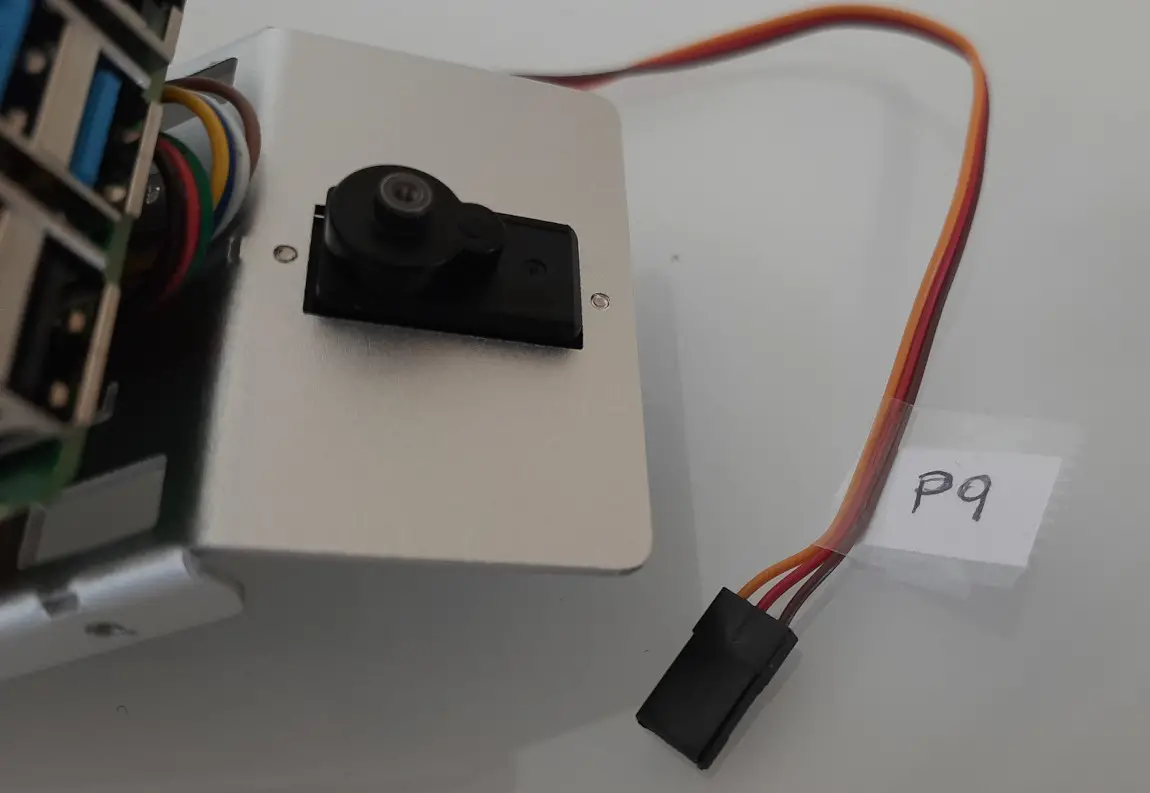
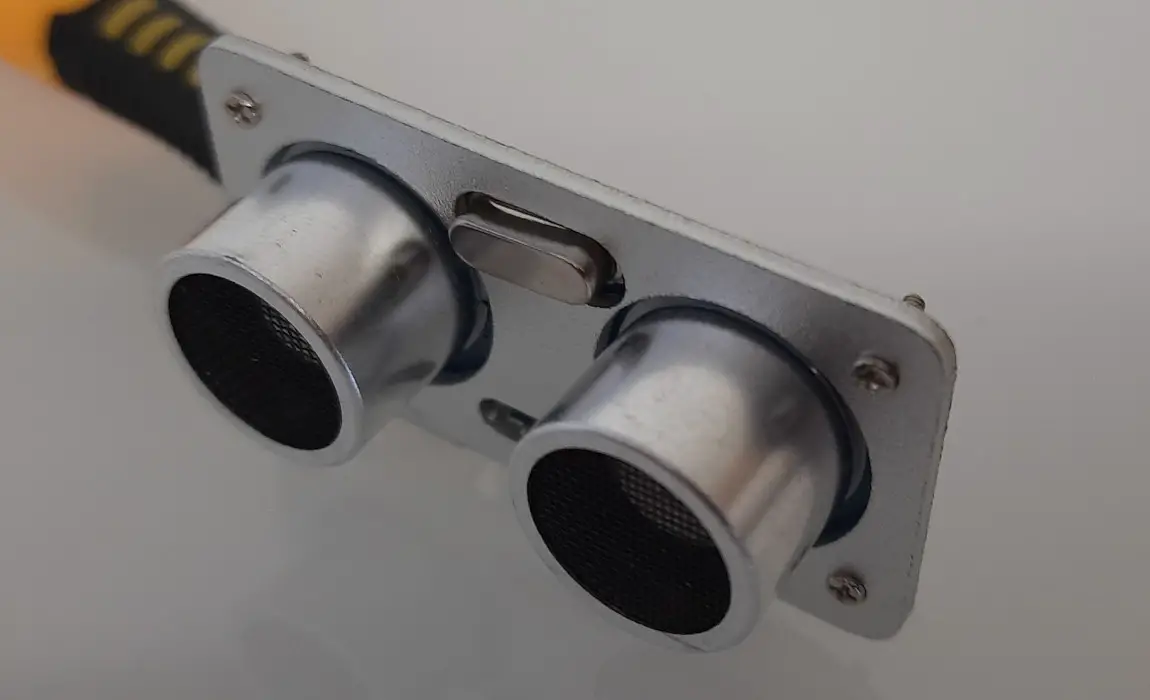
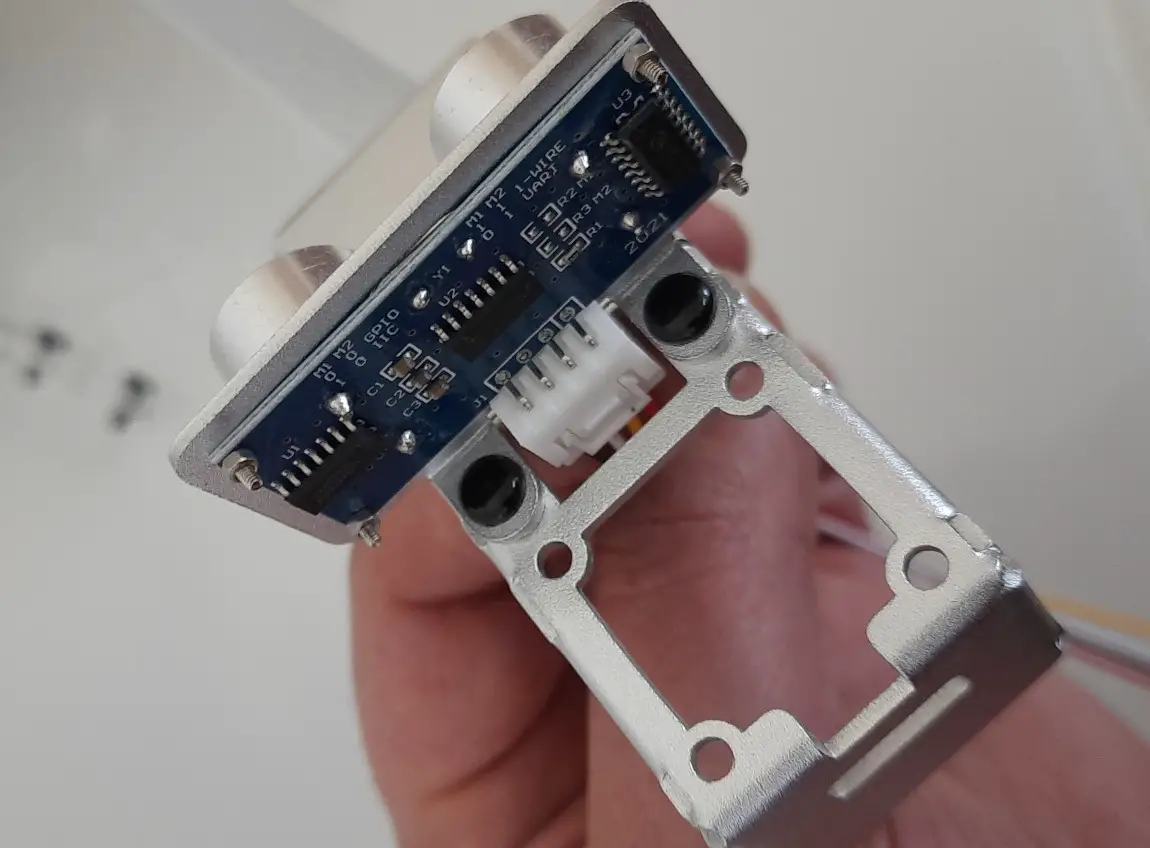
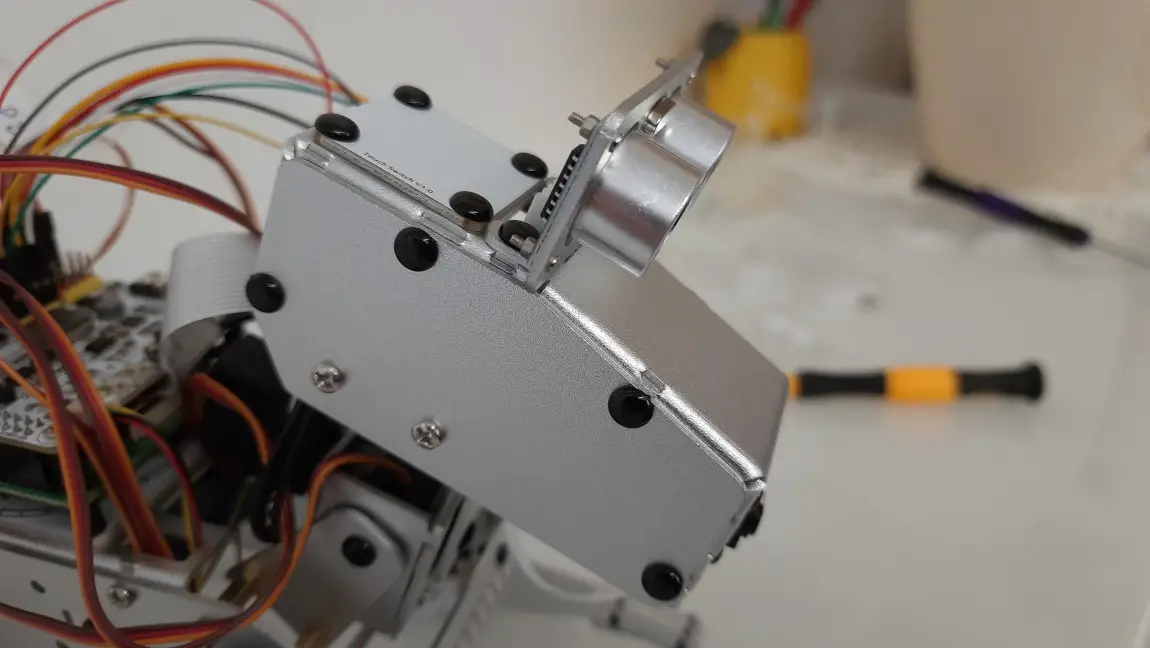
The ultrasonic sensor will be mounted where the PiDog head has a part that seems like the eye:
At this point of the process, you should have very few cables, except for the spare ones. Anyway, please check that the one you use is correct on both sides. I always suggest to use labels for the cable:
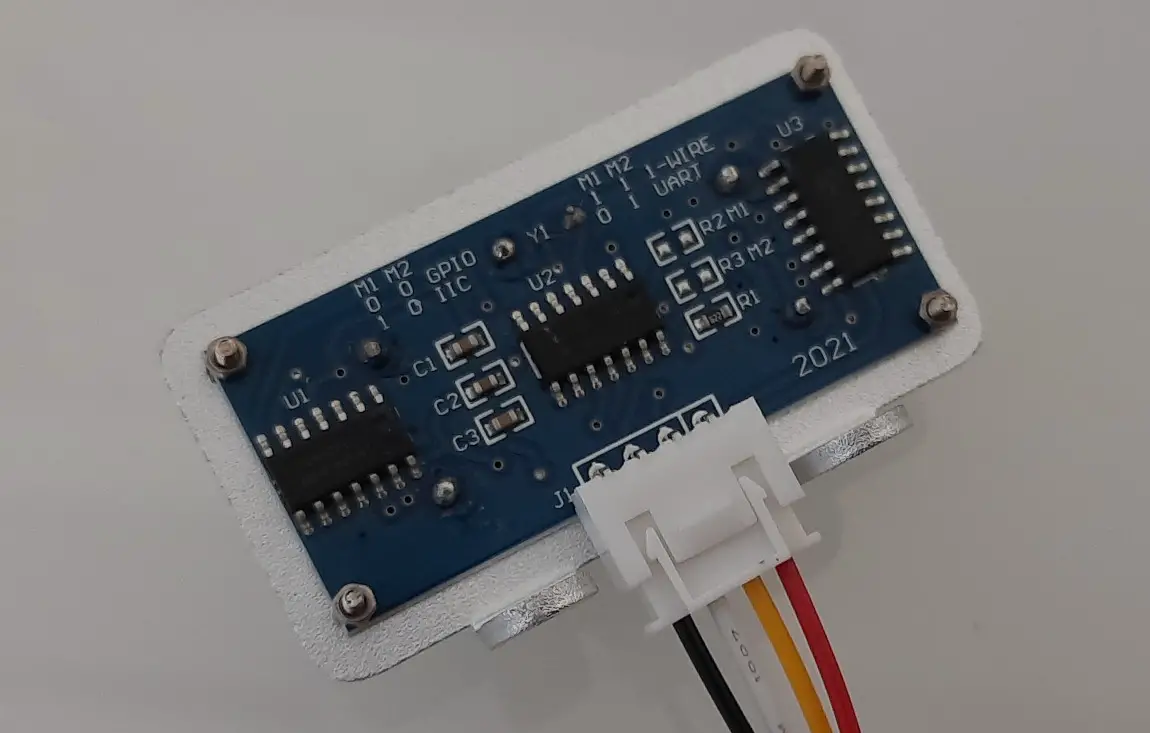
Make sure that the ultrasonic sensor cable passes in the specific hole when mounting together the 2 head parts:
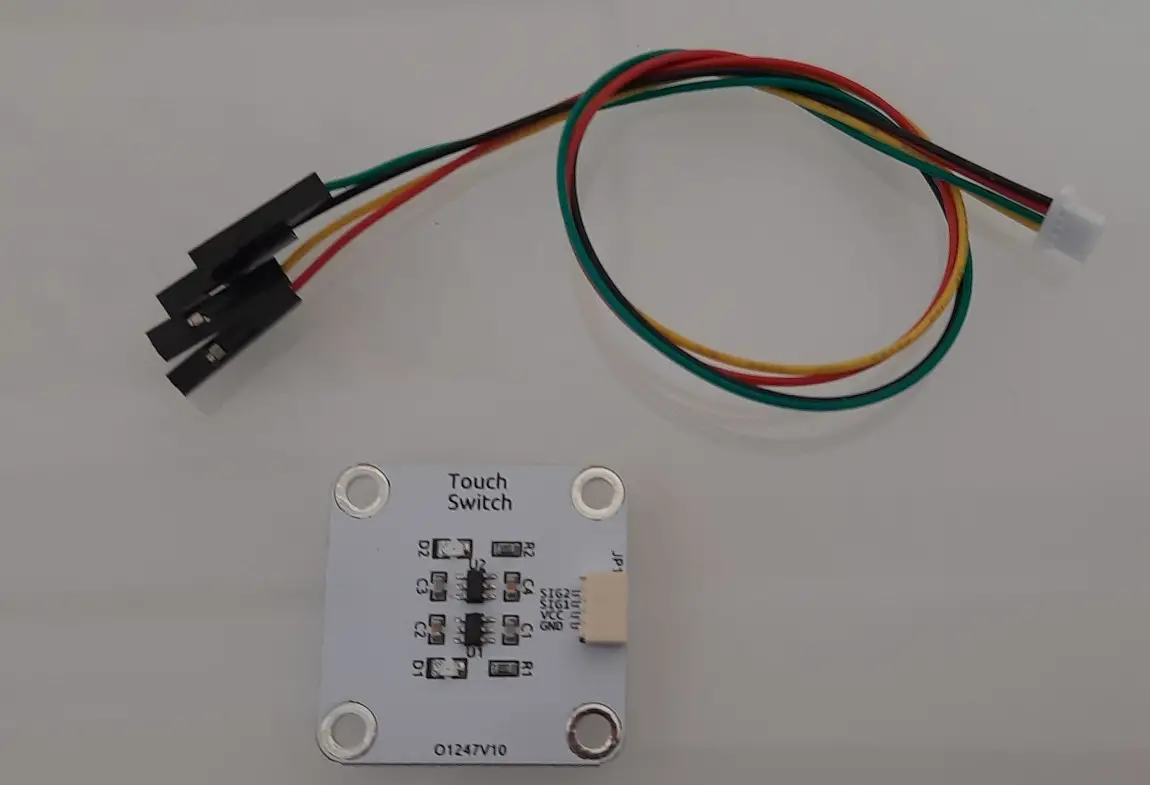
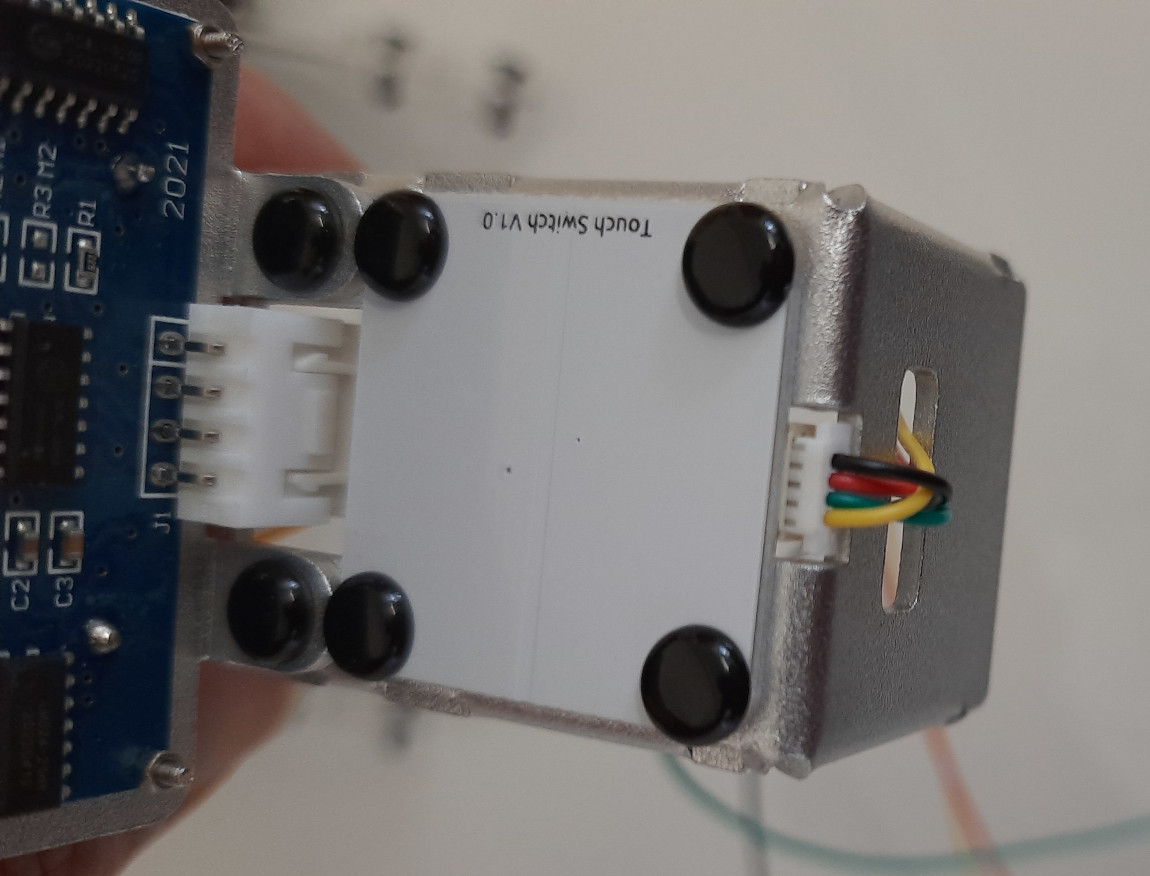
The touch switch will complete the last sensor to put together. Also here, I suggest labelling the cable so that you will identify it easily when connecting to the Robot Hat.
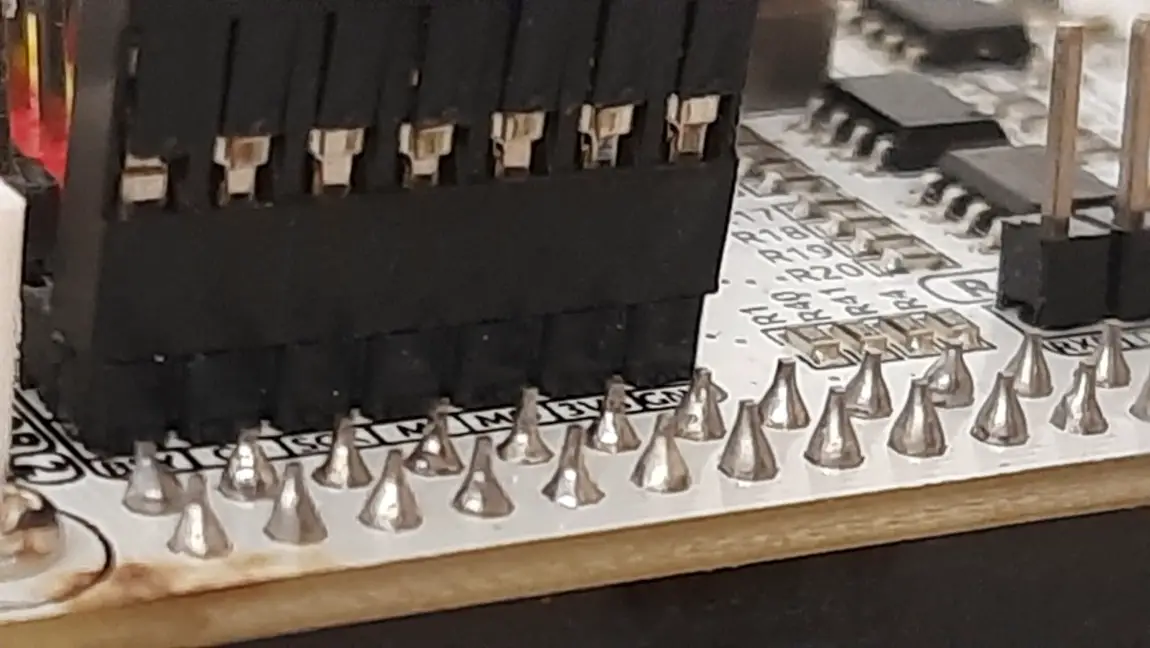
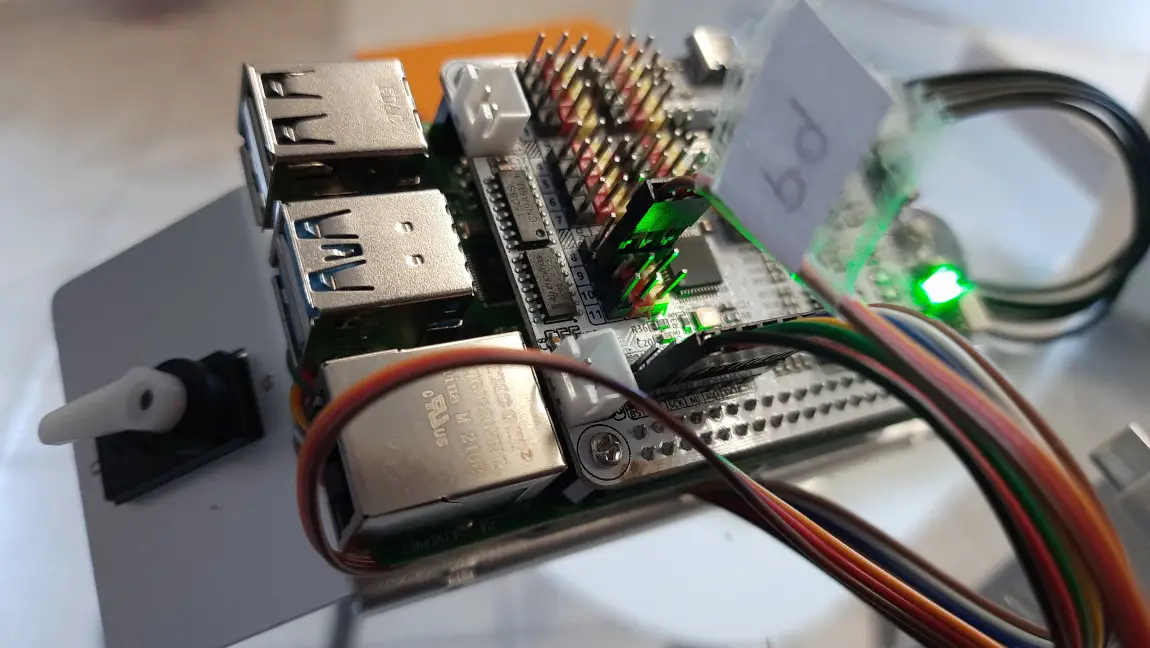
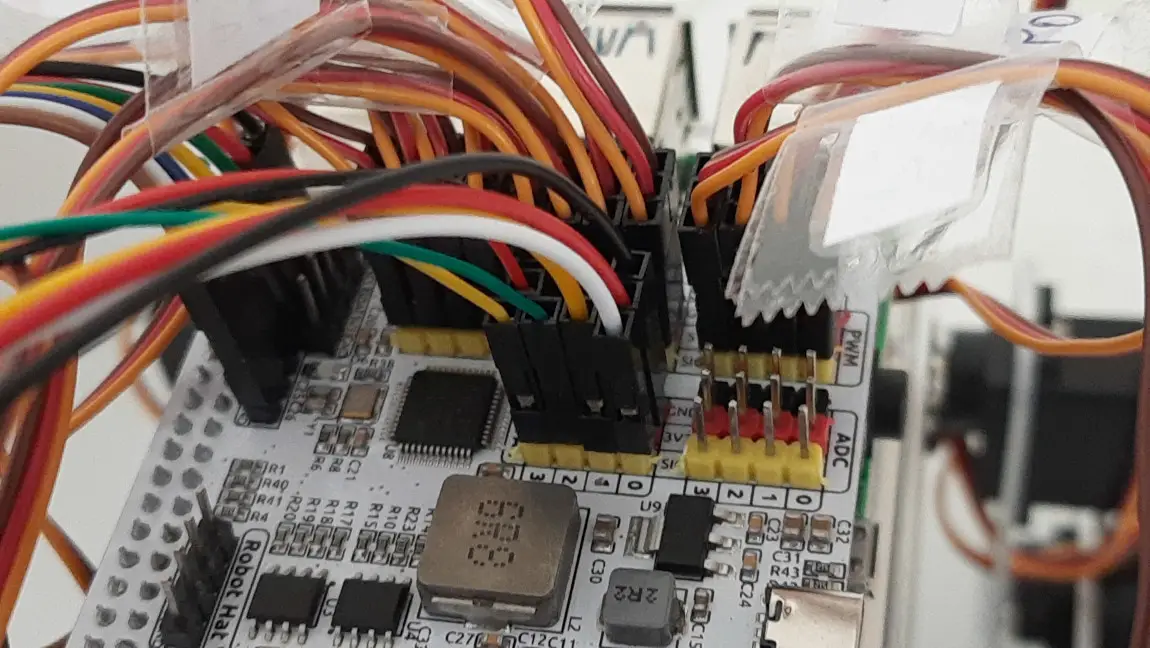
Finally, please plug these last cables into the related Robot Hat ports:
Assembling Result
The PiDog kit includes a few cable organizers to put the whole cables upon your Robot Hat a bit more ordered. After this, you can take a cup of coffee to enjoy your final result before moving to the programming side.
Prepare the Raspberry PI Software
The first part of this step is to install the Operating System. You can do this according to the SunFounder PiDog docs. Moreover, there’s also an article of mine explaining how to use the Raspberry PI Imager.
The provided link to SunFounder PiDog documentation has complete tutorials showing how to:
- install the OS
- install the required packages
- enable I2C, SPI, and Camera
- calibrate the Servos
There’s also a funny section explaining how to Code your PiDog actions via Python, which you can refer to create your programs and get custom actions performed by your PiDog.
Moreover, a number of pre-built programs are already available on the SunFounder PiDog Fun Python Projects pages, so that you can start your first shows without the need to create any complex program.
Control the PiDog from App
The Fun Python Projects above referenced also include the “Play PiDog with APP” project. This is a special program to control your PiDog robot from your smartphone (both Android and iPhone are supported) using the SunFounder Controller App.
To get the APP working, specific instructions are available from the Sunfounder Controller pages.
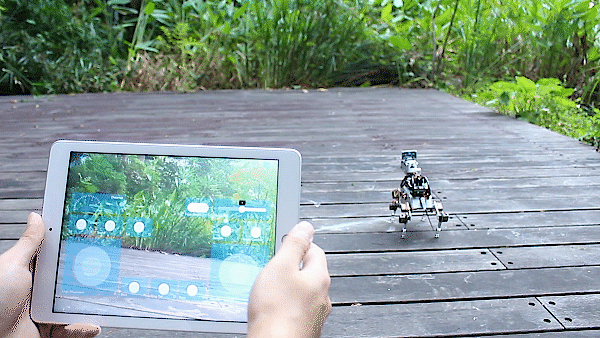
Play with SunFounder PiDog Raspberry PI Robot
The video below gives you an idea of what you can do with the PiDog:
Final Thoughts
From the technical point of view, there’s nothing to claim about this fantastic robot. It’s built with very solid material (all the plates are made of aluminium), and the kit has all the required parts, with some spares for the very small screws, and the required tools. You can buy it alone or with the Raspberry PI 4 computer board.
The mounting process is detailed, and there are programs available to play with the PiDog out-of-the-box.
From the entertainment point of view, it’s something unique. You can have fun both with mounting and programming it, and children love it. My 3-year-old nephew always asks for it when he comes to my home, and it is a clear signal that young people appreciate this fantastic robot.
It has an affordable price and, in my opinion, it’s worth the price as it includes a large number of sensors and programs.
What’s Next
Interested in more cool ways to use your Raspberry PI computer board? Take a look at peppe8o Raspberry PI computer tutorials!
Enjoy!

Open source and Raspberry PI lover, writes tutorials for beginners since 2019. He's an ICT expert, with a strong experience in supporting medium to big companies and public administrations to manage their ICT infrastructures. He's supporting the Italian public administration in digital transformation projects.
![]()
![]()
![]()
![]()
![]()
![]()
![]()


