
Last Updated on 5th January 2024 by peppe8o
In this tutorial, I will show you how to use Restreamer with Raspberry PI, to be able to stream your IP cameras to web pages or external services.
What is Restreamer
Restreamer (from datarhei) makes a few things but in an excellent way. It simply gets one (or more) streaming inputs and facilitates you to publish it into a web page, social network, or open-source platforms like Icecast.
It is a self-hosted, open-source video server, free both for private and commercial use.
It can get input from quite all the IP cameras from the market, as it allows you to use the RTSP, a common protocol supported by a wide range of producers in the market. Moreover, it can take input videos also from USB cameras and Raspberry PI cameras.
On the output side, Restreamer can route your video stream to many providers by allowing the user to integrate their videos with easy-to-use widgets and a really few settings.
For this reason,
What We Need
As usual, I suggest adding from now to your favourite e-commerce shopping cart all the needed hardware, so that at the end you will be able to evaluate overall costs and decide if to continue with the project or remove them from the shopping cart. So, hardware will be only:

- Raspberry PI Computer Board (including proper power supply or using a smartphone micro USB charger with at least 3A)
- high speed micro SD card (at least 16 GB, at least class 10)
- IP Cameras (this tutorial uses as example the good IeGeek IG62)
Step-by-step Procedure
Prepare the Operating System
The first step is installing the Raspberry PI OS. Please note that for my test I’m using the 64-bit version. You have 2 options:
- Raspberry PI OS Lite: This is a lightweight OS for Raspberry PI computer boards, without a Desktop environment (headless). Suggested for low-power Raspberry PI computers (like the RPI Zero 2 W), but also for newer computer models to get the full computing power working for your service.
- Raspberry PI OS Desktop: This is a less-performing OS (compared to the lite version), but it runs well on many Raspberry PI computer boards. I suggest this only if you need a desktop environment. In this case, you will work from its internal terminal.
You can check the difference between the 2 operating systems with my Raspberry PI OS Lite vs Desktop: comparison between the 2 distributions article.
After installing the OS, please make it up-to-date. From the Raspberry PI SSH session (or terminal):
sudo apt update -y && sudo apt upgrade -yFor this guide, I’ve used the Raspberry PI OS Lite (64-bit) as Operating System.
Finally, we need to install Docker. For this task, you can refer to my Setup a Docker environment with Raspberry PI OS Lite. Please note that in that tutorial the docker-compose and Portainer installation is optional and it’s not required for Restreamer.
With Docker, you can install Restreamer on Raspberry PI with the following command (please copy the whole command lines and paste it into your terminal:
docker run -d --restart=always --name restreamer \
   -v /opt/restreamer/config:/core/config -v /opt/restreamer/data:/core/data \
   --privileged \
   -p 8080:8080 -p 8181:8181 \
   -p 1935:1935 -p 1936:1936 \
   -p 6000:6000/udp \
   datarhei/restreamer:rpi-latest
That’s all on the Raspberry PI side. The remaining steps will be performed from a remote PC (or from your Raspberry PI browser if you use the desktop release).
Access the User Interface for Restreamer with Raspberry PI
At this point, Restreamer will publish its User Interface (UI) at the URL “http://raspberry_ip_address:8080/ui” where, of course, you have to change the “raspberry_ip_address” with your Raspberry PI’s IP address. In my case, my PI has IP 192.168.1.85 and my URL will be “http://192.168.1.85:8080/ui”.
From your favourite browser in your remote PC, please connect to the web UI to reach the user registration page:
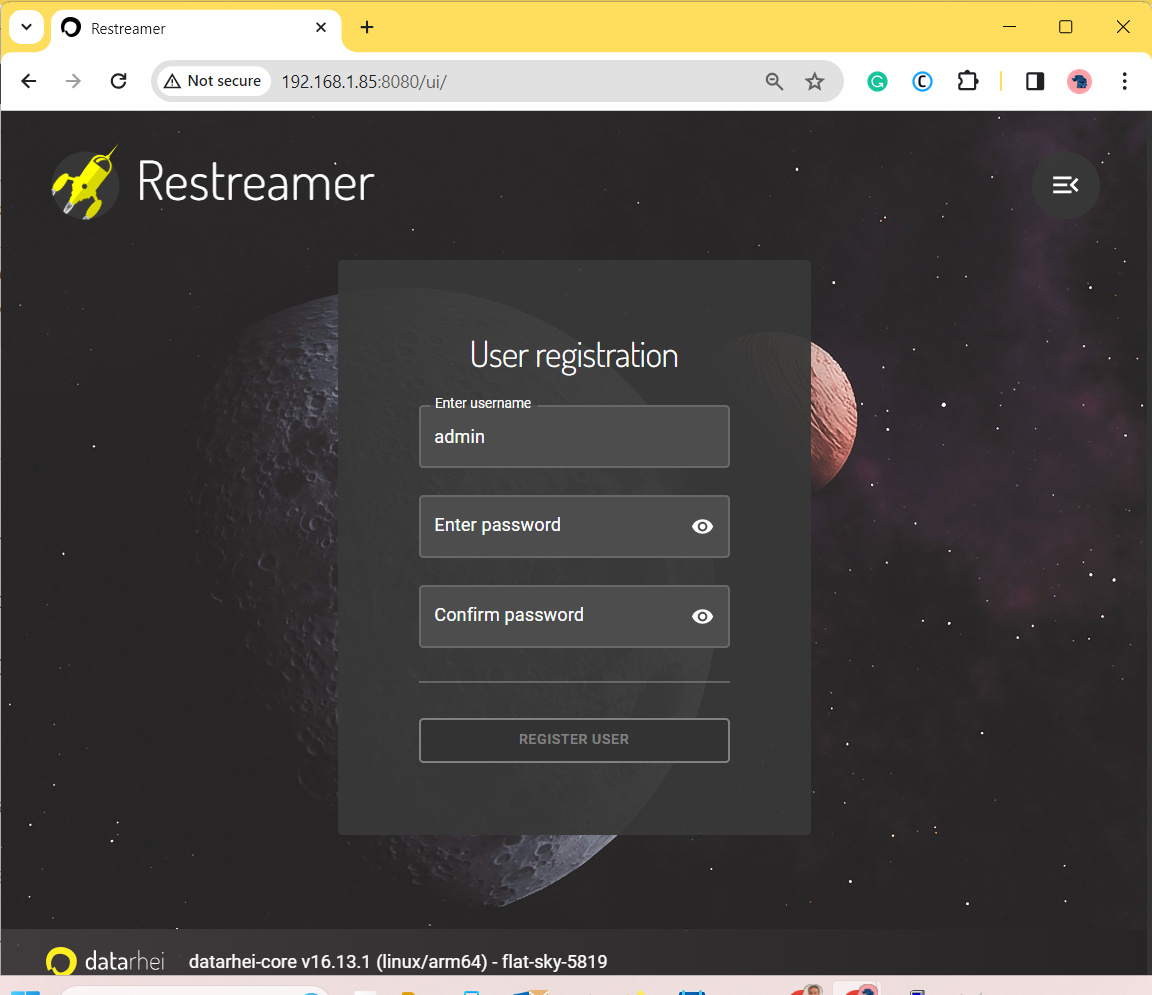
This will appear only the very first time you start your Restreamer container.
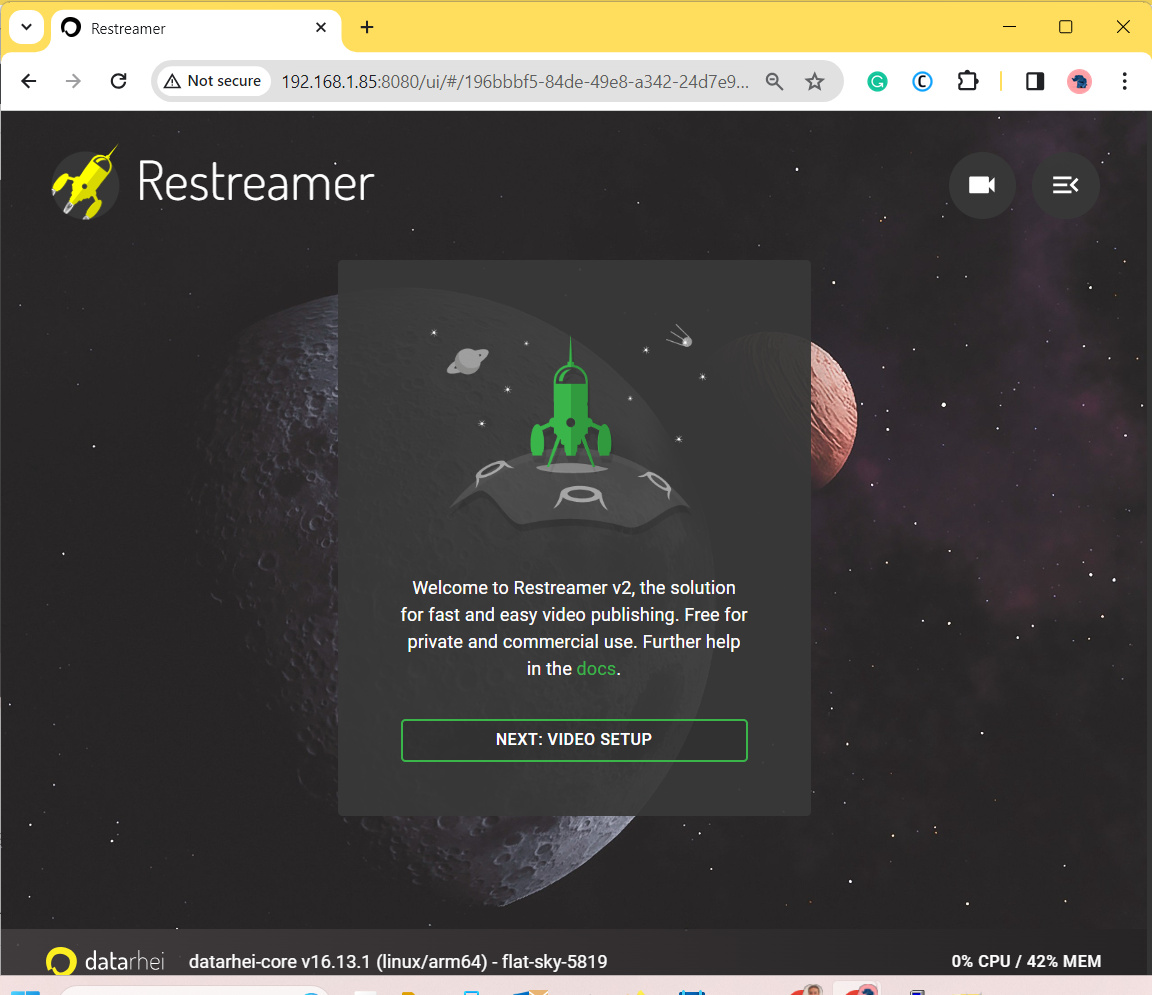
Please set your favourite credentials and press “REGISTER USER”. It will address you to the welcome page, where you can find the button to start Video Setup (please click it):
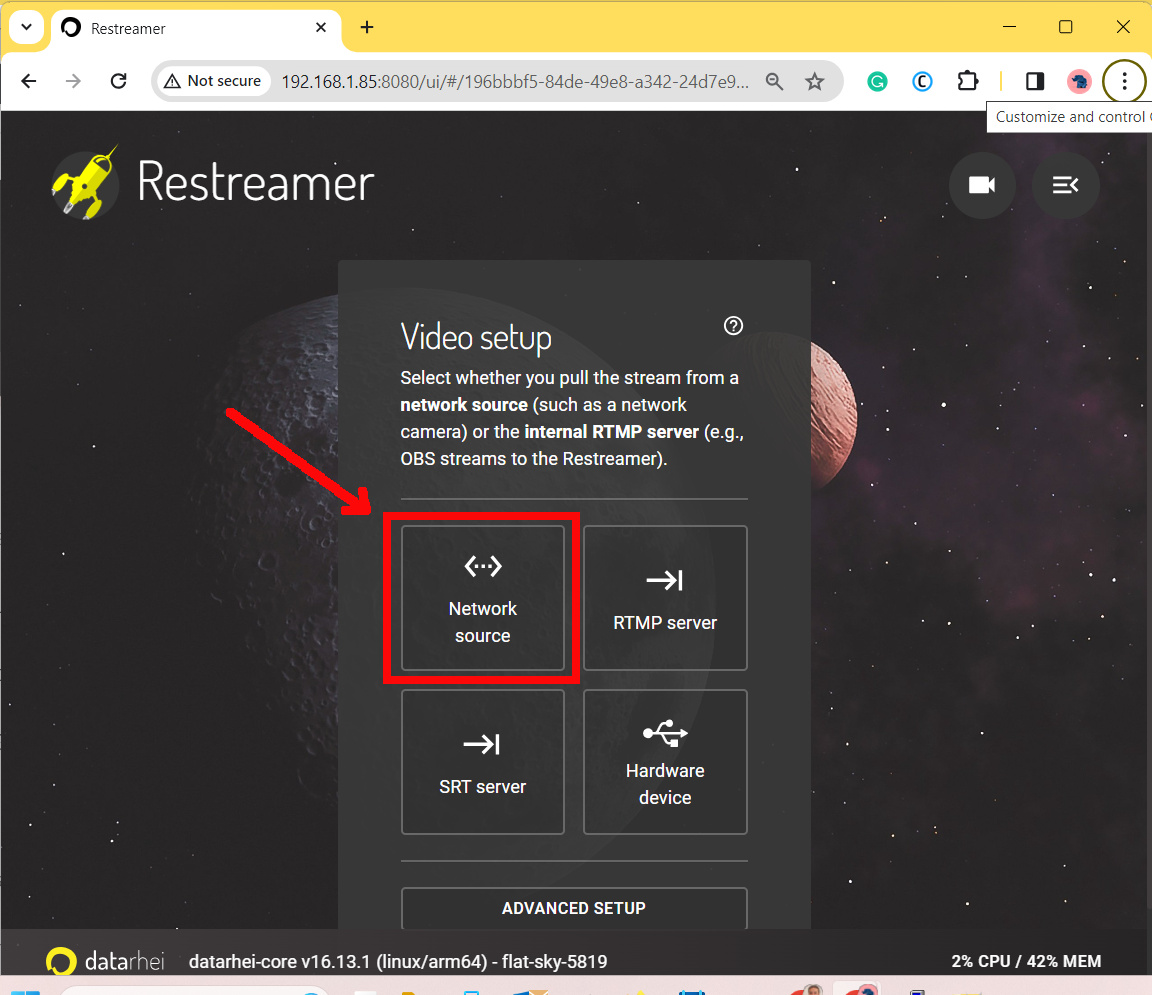
The following page allows you to set different network sources. Many IP cameras offer access via the RSTP protocol. I will use it with my ieGeek IG62 camera as it makes it really simple to get the video stream. In this case, I will use the Network Source link highlighted in the following picture:
The following page will ask you to configure the network stream of your IP camera. Here can be the hardest part: you must check your camera manual for its RTSP address format and, if required, the related credentials. In many cases, you can also ask Google for it: many websites are collecting the RTPS URL format for quite all the IP cameras available in the market.
For example, in my case (ieGeek IG62), it doesn’t require credentials and the URL will be like the following: rtsp://ip_address_of_camera:554/11:
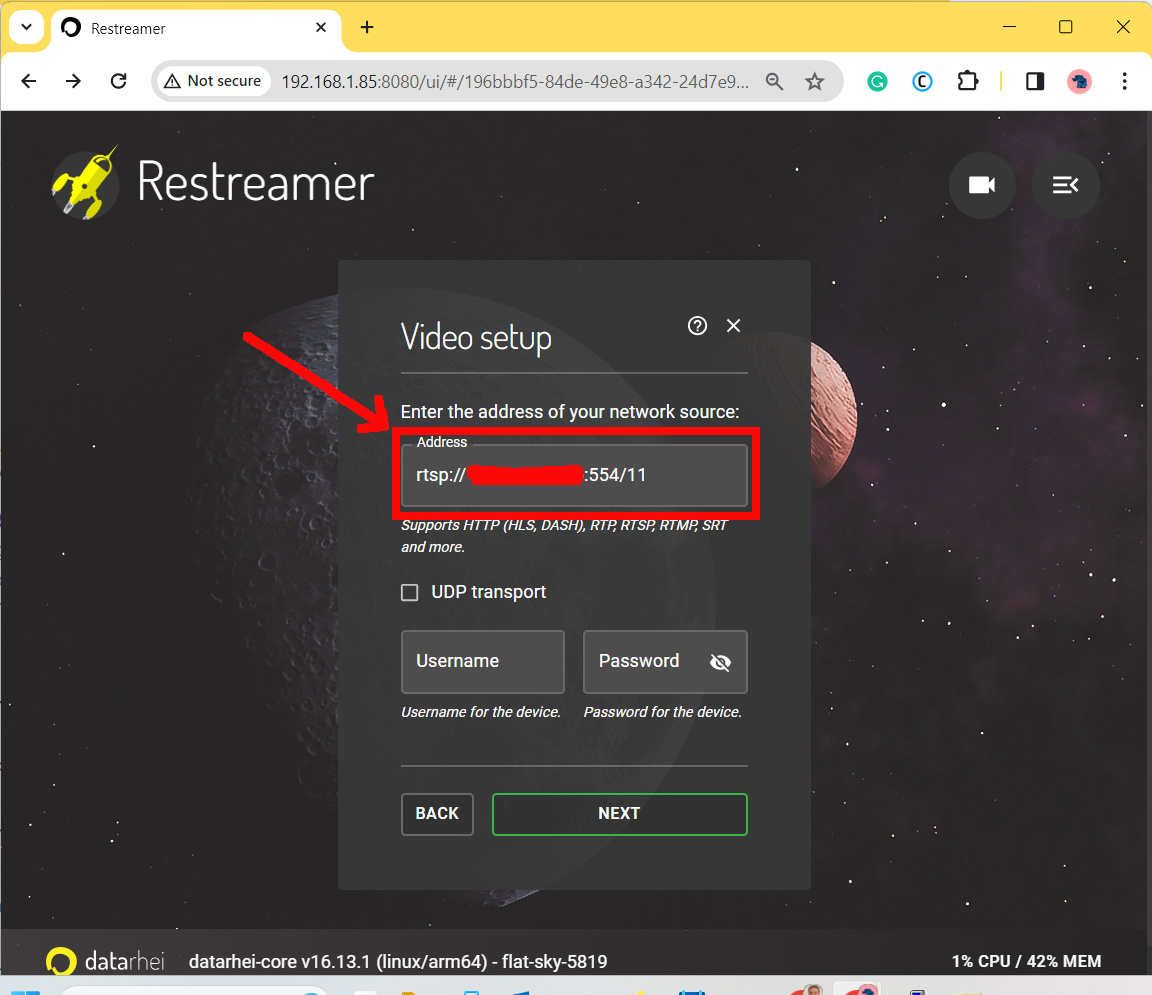
After filling in the stream address, please press “NEXT”.
Restreamer will check if the connection starts correctly and may ask you to choose the video profile from those supported by your IP camera:
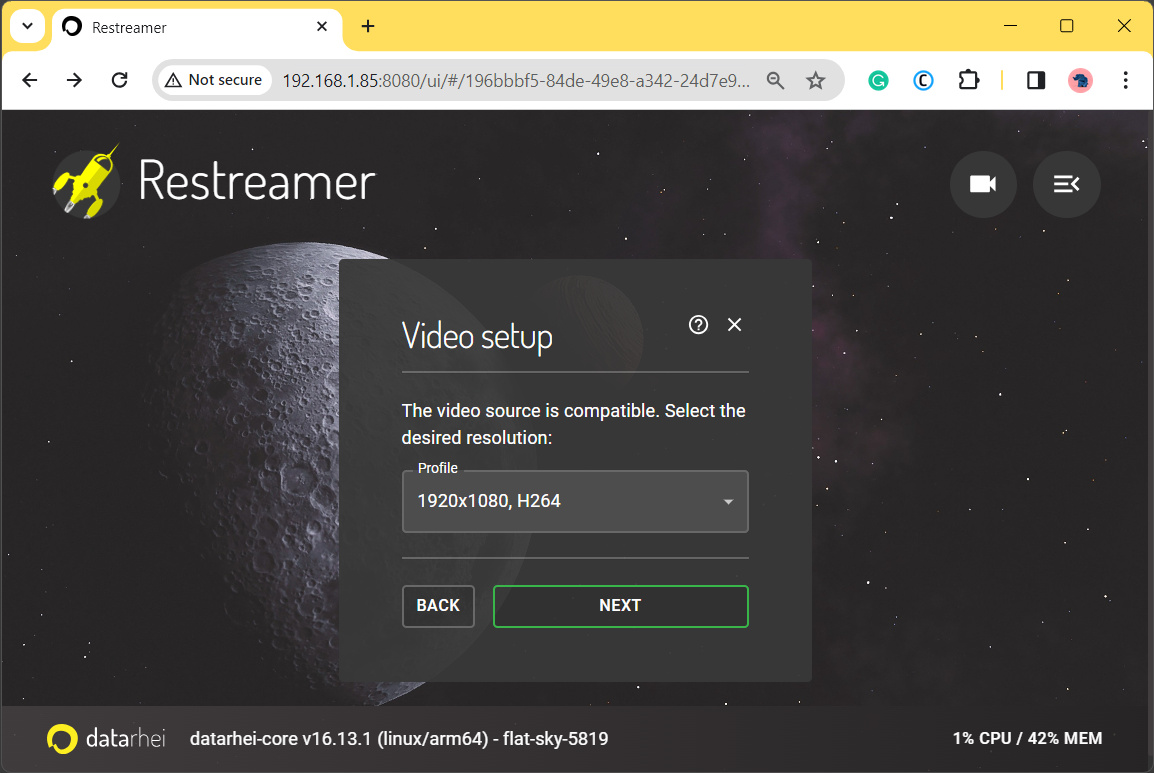
Select your favourite and press “NEXT”.
The same option for the audio input:

Again, set your favourite and press NEXT.
On the following page, you can set additional metadata to your video stream as a description or info about the author:
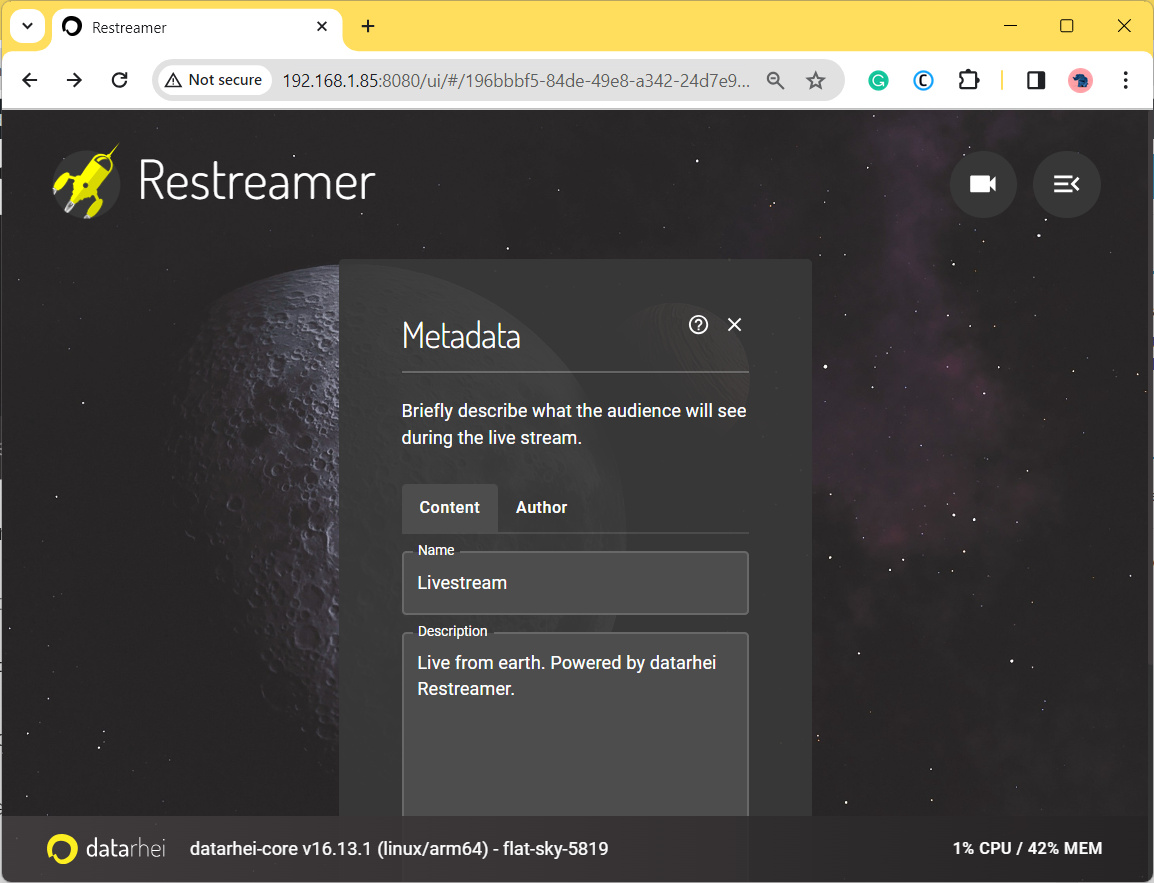
Set it according to your preferences (you can also leave them as default) and scroll down to press NEXT again. The final page will ask you to associate a License to your video. You can choose between several Creative Commons licenses:
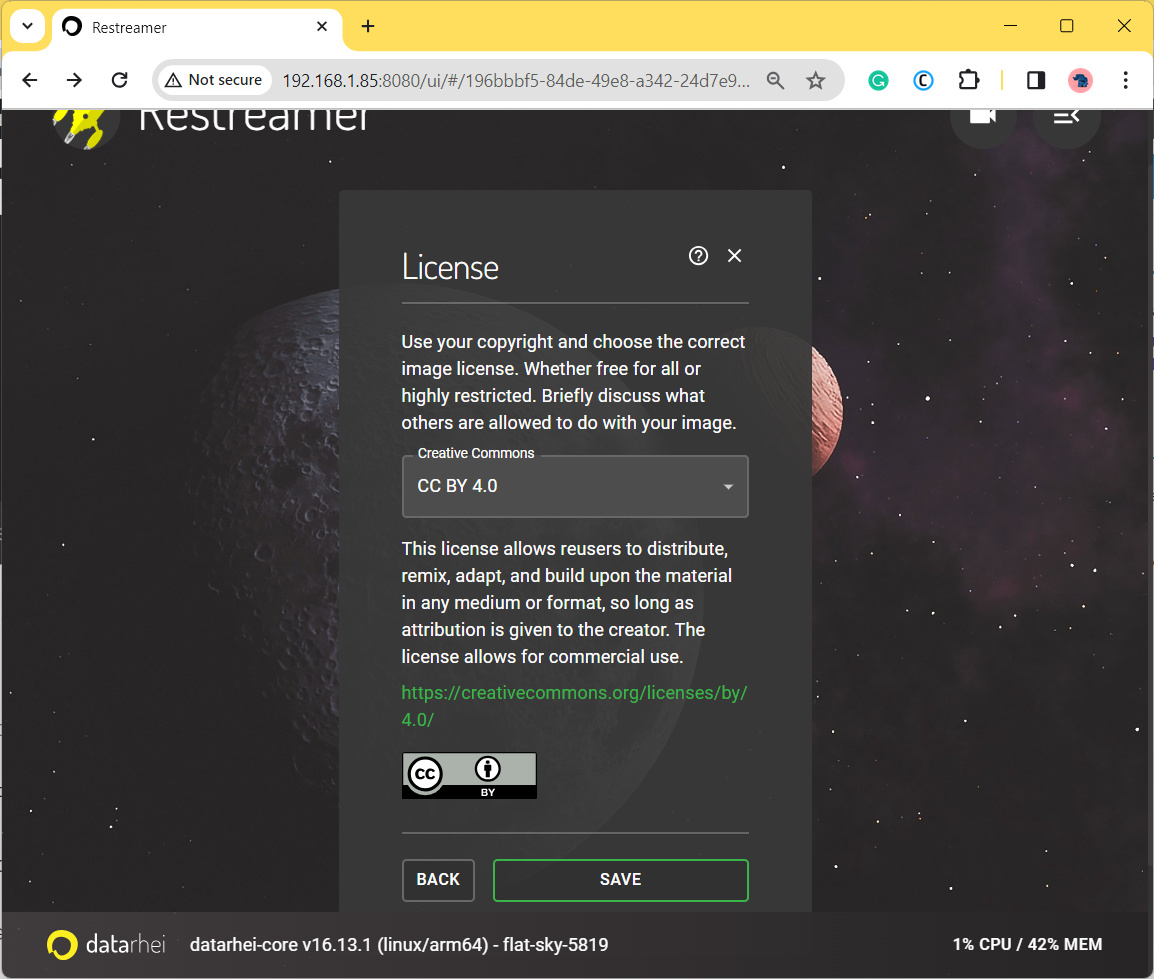
Finally, press SAVE. The stream will start to arrive on your page:
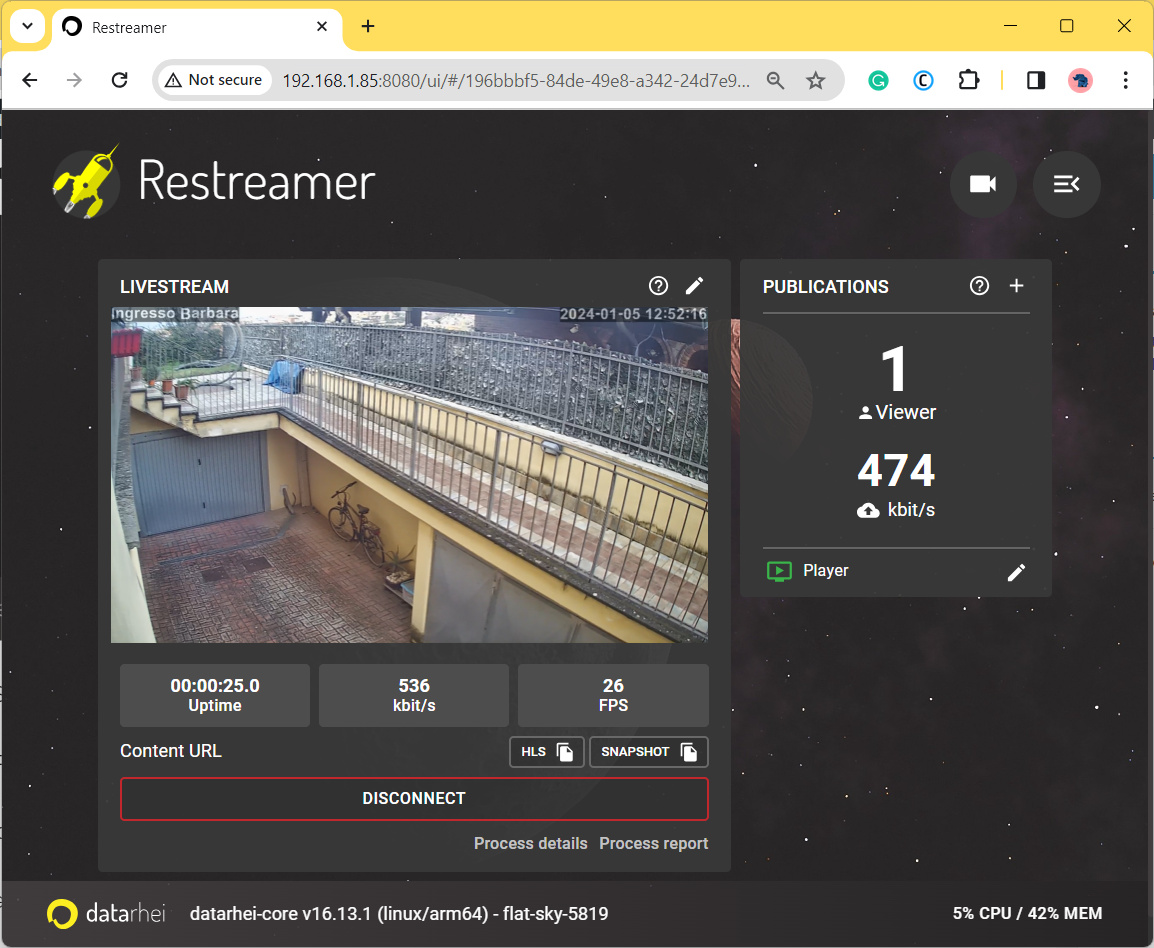
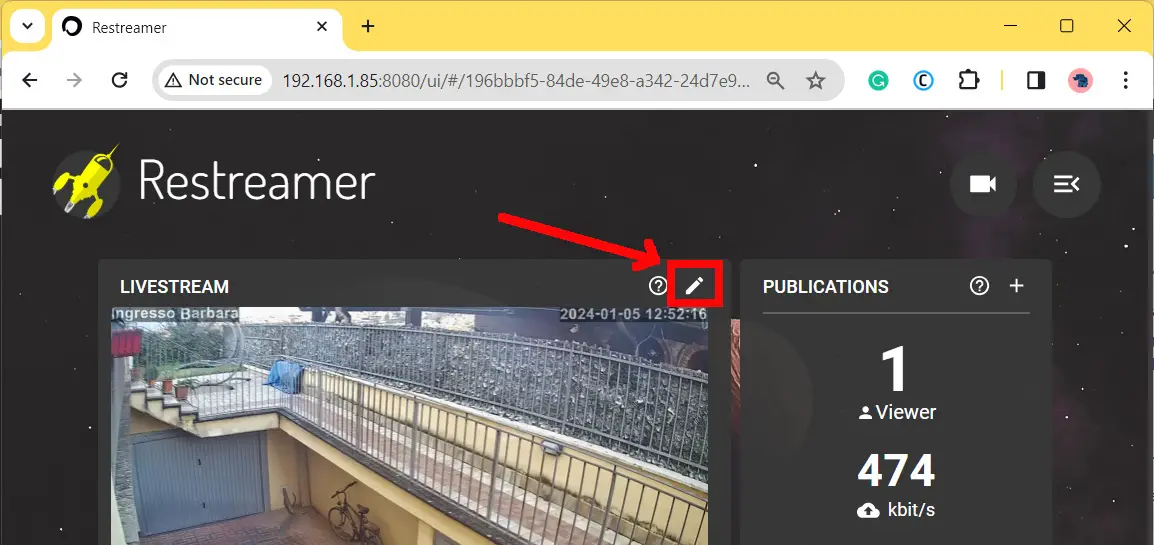
In the LIVESTREAM widget, you can use the pencil icon to access and tune again the stream configuration:
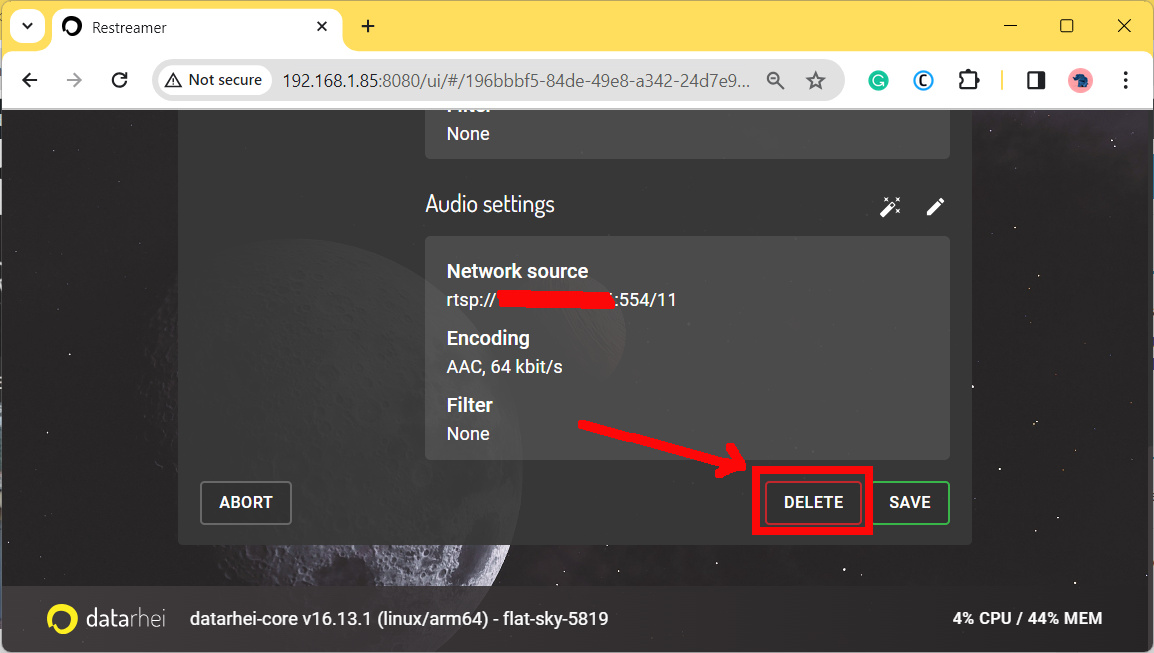
From this menu, you can change the settings previously configured or you can even delete the stream:
Set the Host Address
It is important to note that Restreamer can only get the IP address of its Docker container (an internal IP that you can’t reach from a remote PC by default). We need to change it before going to the live stream, in order to get Restreamer generating the correct URLs for our video.
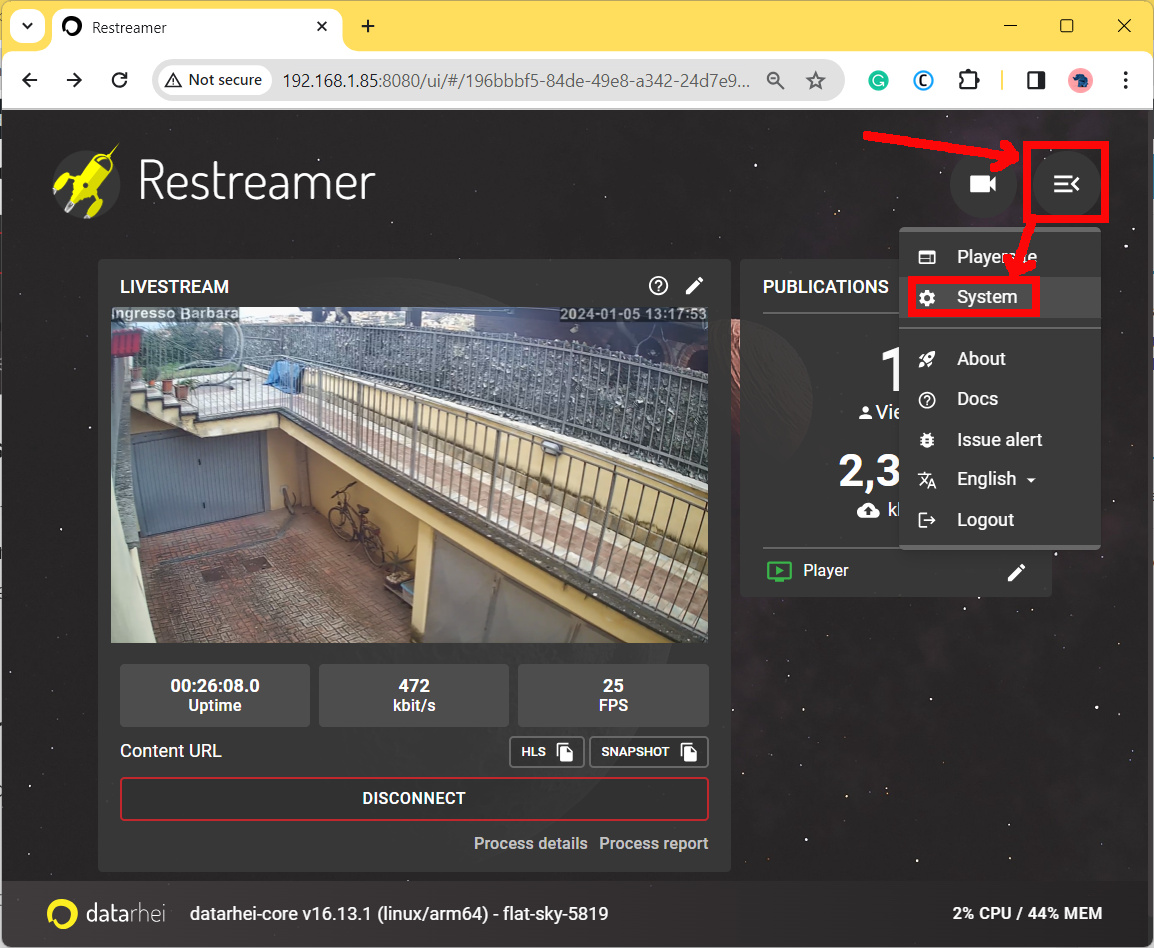
Please identify and use the System settings from the menu:
Here you can adjust your external IP address by using your Raspberry PI address from the Network tab:
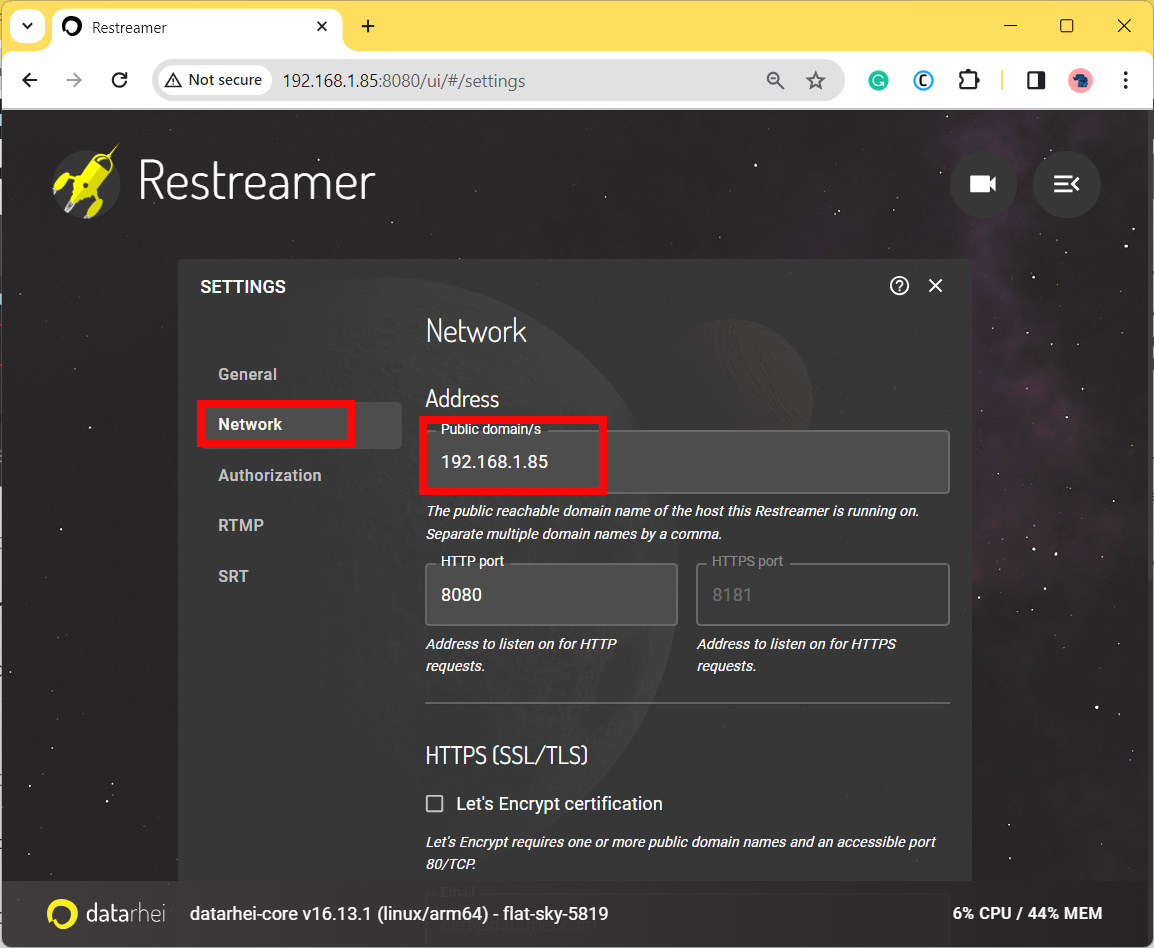
Save it. Restreamer will restart automatically. Then you can go back to the Restreamer home.
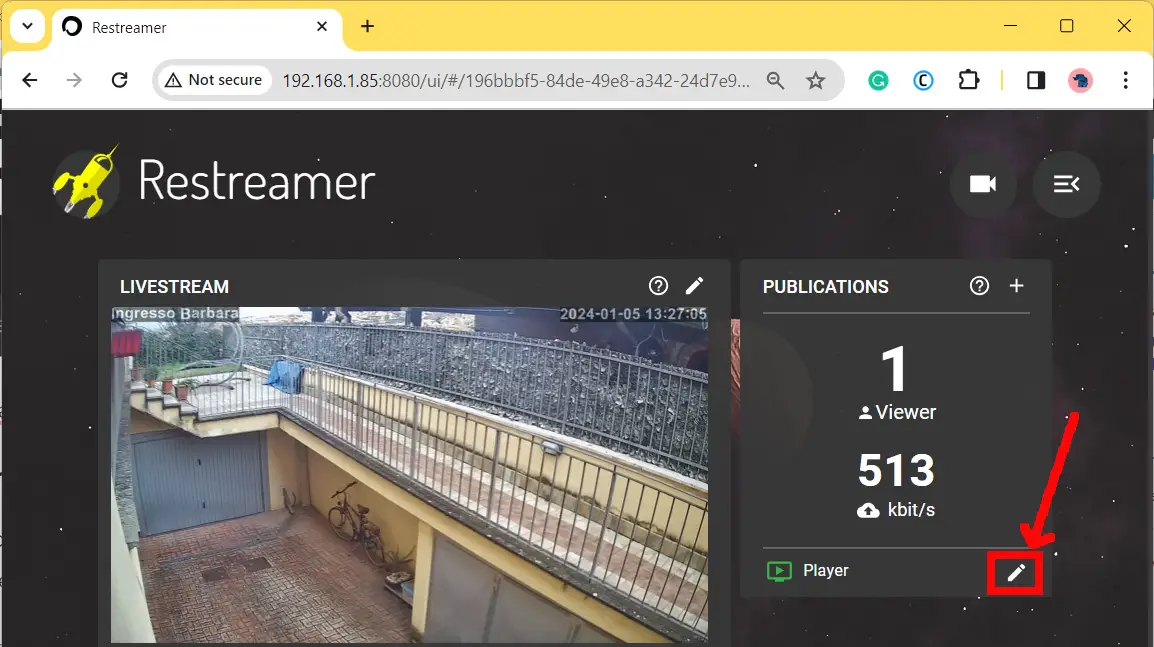
The Restreamer Integrated Player
Restreamer comes with an integrated player to show your camera video on a web page. The player settings can be adjusted with the pencil icon in the player widget:
With this button, you can change the setting for the stream, but you can also get the URL to reach your video from a browser or even the iframe code to integrate your video into a web page:
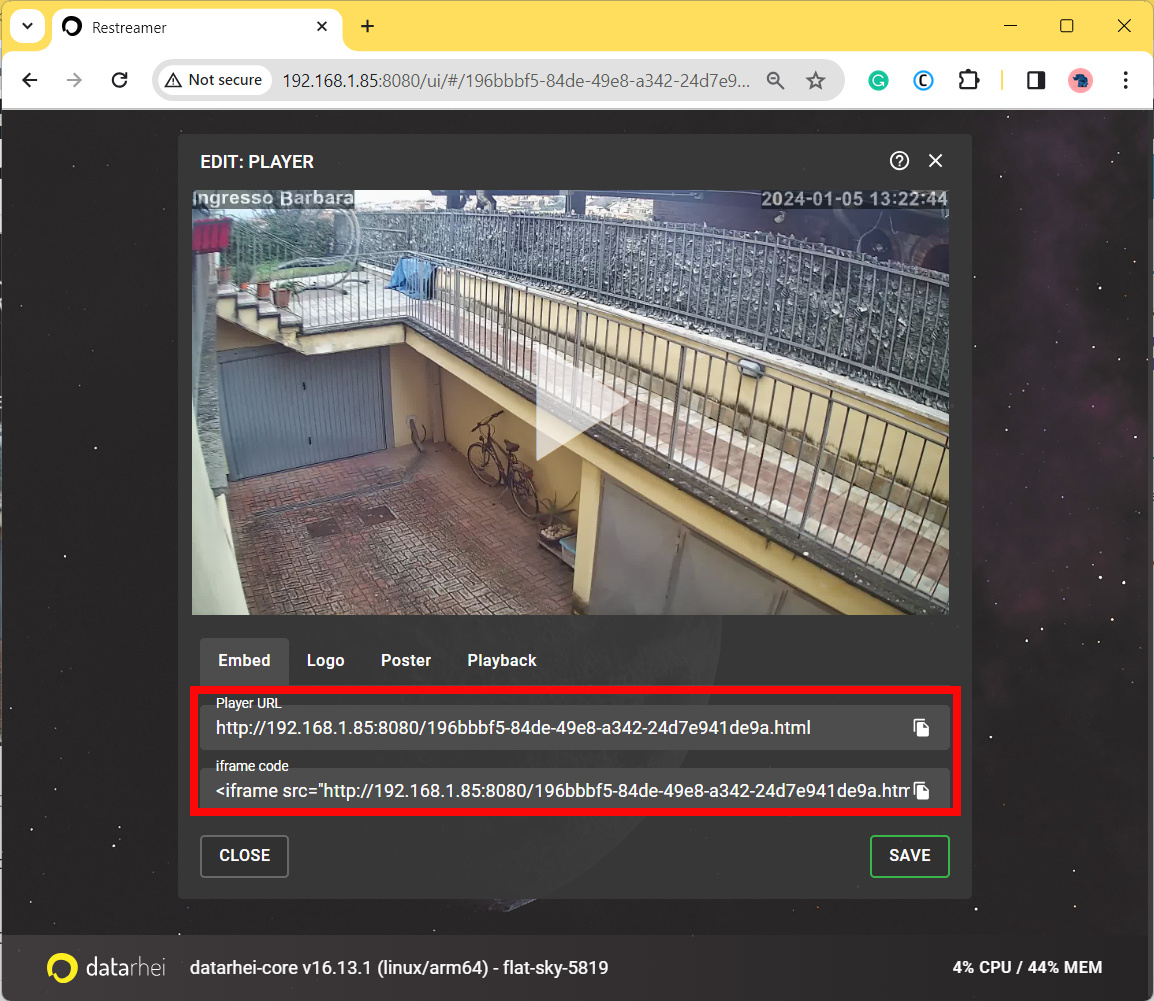
For example, if you copy the player URL you can use it in your browser to reach the picture without the need to enter the Restreamer admin interface:
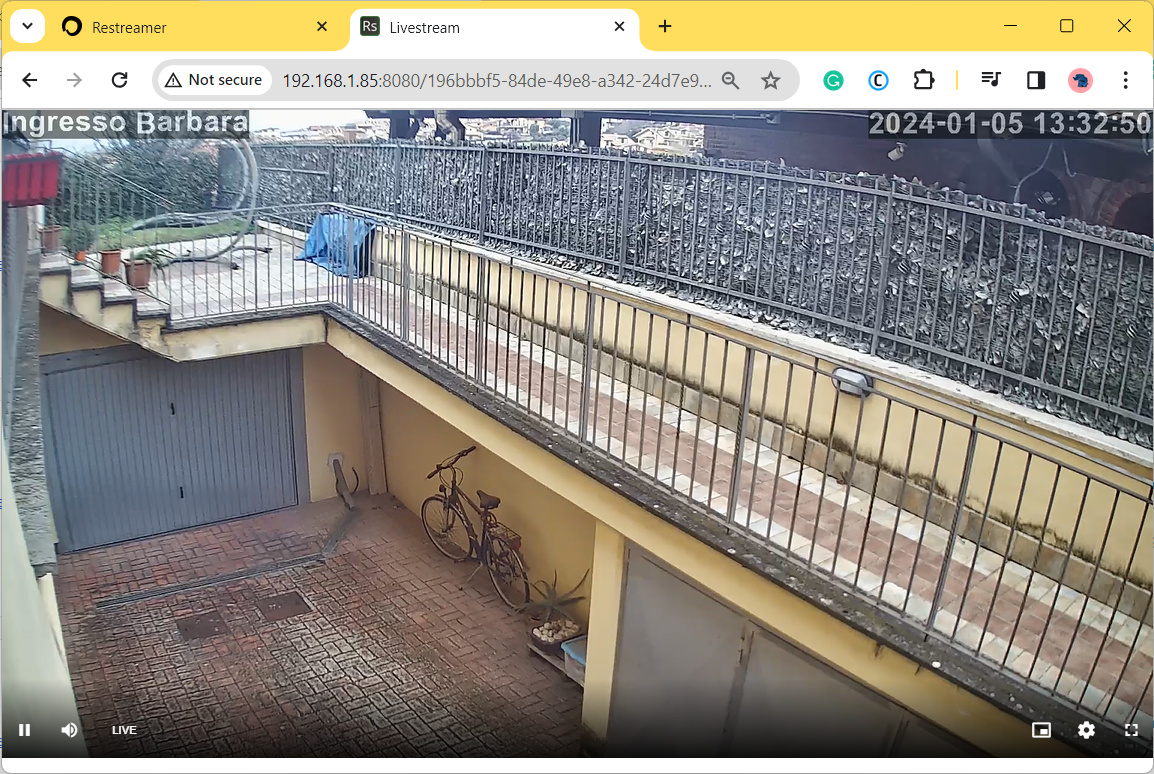
Of course, without having a public static IP and without configuring your router you will not be able to reach your streaming from outside your home. And I would suggest NOT to do it directly as you can see that there isn’t any password protection to your video unless it is intended as a public broadcast.
If you want to access it from the internet, you must configure your router as a VPN server and access it via your private VPN, or you can go to the following chapter.
Streaming to External Applications
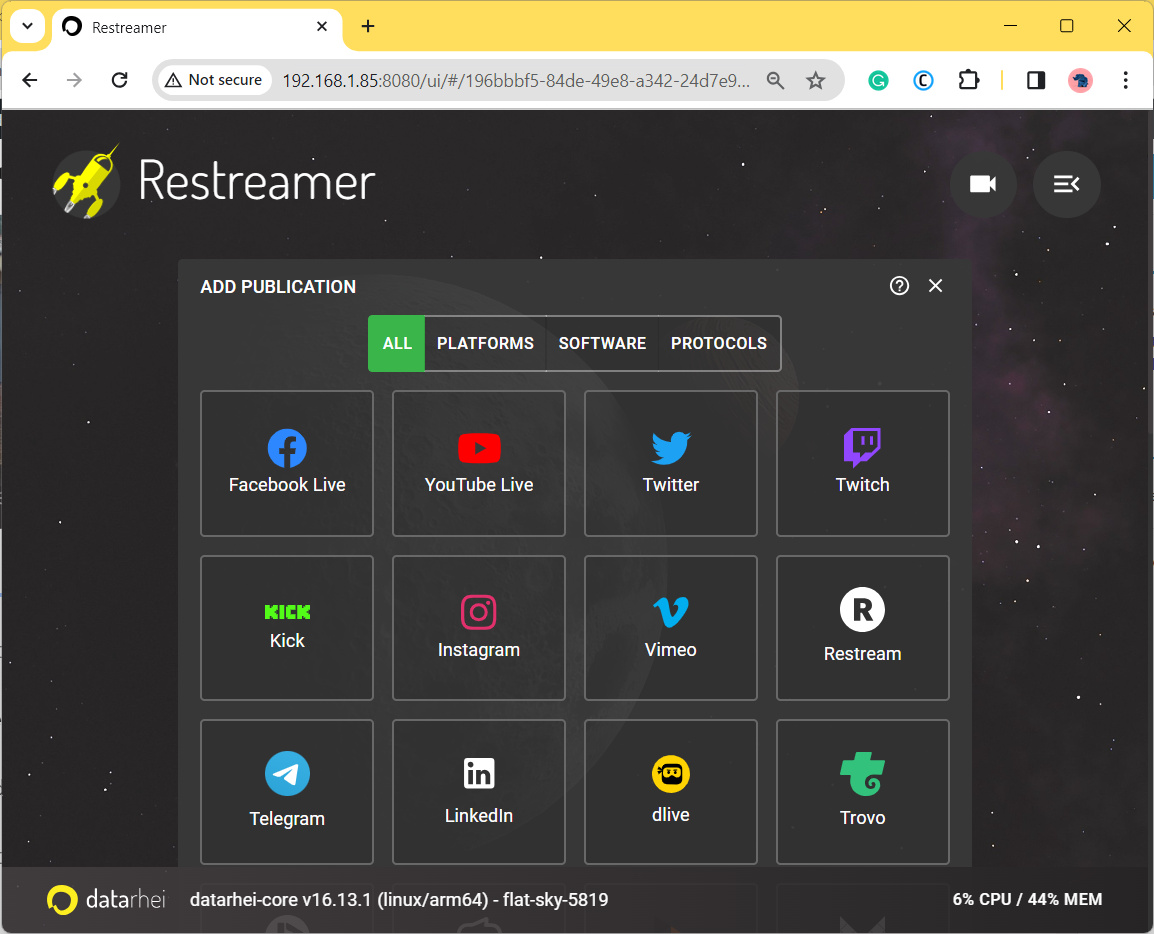
To publish your video stream with external services, you can use the “+” button in the player widget:
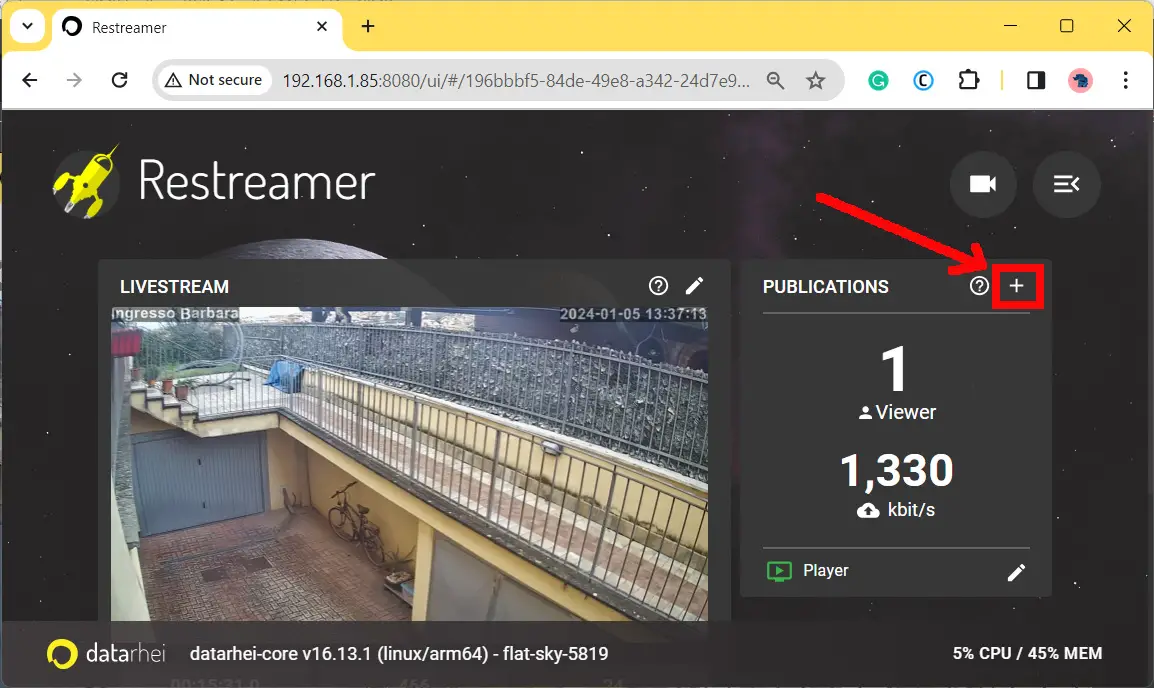
It enables you to use several service providers or software or protocols that you can use with easy for external streaming:
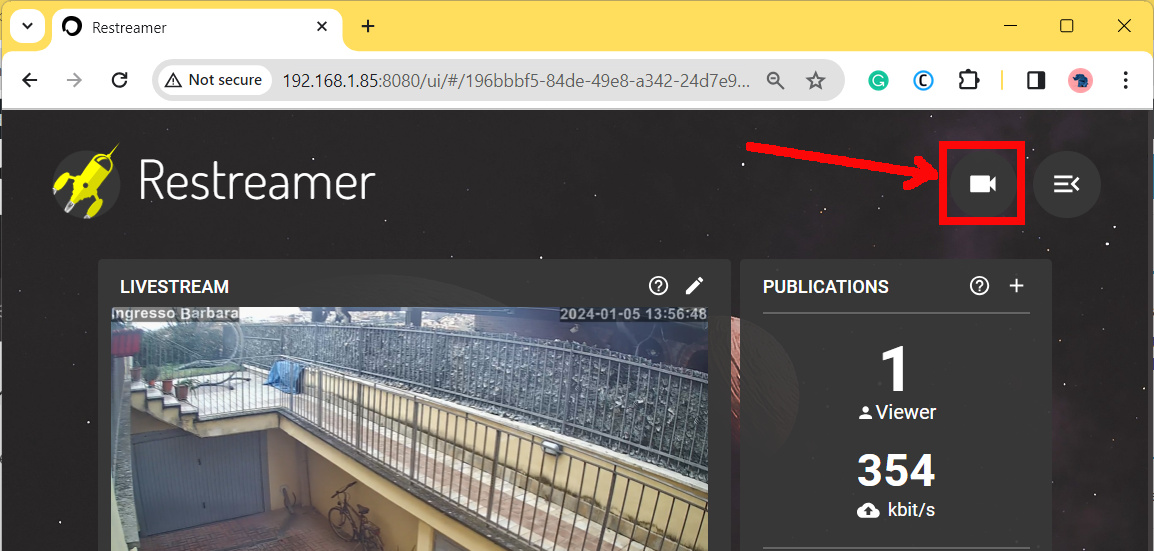
Adding More Cameras
At this point, we have seen all the options and features that Restreamer offers for our IP camera.
We may need to manage multiple cameras. In Restreamer for Raspberry PI we will manage the additional cameras as new channels. You can configure a new channel with the channel selector:
This opens the Channels area in the bottom part of the window, where you can select the camera stream to manage or you can add a new channel with the “+” button highlighted in the following picture:
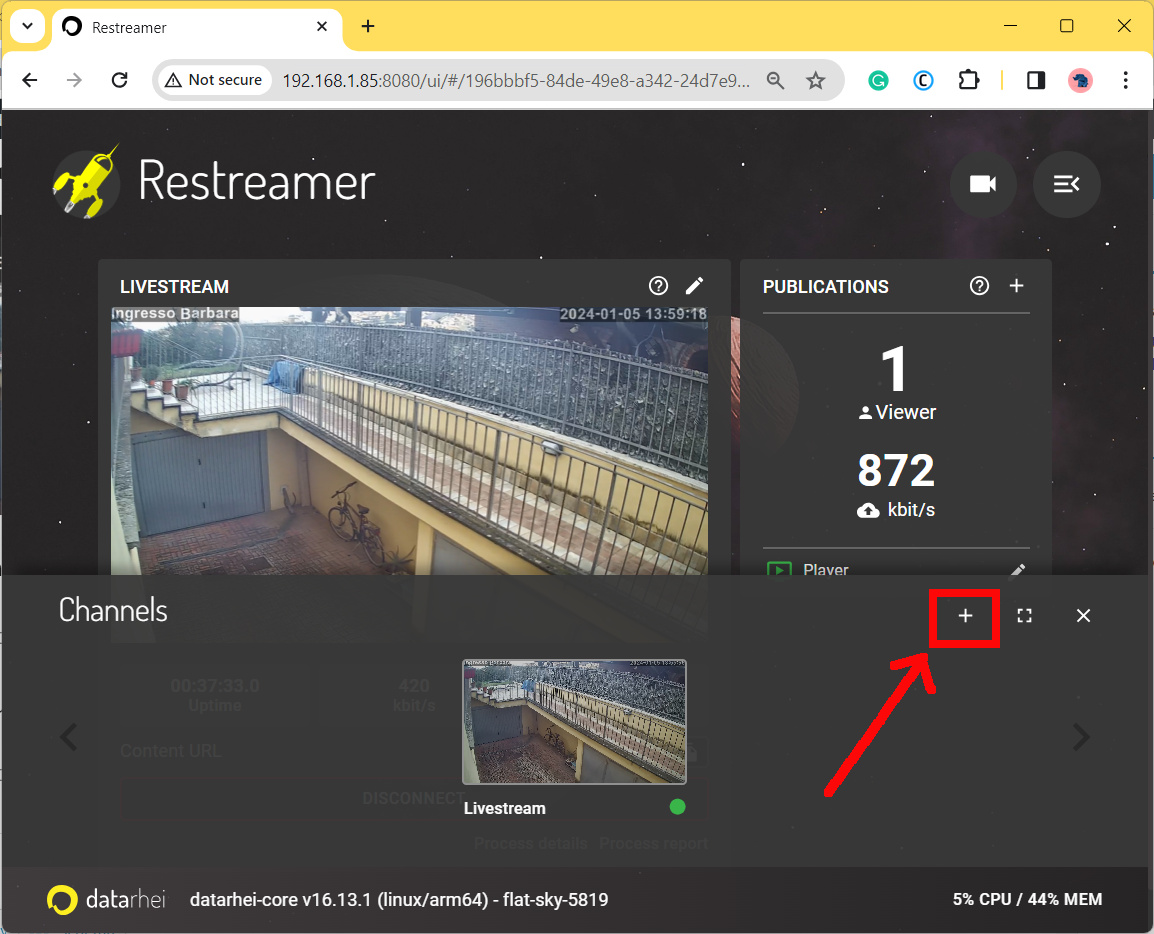
After clicking this button, you will be asked to give a name to the new channel:
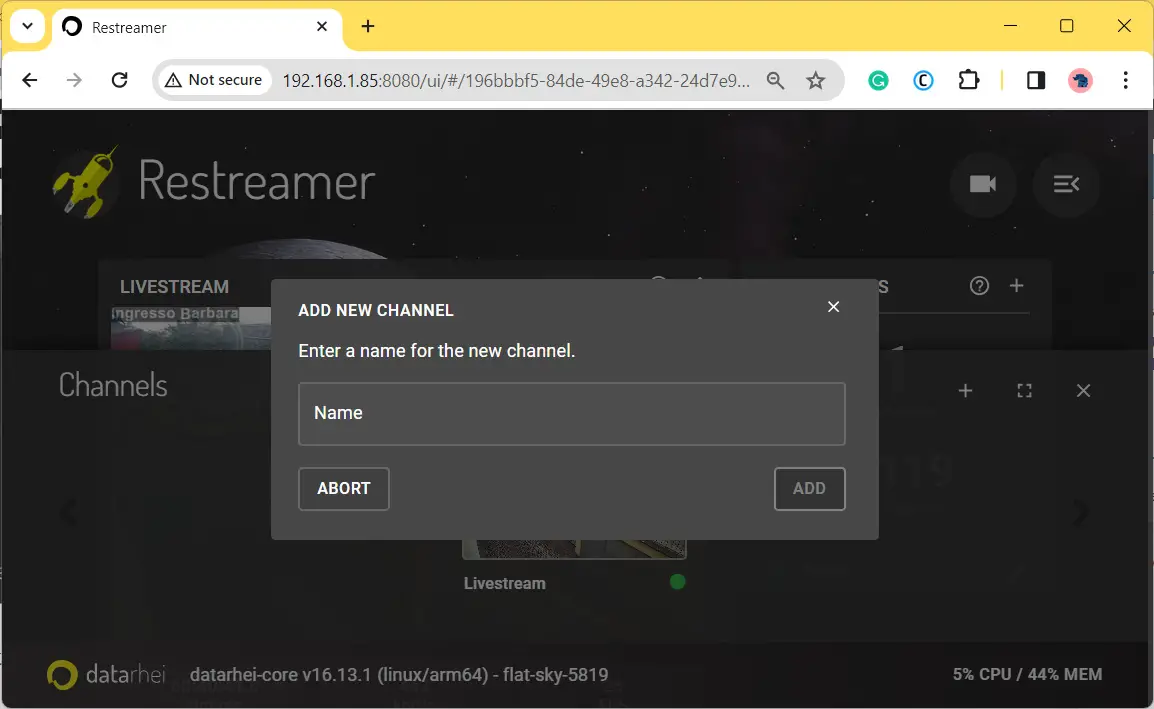
After giving a name and pressing the “ADD” button, the procedure will be the same as shown for the first camera.
On the other side, if you want to delete a Restreamer channel, you can do it by entering again to the LIVESTREAM settings (pencil icon) and using the DELETE button there.
Please note that Restreamer doesn’t offer a way to directly show multiple cameras on a single web page. For this task, you need to install a LAMP server in your Raspberry PI and use the iframe codes to build your HTML page with multiple camera streams.
Final Thoughts
Restreamer makes a huge usage of disk space, with continuous write and deletion of the stream’s temporary parts.
If you use a MicroSD, my suggestion is to mount a USB storage (you can do it with my Automount USB storage with Raspberry PI OS Lite tutorial), so that you can use the USB storage in your docker command (“-v” options) to change the folder for data and config, instead of using the “/opt/restreamer/” folder.
Finally, please note that Restreamer IS NOT a DVR and doesn’t have any motion detection or alarm system. For this job, you will have to use external services or different monitoring software like iSpy/AgentDVR or Zoneminder.
Restreamer Docs
Please find the official Restreamer Docs at https://docs.datarhei.com/restreamer/knowledge-base/manual.
What’s Next
Interested in more cool ways to use your Raspberry PI computer board? Take a look at peppe8o Raspberry PI computer tutorials!
Enjoy!

Open source and Raspberry PI lover, writes tutorials for beginners since 2019. He's an ICT expert, with a strong experience in supporting medium to big companies and public administrations to manage their ICT infrastructures. He's supporting the Italian public administration in digital transformation projects.
![]()
![]()
![]()
![]()
![]()
![]()
![]()


