Some links in this post may be affiliate links. We may get paid if you buy something or take an action after clicking one of these, but without addictional costs for you compared to direct buying.
How to install Raspberry PI Connect: Remote Desktop Management
This tutorial will show you how to install the Raspberry PI Connect service to control your RPI desktop remotely. This tutorial will show you how to perform this project with a headless setup, which means without the need to use a keyboard/mouse or a monitor plugged with your Raspberry PI computer board.
How Raspberry PI Connect Works
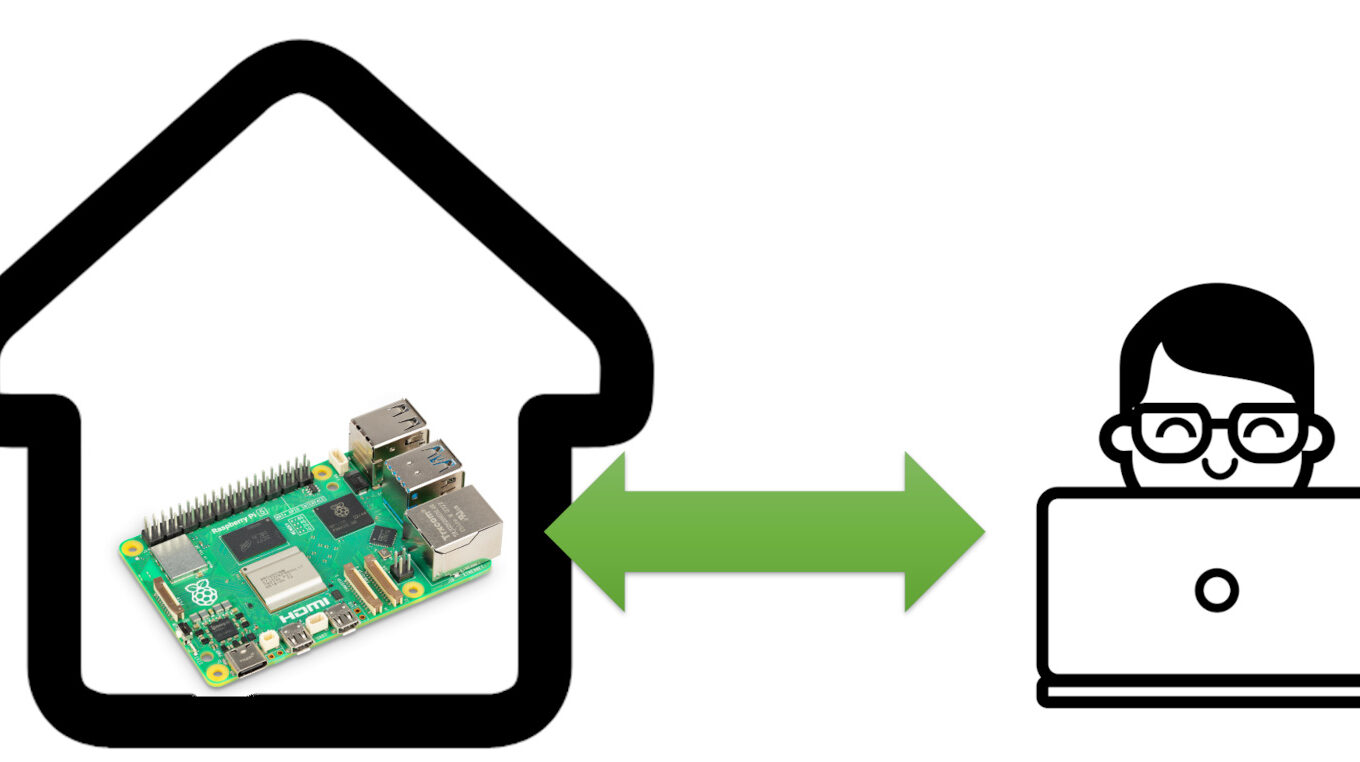
The Raspberry PI Connect service allows you to remotely reach your Raspberry PI desktop from any location in the world from the internet.
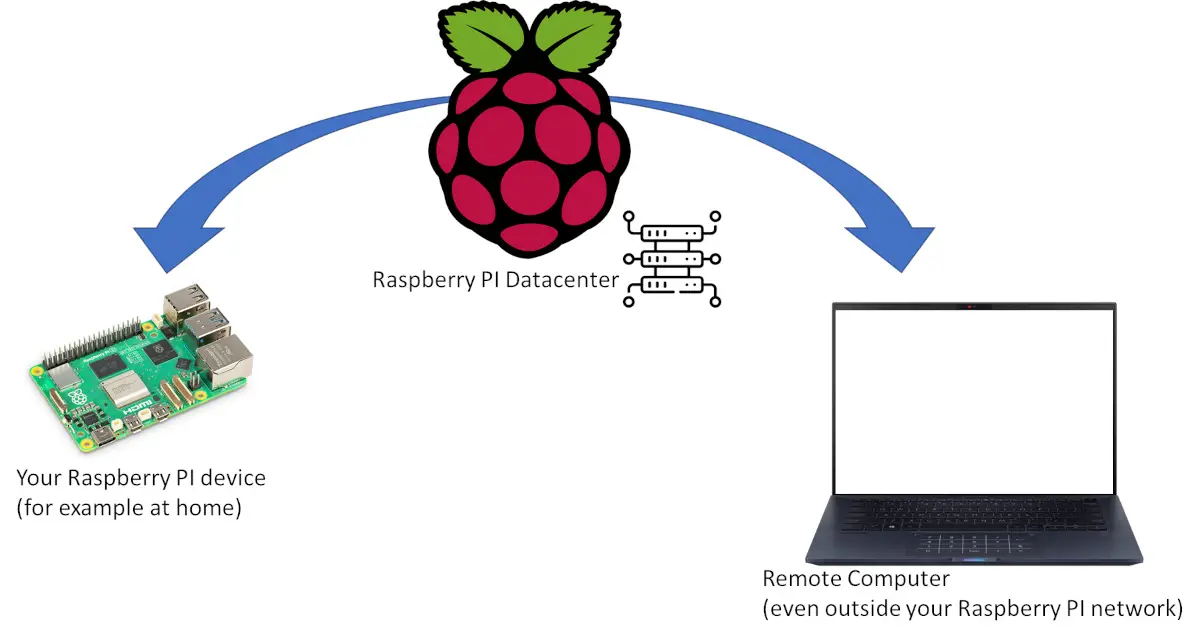
By default, the Raspberry PI Connect should communicate directly between the Raspberry Pi device and your browser. When this direct connection is not available it uses the Raspberry PI servers as remote relays to give you access to your device. The communication diagram can be summarized as in the following picture:
So, the important thing to know is that, in such cases, your data are flowing through an external datacenter, even if they are encrypted so that the intermediate datacenter (from the Raspberry PI company) should not be able to see your data (they assure that they manage only the metadata required for the connection).
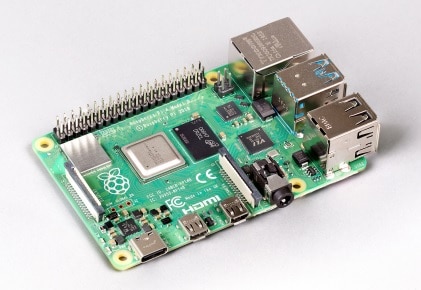
For this tutorial, I’m going to use a Raspberry PI 5 with a 64-bit OS, but it should work with any Raspberry PI computer board.
What We Need
As usual, I suggest adding from now to your favourite e-commerce shopping cart all the needed hardware, so that at the end you will be able to evaluate overall costs and decide if to continue with the project or remove them from the shopping cart. So, hardware will be only:
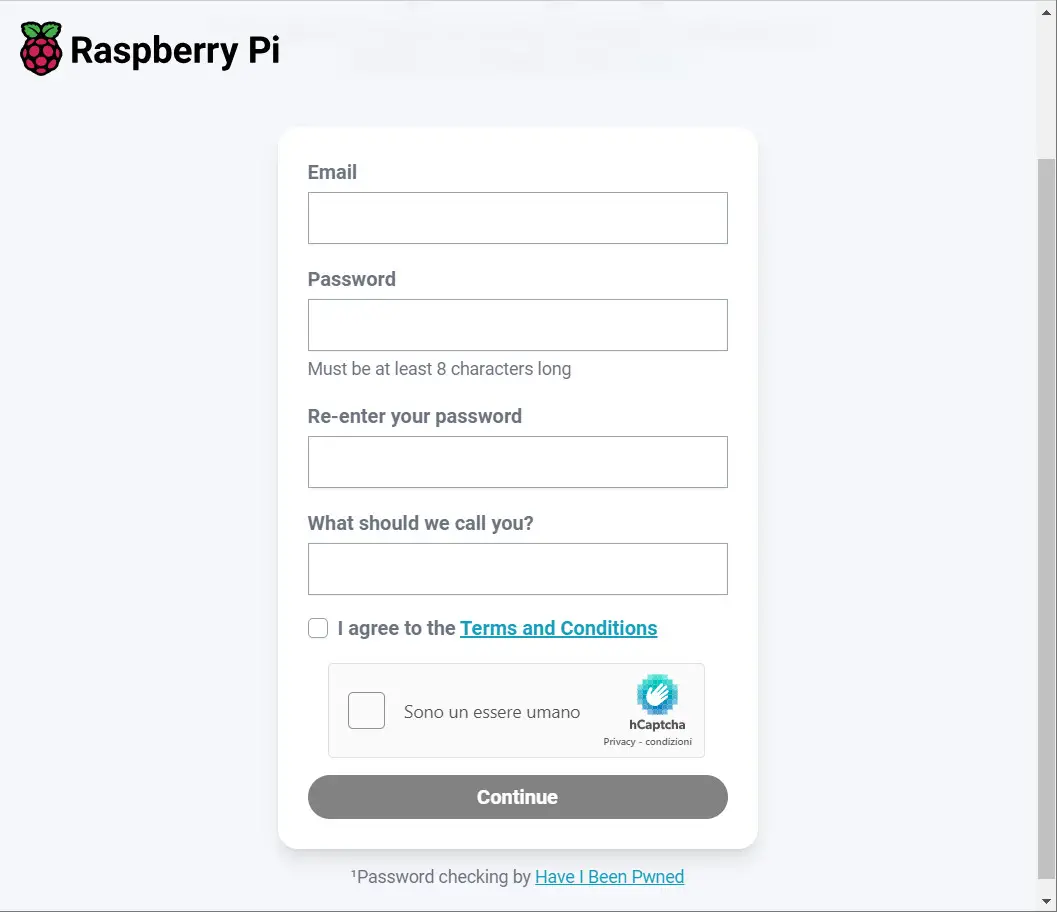
As the Raspberry PI Connect uses a remote desktop with an internet relay, we must register to the Raspberry PI ID service. You can register with your computer browser at the following link: https://id.raspberrypi.com.
Here you will find a registration form:
Please fill in the required info. Once you create the ID, you will receive an email for verification.
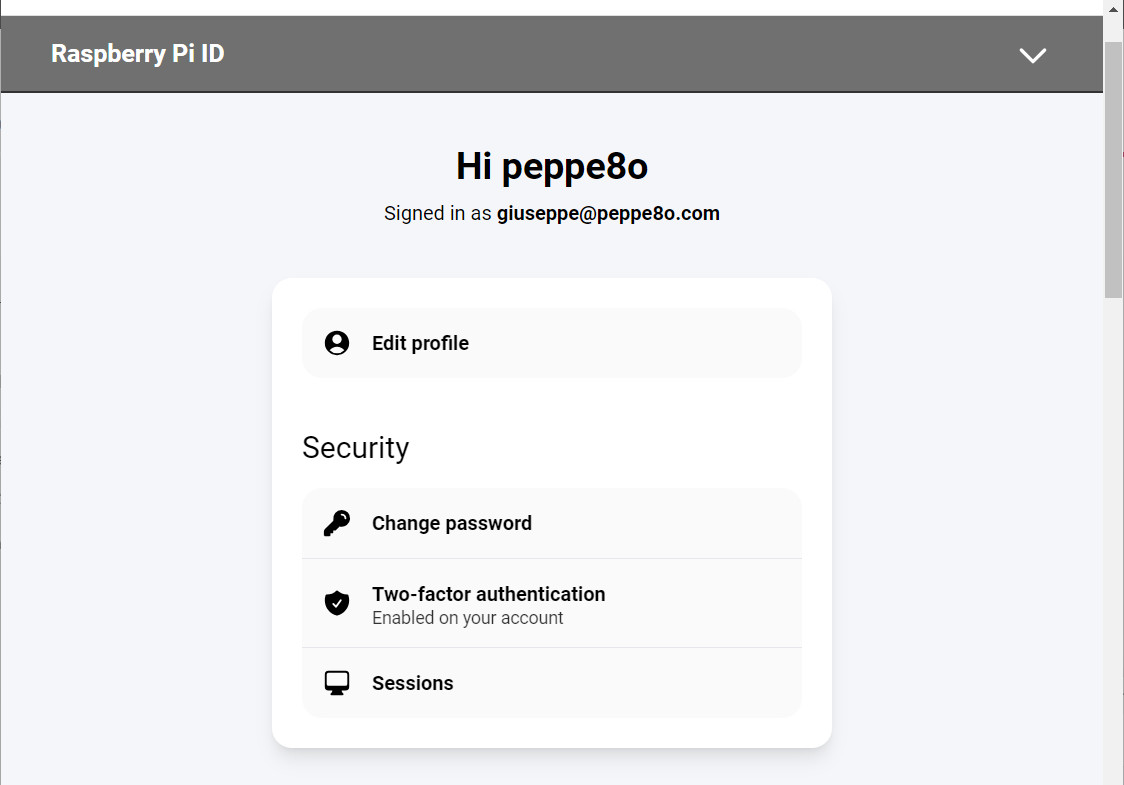
After this step, I strongly suggest also enabling the 2-factor authentication. This is simple and free if you use authenticator apps like Google Authenticator (available for Android and iOS).
Prepare the Raspberry PI Operating System
Please install Raspberry PI OS Desktop on your micro SD card. If you use the Raspberry PI Imager, you can set WiFi and SSH enabled in the software configuration so that you will not need to use a keyboard and a monitor (headless setup) to complete the Raspberry PI Connect configuration.
Insert your micro SD card into your Raspberry PI and power it on. If you use the headless setup, please connect via SSH to your Raspberry PI with your favourite SSH software (like Putty). If you will use a monitor and a keyboard, please open the terminal software.
Make your OS update with the following command:
sudo apt update -y && sudo apt upgrade -y
Install Raspberry PI Connect
The installation from the controlled Raspberry PI is straightforward. You will need only the following command:
sudo apt install rpi-connect -y
The installed service will start at every boot, so please reboot to be sure that it is working:
sudo reboot
You can check the service status with the following command (and result):
pi@raspberrypi:~ $ systemctl --user status rpi-connect
● rpi-connect.service - Raspberry Pi Connect
     Loaded: loaded (/usr/lib/systemd/user/rpi-connect.service; enabled; preset: enabled)
     Active: active (running) since Sat 2024-05-11 18:39:57 CEST; 1min 46s ago
    Process: 1240 ExecStartPre=/usr/bin/test -S /run/user/1000/wayland-0 -o -S /run/user/1000/wayland-1 (code=exited, >
   Main PID: 1242 (rpi-connectd)
      Tasks: 10 (limit: 9252)
        CPU: 46ms
     CGroup: /user.slice/user-1000.slice/[email protected]/app.slice/rpi-connect.service
             └─1242 /usr/bin/rpi-connectd -socket=/run/user/1000/rpi-connect-wayvnc.sock
Link Raspberry PI Device
Now, we must link the Raspberry PI computer board with the connect account. For this reason, we must create an activation link. You can do this from the same Raspberry PI terminal session with the following command:
rpi-connect signin
This command will generate the activation link and will wait for the device to be associated:
pi@raspberrypi:~ $ rpi-connect signin
Complete sign in by visiting https://connect.raspberrypi.com/verify/xxxx-xxxx

⣟ Waiting for a response…
Please leave the terminal open, as it will give us an additional confirmation at the device activation.
Please use YOUR complete link (“https://connect.raspberrypi.com/verify/xxxx-xxxx” from the above example) in a web browser. The web browser can be from a different computer, there’s no need to run this link in your Raspberry PI.
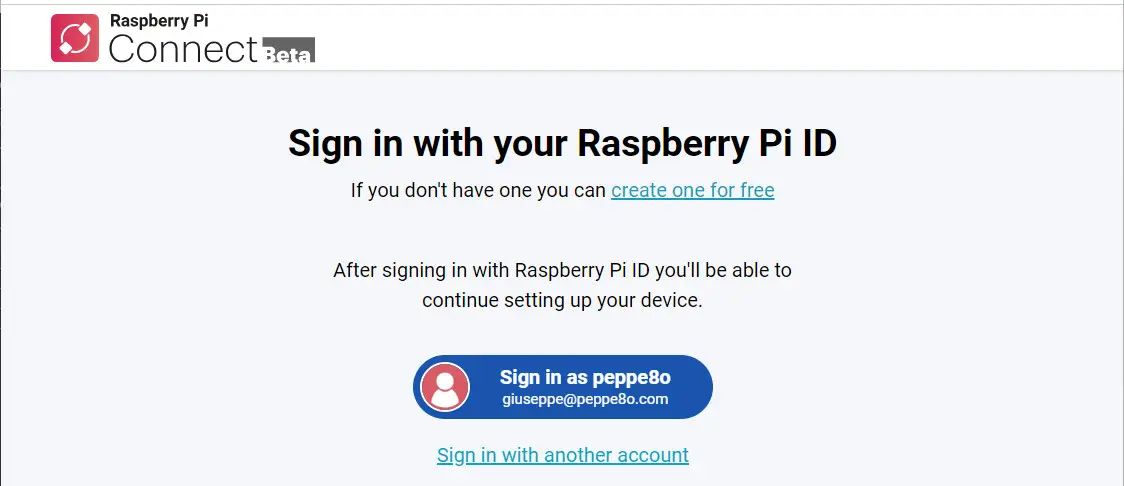
The link will redirect your browser to the Raspberry PI connect page, asking you for your authentication.
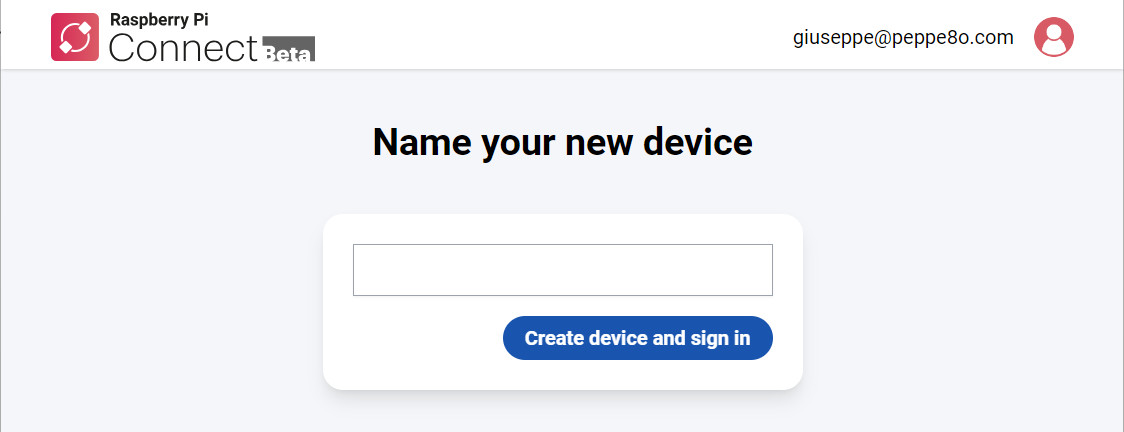
Please sign in with your Raspberry PI ID account. The following browser screen will ask you to give a name to the registered device:
Name it as you like, and then click the “Create device and sign in” button.
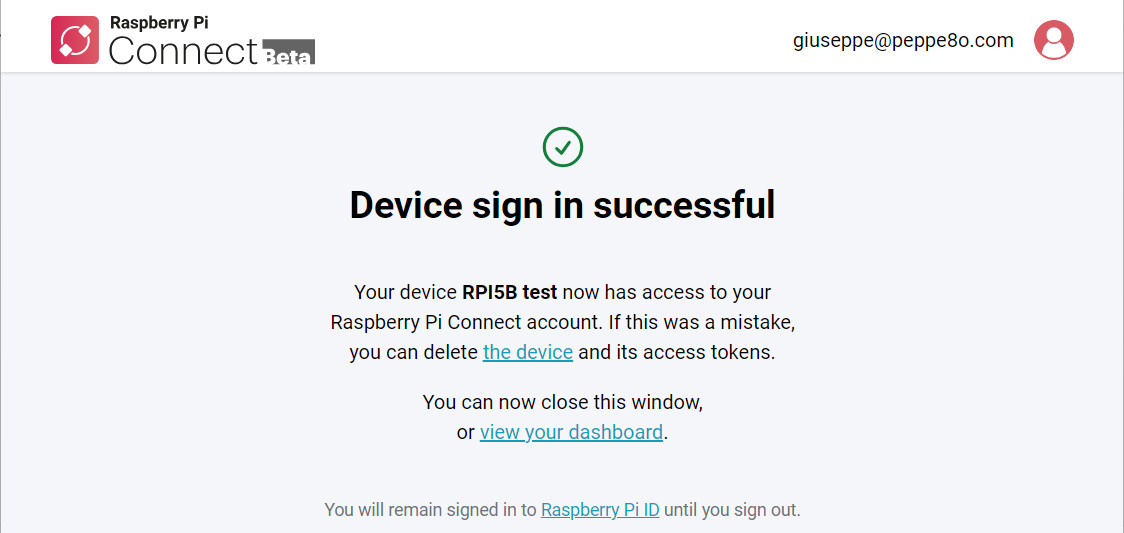
The following page will confirm that your device has been activated successfully:
At the same time, your terminal session to the Raspberry PI will change the message from “Waiting for a response…” to “Signed in”:
pi@raspberrypi:~ $ rpi-connect signin
Complete sign in by visiting https://connect.raspberrypi.com/verify/FE6K-VBRJ

✓ Signed in
Remote Desktop Connection
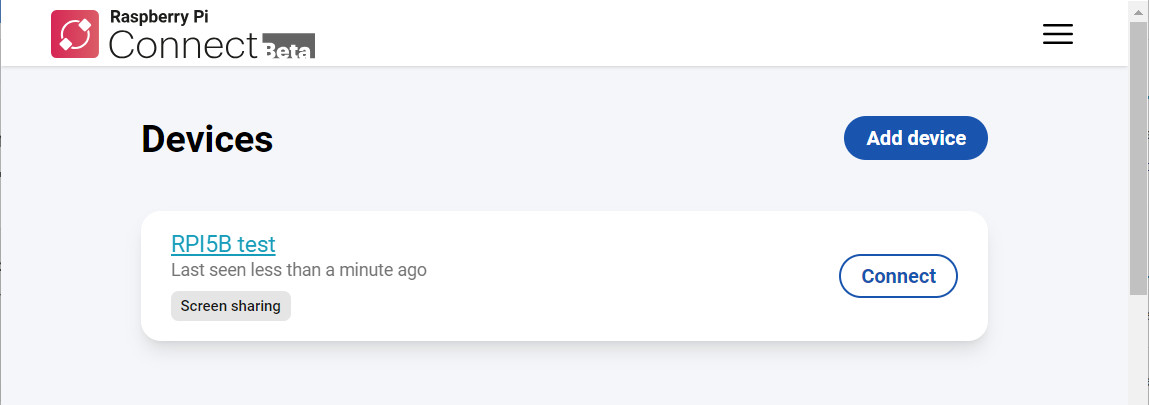
You’re now ready to use the Raspberry PI Connect remote desktop management. From your dashboard at https://connect.raspberrypi.com/ you will get a list of all the Raspberry PI devices you registered:
By clicking the “Connect” button in the device widget you will be able to reach your remote desktop:
The low voltage warning in my Raspberry PI is caused because I’m using a flying power supply for this test. This should not happen if you use a proper power supply.
The screen also shows you some useful buttons.
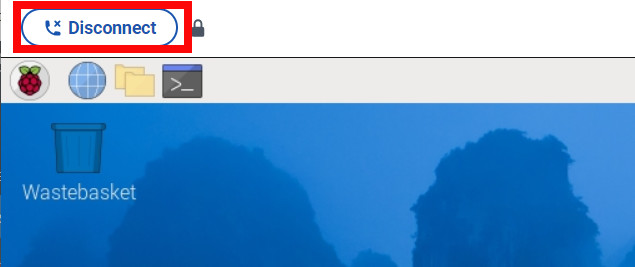
On top-left, the Disconnect button allows you securely disconnect from the remote session:
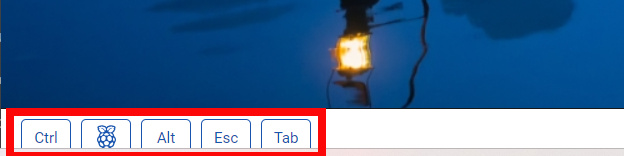
At the bottom-left, you will find the function buttons. These buttons are required as when working from a browser it will intend the button combinations as the browser combinations, so intercepting some keyboard shortcuts and avoiding them to reach your Raspberry PI.
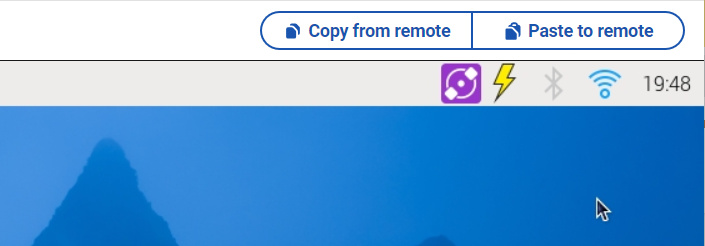
At the top-right side, the 2 buttons will allow you to share your memory clipboard with the Raspberry PI for copy/paste operations:
My First impressions
Before writing this tutorial, I tested the Raspberry PI Connect service for a few hours. The beta version I’ve tested is fast and programs run very well.
I experienced a few Raspberry PI only crashes when I opened a Chromium session and only with YouTube videos. Maybe with the future Connet versions these small problems will be fixed.
In the end, I felt this service useful and I think it is a great tool to manage my boards remotely.
What’s Next
Want to know more about cool projects to do with Raspberry PI computer boards? In this case, the right resource for you is my Raspberry PI tutorials pages.
Enjoy!
How useful was this post?
Click on a star to rate it anonymously!
Average rating 0 / 5. Vote count: 0
No votes so far! Be the first to rate this post.
We are sorry that this post was not useful for you!