
Last Updated on 4th November 2023 by peppe8o
This tutorial will show you how to install and setup GLPI on Raspberry PI to get an IT Management system allowing you to easily manage your assets with this open-source software.
What is GLPI
GLPI (Gestionnaire Libre de Parc Informatique) is a software distributed under the GNU General Public License, which means that you can install and edit it. Its development page can be found at https://github.com/glpi-project.
If you need advanced support, they offer a network of GLPI partners helping customers for specific fees.
Even if it isn’t certified for ITIL(R) compliance, the software can offer all the typical tools in order to make organizations compliant with the following ITIL(R) processes:
- Asset Management
- Change Management
- Financial Management
- Incident Management
- Knowledge Management
- Problem Management
- Release & Deployment Management
- Request Fulfillment
- Service Asset & Configuration Management
- Service Catalog Management
- Service Level Management
- Service Portfolio Management
The main features of GLPI include:
- CMDB: manage hardware, software and data centres, linking asset inventory to Helpdesk
- Helpdesk: manage incidents/requests, create forms, define SLAs
- Financial Management: track your expenses, contracts and suppliers, and make reports.
- Project Management: assign tasks, add collaborators, and set up deadlines. Create reports and explore Kanban boards
GLPI also allows you to install plugins, which increase the number of features for your system.
GLPI is written in PHP, which means that it can run in classic LAMP servers and allows easy procedures for backup and access management.
What We Need
As usual, I suggest adding from now to your favourite e-commerce shopping cart all the needed hardware, so that at the end you will be able to evaluate overall costs and decide if to continue with the project or remove them from the shopping cart. So, hardware will be only:
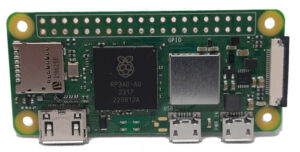
- Raspberry PI Zero 2 W (including proper power supply or using a smartphone micro USB charger with at least 3A) or newer Raspberry PI computer board
- high speed micro SD card (at least 16 GB, at least class 10)
For this tutorial, I’m going to use a Raspberry PI Zero 2 W, which has really limited computing capabilities and may be ok for low users environments or for testing purposes.
The same procedure will work also on newer and more powerful Raspberry PI computer boards.
Step-by-Step Procedure
Prepare the Raspberry PI Operating System
Please start installing the Raspberry PI OS. You can choose one of the 2 main OS versions:
- Raspberry PI OS Lite: This is a lightweight OS for Raspberry PI computer boards, without a Desktop environment (headless). Suggested for low-power Raspberry PI computers (like the RPI Zero 2 W), but also for newer computer models in order to get the full computing power working for your service.
- Raspberry PI OS Desktop: This is a less-performing OS (compared to the lite version), but it runs really well on many Raspberry PI computer boards. I suggest this only if you really need a desktop environment. In this case, you will work from its internal terminal.
You can check the difference between the 2 operating systems with my Raspberry PI OS Lite vs Desktop: comparison between the 2 distributions article.
After installing the OS, please make it up-to-date. From the Raspberry PI SSH session (or terminal):
sudo apt update -y && sudo apt upgrade -yInstall LAMP server in your Raspberry PI and the Required PHP Extensions
For this task, please refer to my LAMP server on Raspberry PI tutorial, which will explain the commands to get the goal. You can both proceed with or without phpmyadmin.
GLPI also requires a number of PHP extensions:
- dom: to install with php8.2-xml
- fileinfo: already installed by default
- filter: already installed by default
- libxml: already installed by default
- json: already installed by default
- simplexml: to install with php8.2-xml
- xmlreader: to install with php8.2-xml
- xmlwriter: to install with php8.2-xml
- curl: to install with php8.2-curl
- gd: to install with php8.2-gd
- intl: to install with php8.2-intl
- mysqli: already installed by default
- session: already installed by default
- zlib: already installed by default
Moreover, GLPI also suggest to install the following optional PHP extensions:
- bz2: to install with php8.2-bz2
- Phar: already installed by default
- zip: to install with php8.2-zip
- exif: already installed by default
- ldap: to install with php8.2-ldap
- openssl: already installed by default
- Zend OPcache: already installed by default
Even if not explicitly listed, GLPI will also require the mbstring extension, so I will add it with the php8.2-mbstring.
You can install all the required and optional PHP extensions with the following command:
sudo apt install php8.2-xml php8.2-curl php8.2-gd php8.2-intl php8.2-bz2 php8.2-zip php8.2-ldap php8.2-mbstring -yGet GLPI in Raspberry PI Storage
We need to get a copy of the installation package for GLPI.
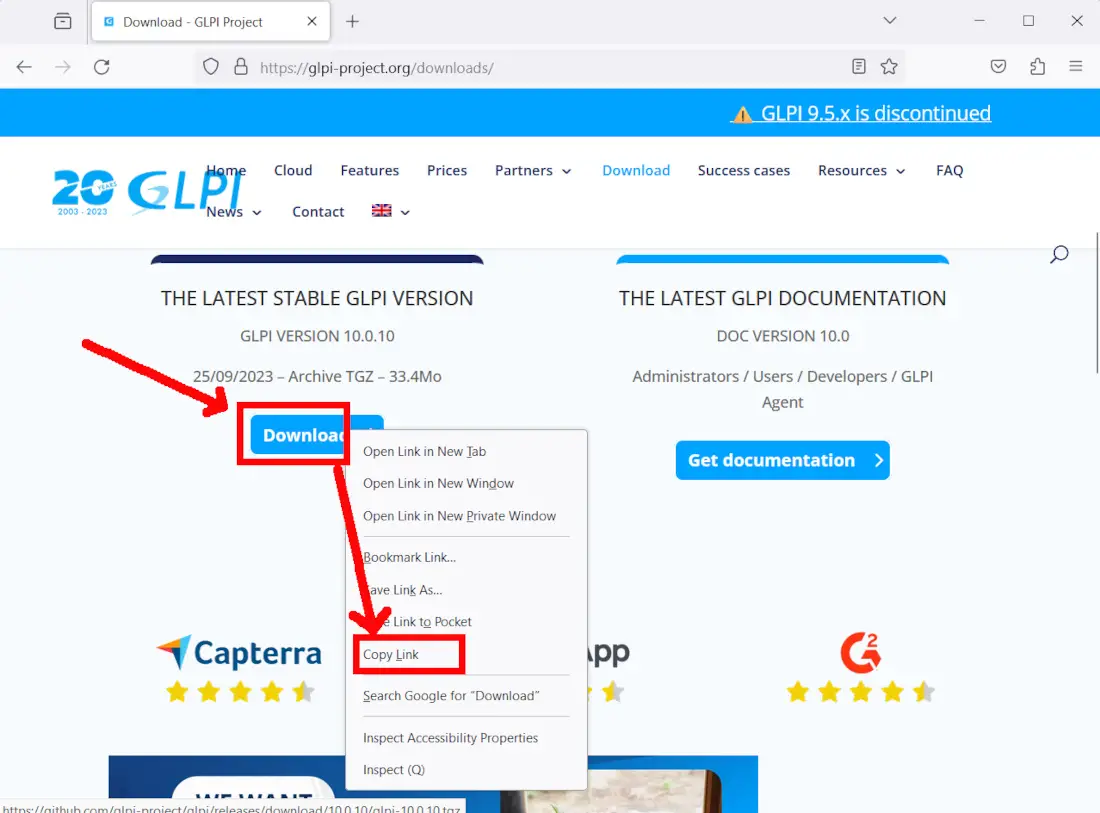
From your PC, go to the GLPI download page and right-click with your mouse on the “Download” button within the latest stable GLPI Version widget. This will enable your browser menu and will allow you to copy the URL for the latest installation package:
Back to the Raspberry PI terminal, use the wget command, followed by the URL just copied, to download the GLPI installation package directly into your Raspberry PI storage. At the date of this tutorial, it will be as the following line, but you could have a different version release, with the package name similar to “glpi-{version}.tgz”:
wget https://github.com/glpi-project/glpi/releases/download/10.0.10/glpi-10.0.10.tgzExtract the files (take care of using your downloaded file, as it can change the name based on the version you downloaded):
tar -xvf glpi-10.0.10.tgzNow, you could move all the glpi folder inside your “/var/www” Apache folder, but it is considered not so safe in terms of security. GLPI suggests to use, in a safer way, 4 folders:
- /etc/glpi: for the config files
- /var/lib/glpi: for the library files
- /var/log/glpi: for your logs
- /var/www/glpi: for your web files
We’ll honour this schema and we’ll properly create and configure access.
Set GLPI Folders and Permissions
First of all, let’s create the required folders and configuration files. If you are really new to editing text files from the terminal, you can take a look at my Working with Text Files from Raspberry PI Terminal: a Beginners Guide.
Please use the following terminal command in your Raspberry PI:
sudo mkdir /etc/glpi /var/lib/glpi /var/log/glpiThe log folder will remain empty, as GLPI will fill logs there with nothing to copy. On the other hand, we must move part of the downloaded installation files to the proper destination.
Here are the commands to move both visible and hidden files, then removing the empty source folders:
sudo mv glpi/config/* glpi/config/.* /etc/glpi/
sudo mv glpi/files/* glpi/files/.* /var/lib/glpi
rmdir glpi/config/
rmdir glpi/files/
The remaining files can be copied into the /var/www folder:
sudo mv glpi /var/www/Create a new downstream.php file:
sudo nano /var/www/glpi/inc/downstream.phpFill it with the following content (where “/etc/glpi” is our configuration folder):
<?php
define('GLPI_CONFIG_DIR', '/etc/glpi/');

if (file_exists(GLPI_CONFIG_DIR . '/local_define.php')) {
   require_once GLPI_CONFIG_DIR . '/local_define.php';
}
Save and close.
Create a new local-define.php file as follows:
sudo nano /etc/glpi/local_define.phpFill it as follows (where the lib and logs folders have been created according to this procedure):
<?php
define('GLPI_VAR_DIR', '/var/lib/glpi');
define('GLPI_LOG_DIR', '/var/log/glpi');
Save and close.
Finally, let’s set the proper permissions in order to make Apache able to read the created folders:
sudo chown -R www-data:www-data /etc/glpi/
sudo chown -R www-data:www-data /var/lib/glpi/
sudo chown -R www-data:www-data /var/log/glpi/
sudo chown -R www-data:www-data /var/www/glpi/
Set GLPI Database Permissions
We must also set the proper permissions for GLPI to access the database. We can also do it from the wizard, but we can create it from the MariaDB, giving proper access privileges. I will perform this task by setting “GLPIdb” as database name, and “GLPIuser” and “GLPIpwd” as credentials for my GLPI installation (please choose your favourite ones instead).
Log into MariaDB shell as root:
sudo mariadb -u rootCreate a new database:
create database GLPIdb;grant all database privileges to the user in the next step:
grant all privileges on GLPIdb.* to GLPIuser@localhost identified by 'GLPIpwd';Flush the privileges table for the changes to take effect and then exit:
flush privileges;
exit;
Configure Apache
We must also configure Apache in order to make it aware of where to route the web requests. For a very simple configuration, you can edit the default site:
sudo nano /etc/apache2/sites-available/000-default.confAnd make it as follows:
<VirtualHost *:80>
    ServerName glpi.localhost

    DocumentRoot /var/www/glpi/public
    <Directory /var/www/glpi/public>
        Require all granted
        RewriteEngine On

        # Redirect all requests to GLPI router, unless file exists.
        RewriteCond %{REQUEST_FILENAME} !-f
        RewriteRule ^(.*)$ index.php [QSA,L]
    </Directory>
</VirtualHost>
Save and close the file.
Finally, enable the mod_rewrite and restart the Apache service:
sudo a2enmod rewrite
sudo systemctl restart apache2
Install GLPI on Raspberry PI with the Wizard
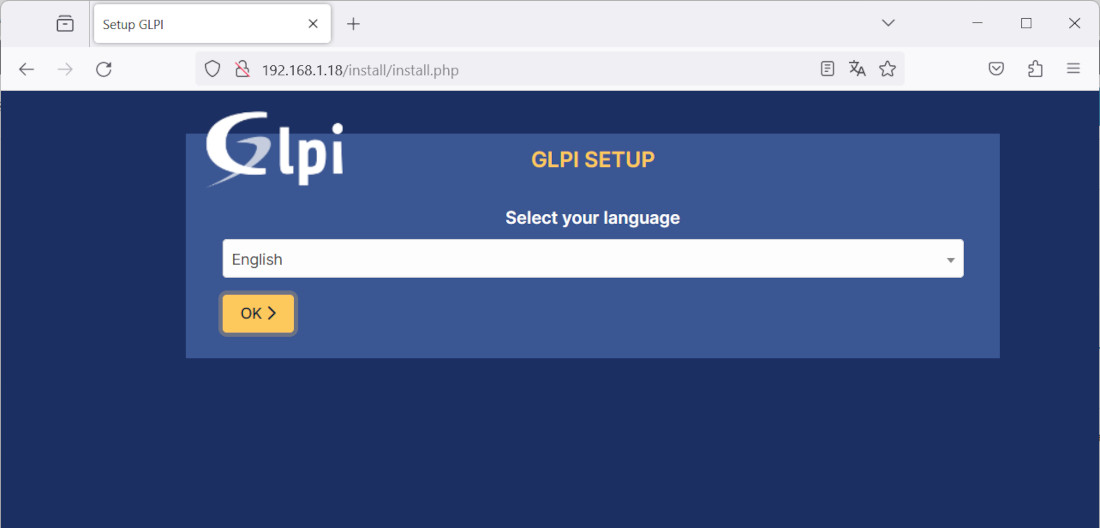
We’re now ready to run the GLPI installation wizard. From your remote PC, please use your favourite browser to reach the Raspberry PI’s IP Address. In my case, as my RPI’s address is “192.168.1.18”, my URL will be “http://192.168.1.18”. This will show you the Language selection page for your GLPI:
Select your favourite language and click “OK“.
It will take you to the license page:
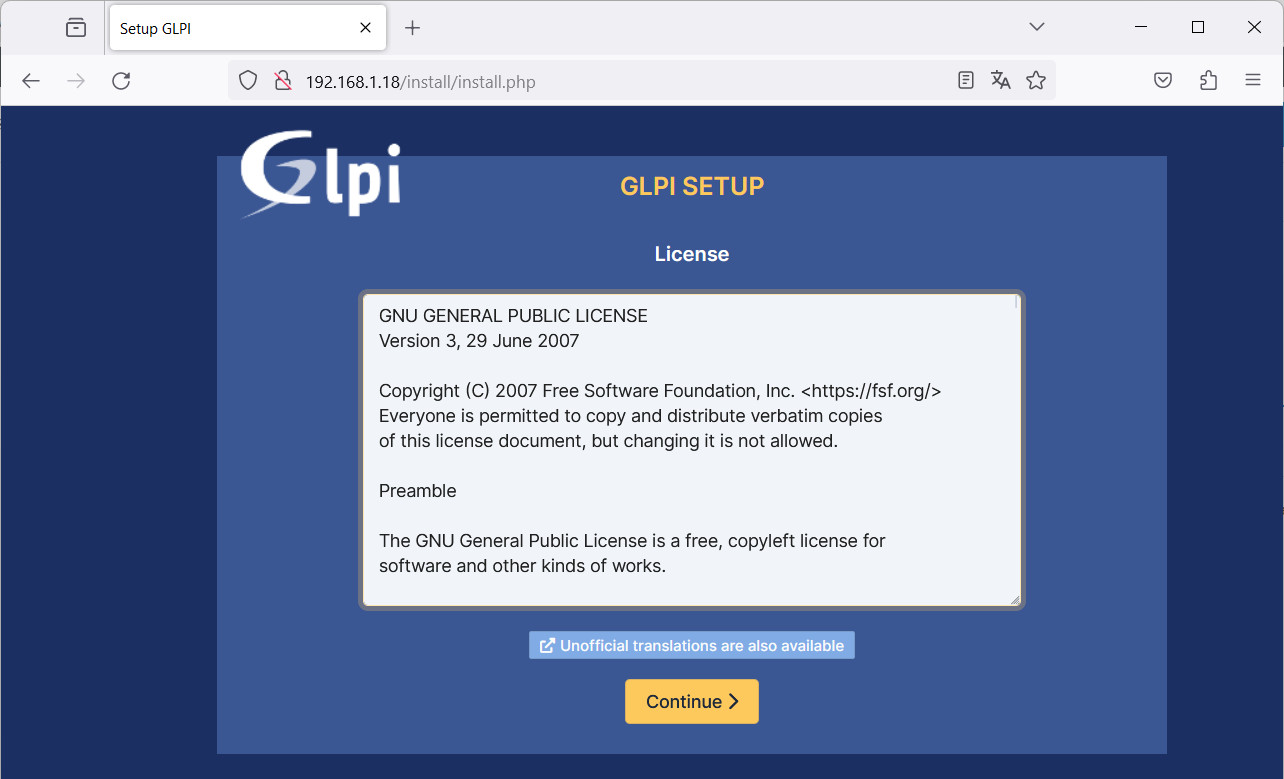
Please click “Continue” if you accept the license.
The following screen will ask you if you’re performing an installation or an upgrade:
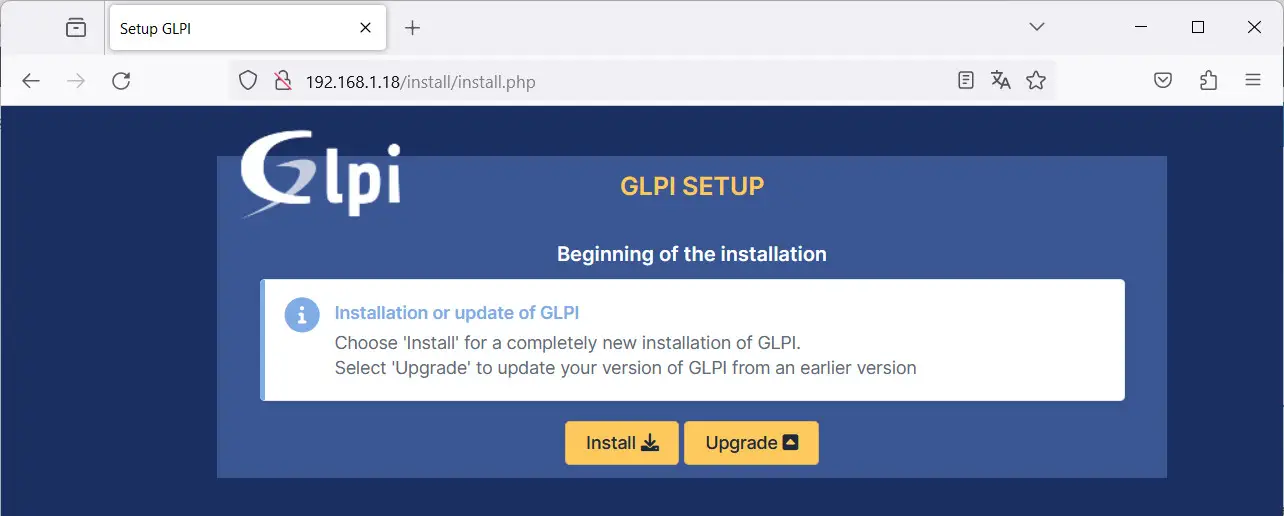
Please click “Install“.
The following screen will check if all the requirements are satisfied. There shouldn’t be any requirement missed (in red), while warnings (in yellow) can be skipped:
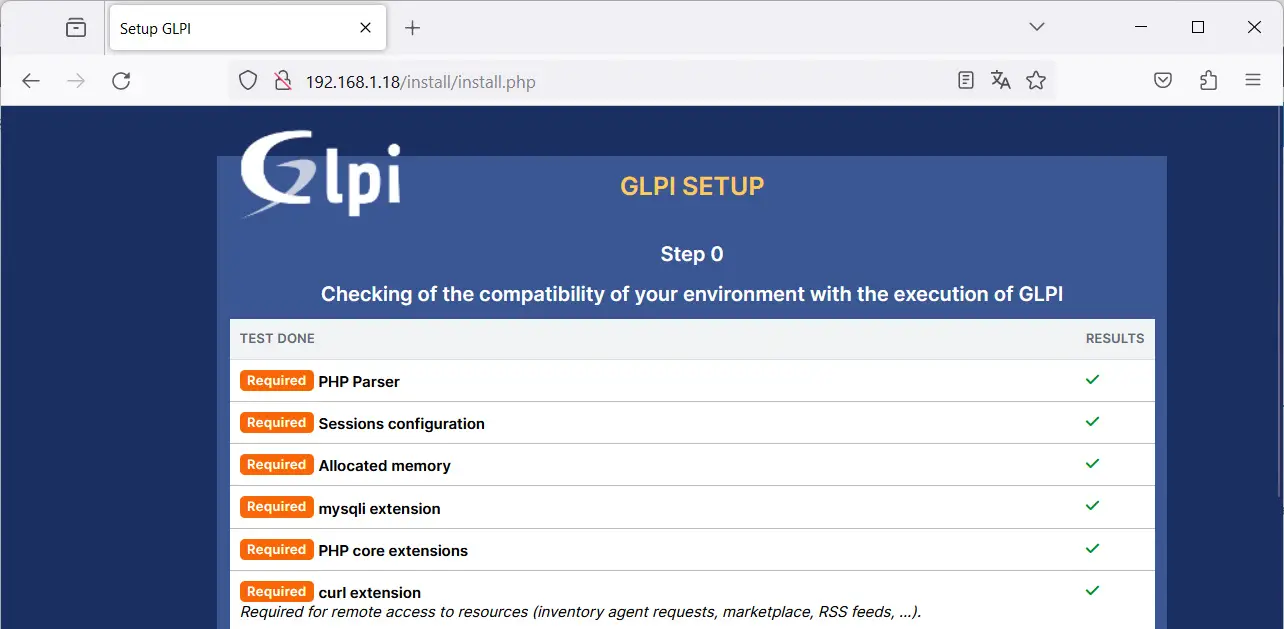
Scroll down the page and click “Continue“.
The following page will ask you for your database connection. Please fill the required fields with the database location (localhost for this tutorial, as it is local), database username and password (GLPIuser and GLPIpwd, or your ones, as set in the previous chapters):
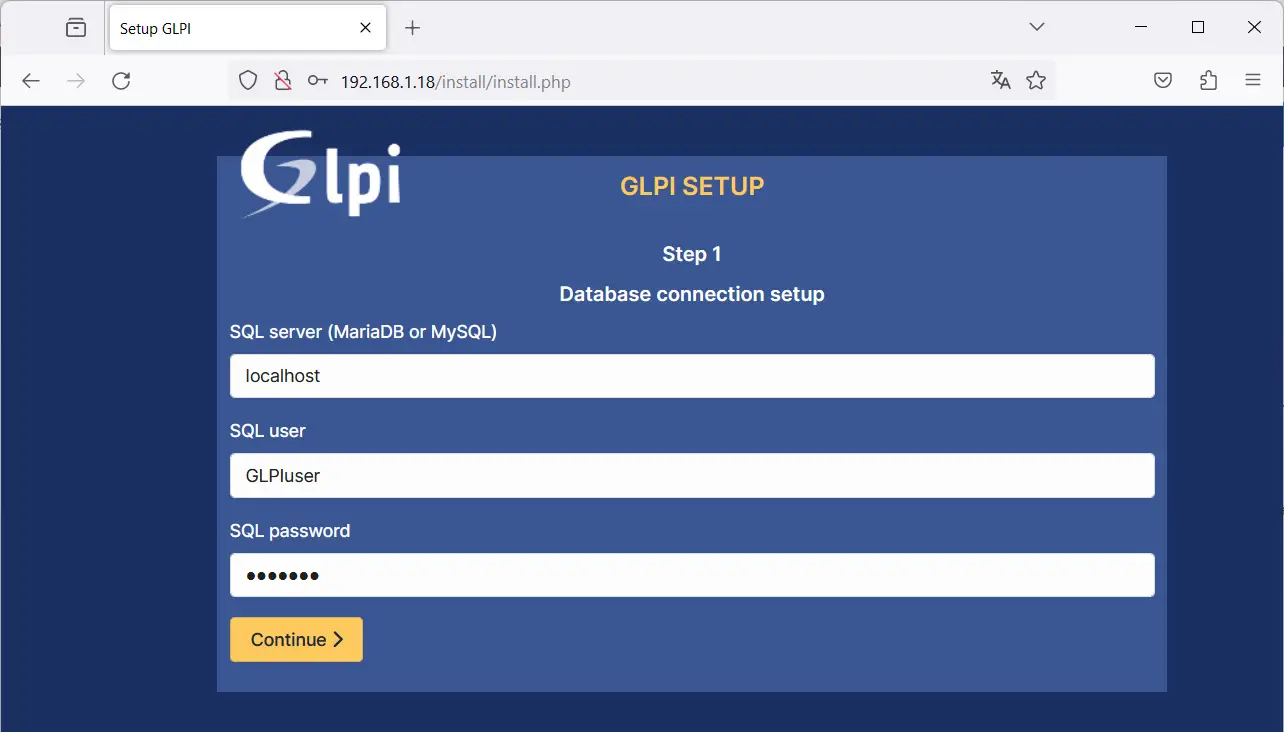
Then, please click “Continue“.
We’ll be able now to choose if we want to create a new database or if we to use an available one. As we already created a database for GLPI, we can select our one. Please note that GLPI warns that the “Selected database contents will be destroyed on installation”. It’s ok for us because we have an empty database, but you should be aware of this in case you are trying to re-install GLPI.
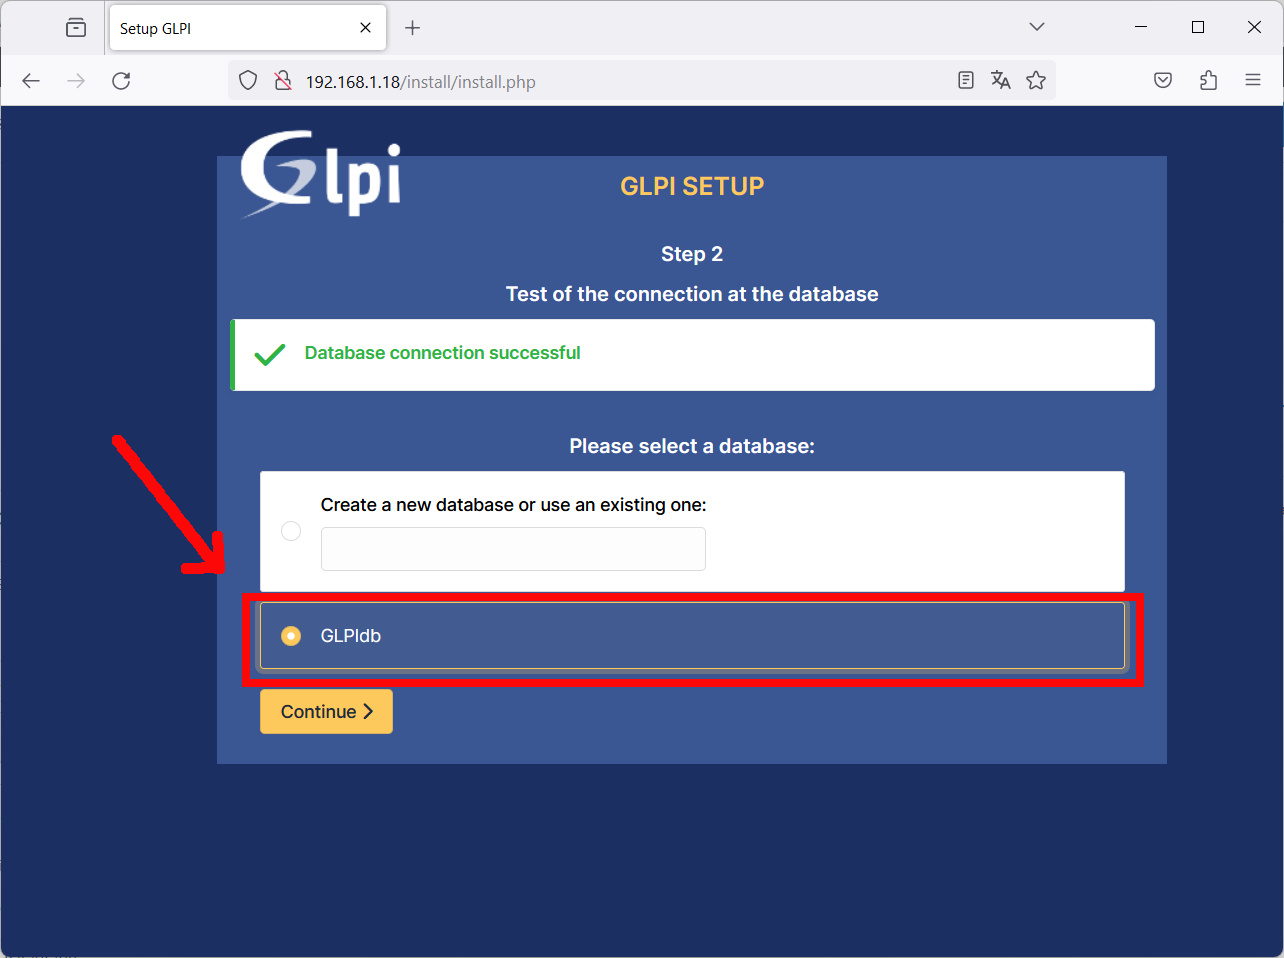
Then, click “Continue“.
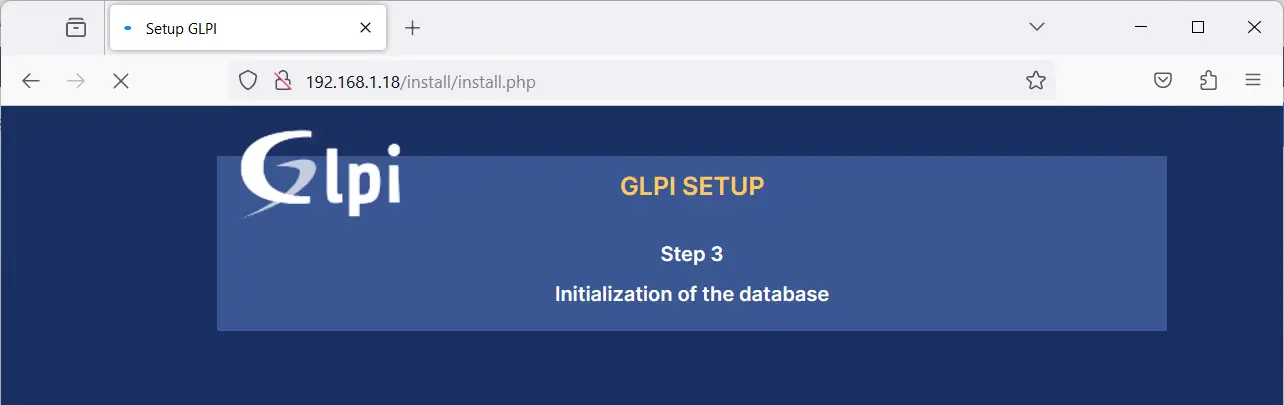
GLPI will start initializing the database. This task could take no more than a few minutes:
Wait for the page to confirm the end of this process:
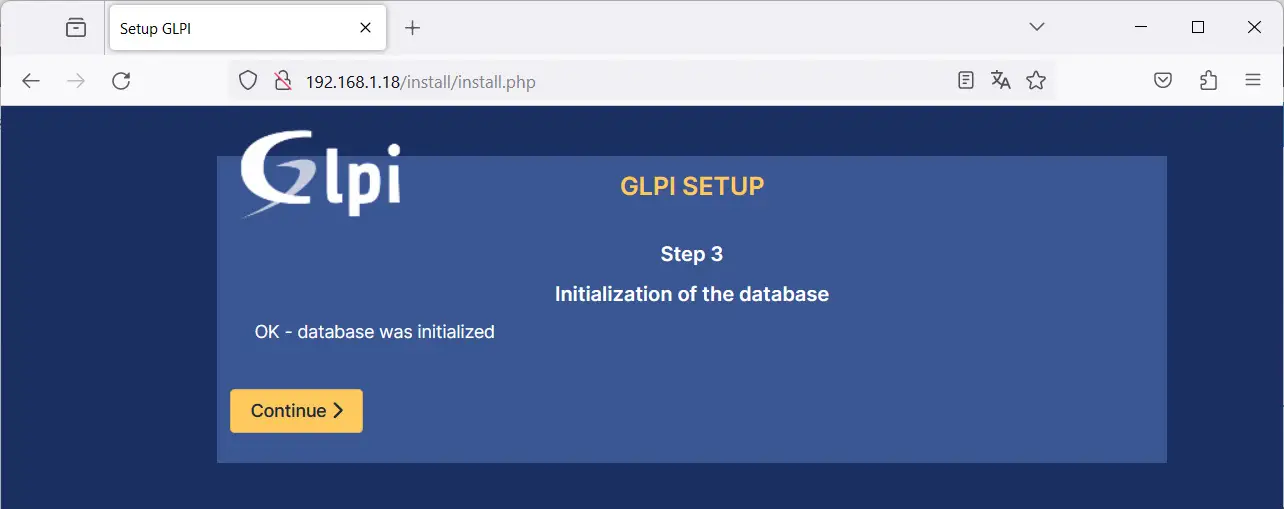
Please click “Continue“.
The following screen will ask you if you want to send usage stats to the GLPI team:
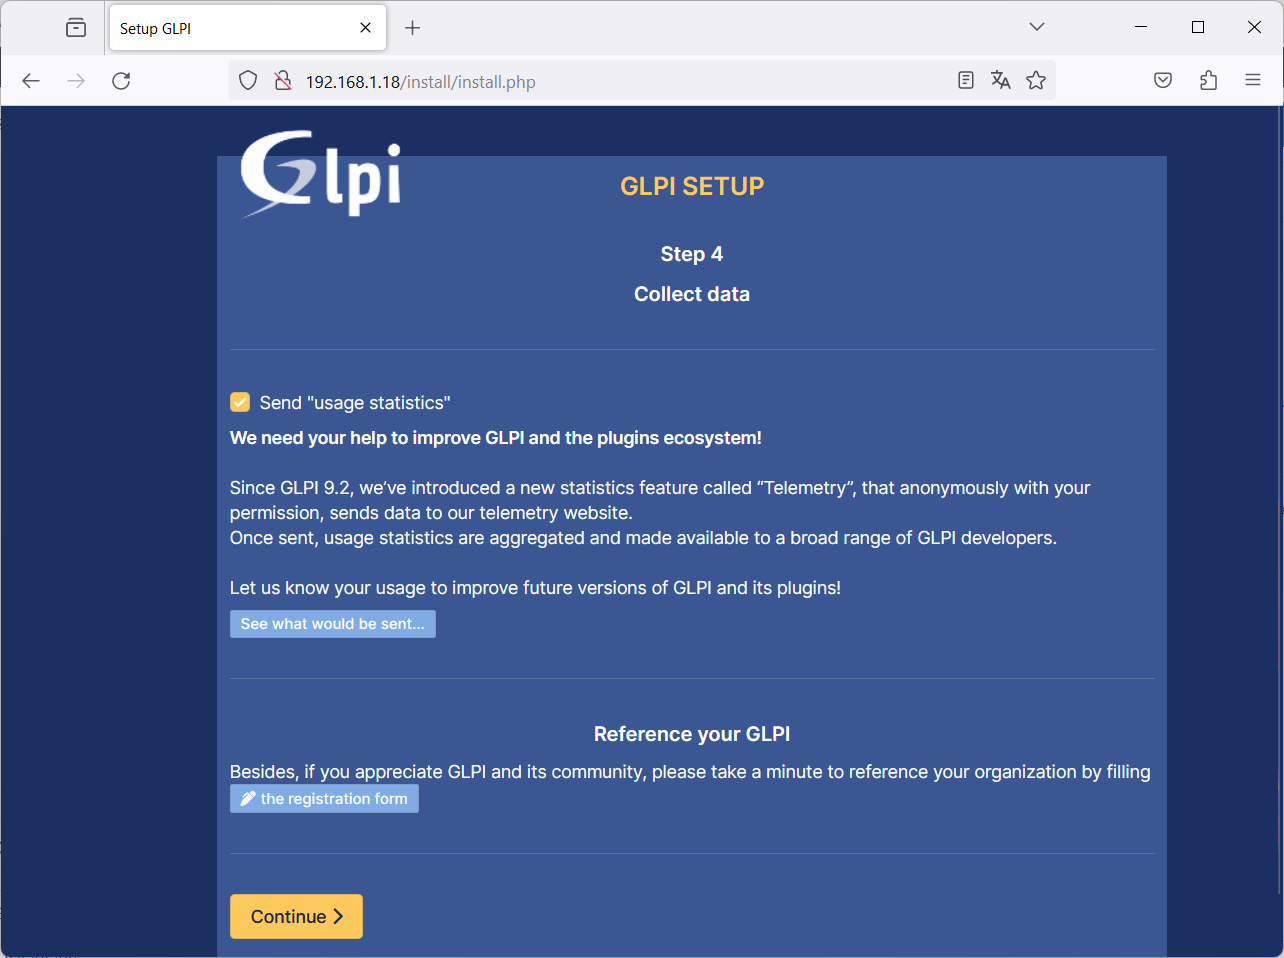
You can choose to give or not this permission. Then click “Continue“.
The next page gives you the link to reach the list of GLPI partners, in case you need specialized help (usually in change of fees):
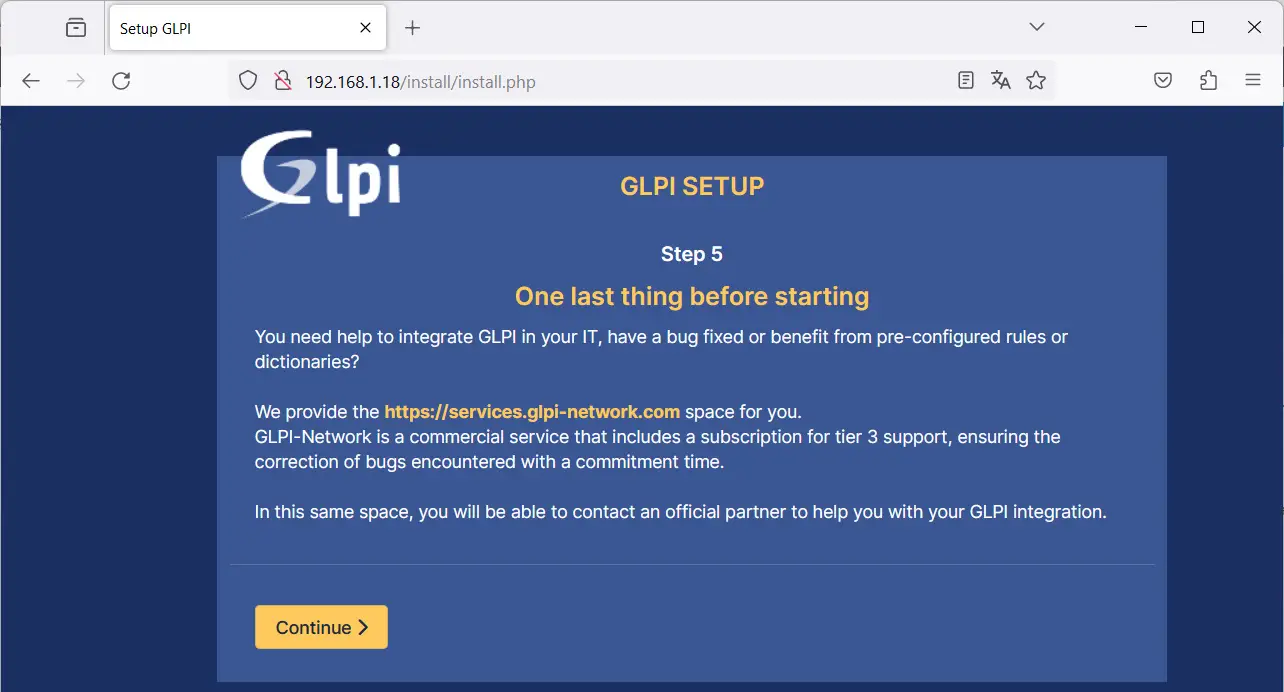
Click “Continue“.
The final page of this wizard gives you the default GLPI users for Administration, Techincal, Normal a Post-Only users:
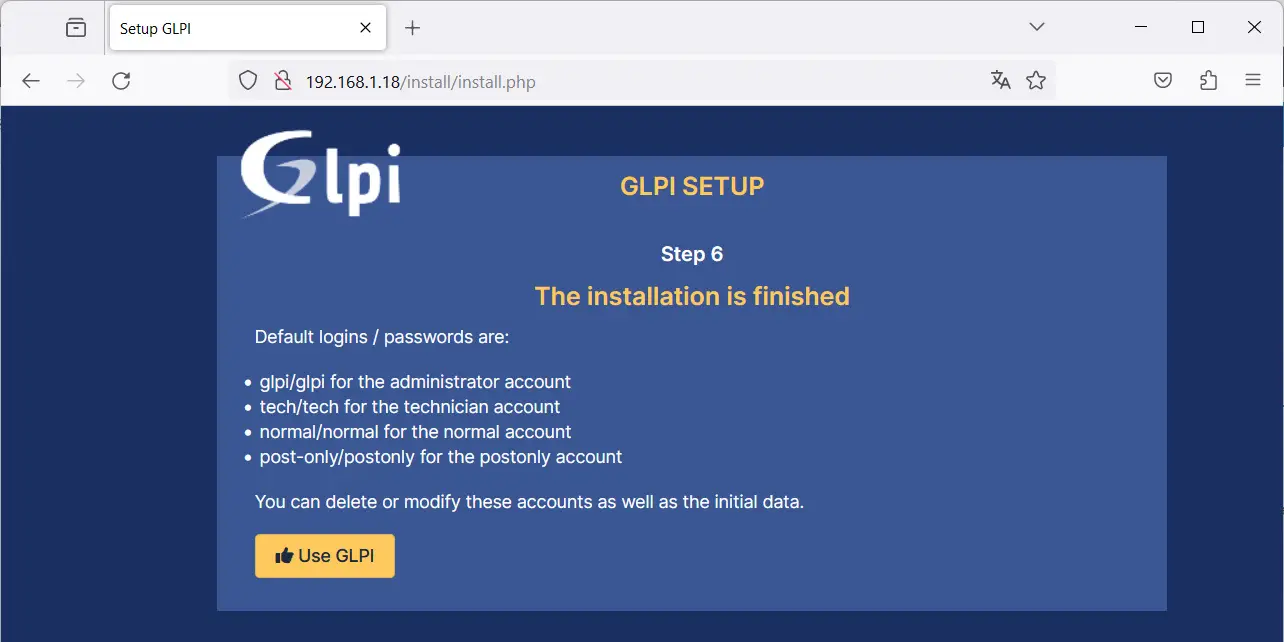
Regarding this step, a best practice in terms of Security is NOT to set default users for software, as many malicious people/software will target these credentials at their very first attacks. So, I strongly suggest changing at least the passwords for these users once the installation is completed.
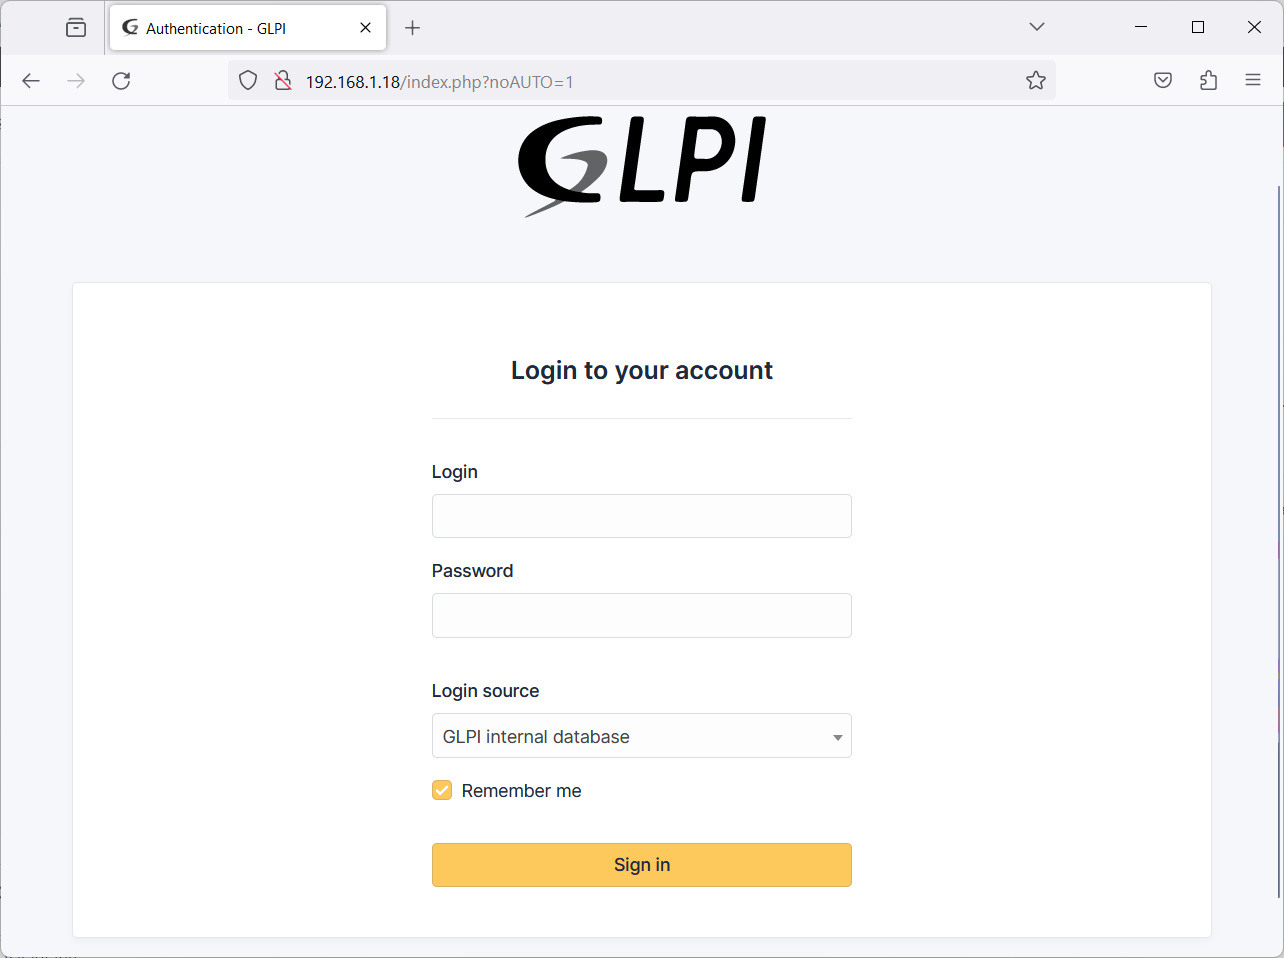
Finally, click the “Use GLPI” to complete the wizard and reach the login page:
Remove the Installation Folder of GLPI from Raspberry PI
In order to make our GLPI a bit safe, GLPI suggests removing the installation folder from your system. This task can be achieved by removing the “install” folder from the Apache folder, that is the following command:
sudo rm -r /var/www/glpi/install/Modify Default Users
As said, to make our GLPI on Raspberry PI safer we should at least change the password for the default users.
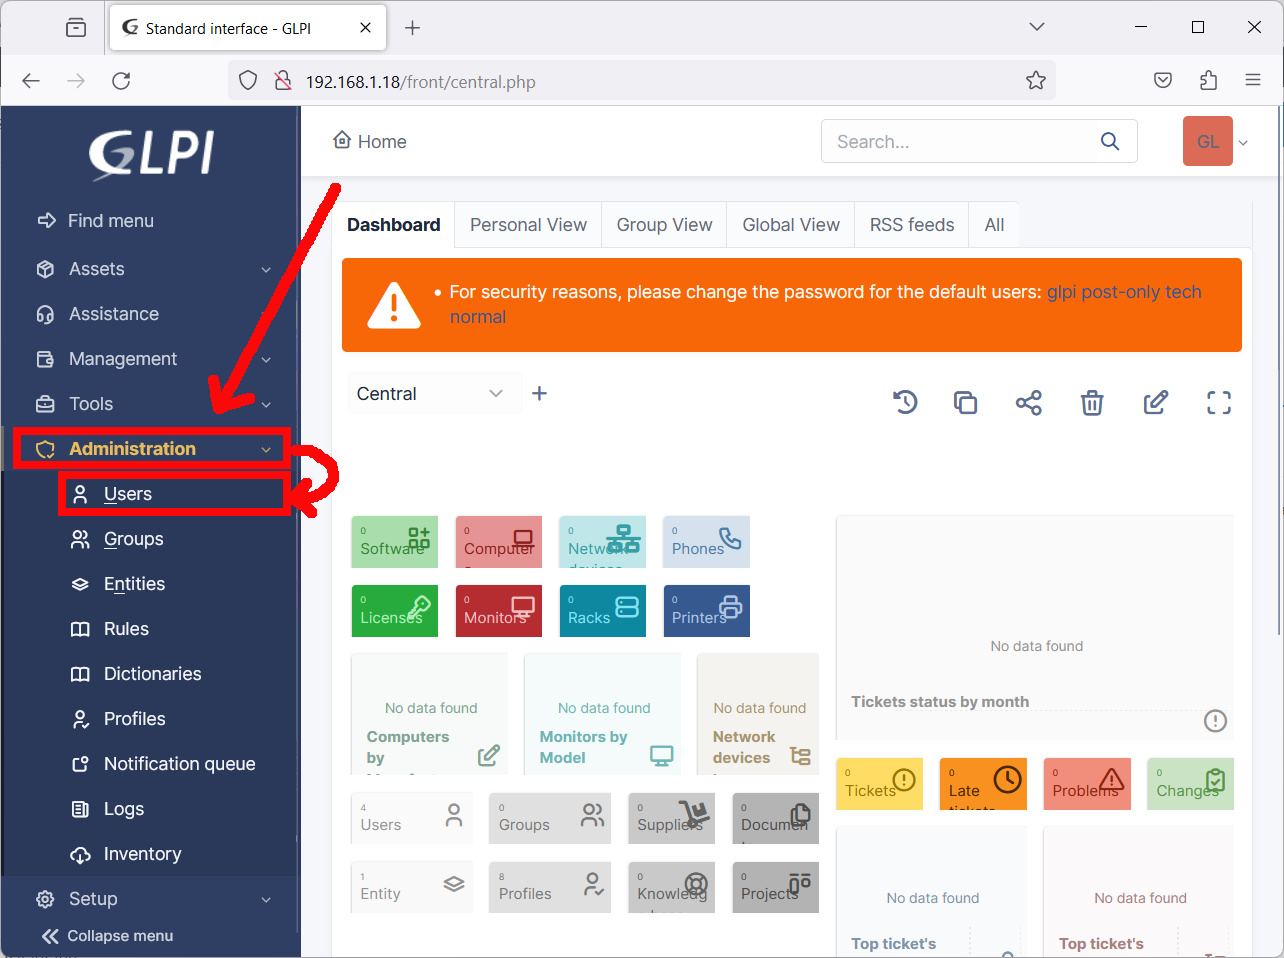
Please login to the GLPI dashboard with the glpi/glpi administration user. This will give you the GLPI Home page. As you can see there, the home page immediately warns you to take this security action in the orange box, too:
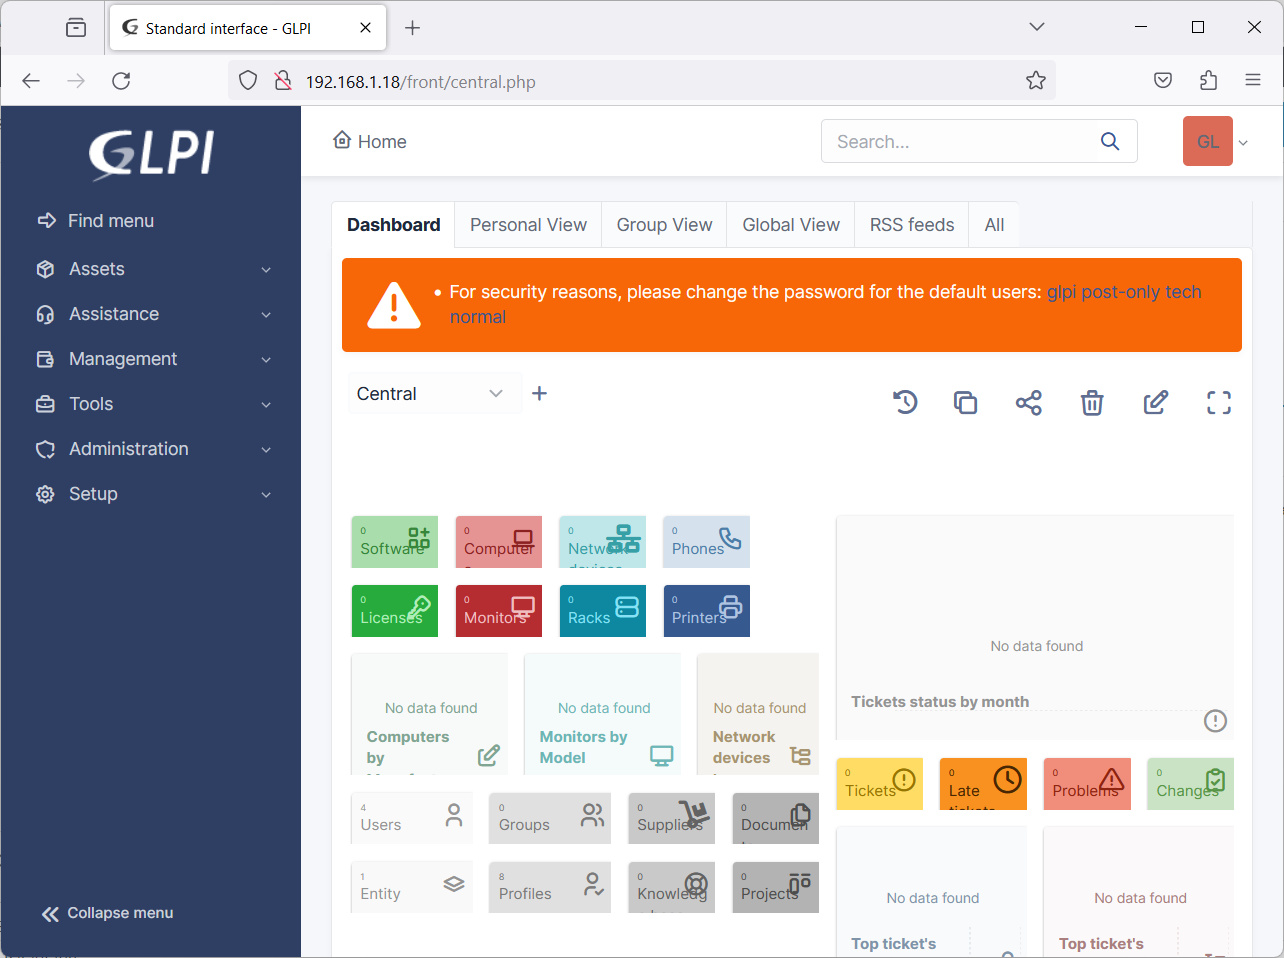
From the left menu, please open the “Administration” menu and click the “Users” link, as shown in the following picture:
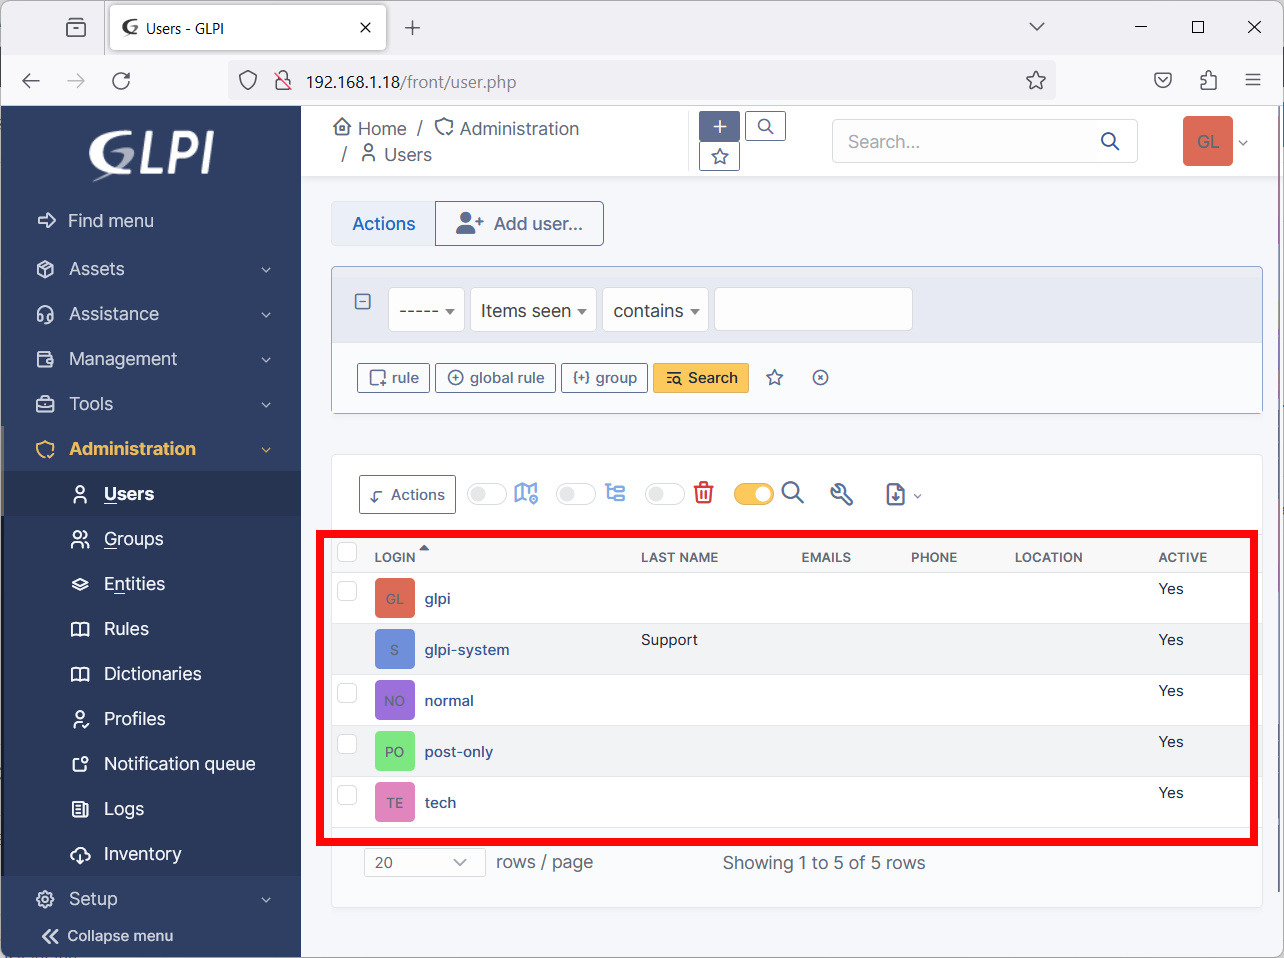
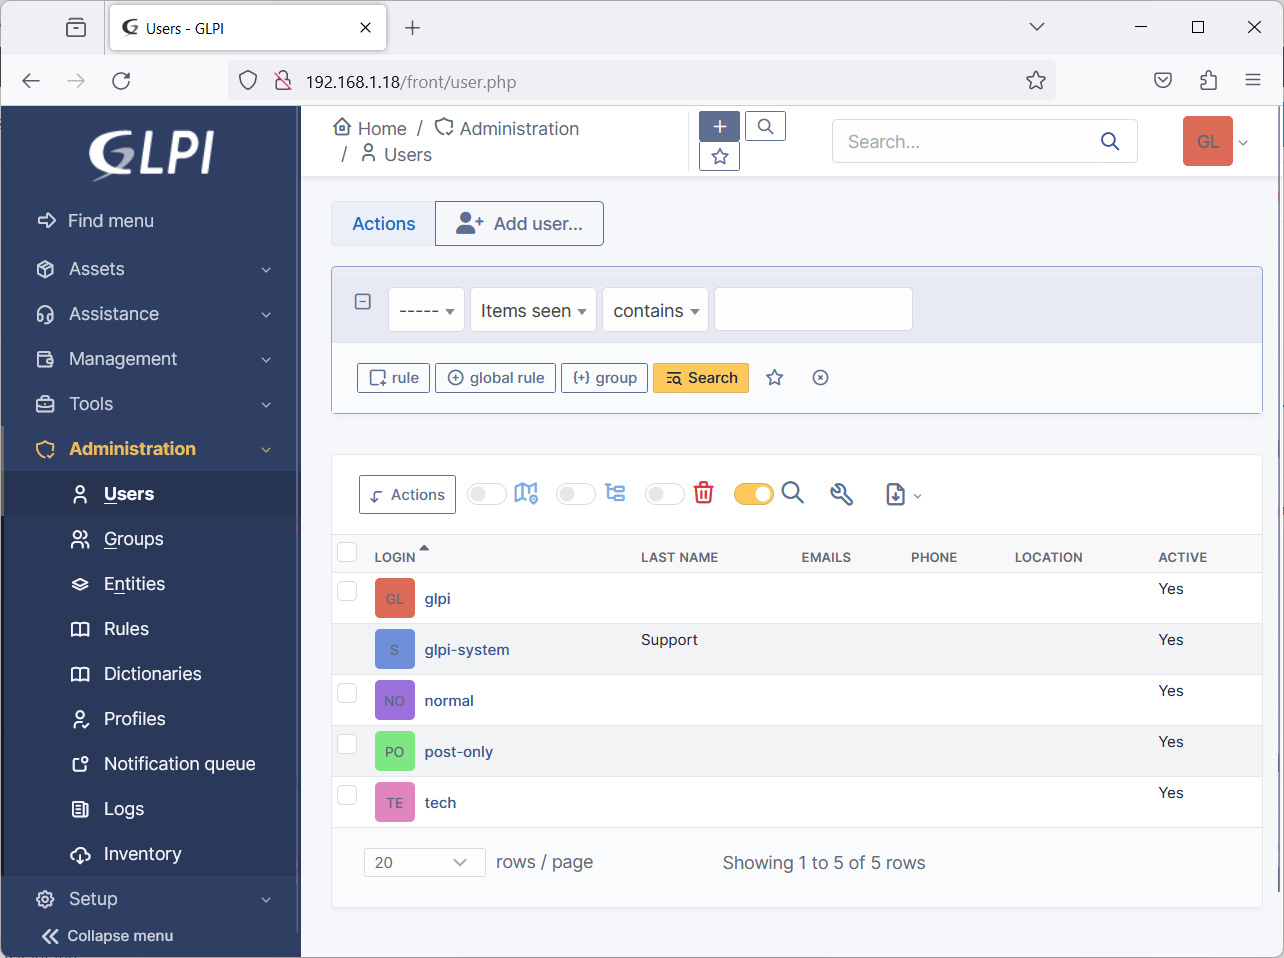
This will let you reach the Users administration page, where you can find all the configured users and change them one by one:
GLPI Menu and Functions
With the Administration user, you can access all the GLPI functions. The left sidebar shows all the available menus.
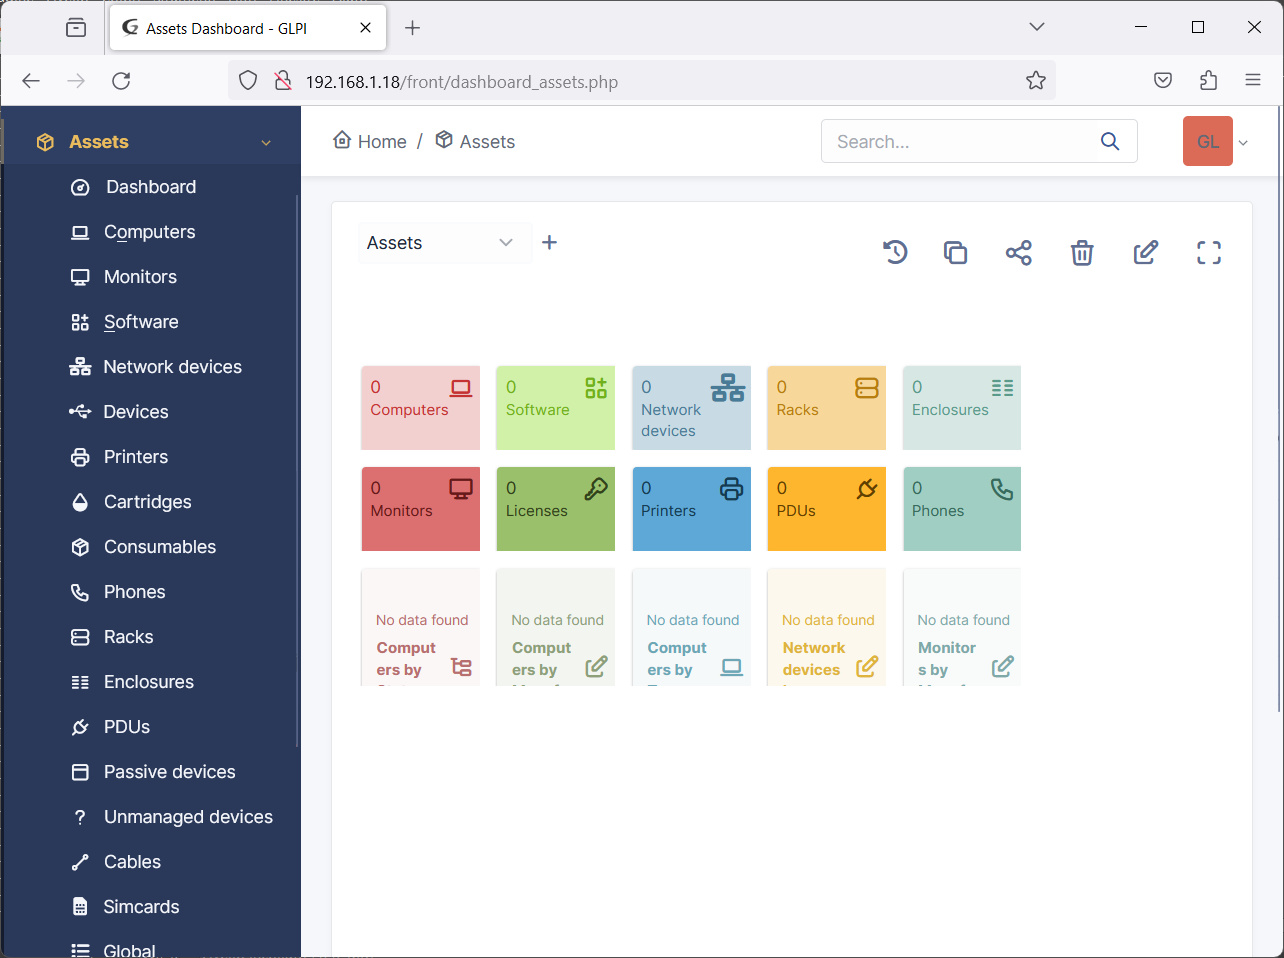
The Asset menu lets you manage your assets by adding your ICT items, making it simpler to link tickets to your assets:
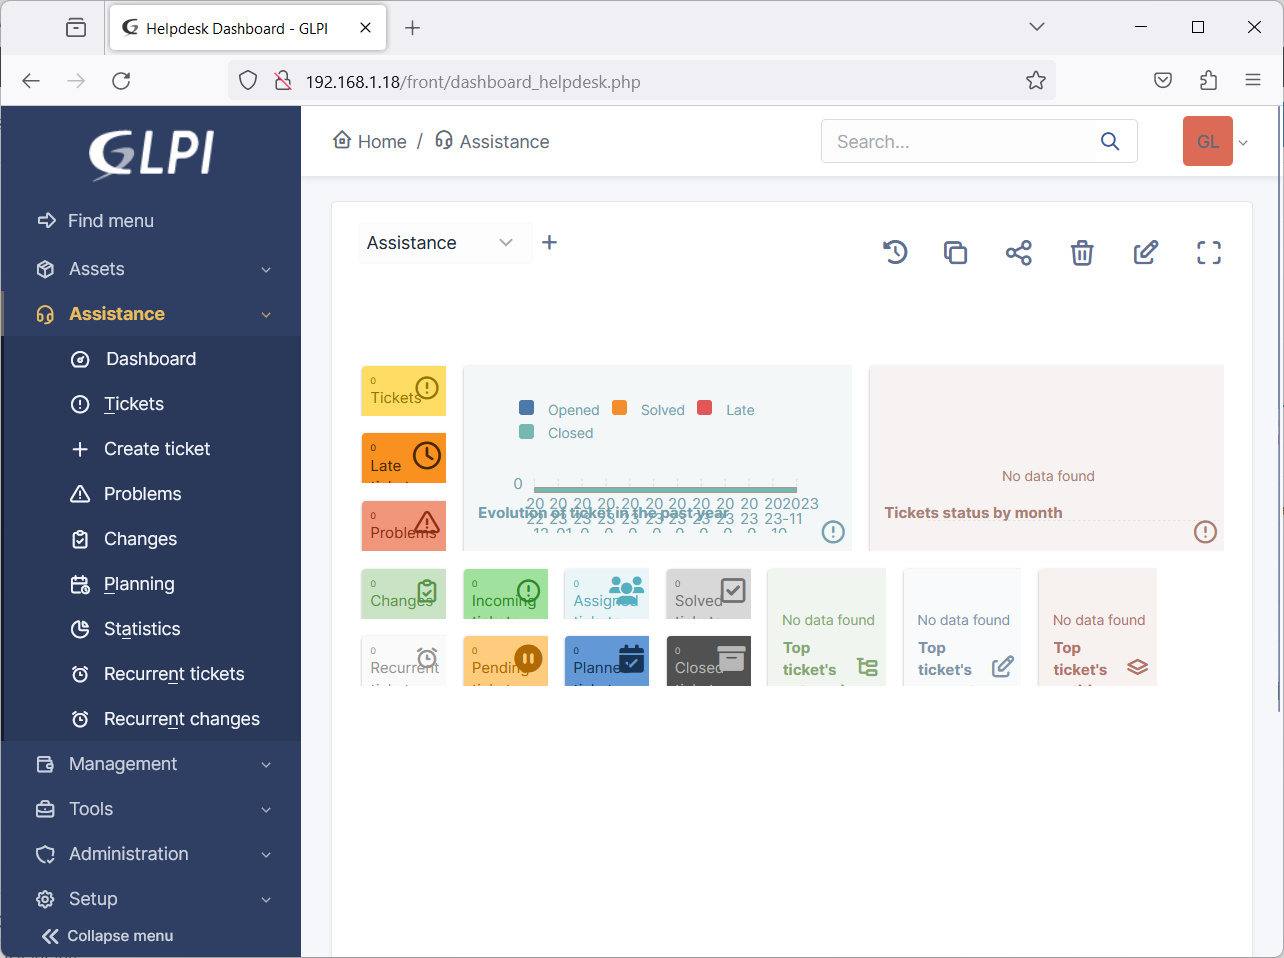
The Assistance menu gives you all the tools to manage claims, incidents, requests, and so on with an ITIL(R) -like approach:
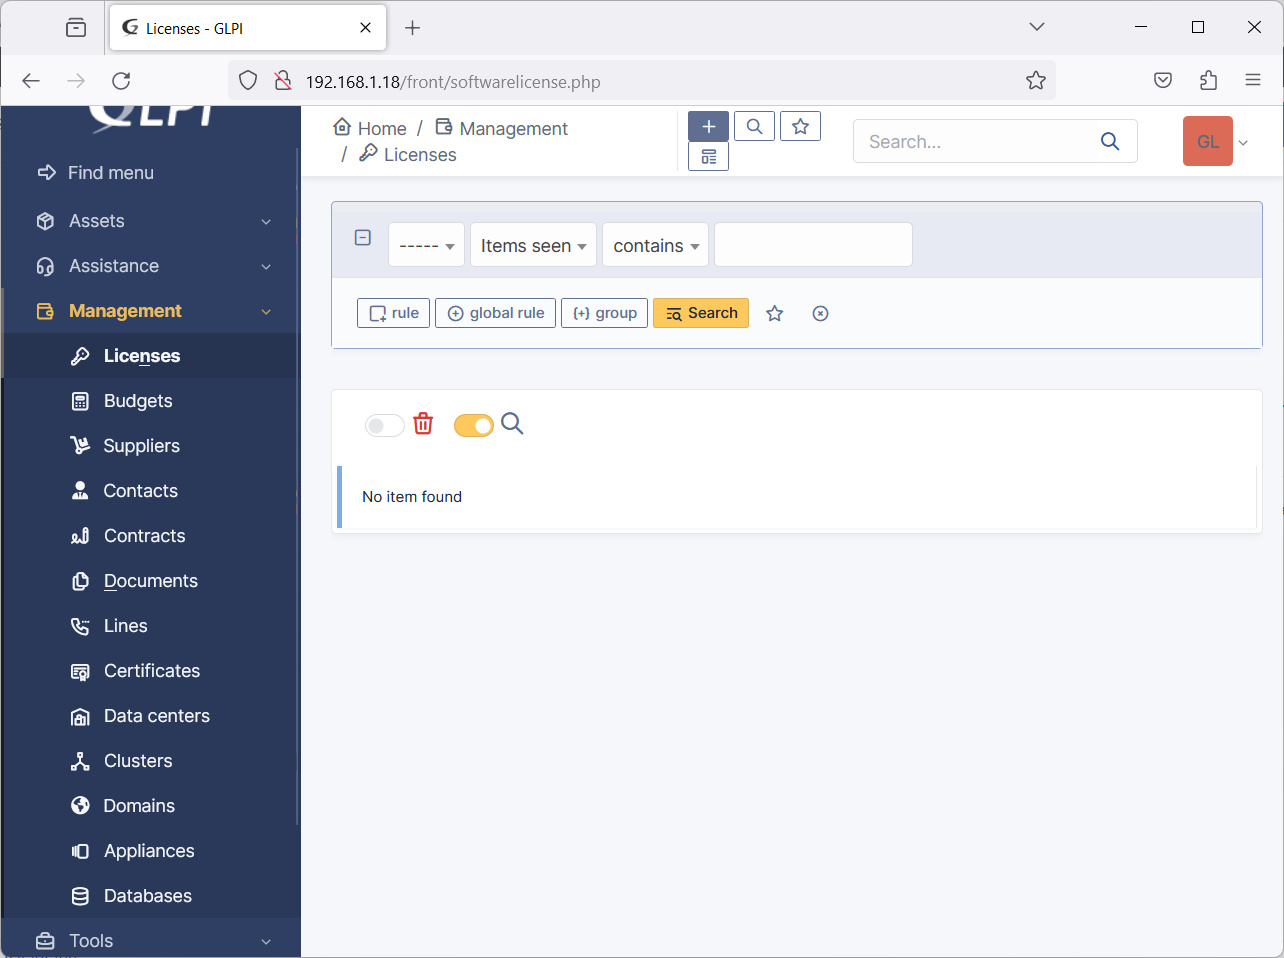
The Management menu enables to keep track of Licenses and suppliers:
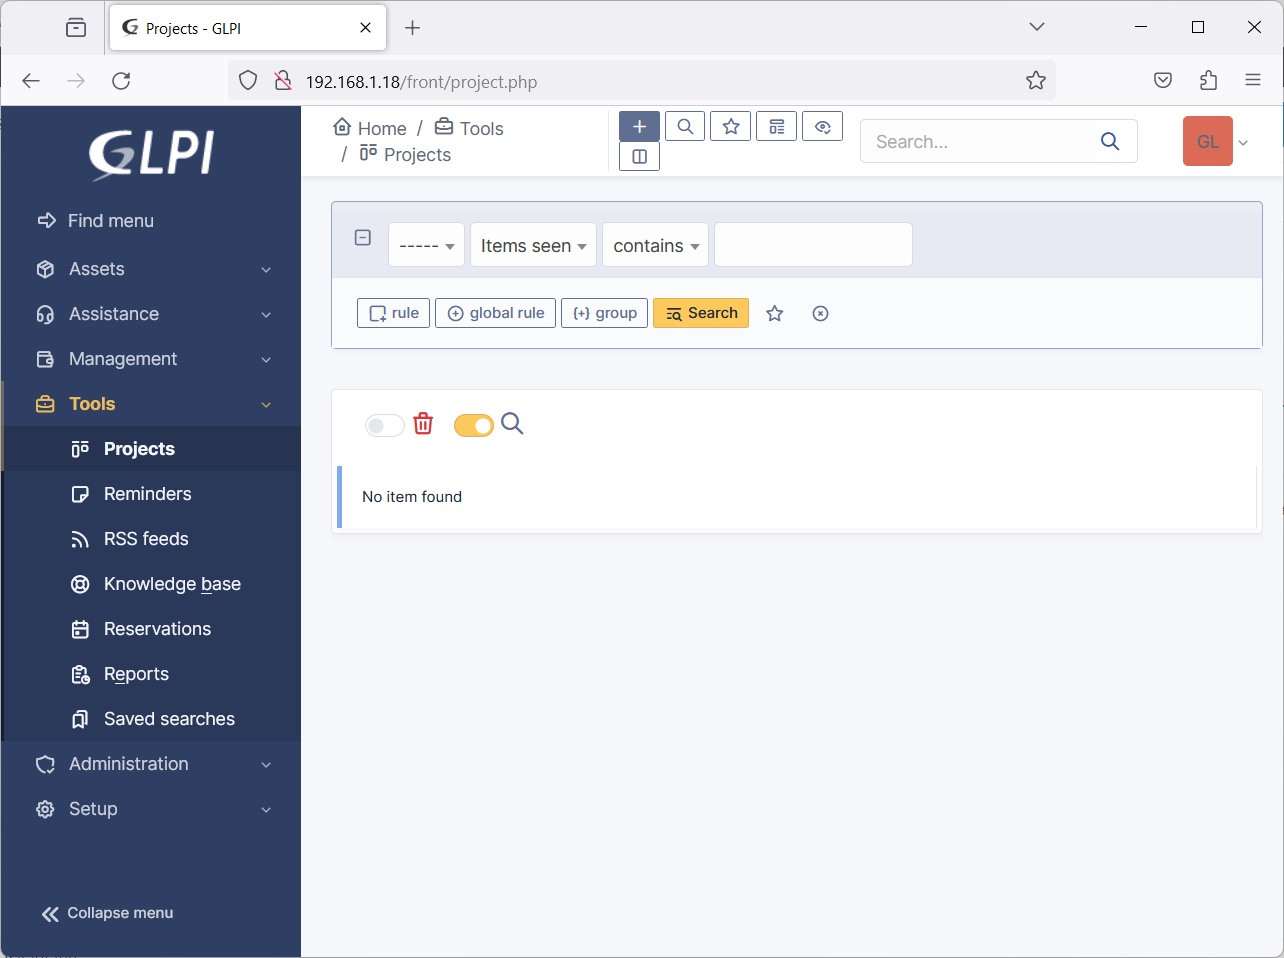
The Tools menu is the place to keep track of projects, knowledge base, and reports:
The Administration menu, as already seen, enables you to set users and roles according to your needs and your organization:
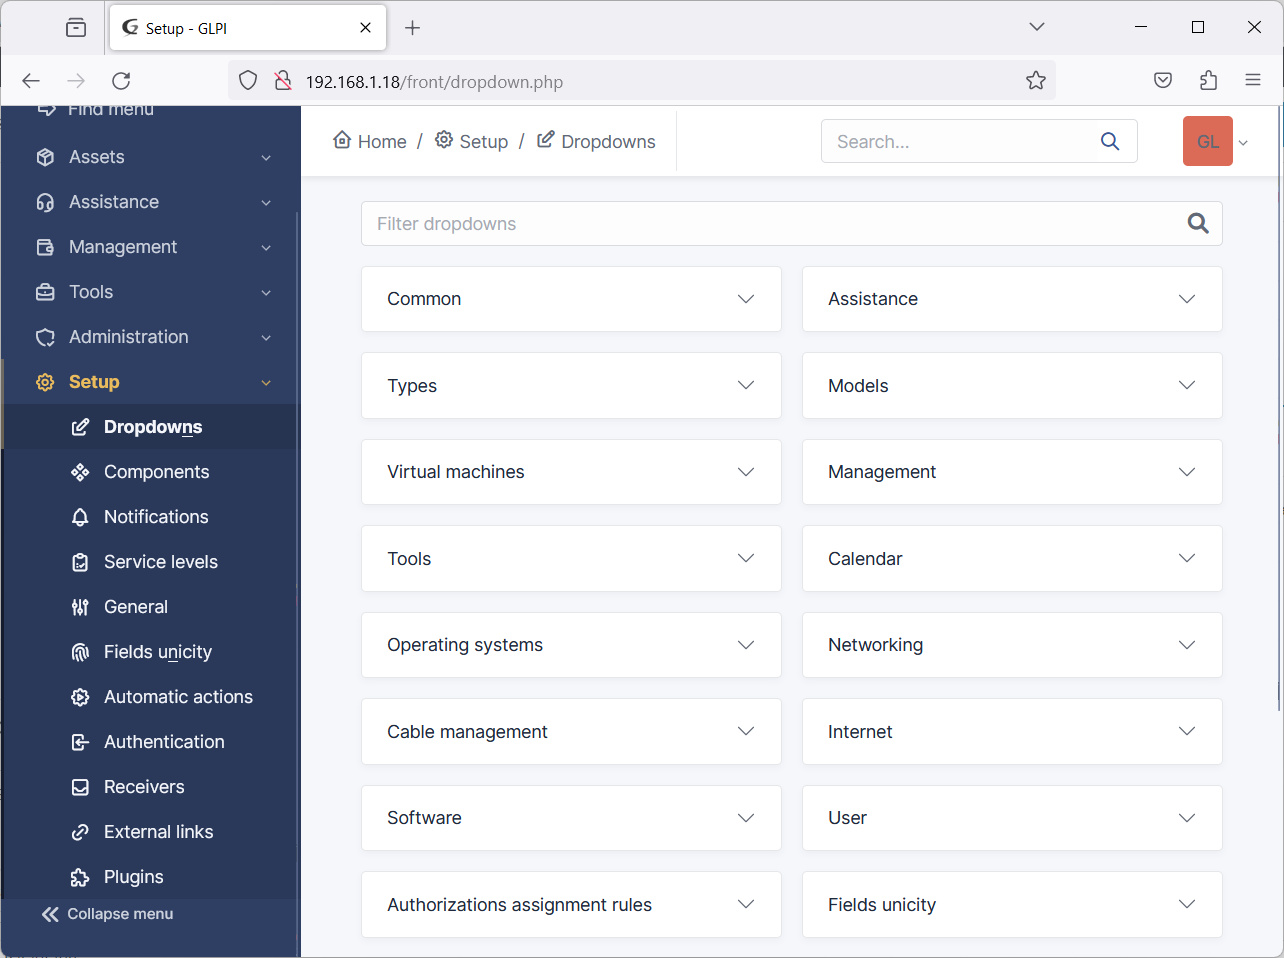
Finally, the Setup menu allows fine-tuning configuration for our system (as listing the items for drop-down windows).
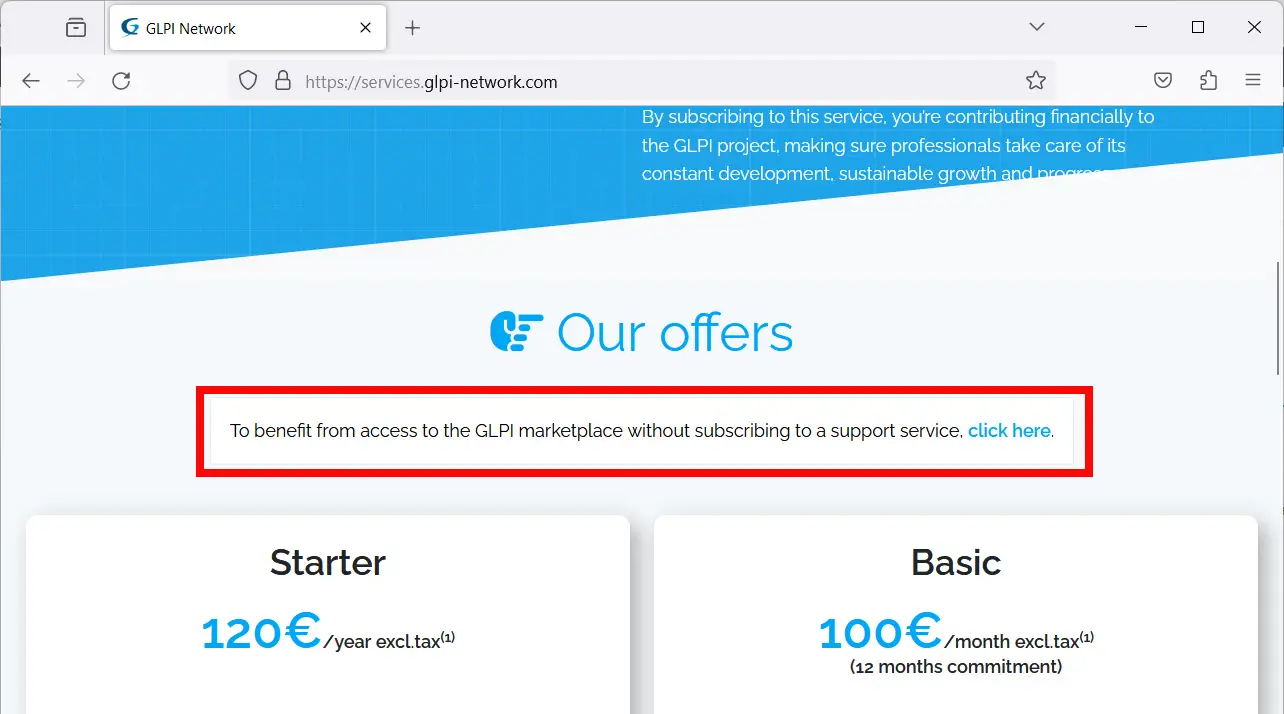
The Plugins sub-menu is an important part of this menu. Here you can manage your existing plugins as well as add new ones. It is important that you can connect to the GLPI marketplace, but this requires an account registration to the GLPI. This can be done by applying to one of the GLPI subscriptions, even if there is a free option. the free subscription option is not really easy to see on the related page (the plugin menu will drive you there). For this reason, the following picture shows you where to find the link (at the date of this tutorial):
GLPI Docs
GLPI’s official Documentation page can be found at https://glpi-project.org/documentation/, where you can find detailed administration, user, and developer guides.
What’s Next
Interested in more cool ways to use your RPI? Take a look at peppe8o Raspberry PI computer tutorials!
Enjoy your GLPI on Raspberry PI!

Open source and Raspberry PI lover, writes tutorials for beginners since 2019. He's an ICT expert, with a strong experience in supporting medium to big companies and public administrations to manage their ICT infrastructures. He's supporting the Italian public administration in digital transformation projects.
![]()
![]()
![]()
![]()
![]()
![]()
![]()


