
Last Updated on 12th April 2026 by peppe8o
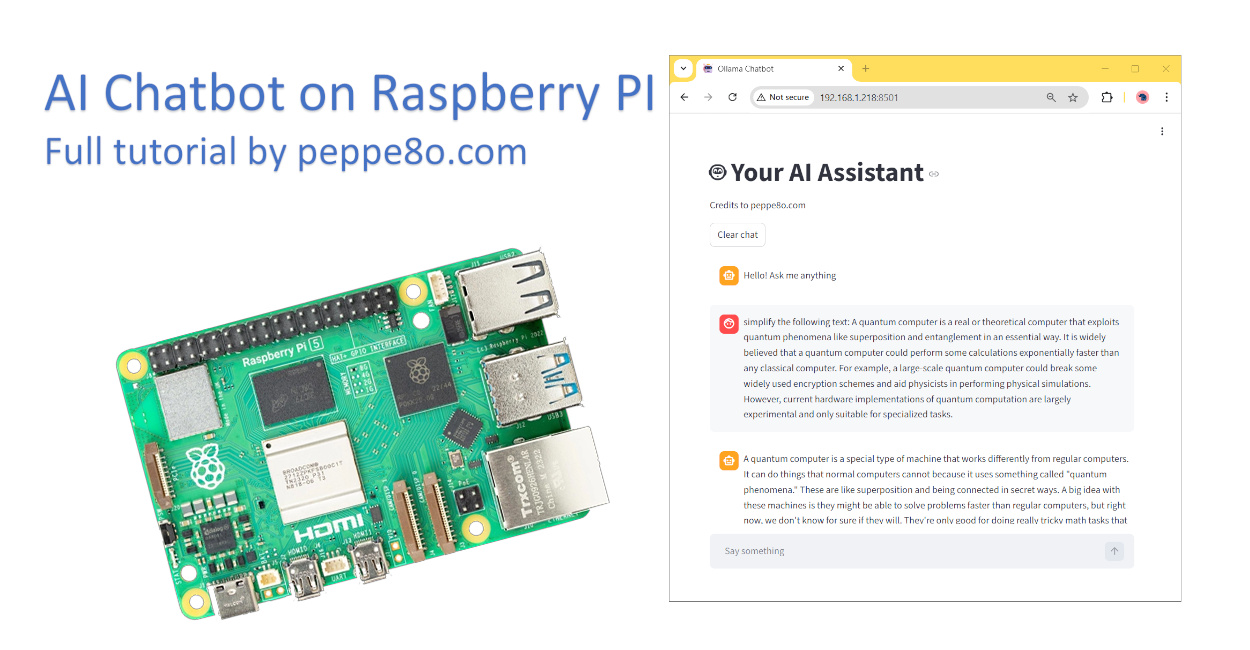
In this tutorial, I will show you how to create your personal AI chatbot on Raspberry PI computer boards. This guide will allow you to get a web chatbot working in minutes with a very few commands. Everything will be hosted on your Raspberry PI and use open-source software. So, you will send no data to cloud services and you’ll get your privacy assured.
The AI Chatbot Stack
This project will use a simple stack, allowing even beginners to get started with it in a straightforward way. The components are described below. Each one includes a link to my tutorials where I explained how they work and how to use them.
We’ll run the AI model and perform the related inference with Ollama. It allows you to download a public AI model at your choice and generate answers by using the selected model.
In the middle, LangChain will orchestrate model usage. For this example, it will barely pass the questions to Ollama, but LangChain is also capable of designing more complex architectures.
The web UI for our AI chatbot will use Streamlit. This framework enables you to get the web form with a few code lines.
What We Need
As usual, I suggest adding from now to your favourite e-commerce shopping cart all the needed hardware, so that at the end you will be able to evaluate overall costs and decide if to continue with the project or remove them from the shopping cart. So, hardware will be only:
- Raspberry PI Computer Board (including proper power supply or using a smartphone micro USB charger with at least 3A)
- high speed micro SD card (at least 16 GB, at least class 10)
Step-by-Step Procedure
The first step is to install the Raspberry PI OS Lite (64-bit version) to get a fast and lightweight operating system (headless). If you need a desktop environment, you can also use the Raspberry PI OS Desktop (also here, 64-bit version), in which case you will work from its terminal app. Please find the differences between the 2 OS versions in my Raspberry PI OS Lite vs Desktop article.
Please make sure that your Operating System is up to date. From your terminal, use the following command:
sudo apt update -y && sudo apt full-upgrade -yWe also need pip. You can check if it is available in your Raspberry PI (and install it, if missing) with the following terminal command:
sudo apt install python3-pip -yInstall the Software Stack
As already introduced, I have already explained the software stack in dedicated posts. I recommend that you refer them for more details. Here, I will include only the main commands to perform on your Raspberry PI.
Install Ollama and download an AI model -> full tutorial link Run Ollama in Raspberry PI: Self-Hosted Generative AI
curl -fsSL https://ollama.com/install.sh | sh
ollama pull qwen2.5:0.5b
Create a Python virtual environment for our AI chatbot on Raspberry PI storage, and activate it. Please remember that you must activate the virtual environment every time you want to use this project, after every Raspberry PI reboot. More info about Python virtual environments is available in my Beginner’s Guide to Use Python Virtual Environment with Raspberry PI
python3 -m venv ai_chatbot
source ai_chatbot/bin/activate
Install LangChain -> full tutorial link LangChain with Raspberry PI and Ollama: Build your Self-Hosted AI Apps
pip install langchain-ollama langchain-core langchain-communityInstall Streamlit -> full tutorial link How to Use Streamlit with Raspberry PI: Deploy Web Apps in Minutes with Python
pip install streamlitGet the AI Chatbot Script on Raspberry PI
You can get the full script in your Raspberry PI storage with the following terminal command:
wget https://peppe8o.com/download/python/langchain/ai-assistant.pyI will explain here the code lines added, comparing them to what already described in my previous tutorials.
At the beginning, we import the required libraries, as in the previous tutorials:
import streamlit as st
from langchain_ollama import ChatOllama
from langchain_core.messages import HumanMessage, SystemMessage, AIMessage
We also set the page title, page icon and a small banner with a little credit label to my blog (please, give credit to my blog if you like it):
st.set_page_config(page_title="Ollama Chatbot", page_icon="🤖")
st.title("🤖 Your AI Assistant")
st.write("Credits to peppe8o.com")
In the following line, we set the LangChain llm variable to run inference on the local Ollama service and your preferred model, as described in my LangChain tutorial:
llm = ChatOllama(model="qwen2.5:0.5b")We also set the SYSTEM_PROMPT variable to get the AI assistant aware of its job. The importance of the initial context has already been discussed in my LangChain tutorial. You can change it according to your needs:
SYSTEM_PROMPT = (
    "You are a helpful AI assistant running on Raspberry Pi. "
    "Answer clearly and simply. If the user asks to simplify text, "
    "rewrite it in simple English for beginners while keeping the meaning."
)
The following WELCOME_MESSAGE sets the welcome message to the user in the chatbot UI:
WELCOME_MESSAGE = "Hello! Ask me anything"The first custom function gives the user the ability to reset the chat message history, initialising it to only the welcome message:
def reset_chat():
    st.session_state.messages = [
        {"role": "assistant", "content": WELCOME_MESSAGE}
    ]
If the program is beginning, it uses the reset_chat() function to initialise it:
if "messages" not in st.session_state:
    reset_chat()
The following build_langchain_messages custom function converts the messages from the chat area (visible in Streamlit) into a format compatible with the one expected from langchain. It returns an object where the history messages from the user and from the AI assistant are properly marked:
def build_langchain_messages(history, new_prompt):
    lc_messages = [SystemMessage(content=SYSTEM_PROMPT)]

    for msg in history:
        if msg["role"] == "user":
            lc_messages.append(HumanMessage(content=msg["content"]))
        elif msg["role"] == "assistant":
            lc_messages.append(AIMessage(content=msg["content"]))

    lc_messages.append(HumanMessage(content=new_prompt))
    return lc_messages
On the other side, the stream_langchain_response custom function gives you the “streaming” effect to the assistant’s answers. Instead of waiting for the full response to be generated before returning it to the user, it writes the single words as they become available from the inference engine. It allows you to get a better user experience without annoying the user by waiting for the whole answer:
def stream_langchain_response(history, prompt):
    lc_messages = build_langchain_messages(history, prompt)

    for chunk in llm.stream(lc_messages):
        text = chunk.content or ""
        if text:
            yield text
The following line adds a “clear chat” button in your interface: at any time, the user can clear the chat area and start a new session:
st.button("Clear chat", on_click=reset_chat)At any prompt from the user, Streamlit rebuilds the whole page. If you want to keep the message history visible to the user, you must scroll all the messages available in the session_state.messages objects and put them again in the chat container:
for message in st.session_state.messages:
    with st.chat_message(message["role"]):
        st.markdown(message["content"])
Now comes the main actions running at any prompt from the user. At the chat input from the user (when it submits its message), the program firstly appends the message to the history:
if prompt := st.chat_input("Say something"):
    st.session_state.messages.append({
        "role": "user",
        "content": prompt,
    })
Then it prints the message in the chat area:
    with st.chat_message("user"):
        st.markdown(prompt)
The following block generates and prints the AI assistant’s answer. It starts showing a temporary “Thinking…” message until the first word comes from LangChain.
You may note the “[:-1]” near the session_state.messages: it is to avoid the AI engine from considering the last entry in the message history (the user question) as we send it to the stream_langchain_response() function as “prompt” in the function inputs:
    with st.chat_message("assistant"):
        with st.spinner("Thinking..."):
            full_reply = st.write_stream(
                stream_langchain_response(st.session_state.messages[:-1], prompt)
            )
The final part just adds the AI-generated text to the session_state.messages object, giving it the correct role:
    st.session_state.messages.append({
        "role": "assistant",
        "content": full_reply,
    })
Run the AI Chatbot on Raspberry PI
Finally, you can run the AI chatbot with the following terminal command (with the virtual environment active):
streamlit run ai-assistant.pyAs described in my Streamlit tutorial, this command will return the URL to reach your chatbot:
(ai_chatbot) pi@raspberrypi:~ $ streamlit run ai-assistant.py
Collecting usage statistics. To deactivate, set browser.gatherUsageStats to false.

  You can now view your Streamlit app in your browser.

  Local URL: http://localhost:8501
  Network URL: http://192.168.1.218:8501
  External URL: http://79.26.225.105:8501
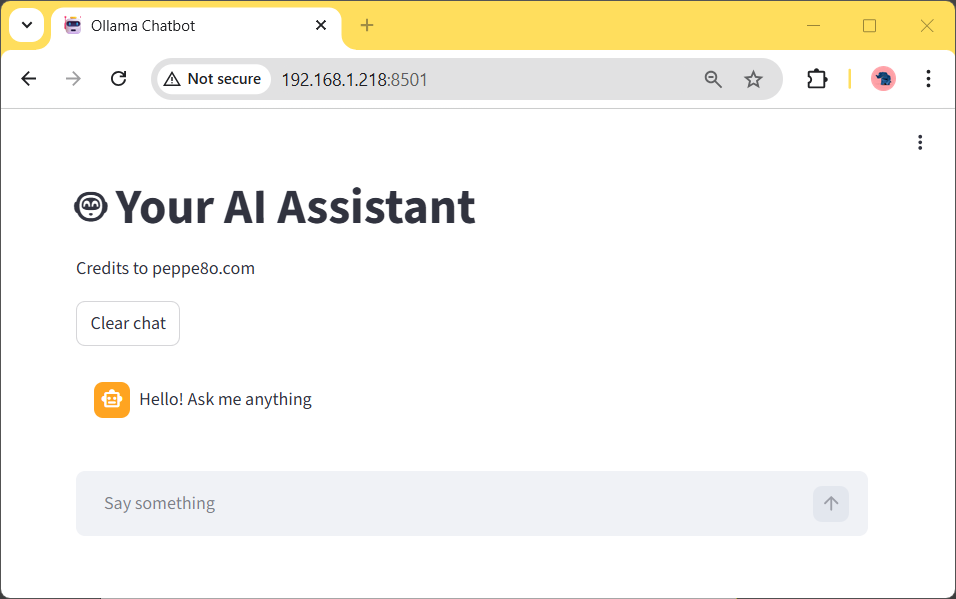
Please use the Network URL provided from your terminal to reach your AI chatbot from a browser on any remote computer connected to your home network. You will see the following page:
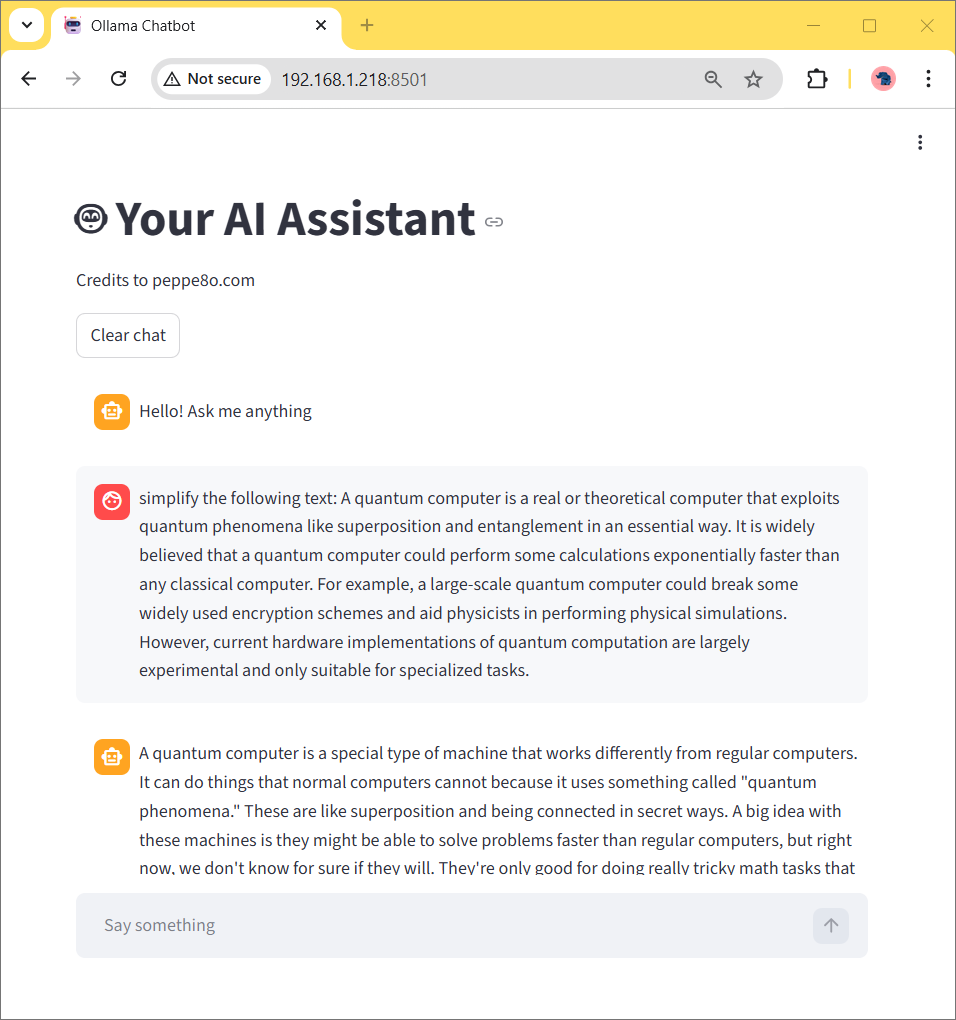
Now, you can ask it anything to be simplified:
Final Thoughts
With the example shown in this tutorial, you can create a personal AI chatbot for free on Raspberry PI computer boards, which runs at a good speed.
As described in my Streamlit tutorial, you can convert the run command into a process running in the background, so as to avoid the need to keep the terminal attached when the chatbot is live.
I used a Qwen model (with 0.5b parameters) to make this example: it works quickly in a Raspberry PI 5 model B, but this may give you inconsistent answers for some questions. The big improvement here is to choose an AI model which fits your needs and use a number of parameters that give you a good balance between speed and precision. Moreover, if you publish the chatbot for external users, you must monitor its performance, as increasing concurrent users will require more hardware resources.
Another important thing is the power supply for your Raspberry PI: a cheap power supply may not be enough for your Raspberry PI to use all of its resources and may bring it to suddenly power off when generating the answer.
Impressions are welcome in the comment area at the end of this page.
Next Steps
If you are interested in more Raspberry PI projects (both with Lite and Desktop OS), take a look at my Raspberry PI Tutorials.
Enjoy!

Open source and Raspberry PI lover, writes tutorials for beginners since 2019. He's an ICT expert, with a strong experience in supporting medium to big companies and public administrations to manage their ICT infrastructures. He's supporting the Italian public administration in digital transformation projects.
![]()
![]()
![]()
![]()
![]()
![]()
![]()


