
Last Updated on 19th October 2025 by peppe8o
This tutorial will show you how to install Pi-hole on a Raspberry PI computer board with Docker.
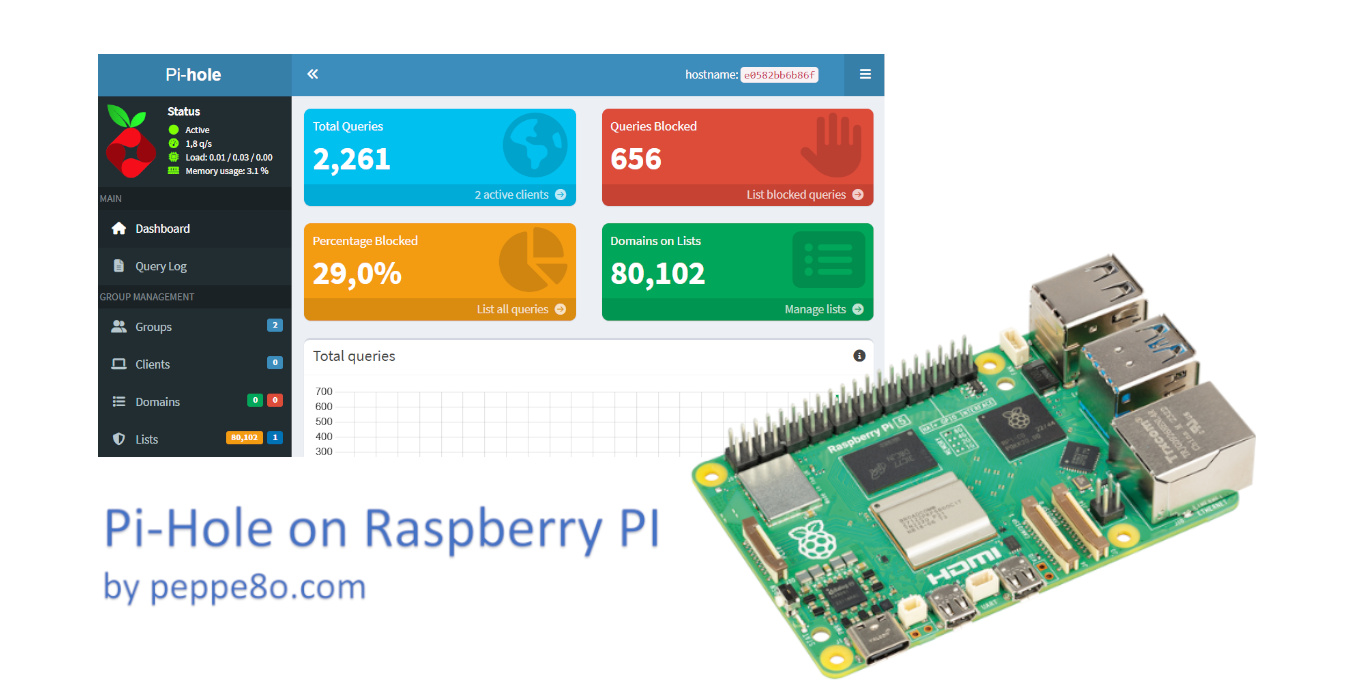
About Pi-Hole
Pi-hole is a DNS server that protects your devices from unwanted content, without installing any client-side software.
Computers and devices requesting web resources usually use public DNS servers to resolve mnemonic addresses (for example, “peppe8o.com”) into IP addresses to be reached. But many internet pages include tons of internal elements redirecting to advertising providers. It can negatively affect your download time, data amount (especially for consumption-based plans) and, in some extreme cases, also user experience.
Pi-hole works simply: it becomes your DNS server, resolving normal page traffic (by forwarding these queries to public DNSs) and answering with a name resolution error to queries related to advertisement content. Your browser will discard content not resolved and will show all the remaining content.
Finally, Pi-Hole allows you to manage blocking rules with Groups. This enables you to create specific groups to block specific domains (like, for example, social networks) and associate users with these groups. This is an interesting feature and permits using Pi-Hole to block just websites instead of advertisement pages. On the other hand, many websites offer you free information as they live on advertisements. This is how they (and I) pay the bills. We’ll ses this in the last chapter of this tutorial.
In this guide, we’ll install Pi-hole in a Raspberry PI 5 model B with Raspberry PI OS Lite. This procedure should work with any Raspberry PI computer board.
Pi-hole Requirements
Pi-hole is really lightweight and requires only 512MB RAM and 2GB of free disk space (even if 4GB of free disk space is suggested).
It uses the following ports:
| Service | Port | Protocol | Notes |
|---|---|---|---|
| pihole-FTL | 53 (DNS) | TCP/UDP | Used for DNS queries binding |
| pihole-FTL | 67 (DHCP) | IPv4 UDP | optional: Used to provide IPv4 DHCP service |
| pihole-FTL | 547 (DHCPv6) | IPv6 UDP | optional: Used to provide IPv6 DHCP service |
| pihole-FTL | 80 (HTTP) 443 (HTTPS) | TCP | Used for web admin console |
| pihole-FTL | 123 | UDP | optional: Used for NTP service |
The common DNS services to which Pi-hole forwards DNS queries are available at https://docs.pi-hole.net/guides/upstream-dns-providers/
What We Need
As usual, I suggest adding from now to your favourite e-commerce shopping cart all the needed hardware, so that at the end you will be able to evaluate overall costs and decide if to continue with the project or remove them from the shopping cart. So, hardware will be only:
- Raspberry PI Computer Board (including proper power supply or using a smartphone micro USB charger with at least 3A)
- high speed micro SD card (at least 16 GB, at least class 10)

Step-by-Step procedure
Before starting, it is suggested to reserve an IP Address for your Raspberry PI in your router. Even if most of the recent routers are smart enough to identify a device and tend to always assign the same IP address, it is a best practice to have a stable IP address for daily usage.
Prepare the Raspberry PI Operating System
The next step is to install the Raspberry PI OS Lite (I suggest the 64-bit version) to get a fast and lightweight operating system (headless). If you need a desktop environment, you can also use the Raspberry PI OS Desktop, in which case you will work from its terminal app. Please find the differences between the 2 OS versions in my Raspberry PI OS Lite vs Desktop article.
Once installed, please make sure that your OS is up to date. From your terminal, use the following command:
sudo apt update -y && sudo apt full-upgrade -yWe also need Docker. For this task, please refer to my Beginner’s Guide to Install and Use Docker with Raspberry PI tutorial.
Install Pi-hole in Raspberry PI
This phase is simple with Docker.
At the beginning, I suggest creating a folder where to run Pi-Hole on the Raspberry PI’s storage, so that the persistent data will be saved here:
mkdir pi-hole
cd pi-hole
Now, you can get Pi-Hole running with this simple command. Please copy and paste all the lines in one shot:
docker run -d \
     --name pihole \
     -p 53:53/tcp \
     -p 53:53/udp \
     -p 80:80/tcp \
     -p 443:443/tcp \
     -e TZ=Europe/London \
     -e FTLCONF_webserver_api_password="my_password" \
     -e FTLCONF_dns_upstreams="8.8.8.8" \
     -e FTLCONF_dns_listeningMode=all \
     -v ./etc-pihole:/etc/pihole \
     --restart unless-stopped \
     pihole/pihole:latest
Here’s the meaning of the used options with this Docker run command:
- -d: runs the container in detached mode. This means that the container will continue to run even if you exit from the terminal session
- –name pihole: gives a mnemonic name to the container, to easily identify it with other Docker commands
- -p 53:53/tcp, -p 53:53/udp, -p 80:80/tcp, –p 443:443/tcp: map the container ports to the Raspberry PI’s ports, so that the container services are exposed outside the Docker network
- -e TZ=Europe/London: sets the time zone to Europe – London. You can set it according to your one
- -e FTLCONF_webserver_api_password=”my_password”: sets the password for the admin user in Pi-hole web GUI. Please change it with your favourite
- -e FTLCONF_dns_upstreams=”8.8.8.8″: sets the upstream DNS to the Google Address
- -e FTLCONF_dns_listeningMode=all: this option allows Pi-Hole to listen for DNS queries on all the available interfaces. This is important when running in Docker, as it also creates internal, virtual network interfaces
- -v ./etc-pihole:/etc/pihole: this option creates a persistent storage where to save your Pi-Hole settings. This will make the settings persistent, even if you stop and remove the container from Docker
- –restart unless-stopped: This will make the container run even over Raspberry PI’s reboot. You can manually stop it with a
docker stop piholeterminal command - pihole/pihole:latest: this identifies the Pi-Hole version from Docker Hub. We’ll get the latest version.
From here, your Pi-hole is ready and listening to incoming DNS queries. At any time, you can check the service logs with the Docker command:
docker logs piholeSetup Devices DNS to Use Pi-hole
From here, you have 2 different options to use. You can test Pi-hole from 1 single device or you can use it from your whole local network.
Use Pi-hole From a Single Device
This way is useful to check if your installation is working correctly. It will be applied only to these devices where you set the new DNS service. You will need to edit your personal computer or smartphone connection setup to use your Raspberry PI as a DNS server. Below are some common examples:
- In Windows PCs, this can be done from the network adapter settings, by managing the “Internet Protocol Version 4 (TCP/IPv4)” option. Here, you can select the “Use the following DNS server addresses” option and use your Raspberry Pi IP address.
- In Linux PCs, you can usually manage DNS servers by editing /etc/resolv.conf and modifying “nameserver” parameters with your Raspberry PI IP address.
- With Android and Apple devices, you can use free DNS changer apps.
Use Pi-hole From a Whole Network
If you want to use Pi-hole from your entire network, you will need to edit your Router to use a custom DNS address passed to devices via DHCP. It depends on the router configurations, but it is usually located under Advanced Settings, LAN, and DHCP settings.
Manage Your Pi-hole From Web Console
From here, you can go to the Pi-Hole web console to see it in action and manage its settings.
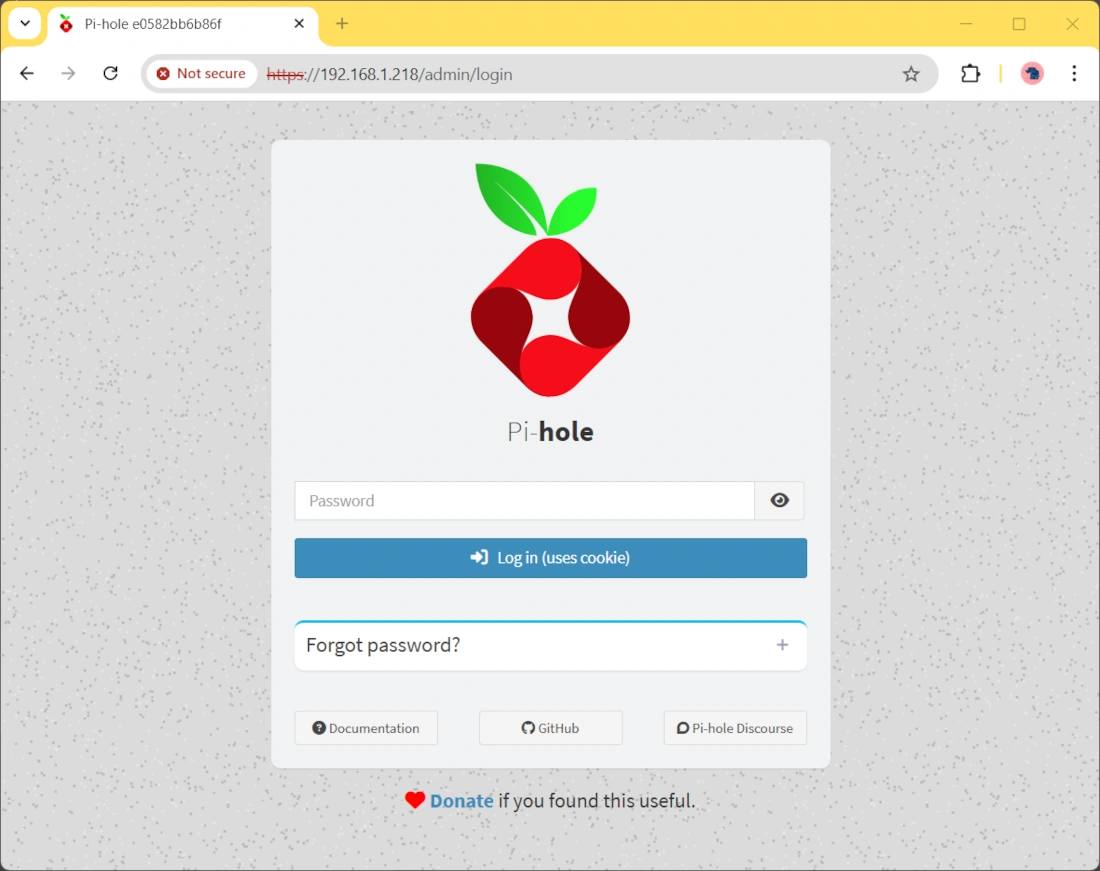
With your favourite web browser, please browse http://<<yourRpiIpAddress>>/admin/ (in my case: http://192.168.1.218/admin/). The first page will ask you to login with the password set from the Docker run command:
After logging in, you will reach the Pi-Hole dashboard:
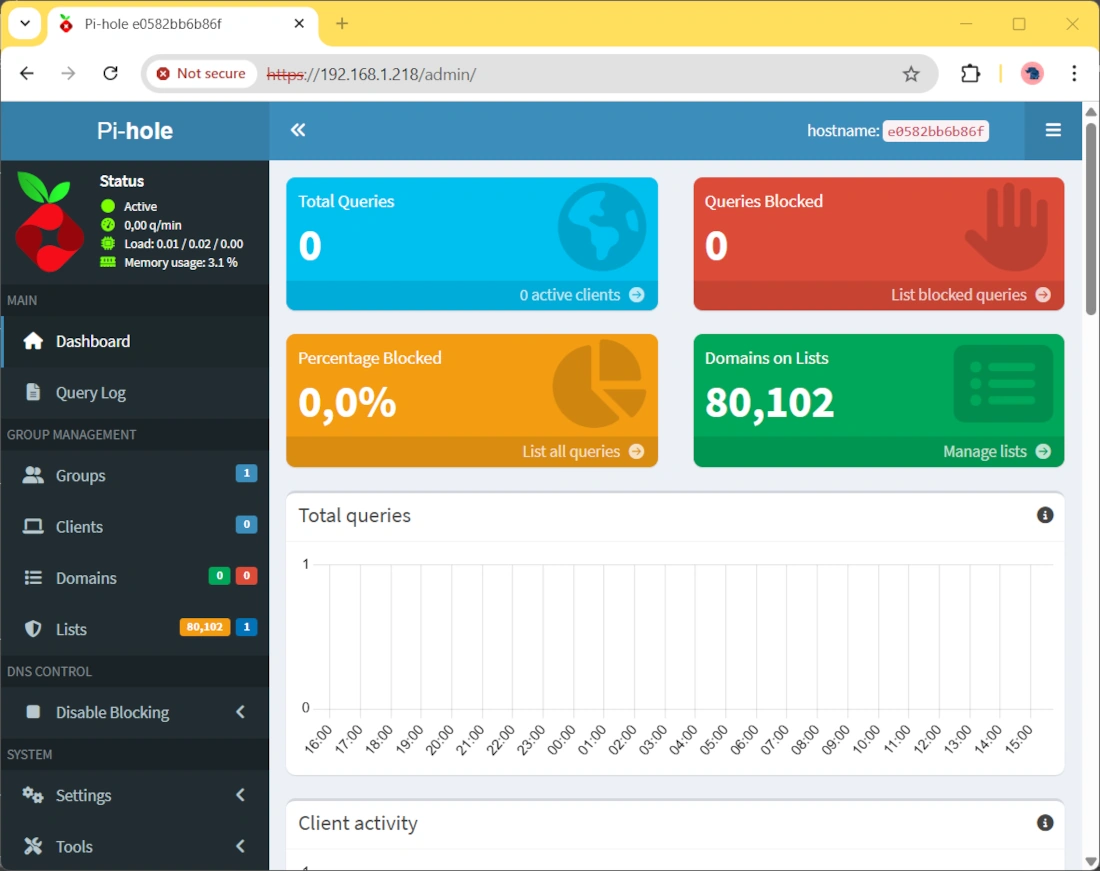
From here, you will have full control of your Pi-hole server.
Block/Permit Domains from Pi-Hole
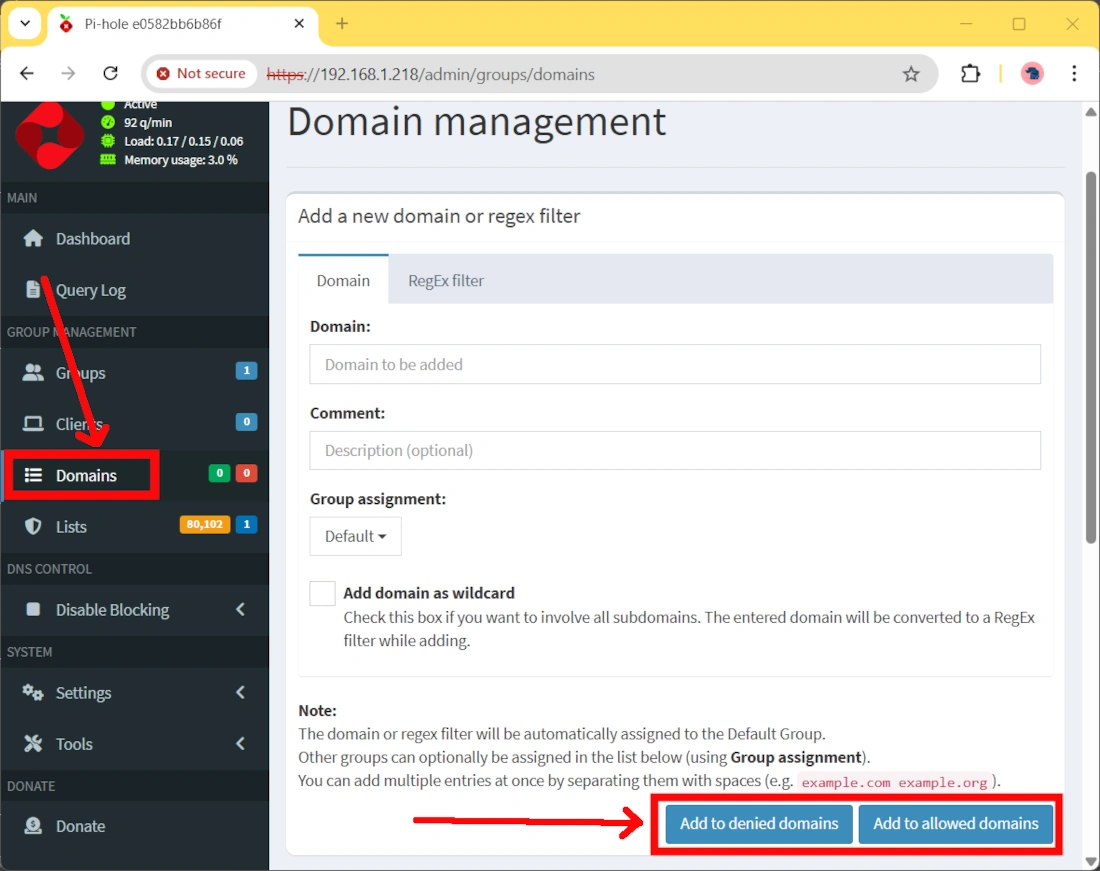
Among other options, there are some cool capabilities. For example, you will be able to manually allow (whitelist) or deny (blacklist) specific domains you want to manually manage from the DNS queries of your network. For example, here you can manually deny specific websites. You can do it from the Domains link on the left sidebar.
It is important to note that if you reach a website with a URL beginning with “www”, you must put it in the domain field; otherwise, the block/permit rules will not work. By default, this will add the new rule to the Default group.
Set local DNS from Pi-Hole
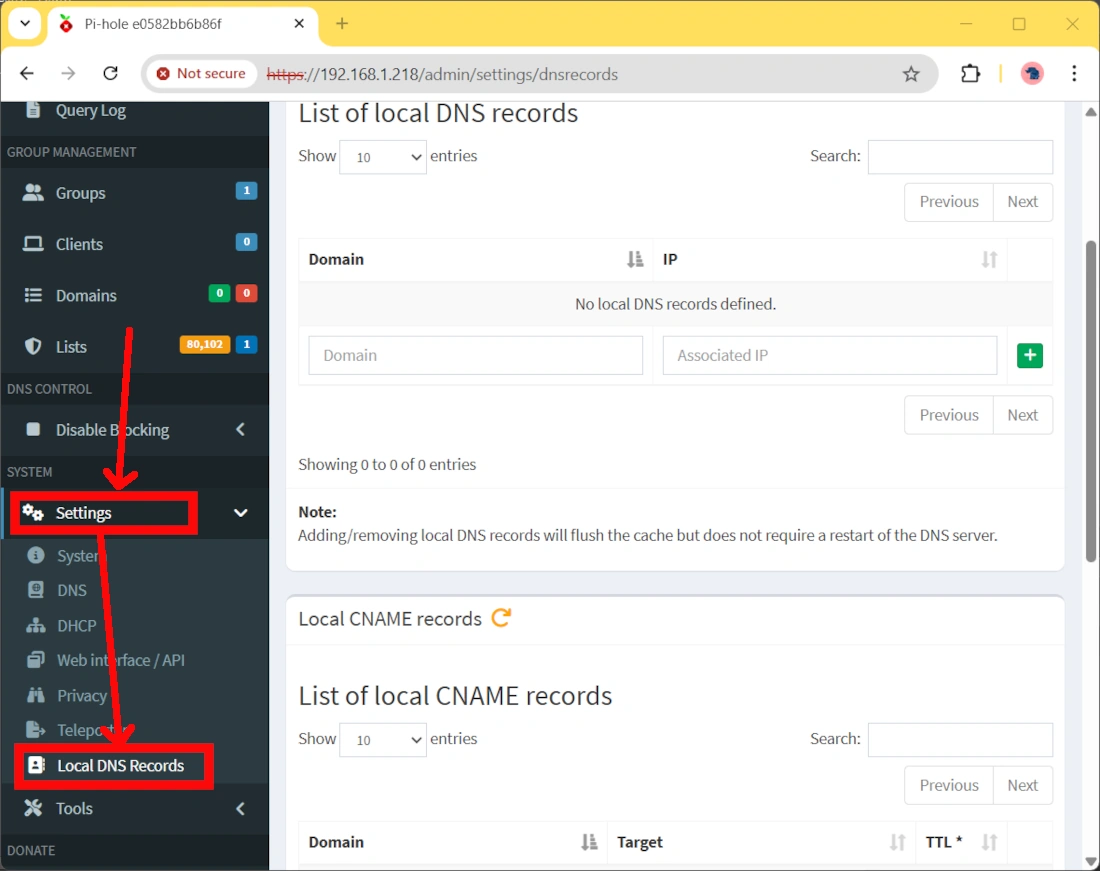
Another cool option from Pi-Hole is that this allows you to set local DNS records: this means that you can create your private mnemonic names for your devices in your local network instead of using IP addresses to reach them. This option is available from the Settings -> Local DNS Records:
Manage Pi-Hole Groups
Pi-hole allows you to create specific groups with specific blocking rules. You can manage them from the “Groups” link on the sidebar. Here you can type the group name you like and click the “Add” button to create it:

For example, let’s create a new group named “no-filtering” for devices which will go to the internet without any domain blocked. This will give us a new group, besides the existing “Deafult” (by scrolling down the Groups page):

Please go to the “Clients” page. From the “known clients” section you will be able to select the IP address matching the client you want to modify. You can optionally give it a name in Pi-Hole with the “Comment” area.
Clicking the “Group Assignment” field will show you a list where you can de-select the default group and select the new “no-filtering” group. Finally, please click the “Add” button:

Final Thoughts
Pi-Hole on a Raspberry PI is a cheap and great way to control your home traffic.
The basic feature (with the default group) allows you to remove all the advertisements from the webpages you browse. But free information (blogs like this) relies on advertisement, and without advertisement to pay the bills, there’s no free information. For example, I choose to block the traffic coming from desktop clients (using AD blocker like Pi-Hole) with a banner explaining this concept. Anyway, I permitted all the traffic from mobile devices (with or without AD blocker) because I want to make my tutorials available for everyone. For this reason, you can perform your tests from a desktop device on my website: when you see the blocking banner, it means that Pi-Hole is working correctly (blocking).
What’s Next
If you want to discover many other projects for your Raspberry PI, you can take a look at peppe8o Raspberry PI tutorials.
Enjoy!

Open source and Raspberry PI lover, writes tutorials for beginners since 2019. He's an ICT expert, with a strong experience in supporting medium to big companies and public administrations to manage their ICT infrastructures. He's supporting the Italian public administration in digital transformation projects.
![]()
![]()
![]()
![]()
![]()
![]()
![]()


The irony…. a pi-hole web tutorial that flags adblockers so you can’t even view the page while using pihole
Hi,
you can use peppe8o.com with your PI-Hole from a Mobile without any problem