Last Updated on 9th June 2024 by peppe8o
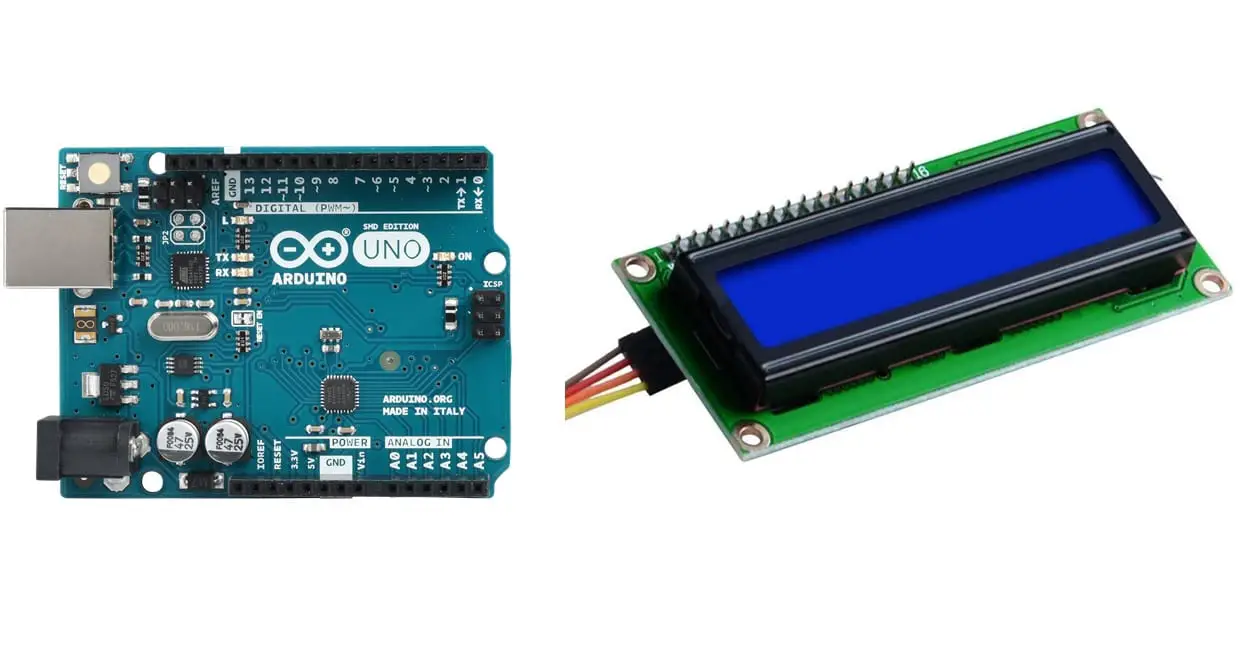
In this tutorial, I’m going to show you how to connect and use an LCD Display with Arduino Uno.
Using a display is a common need to have data visualization for projects including mobile screen. I2C 16X2 Liquid Crystal Character LCD Display is one of most used device and can be interfaced to Arduino Uno by using Arduino IDE
LCD Display Main Features
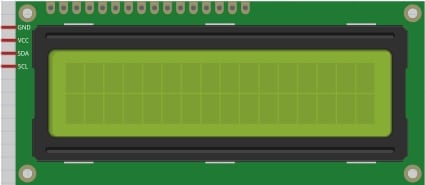
Liquid crystal display is an important part of a system and it helps to display the different constraints of the project. There are many types of LCD displays are available in the market and they can be easily identified by the interface; most of the LCD displays have ten pin interfaces and require appropriate cabling and code. The I2C LCD display has compatible driver circuitry of PCF8574 I2C chip which make simpler the cabling phase.
The most common family of LCD is 16×2 characters LCD which has sixteen columns and two rows of the characters and these can be effectively programmed in an Arduino environment. The pictorial view of the 16×2 LCD is shown in the figure.
The main types of LCDs are: TFT LCD, Nextion LCD, Character LCD
In this tutorial, the focus of the work is character LCD. The word characters mean that alphabets (A, B, C… Z, a, b, … z and symbols) and decimals (1,2,3) can be displayed on this LCD. Other graphics like graphs, waveforms are not able to be displayed on it.
What We Need
As usual, I suggest adding from now to your favourite e-commerce shopping cart all the needed hardware, so that at the end you will be able to evaluate overall costs and decide if to continue with the project or remove them from the shopping cart. So, hardware will be only:
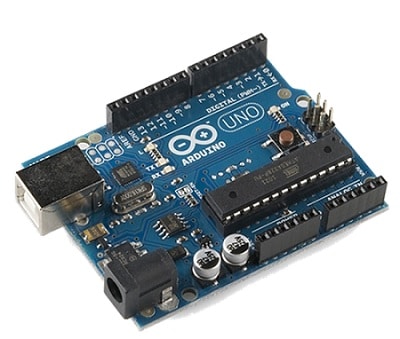
- Arduino Uno Board
- breadboard (optional)
- dupont wirings
- I2C LCD Display (with PCF8574 backpack)
We’ll also need a PC with Arduino IDE software.
Step-by-Step Procedure
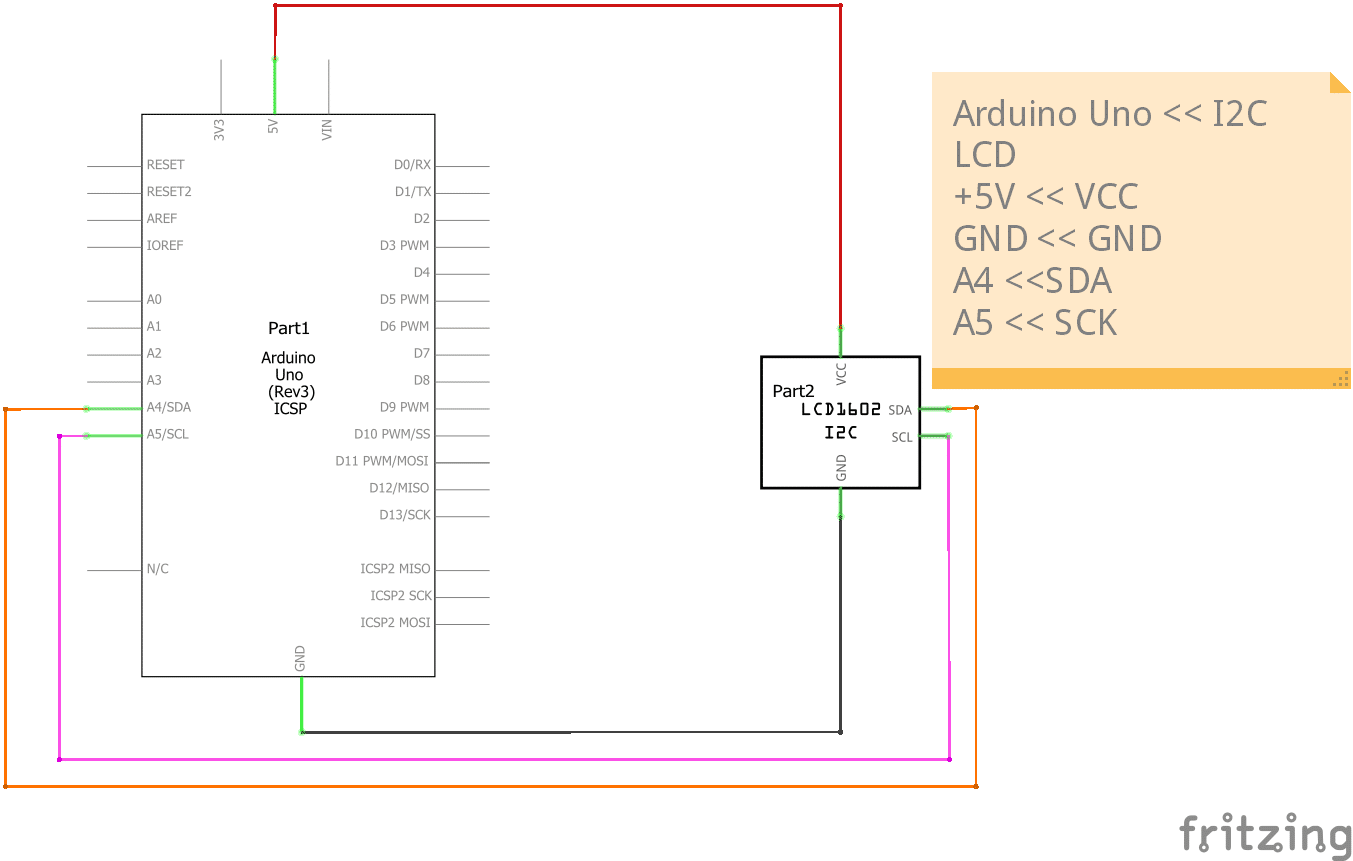
I2C LCD contains 4 pins, which are VCC, GND, SCL and SDA. SCL and SDA are dedicated to i2C communication. Every microcontroller has dedicated pins of I2C. For Arduino Uno are A4 (SDA) and A5 (SCL).
| Board | I2C Dedicated Pins |
| Uno, Ethernet | A4 (SDA), A5 (SCL) |
| Arduino Mega 2560 | 20 (SDA), 21 (SCL) |
| Leonardo | 2 (SDA), 3(SCL) |
| Due | 20(SCA), 21 (SCL |
Wiring Diagram
Please connect LCD with the Arduino board by following picture:
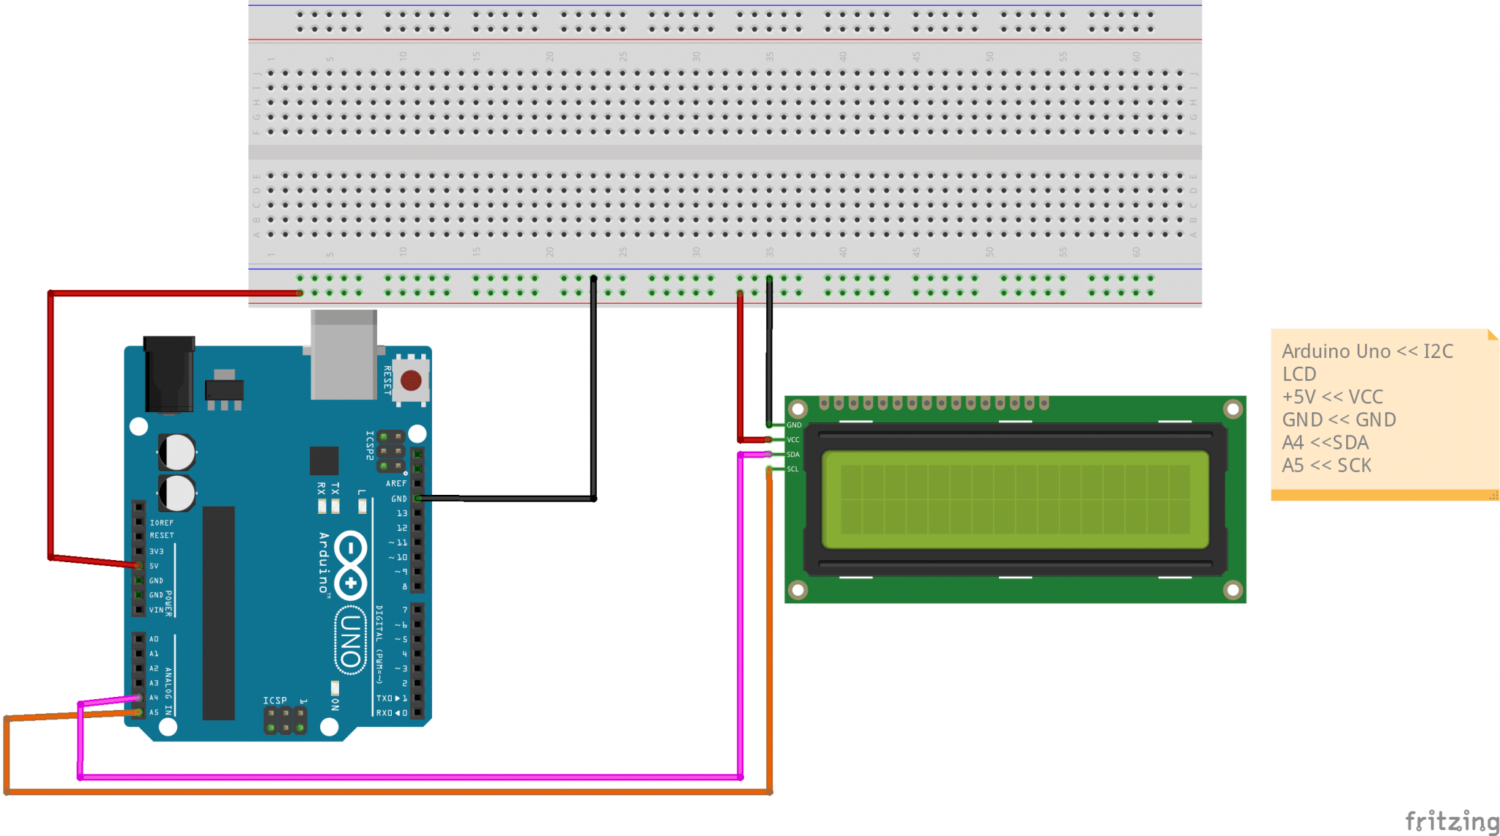
The following is the schematic digram of LCD connected with the Arduino
Get the ArduinoLCD code
Connect your PC to Arduino and open Arduino IDE. For the very first steps, you can refer to Connecting Connecting Windows PC with Arduino tutorial. Download the “arduinoLCD” code and library from this link
- Arduino-LiquidCrystal-I2C-library-master -> this same library works on all Arduino boards.
You will need to import this library in your Arduino IDE before compiling the code.
Extract the folder from your PC. You will have a folder named “arduinoLCD” containing a file named “arduinoLCD.ino”. Open this file with your Arduino IDE.
Code Explanation
This is the section before setup which is used for globe variables defining and libraries additions. Wire.h is the library for I2C two-wire communication, Liquid_crystal_I2C is an LCD library that communicates in the I2C communication protocol. Child of the library is created in the third line, which defines 0x27 as the i2c address, 16 are the columns while 2 are the rows. If you have a 20X4 LCD, just write down 20 by replacing 16 and 4 by changing 2.
#include <Wire.h>
#include <LiquidCrystal_I2C.h> // LCD I2C added
LiquidCrystal_I2C lcd(0x27, 16, 2); // Child of LCD
This is the setup section in which LCD is initialised by lcd.begin() command, while LCD contains a light that can be turned on and off. When lcd.backlight is initialised, it turns ON the LCD lights. Character LCD comes in blue and yellow backlights.
void setup() {
  lcd.begin(); // Lcd started
  lcd.backlight(); // LCD back light on
}
In the loop section, LCD cursors are defined at which character needs to be written, lcd.setCursor (0,0) means cursor should be at the location of column 0 and row 0. lcd.print(“Seconds”) deals the seconds as a string and directly print it. If what is written is lcd.print(seconds), without double commas, the code will consider it as a variable, which should be defined.
Lcd.print(millis()/1000) where millis() is the time of the program when the Arduino board started, dividing by 1000 means milliseconds converted to seconds.
void loop() {
  lcd.setCursor(0, 0);
  lcd.print("Seconds");
  lcd.setCursor(1, 1);
  lcd.print(millis() / 1000);
}
Run the Arduino Buzzer code
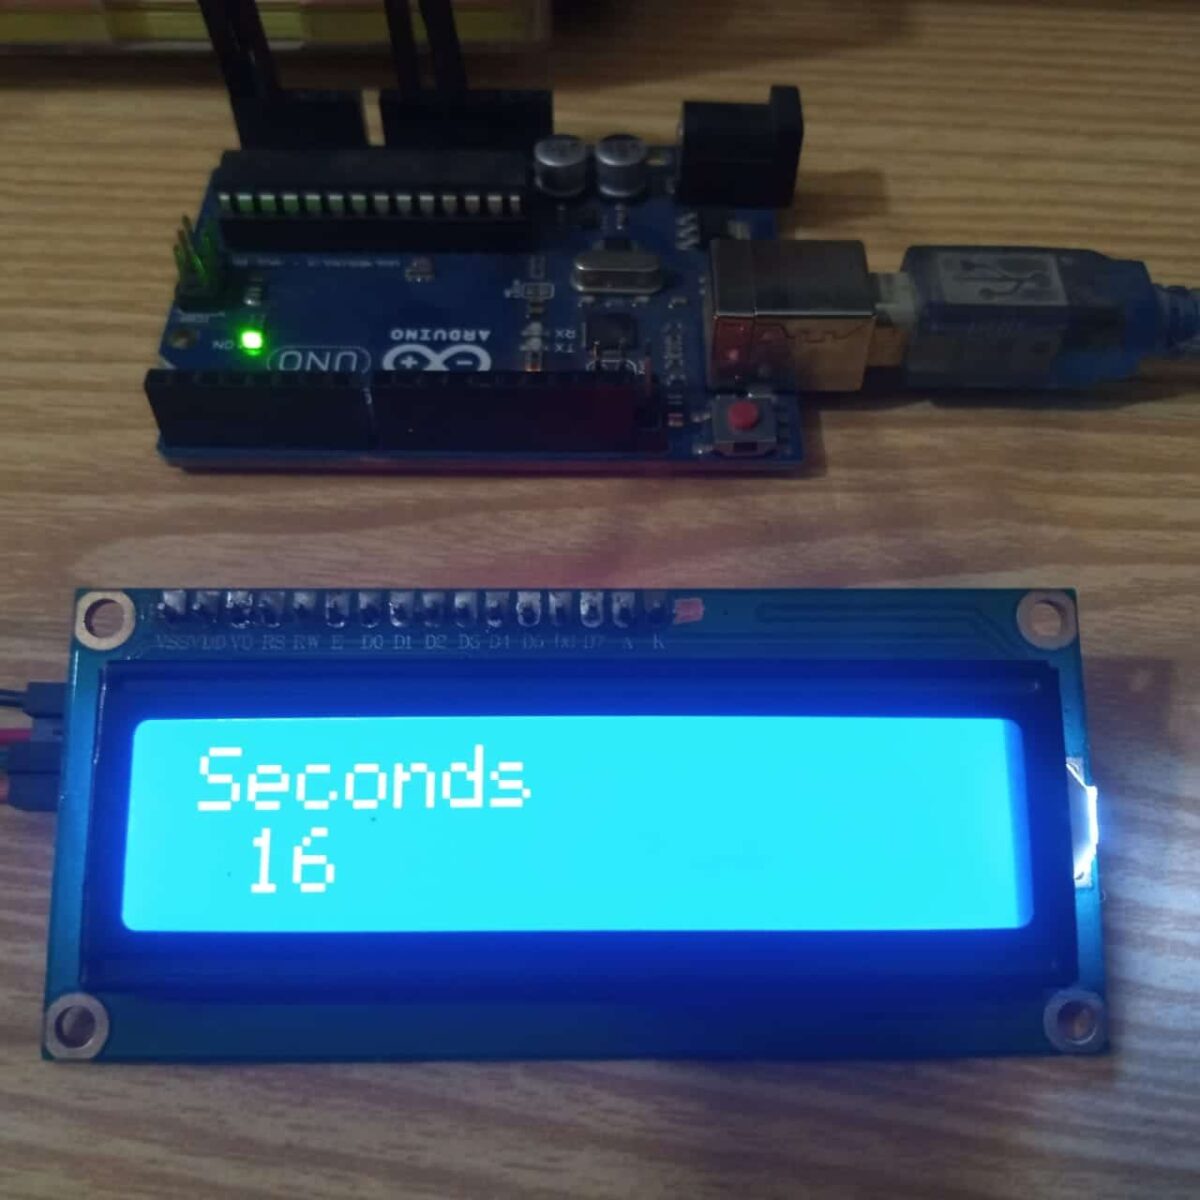
From your Arduino IDE, compile the code. Once compile operation has finished successfully, load it in your Arduino and the LCD Display will start showing with Arduino as in the following picture:
Enjoy!
Umar Jamil
For any queries and help for work, please contact me at:
Whatsapp:+92-346-661-7017
Email: umarjamil0007@gmail.com

I'm an Electronic Engineer, well-skilled to solve the issues of hardware and software. I do have laboratory which contains unlimited sensors and modules for testing the working. Also, I am experienced in Arduino programming, Android mobile application, microcontroller programming, IOTs and embedded projects. I provide services to control, realize the sensor data in the Mobile Application. For any queries and help for work Contact: Whatsapp:+92-346-661-7017 Email: umarjamil0007@gmail.com

