Last Updated on 16th November 2024 by peppe8o
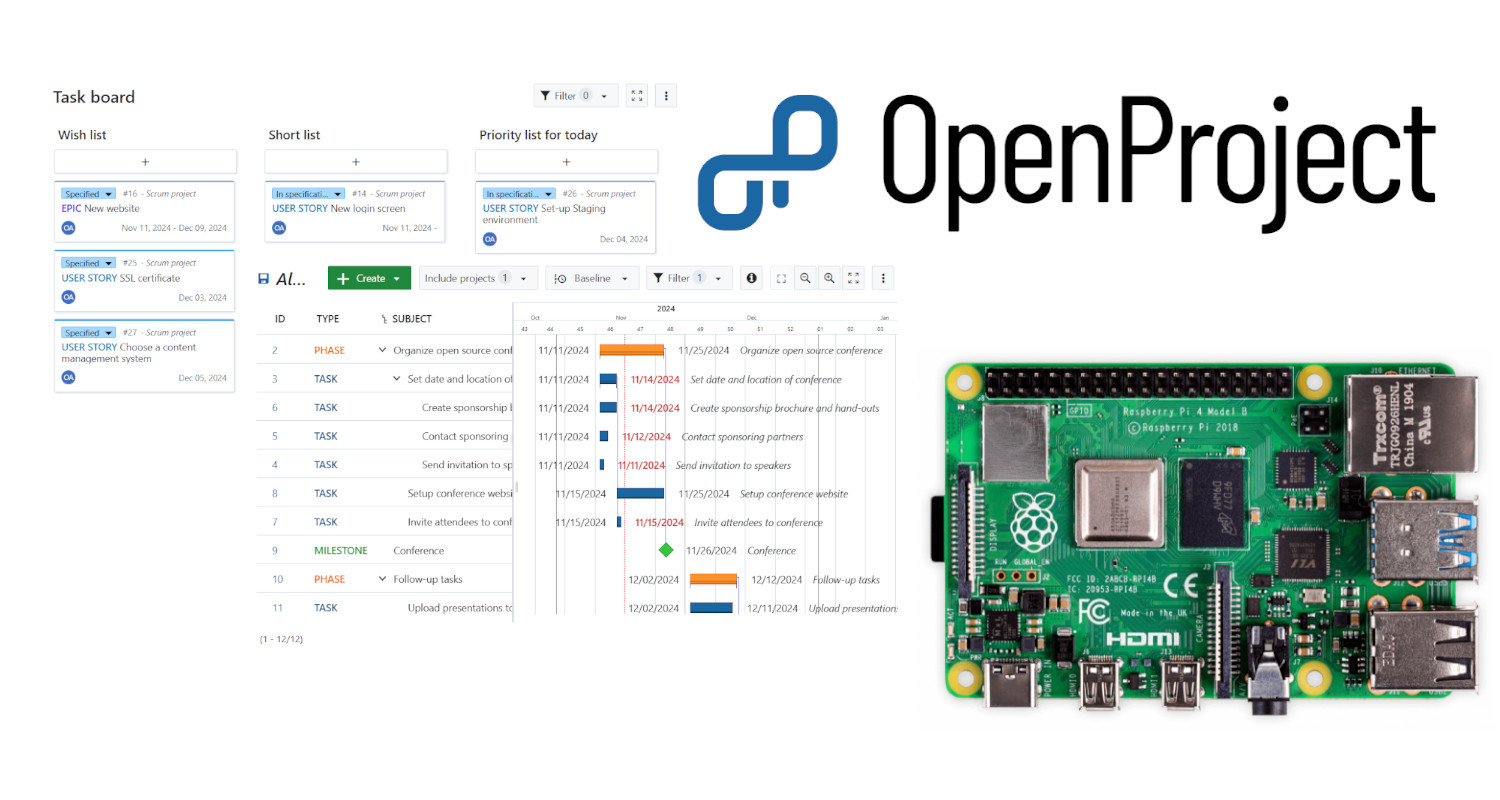
This tutorial will show you how to install OpenProject on Raspberry Pi, an open-source project management tool similar to Redmine, Trello, Wrike, and so on.
For this guide, I will use my Raspberry PI 5 model B, but this should work with any Raspberry PI computer board compatible with a 64-bit OS.
About OpenProject
OpenProject is open-source project management software that you can install locally on your Linux server. This means that you will have better control over your data as they are hosted in your hardware.
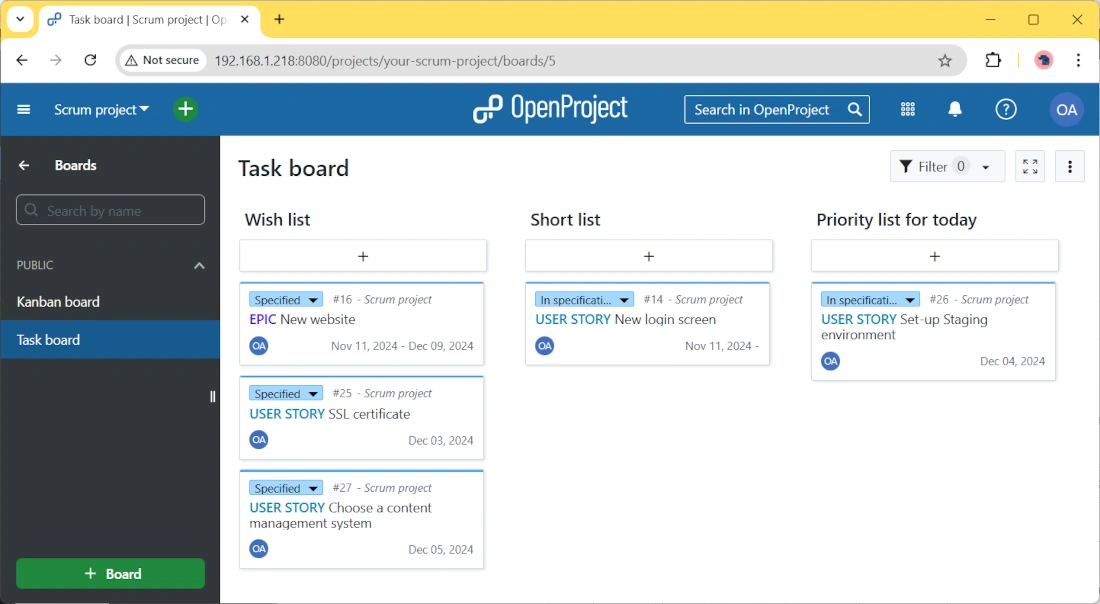
It allows you to manage Projects with the most modern approaches, such as Agile, Kanban, and Scrum by offering project boards completely customizable.
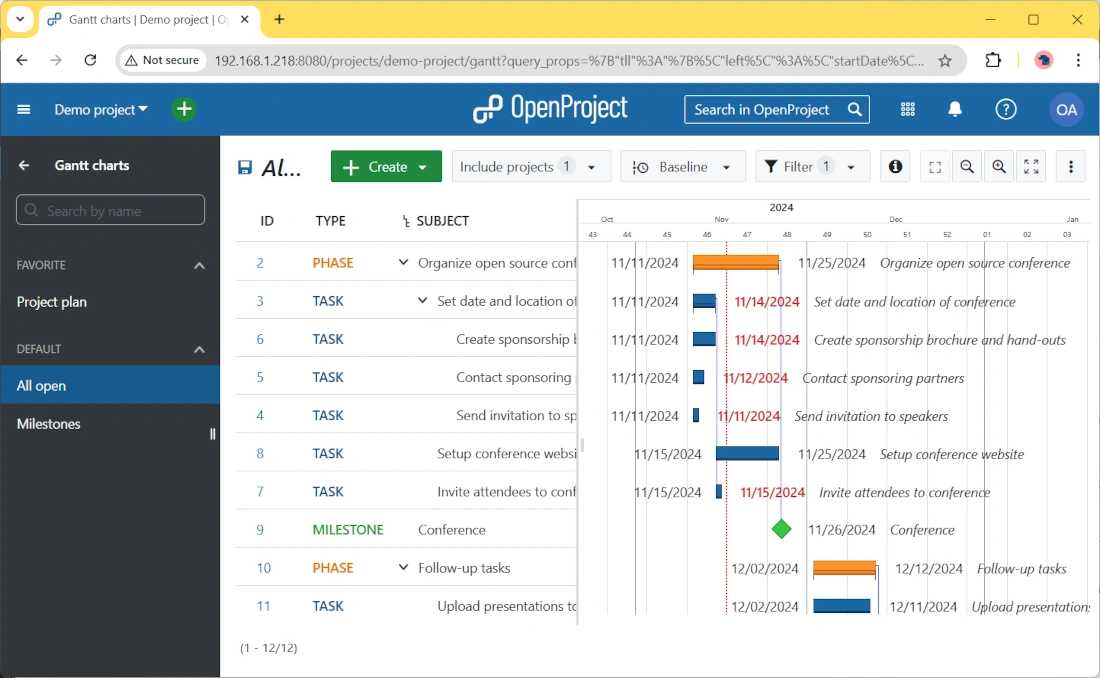
Additionally, OpenProject also offers the most classic tools/views as managing work packages, collaborating with people, and reporting the project in GANTT charts.
The full list of what you can do is available on the OpenProject features page.
OpenProject offers both an Enterprise and a Community edition. Of course, we’ll look at the community version, even if teams with specific needs can contact them.
What We Need
As usual, I suggest adding from now to your favourite e-commerce shopping cart all the needed hardware, so that at the end you will be able to evaluate overall costs and decide if to continue with the project or remove them from the shopping cart. So, hardware will be only:
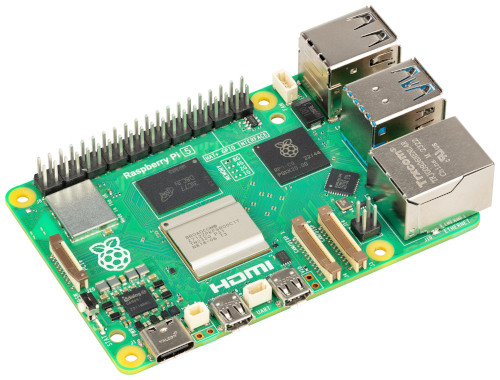
- Raspberry PI Computer Board (including proper power supply or using a smartphone micro USB charger with at least 3A)
- high speed micro SD card (at least 16 GB, at least class 10)
Step-by-Step Procedure
We will use Docker to install OpenProject on Raspberry PI, as it offers a simple way to make all the installation activities with only 1 command line.
Prepare the Operating System
The first step is installing the Raspberry PI OS Lite (please note that we need the 64-bit version) to get a fast and light operating system (headless). If you need a desktop environment, you can also use the Raspberry PI OS Desktop, in this case working from its terminal app. Please find the differences between the 2 OS versions in my Raspberry PI OS Lite vs Desktop article.
Make sure that your OS is up to date. From your terminal, use the following command:
sudo apt update -y && sudo apt upgrade -yAs said, we must install also Docker. For this step, please find the detailed tutorial in my Beginner’s Guide to Install and Use Docker with Raspberry PI article (you don’t strictly need Portainer from that guide).
Install OpenProject on Raspberry PI
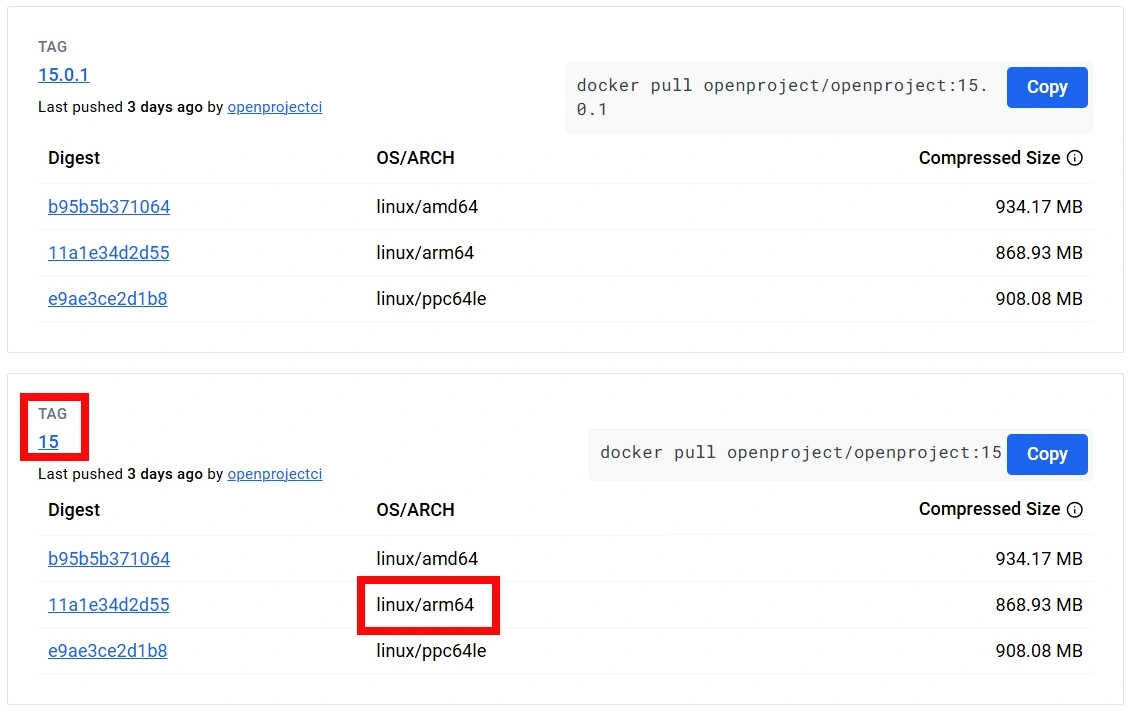
Before proceeding with the docker command, we need to check the number of the latest version of OpenProject. From the related page on Docker Hub, please check the latest tag value compatible with linux/arm64 platform. You can skip dev and dev-slim tags as they are intended for development environments.
At the date of this tutorial, the latest tags are “15” and “15.0.1”. I will use the “15” as this is a major release:
At this point, you should already know also your Raspberry PI’s IP address and you can prepare the Docker run command. In the following, please change my IP (192.168.1.218) with your local one and use your latest release of openproject (if different) at the end of the openproject/openproject:15 string, after the colon, instead of “15”. You should also use a random value instead of secret:
docker run -d -p 8080:80 --name openproject \
  -e OPENPROJECT_SECRET_KEY_BASE=secret \
  -e OPENPROJECT_HOST__NAME=192.168.1.218:8080 \
  -e OPENPROJECT_HTTPS=false \
  -v pgdata:/var/openproject/pgdata \
  -v assets:/var/openproject/assets \
  --restart unless-stopped \
  openproject/openproject:15
Copy ALL the previous command and paste it into your Raspberry PI’s terminal. It will show you the process of downloading the required packages, extracting them and running the container.
Here’s the meaning of these lines:
docker run -d: this is the main docker command to download images (if not available locally) and run containers. The-doption allows the container to run without appending the session to your terminal, so that you can exit from your terminal with the container continuing to run-p 8080:80: this option maps the container port, 80, to the port 8080 your Raspberry PI’s physical address--name openproject: this gives the container a mnemonic name-e OPENPROJECT_SECRET_KEY_BASE=secret: from OpenProject docs, this sets the secret key base for Rails. Please use a pseudo-random value for this and treat it like a password-e OPENPROJECT_HOST__NAME=192.168.1.218:8080:this sets the hostname to bind for incoming connections. With a local use, you can set the Raspberry PI’s IP (and the host port). If you have a domain, you should use your domain here-e OPENPROJECT_HTTPS=false: this avoids the service to force connections to HTTPS. This can be enough for local installations whitin a local area. If you need to expose the service on internet, you should set it to true and manage the related certificates-v pgdata:/var/openproject/pgdataand-v assets:/var/openproject/assets: these lines allows you to keep the OpenProject data saved in persistent volumes, so that after the container stop/start you don’t loose the data--restart unless-stopped: this option enables the container to automatically restart even after your Raspberry PI’s reboot. To stop the container, you must issue a manual docker stop command.openproject/openproject:15: the last part of the command identifies the docker image to use and the related tag
After the docker operations, you will have to wait for the initialization process of OpenProject inside the container. You can check the progress with the following command, which gives you the current logs of your docker container:
docker logs openprojectYou must wait to get something similar to the following lines, it may take some minutes (depending on the speed of your Raspberry PI and your micro SD storage):
----------------------------- LOADING PAGES
I, [2024-11-15T15:40:46.553159 #161]  INFO -- : Using schema cache file /app/db/schema_cache.yml
[161] Puma starting in cluster mode...
[161] * Puma version: 6.4.3 (ruby 3.3.4-p94) ("The Eagle of Durango")
[161] *  Min threads: 4
[161] *  Max threads: 16
[161] *  Environment: production
[161] *   Master PID: 161
[161] *      Workers: 2
[161] *     Restarts: (✔) hot (✖) phased
[161] * Preloading application
[161] * Listening on http://0.0.0.0:8080
[161] Use Ctrl-C to stop
[161] - Worker 0 (PID: 380) booted in 0.01s, phase: 0
[161] - Worker 1 (PID: 387) booted in 0.0s, phase: 0
Access OpenProject
At this point, you can use your favourite browser from your remote computer to reach your Raspberry PI’s IP with the 8080 port. In my case, the URL will be “http://192.168.1.218:8080”. It will automatically redirect you to the login page:
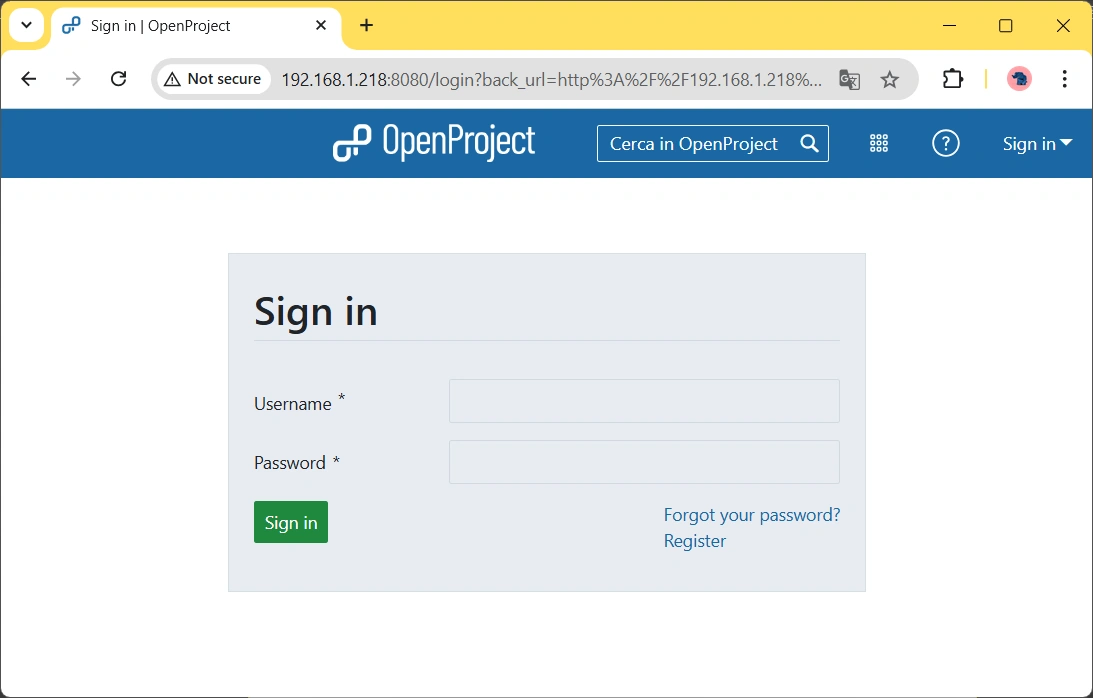
The default credentials for OpenProject are:
- username: admin
- password: admin
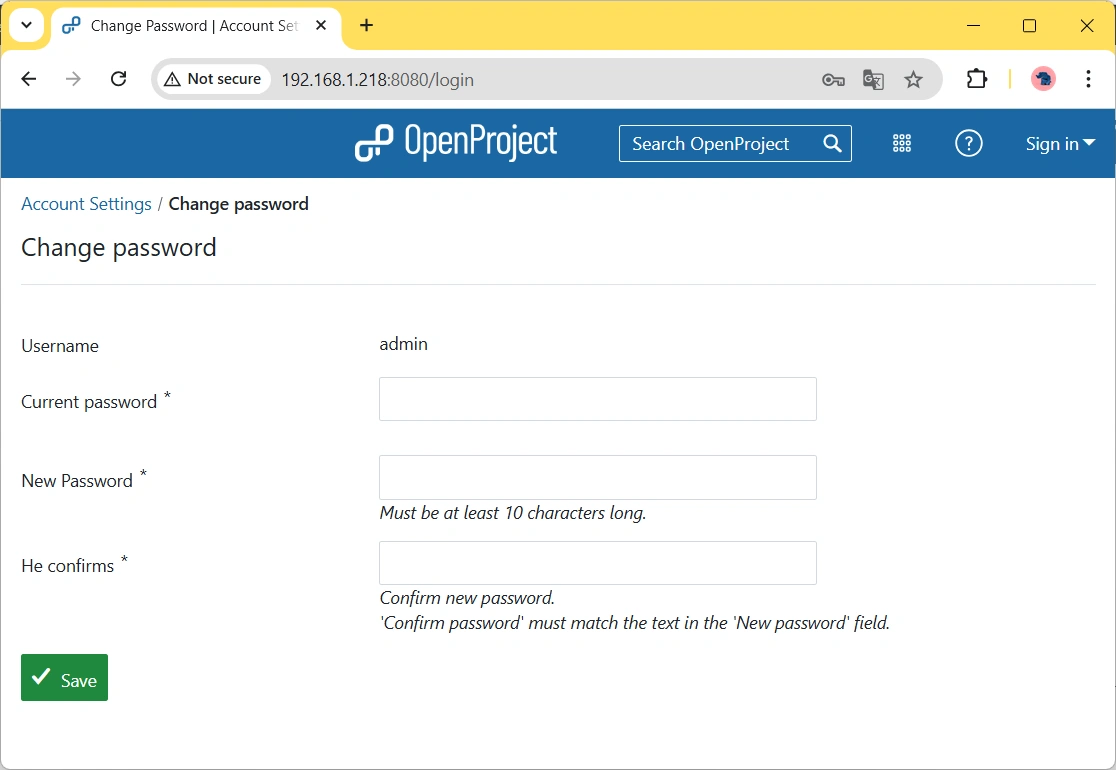
Once you login, you will be requested to change the admin password. To do this operation, you must first insert the current password and then the new password (twice). Please note that the new password must be at least 10 characters long:
After this, you will get the OpenProject home page:
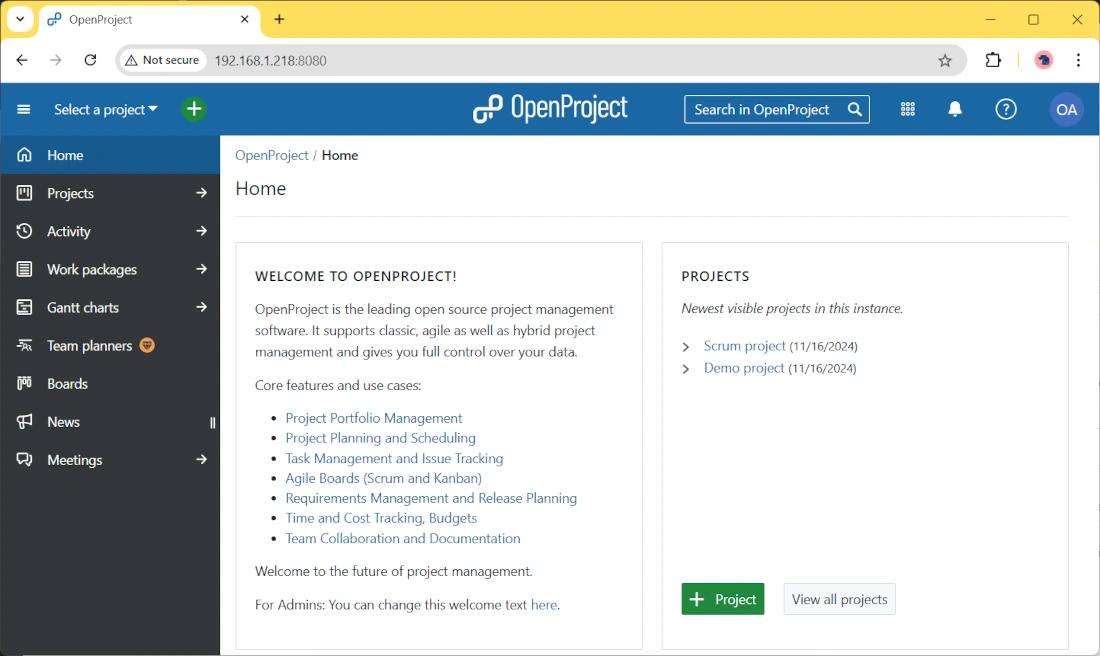
At any time, you can go back to this page by clicking the “OpenProject” logo at the top-centre part of the page.
By default, OpenProject creates 2 example projects: a “Scrum Project” and a “Demo Project”. With these, you can see the software features by looking at their work packages, and GANTT charts. You can reach these projects from the Projects link menu on the left-side menu.
A complete guide on how to use OpenProject can be found in the OpenProject official user-guide.
Administrating OpenProject on Raspberry PI
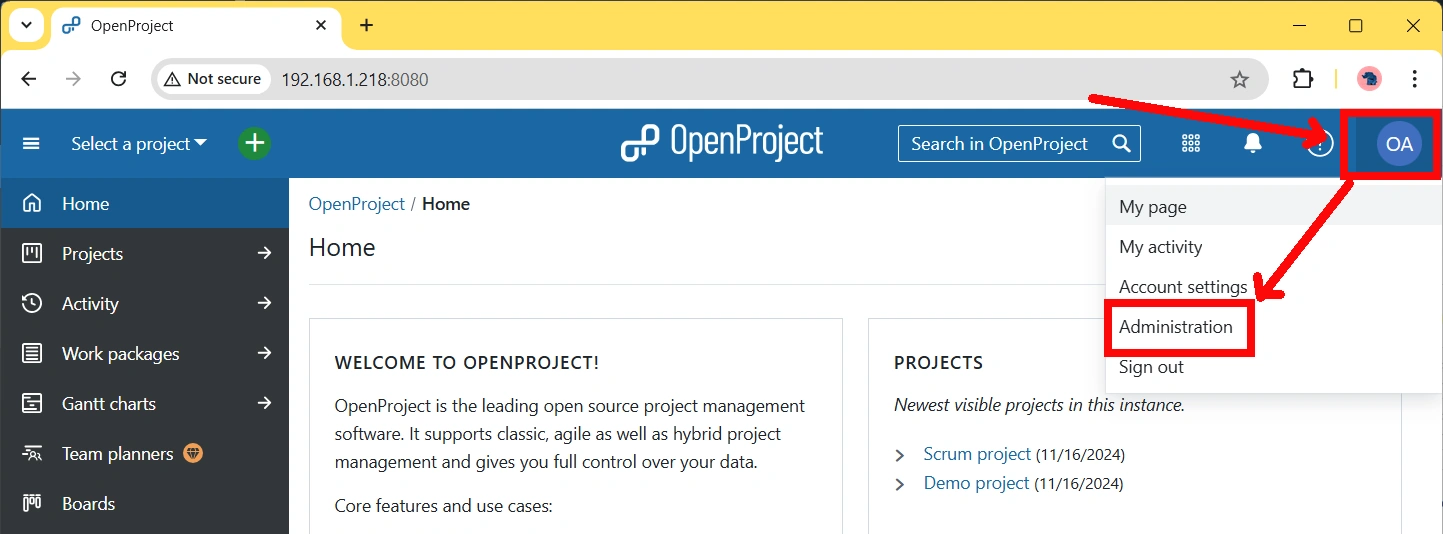
With the OpenProject admin user, you can administrate the software and configure many options. To reach the Administration page, you must use the menu available from the profile button:
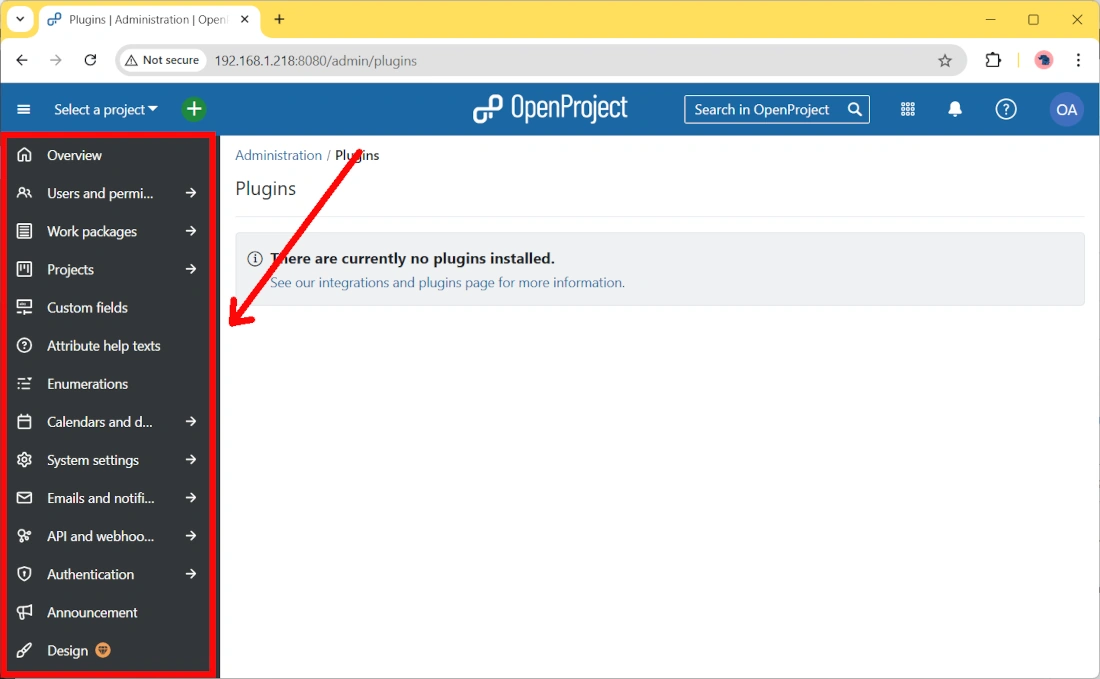
On the new page, you will find the administration menu which offers many customization possibilities for your installation.
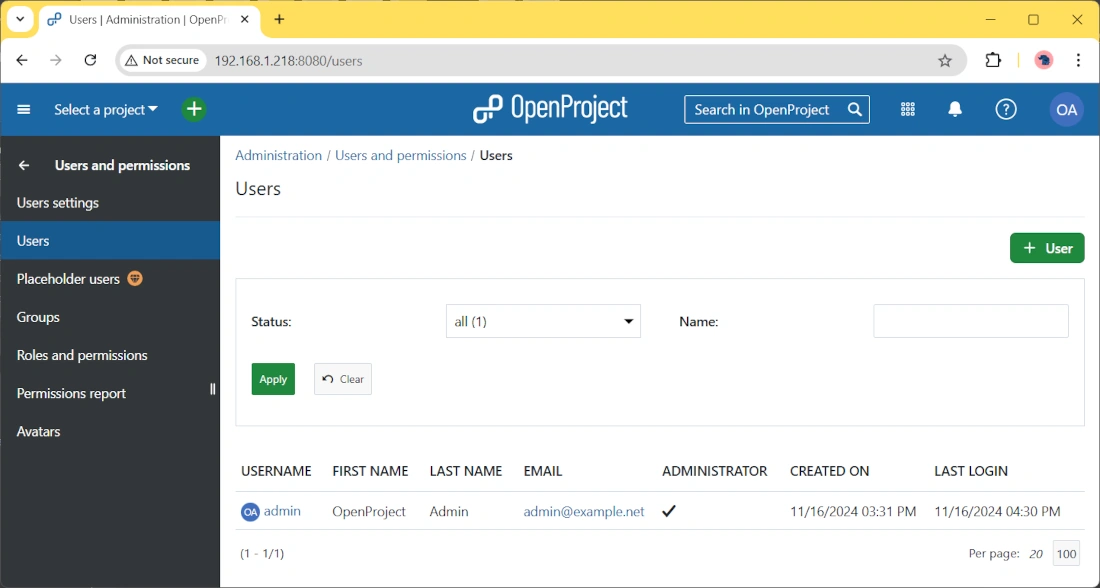
For example, you can create and manage the users who can access your OpenProject installation:
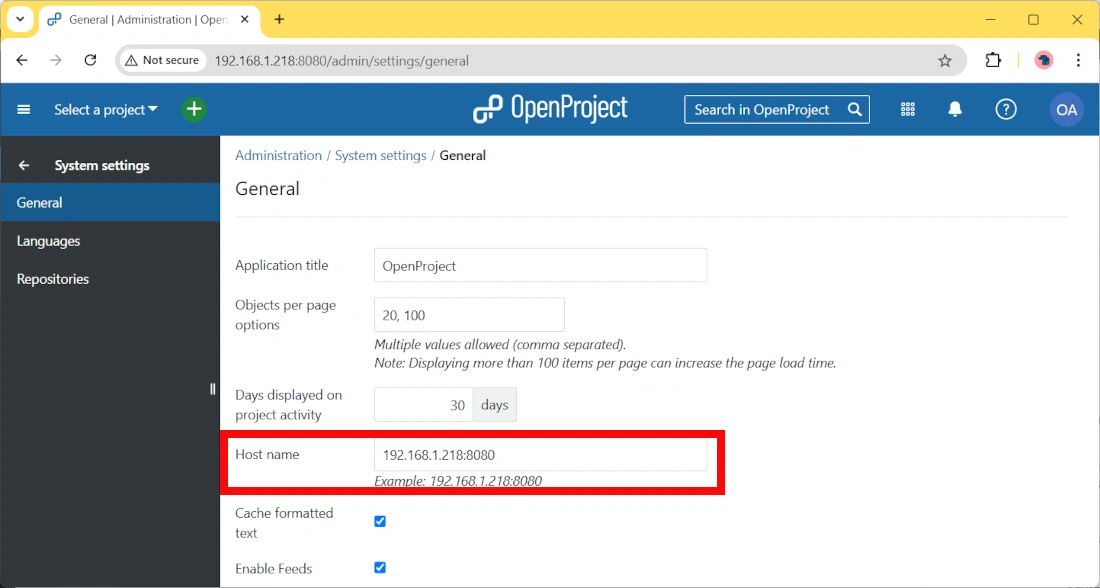
From the system settings, by the others, you can change the hostname (in case of changing the domain name):
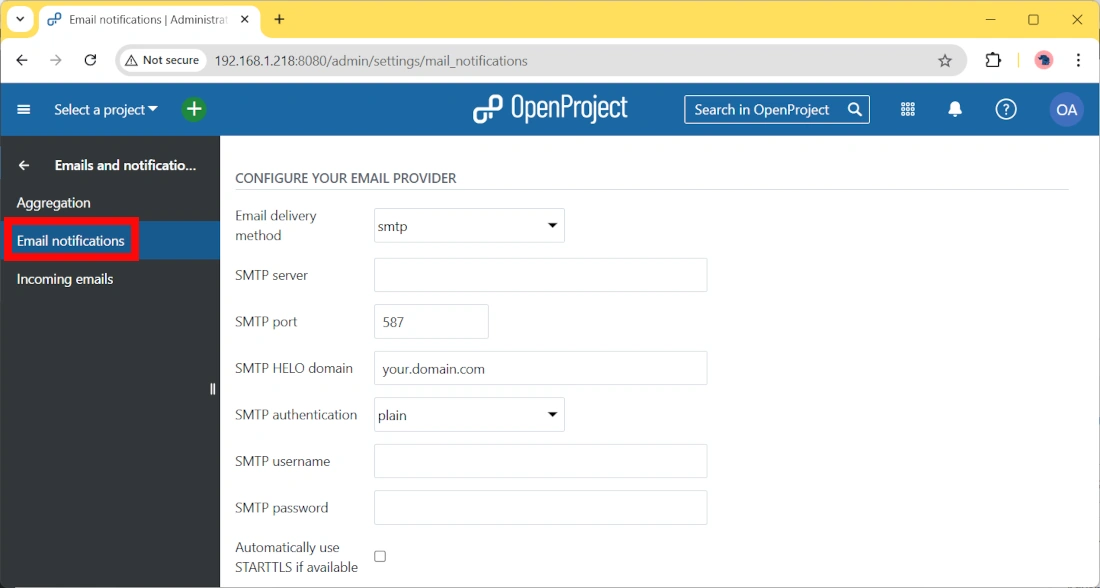
Another important section is “Email and Notifications”, where you can set the SMTP options to enable OpenProject to send email messages to the users:
What’s Next
Interested in more cool ways to use your Raspberry PI computer board? Take a look at peppe8o Raspberry PI computer tutorials!
Enjoy!

Open source and Raspberry PI lover, writes tutorials for beginners since 2019. He's an ICT expert, with a strong experience in supporting medium to big companies and public administrations to manage their ICT infrastructures. He's supporting the Italian public administration in digital transformation projects.

