Last Updated on 27th August 2024 by peppe8o
In this tutorial, I’m going to show you how to connect and use a DHT11 sensor to Raspberry PI Pico with MicroPython. Please note that if you are interested in using a Raspberry PI computer board (like RPI Zero), you will need to refer to my Use Raspberry PI with DHT11 Temperature and Humidity Sensor tutorial.
The DHT11 is a very simple chip (easy to find on common ecommerce stores) which brings to your projects the ability to read Temperature and Humidity. Let’s see how to connect and use DHT11 with Raspberry PI Pico and use it with MicroPython
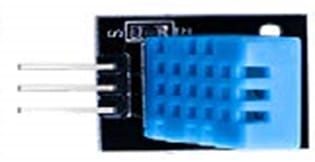
As already explained in that post, DHT11 Sensor is a cheap solution to measure indoor Temperature and Humidity (it is not indicated for outdoor uses). You can use it with Arduino (usually in Weather Station projects or similar) or alone, directly connected to a Raspberry PI.
What We Need
As usual, I suggest adding from now to your favourite e-commerce shopping cart all the needed hardware, so that at the end you will be able to evaluate overall costs and decide if to continue with the project or remove them from the shopping cart. So, hardware will be only:
- A common computer (maybe with Windows, Linux or Mac). It can also be a Raspberry PI Computer board
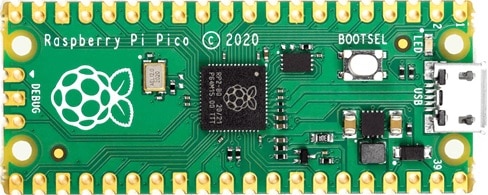
- Raspberry PI Pico microcontroller (with a common micro USB cable)
- breadboard
- dupont wirings
- DHT11 sensor module
Please note that there are 2 versions of DHT11 modules. One including a board (which only adds a pull-up resistor to data pin), which has 3 pins, and one without this board, having only the sensor (and 4 pins, one of which unused). In this post, I’m using the first one, similar to images in this post.
Wiring Diagram
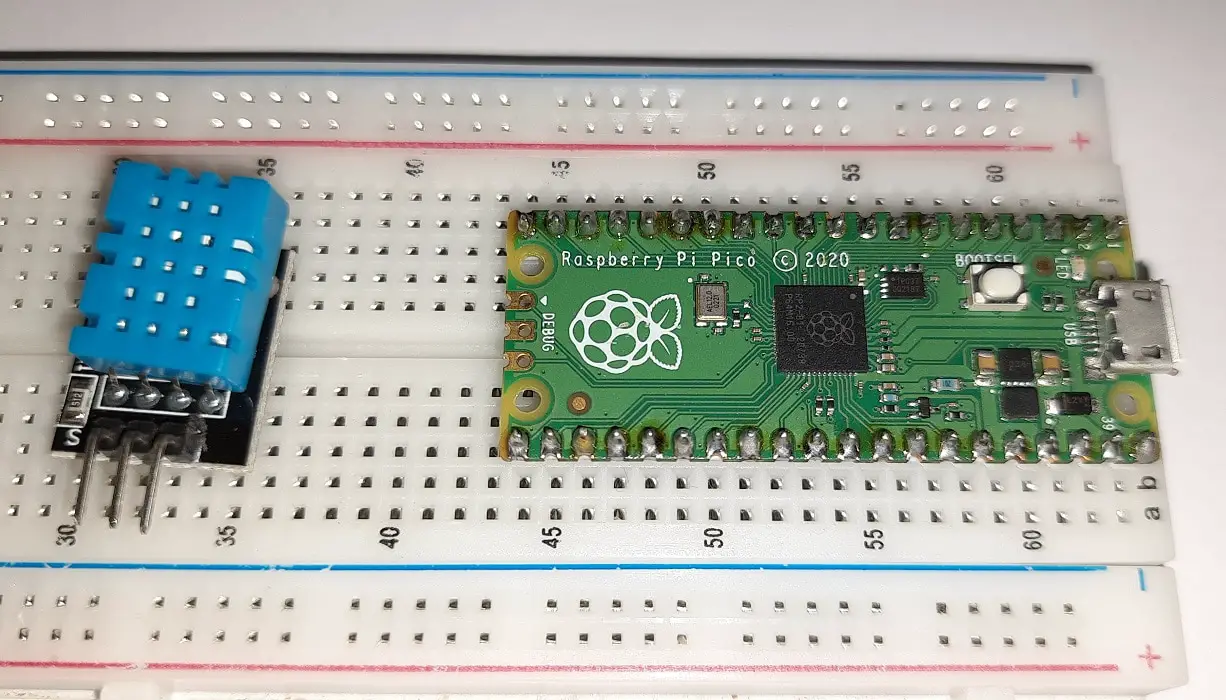
Please find below the wiring diagram picture:
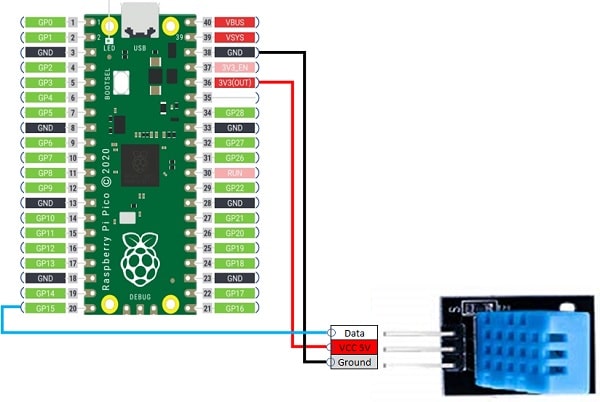
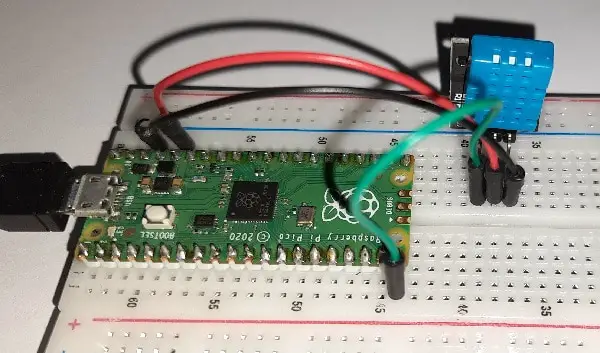
…and some detail images:
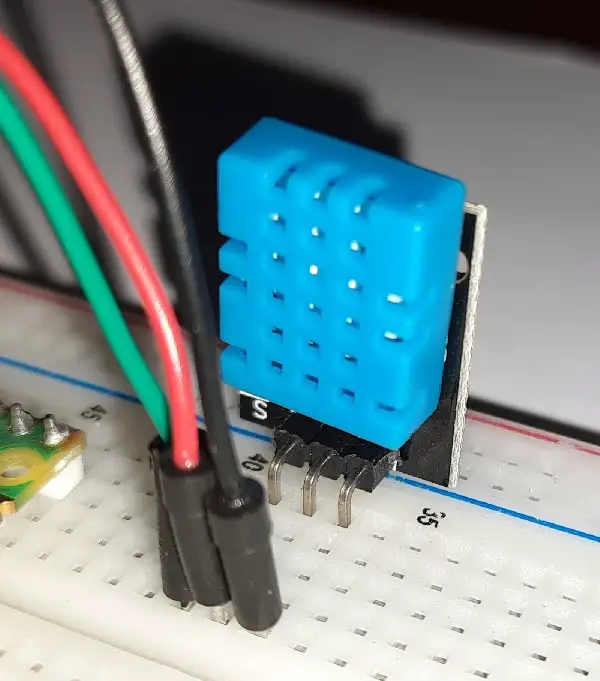
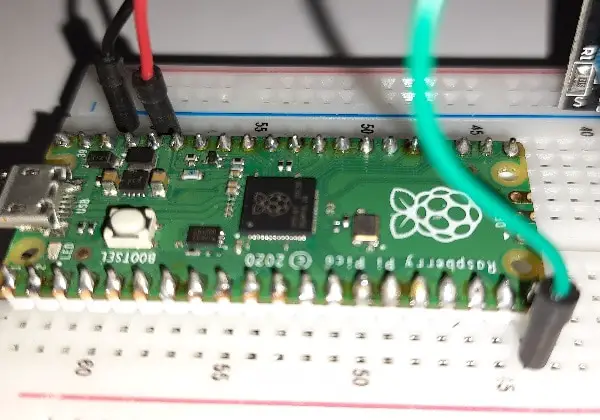
Step-by-Step Procedure
Prepare cabling according to the previous paragraph. Connect RPI Pico to Thonny (you can refer to my tutorial about the First steps with Raspberry PI Pico).
Get DHT11 MicroPython Libraries
Download the “dht.py” file from GitHub repository of ikornaselur.
You can also download a copy of it from my download area with the following link:
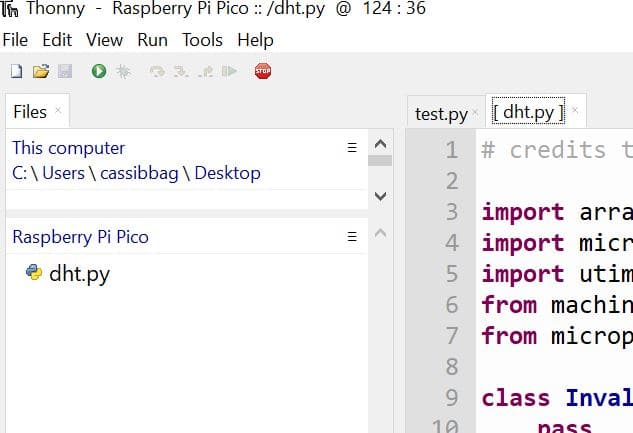
According to my Adding external modules to MicroPython with Raspberry PI Pico tutorial, add this file in your Raspberry PI Pico root folder or inside a folder named “lib”. This is how appears in my RPI Pico storage:
Get and Understand my picoDHT11.py Code
Now download my main file to test your DHT11 sensor:
I’ll explain all code lines in the following paragraphs. It is really simple as the dht.py library makes everything needed to manage the temperature and humidity sensor.
First of all, we import required libraries:
from machine import Pin
import utime as time
from dht import DHT11, InvalidChecksum
The data PIN number is associated to a variable for better code management and then the sensor object is associated with “dhtSensor” variable. It requires as unique parameter a PIN object initialized as output with a pull down (software) resistance. All of these operations are made within a line (the second in the following code):
dhtPIN = 15
dhtSensor = DHT11(Pin(dhtPIN, Pin.OUT, Pin.PULL_DOWN))
We arrive directly at the main loop, which simply prints the 2 values of temperature (dhtSensor.temperature) and humidity (dhtSensor.humidity). My print statement uses the format method to get a more pretty output:
while True:
    print("Temp: {}°C".format(dhtSensor.temperature), \
          "| Hum: {0:.1%}".format(dhtSensor.humidity/100))
Before repeating the loop, dht11 requires a wait time to correctly answer the requests. It tested that 1.1 seconds should give you a stable result, even if the more interval you can accept, the better is:
time.sleep(1.1)Running the picoDHT11.py Script
Run this script in your Thonny IDE (F5) and you will start reading measures from dht11 sensor in your Thonny shell, as in the following:
MicroPython v1.15 on 2021-04-18; Raspberry Pi Pico with RP2040

Type "help()" for more information.
>>> %Run -c $EDITOR_CONTENT
Temp: 27.7°C | Hum: 82.0%
Temp: 28.0°C | Hum: 83.0%
Temp: 27.9°C | Hum: 83.0%
Temp: 27.8°C | Hum: 83.0%
Temp: 27.9°C | Hum: 83.0%
What’s Next
Interested to do more with your Raspberry PI Pico? Try to look at my Raspberry PI Pico tutorials for useful and funny projects!
Enjoy!

Open source and Raspberry PI lover, writes tutorials for beginners since 2019. He's an ICT expert, with a strong experience in supporting medium to big companies and public administrations to manage their ICT infrastructures. He's supporting the Italian public administration in digital transformation projects.

Hello!
for some reason I get the following error:
Traceback (most recent call last):
File “”, line 9, in
File “DHT11.py”, line 58, in temperature
File “DHT11.py”, line 43, in measure
InvalidPulseCount: Expected 84 but got 1 pulses
Ciao Angelo,
I remember a similar problem when I was trying to get faster values with some DHT11 sensors (maybe related to sensor quality). Please try increasing sleep time.
If you still get the error, email to me at giuseppe@peppe8o.com
I have the same problem as @Angelo
Did you try to increase sleep time?
Can you help me with this:
Traceback (most recent call last):
File “”, line 3, in
ImportError: no module named ‘dht’
Hi Noel,
please try checking that the imported library must have the same name (for example, if I “import dht” there must be a file named exactly “dht.py”) and that this file must be on same path of your running program (I suppose the root of Pico) or inside a folder named “lib”. Please let me know if this solves your error
Got two different outputs:
Temp: 23.0°C | Hum: 34.0%
Traceback (most recent call last):
File “”, line 10, in
File “dht.py”, line 58, in temperature
File “dht.py”, line 43, in measure
InvalidPulseCount: Expected 84 but got 0 pulses
Traceback (most recent call last):
File “”, line 10, in
File “dht.py”, line 58, in temperature
File “dht.py”, line 43, in measure
InvalidPulseCount: Expected 84 but got 0 pulses
Please try with “time.sleep(5)”