
This tutorial will show you how to install WordPress on a Raspberry PI computer board.
Creating a personal blog can give a lot of satisfaction for all, but not all the time can you have enough money to afford the very first costs. With WordPress on a Raspberry PI, you can start with the cost of a cheap board.
You can also create your own blog, starting with a cheap investment. To reach and publish your website on the Internet, you will also need:
- a public IP from your provider and a domain name (also, dynamic domain names are good)
- to setup your local network to forward ports 80 (for HTTP) and 443 (for HTTPS)
My NoIP guide can also be helpful for this stuff.
About WordPress
WordPress is a free, open‑source content management system (CMS). It allows you to create and manage a website (blog, docs site, online shop, etc.) from a web GUI, without needing any coding knowledge.
You can integrate the basic functions with a wide number of plugins that you can install with a click. In the same way, it also allows you to choose between many themes (both free and with small payments).
What we need
As usual, I suggest adding from now to your favourite e-commerce shopping cart all the needed hardware, so that at the end you will be able to evaluate overall costs and decide if to continue with the project or remove them from the shopping cart. So, hardware will be only:
- Raspberry PI Computer Board (including proper power supply or using a smartphone micro USB charger with at least 3A)
- high-speed micro SD card (at least 16 GB, at least class 10)

For this tutorial, I will use my Raspberry PI 5 model B, but this should work with any Raspberry PI computer board.
Step-by-step guide
We’ll install WordPress on a Raspberry PI by using Docker. This makes it possible for you to keep WordPress inside an isolated container and lets you install everything you need with a few simple commands.
Prepare the Operating System
The first step is to install the Raspberry PI OS Lite to get a fast and lightweight operating system (headless). If you need a desktop environment, you can also use the Raspberry PI OS Desktop, in which case you will work from its terminal app. Please find the differences between the 2 OS versions in my Raspberry PI OS Lite vs Desktop article. For low RAM Raspberry PI computer models, the Lite OS is strongly suggested.
Please make sure that your OS is up to date. From your terminal, use the following command:
sudo apt update -y && sudo apt full-upgrade -yWe also need to install Docker. You can use my tutorial for this: Beginner’s Guide to Install and Use Docker with Raspberry PI.
Installing WordPress on Raspberry PI
Before starting, please create a new folder for the required Docker files. This will help you to keep all the files ordered:
mkdir wp
cd wp
Instead of installing the classic WordPress (official) image, we’ll complete it with the most used PHP extensions for a typical WordPress website. For this task, we’ll build a custom image starting from the official. Please create the Dockerfile:
nano Dockerfileand fill it with the following content:
FROM wordpress:latest

RUN set -eux; \
  apt-get update; \
  apt-get install -y --no-install-recommends \
    libcurl4-openssl-dev \
    libicu-dev \
    libxml2-dev \
    libzip-dev \
    zlib1g-dev \
    libjpeg62-turbo-dev \
    libpng-dev \
    libfreetype6-dev \
    libmagickwand-dev \
    pkg-config \
    libonig-dev; \

  docker-php-ext-configure gd --with-freetype --with-jpeg; \

  docker-php-ext-install -j"$(nproc)" \
    mysqli \
    intl \
    mbstring \
    zip \
    exif \
    gd; \

  rm -rf /var/lib/apt/lists/*
Save and close the file. Now, please create the docker-compose.yaml file:
nano docker-compose.yamlAnd fill it with the following, changing the DB name, user and password with your favourite one:
services:
  wordpress:
    build:
      context: .
      dockerfile: Dockerfile
    image: my/wordpress:1.0
    restart: unless-stopped
    ports:
      - "80:80"
    environment:
      WORDPRESS_DB_HOST: db
      WORDPRESS_DB_USER: wpdbuser
      WORDPRESS_DB_PASSWORD: wpdbpass
      WORDPRESS_DB_NAME: wpdb
    volumes:
      - ./wordpress:/var/www/html

  db:
    image: mariadb:latest
    restart: unless-stopped
    environment:
      MARIADB_DATABASE: wpdb
      MARIADB_USER: wpdbuser
      MARIADB_PASSWORD: wpdbpass
      MARIADB_RANDOM_ROOT_PASSWORD: "1"
    volumes:
      - ./db:/var/lib/mysql
Save and close.
Now, we can install WordPress on Raspberry PI with the following terminal command:
docker compose up -dAt the end of this process, we’ll find 2 folders in the installation path: db and wordpress. These are the 2 folders you need to backup from Raspberry PI to keep your WordPress installation safe.
Setup WordPress
Now we can start the WordPress setup wizard in our browser. The remaining part will all be completed from a web GUI.
From your remote computer, please use your favourite browser to reach the URL composed of your Raspberry PI’s IP address. In my case, for example, as my computer board has an IP 192.168.7.112, my URL will be http://192.168.7.112.
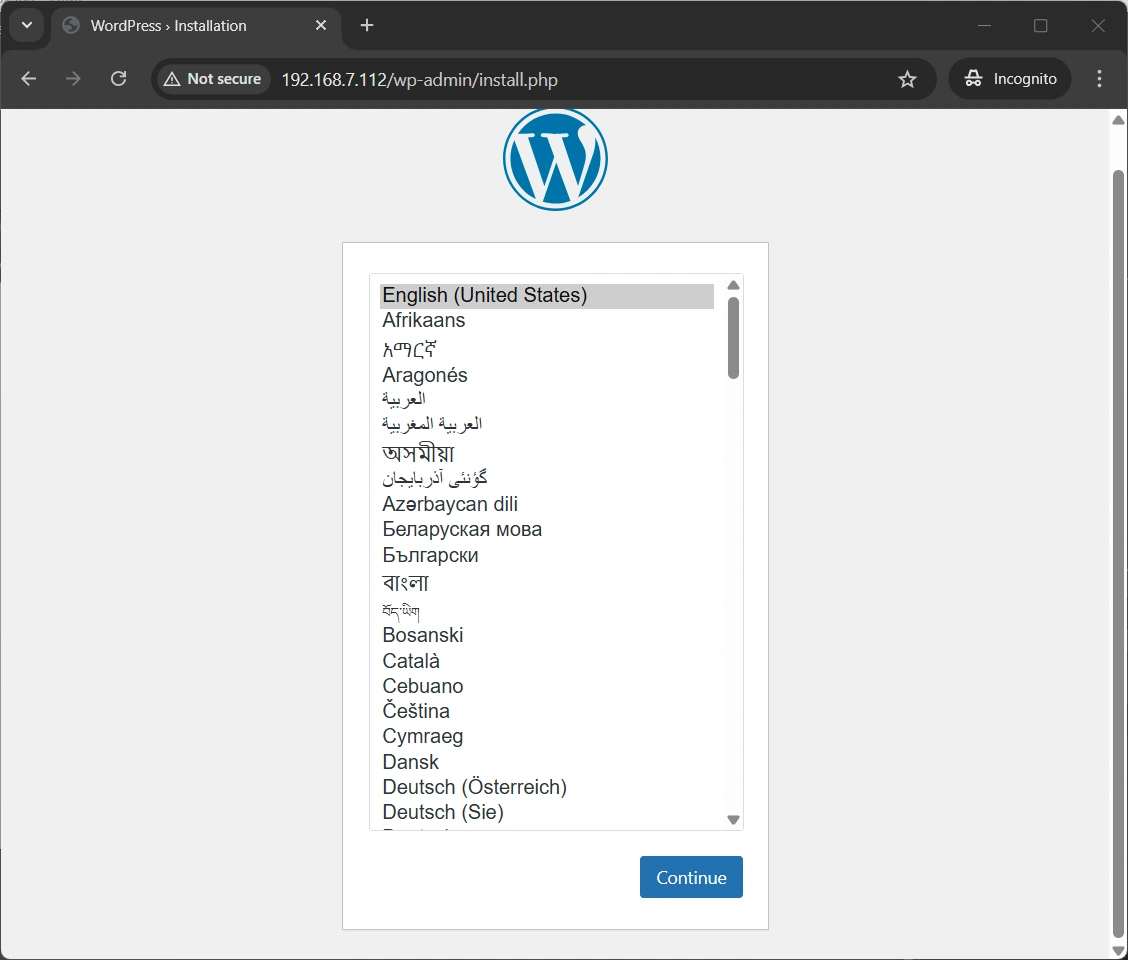
You will reach the first step of the wizard, asking you to select your favourite language:
Select your favourite and press “Continue”. The following page will require you to set:
- Site title
- WordPress administration user
- WordPress administration password
- WordPress administration email
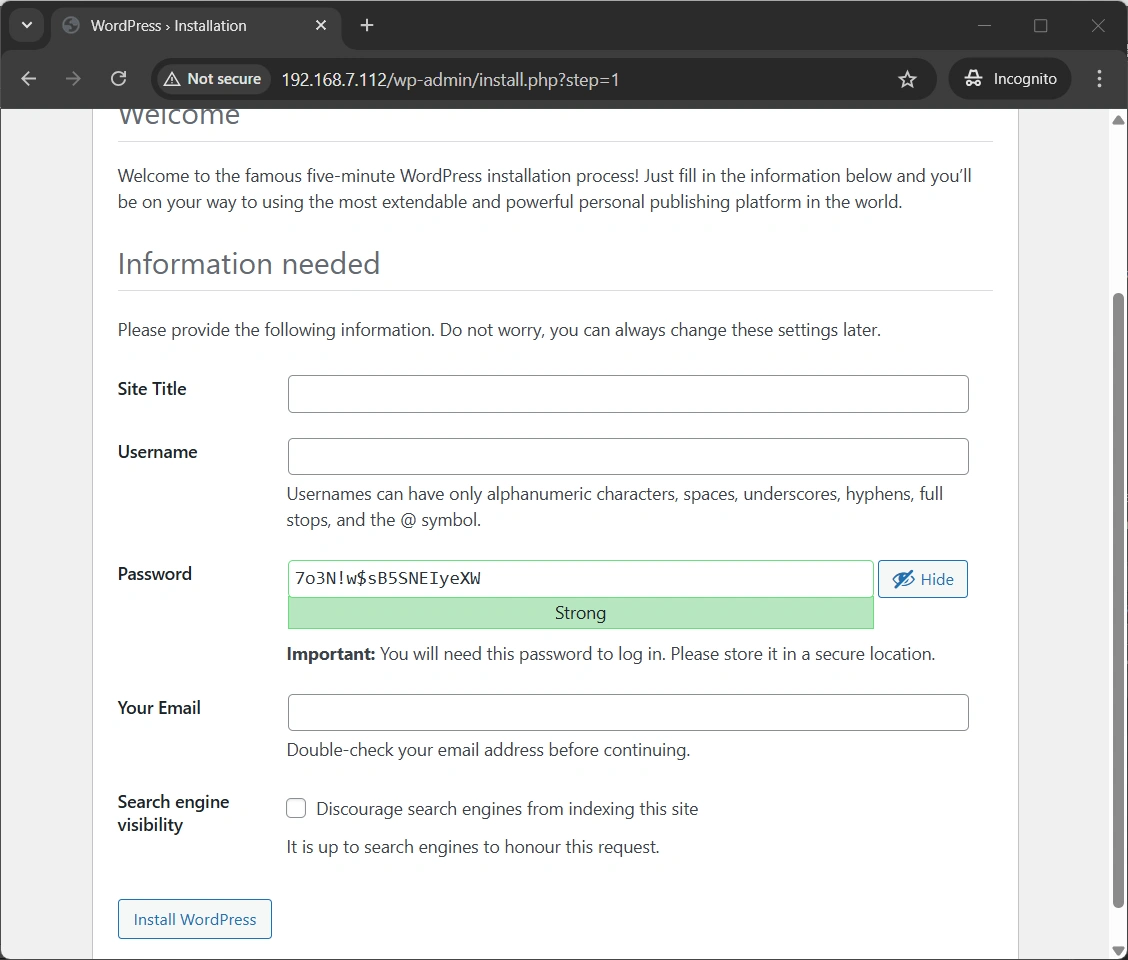
Again, set it according to your preferences and click the “Install WordPress ” button. A final page will confirm the successful installation:

Use the “Log in” button to go to the login page:
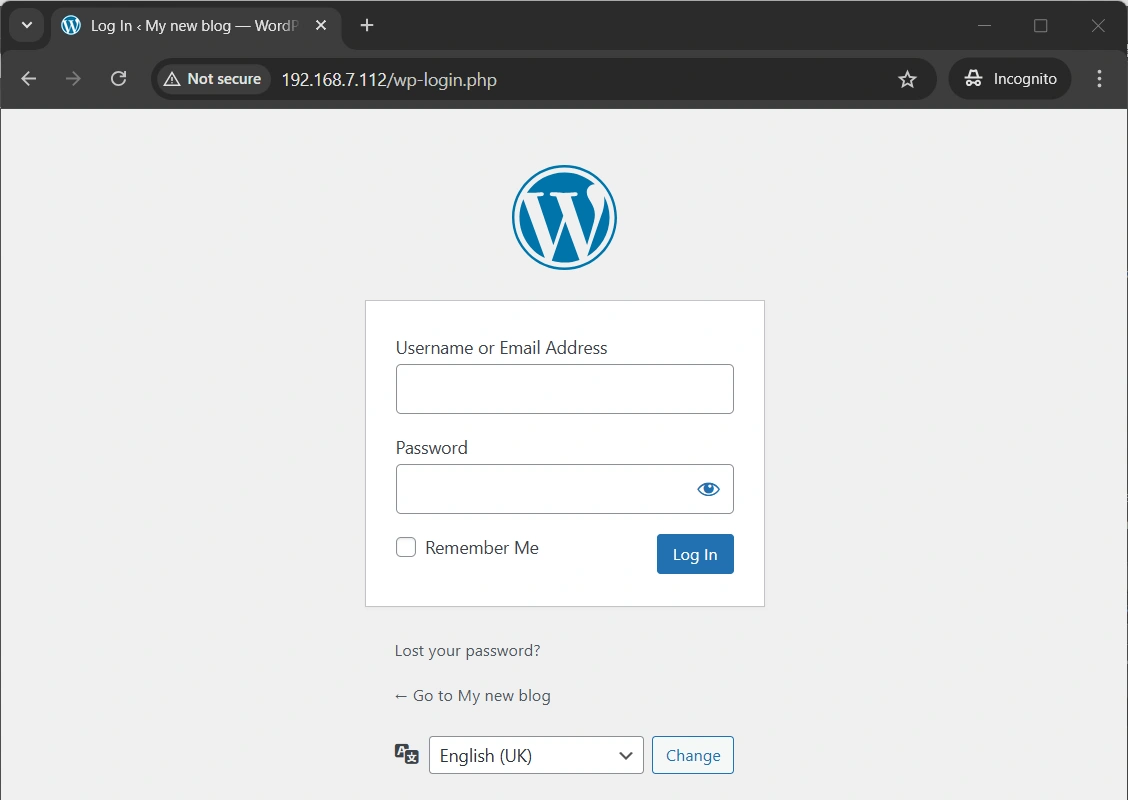
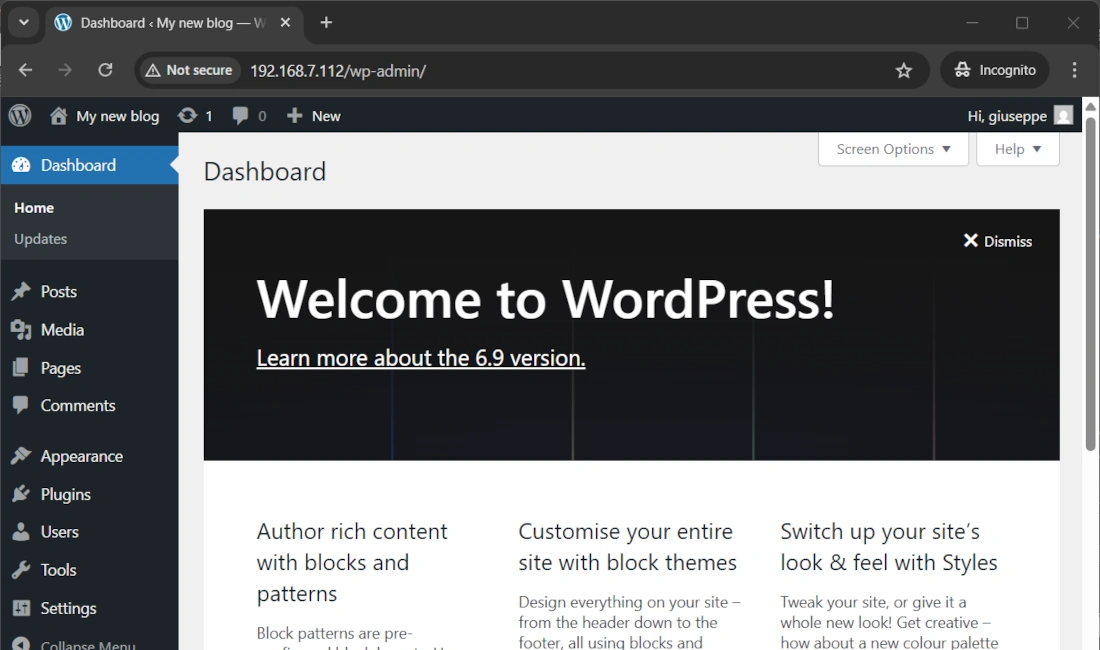
Use the admin credentials above defined, to enter your WordPress dashboard:
Exposing WordPress on the Internet
You can now expose your site to the internet with the domain you choose by applying the required port forwarding rules (80 and 443) in your home router. Additionally, I suggest you use Traefik as a reverse proxy to more easily expose WordPress and get a free Let’s Encrypt certificate (to use HTTPS) as described in my Traefik on Raspberry PI tutorial.
Use your WordPress on Raspberry PI
You can get useful guides on using WordPress from the official WordPress Docs.
Next Steps
Interested in more projects with your Raspberry PI? Take a look at peppe8o Raspberry PI computer tutorials pages.
Enjoy!
References
- https://wordpress.org/
- https://make.wordpress.org/hosting/handbook/server-environment/#php-extensions
- https://hub.docker.com/_/wordpress
- https://wordpress.org/documentation/

Open source and Raspberry PI lover, writes tutorials for beginners since 2019. He's an ICT expert, with a strong experience in supporting medium to big companies and public administrations to manage their ICT infrastructures. He's supporting the Italian public administration in digital transformation projects.
![]()
![]()
![]()
![]()
![]()
![]()
![]()


