
Last Updated on 13th April 2024 by peppe8o
In this tutorial, I’m going to show you how to connect, code and calibrate a Capacitive Soil Moisture sensor with Raspberry PI Pico using MicroPython.
If you are both a maker or a professional farmer, your smart watering project will always start from measuring the ground moisture. With the Capacitive Soil Moisture sensor and Raspberry PI Pico you can get great results with an affordable cost.
The Soil Moisture Sensors
Soil Moisture sensors (for DIY projects with microcontrollers) available in the market can be divided into two main categories: the resistive ones and the capacitive ones.
Resistive models measure the resistance provided by the soil between two electrodes. It is really spread in smart gardening projects but it suffers from its electrodes being continuously in contact with water, so is subject to corrosion.
On the other side, the Capacitive Moisture Sensor measures changes in capacitance in the dielectric. It does not measure soil moisture directly (as pure water does not conduct electricity well). Instead, it measures the ions that are dissolved in the moisture. This tutorial covers this kind of sensor.
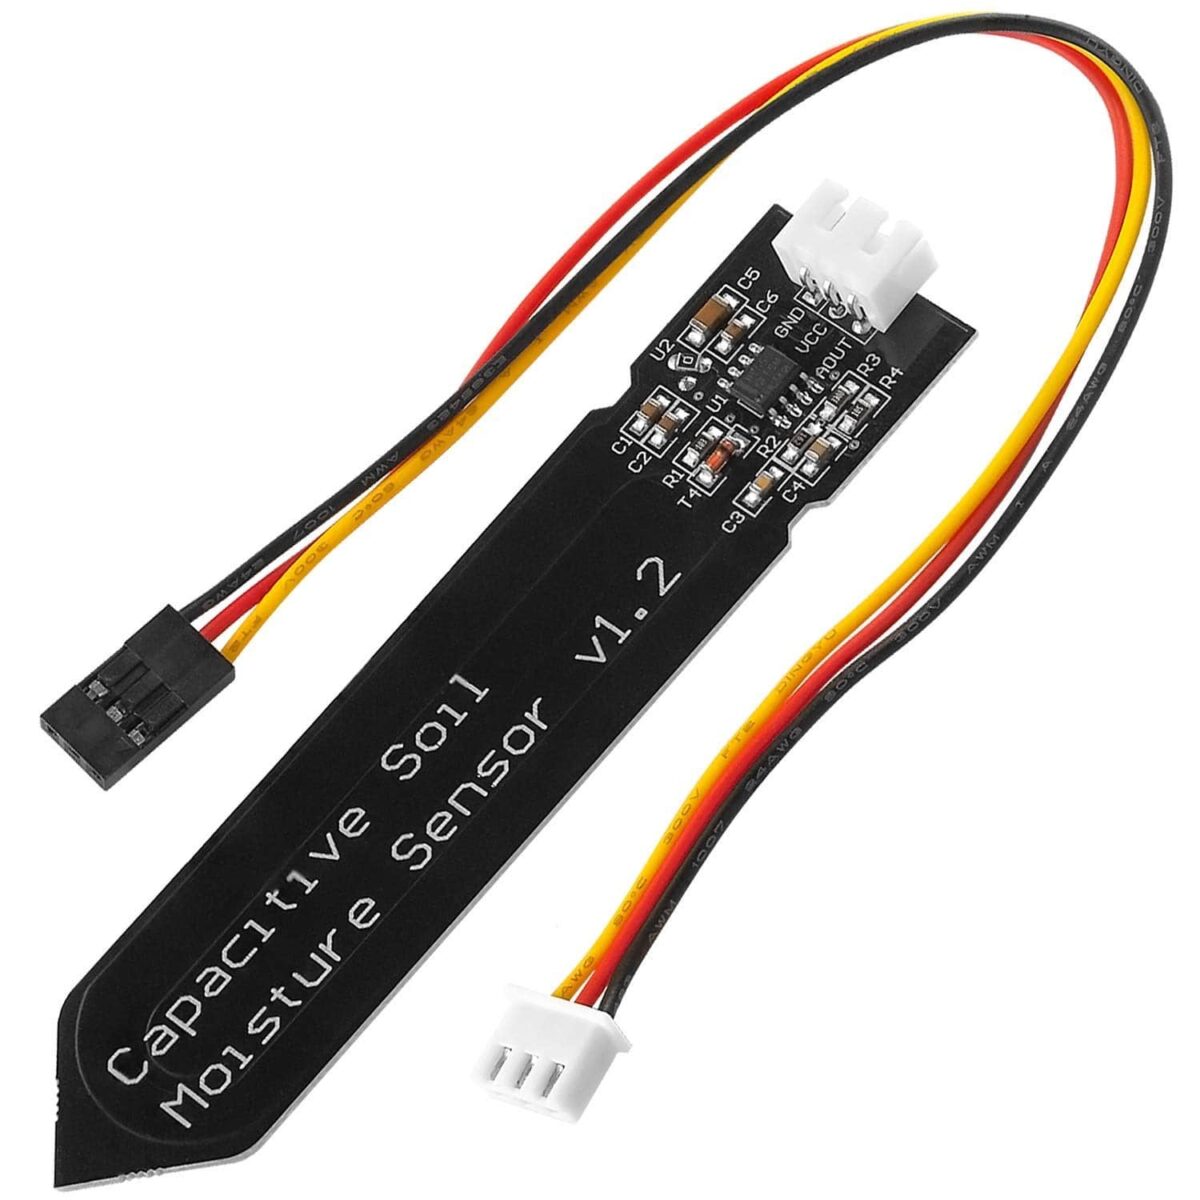
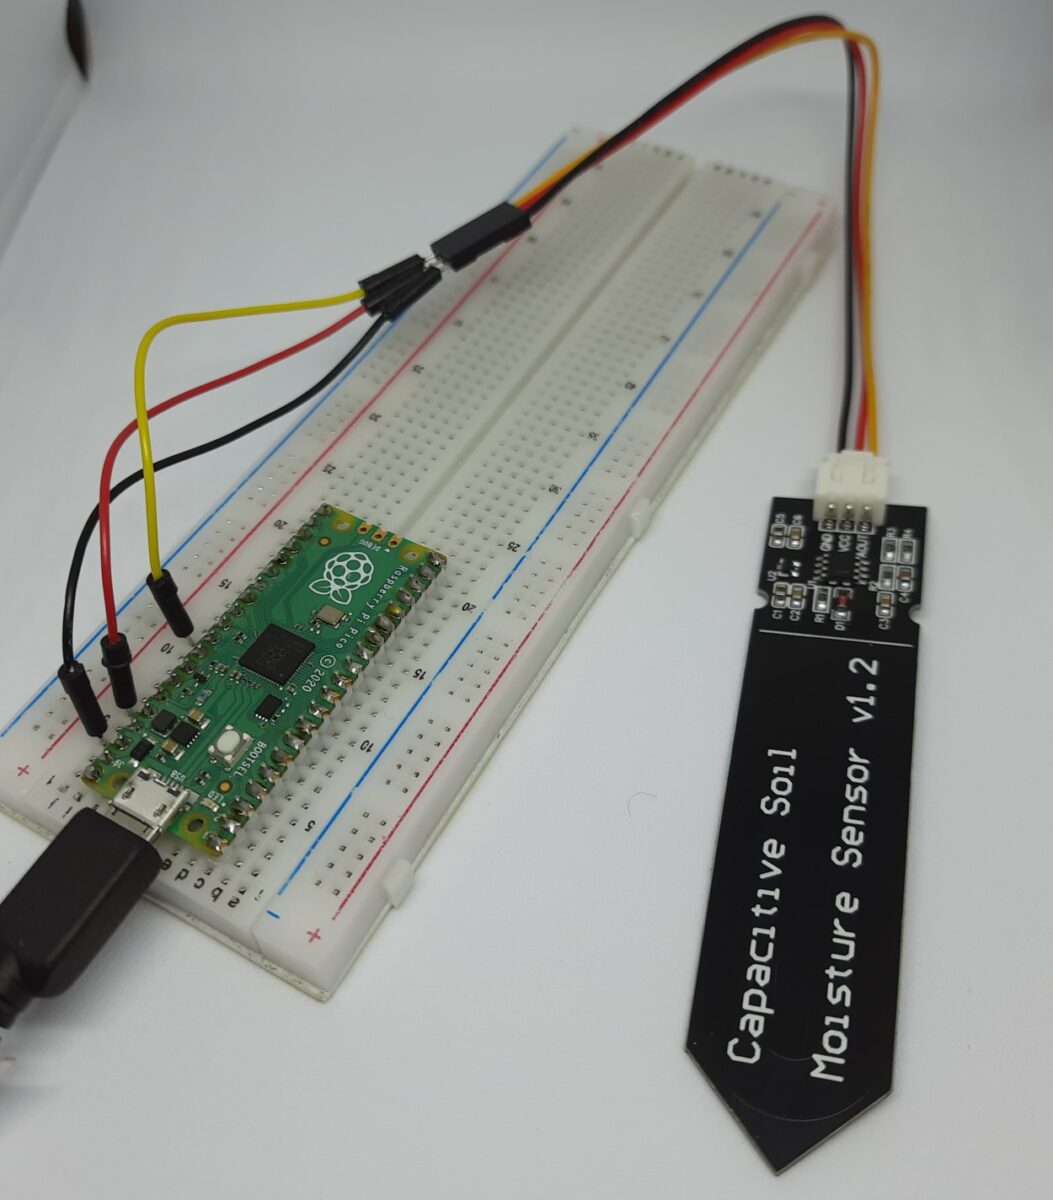
The Capacitive Soil Moisture sensor has 3 PINs: Vcc, GND and Aout. While the usage for VCC and GND is self explaining, the Aout will return an analog value depending on the soil moisture:
- the more water is available in the ground, the lower the analog reading will result from Aout
- the less water is available in the ground, the higher the analog reading will result from Aout
So, the analog output from the capacitive soil moisture sensor will be inversely proportional to the water percentage in your ground.
What We Need
As usual, I suggest adding from now to your favourite e-commerce shopping cart all the needed hardware, so that at the end you will be able to evaluate overall costs and decide if to continue with the project or remove them from the shopping cart. So, hardware will be only:
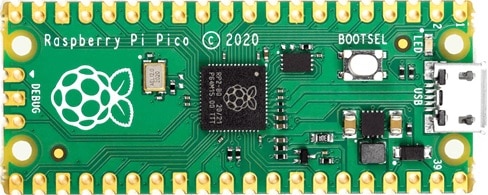
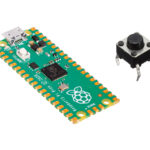
- Raspberry PI Pico microcontroller (with a common micro USB cable)
- Capacitive Soil Moisture Sensor
- breadboard
- dupont wirings
Check hardware prices with the following links:


Step-by-Step Procedure
Wiring Diagram
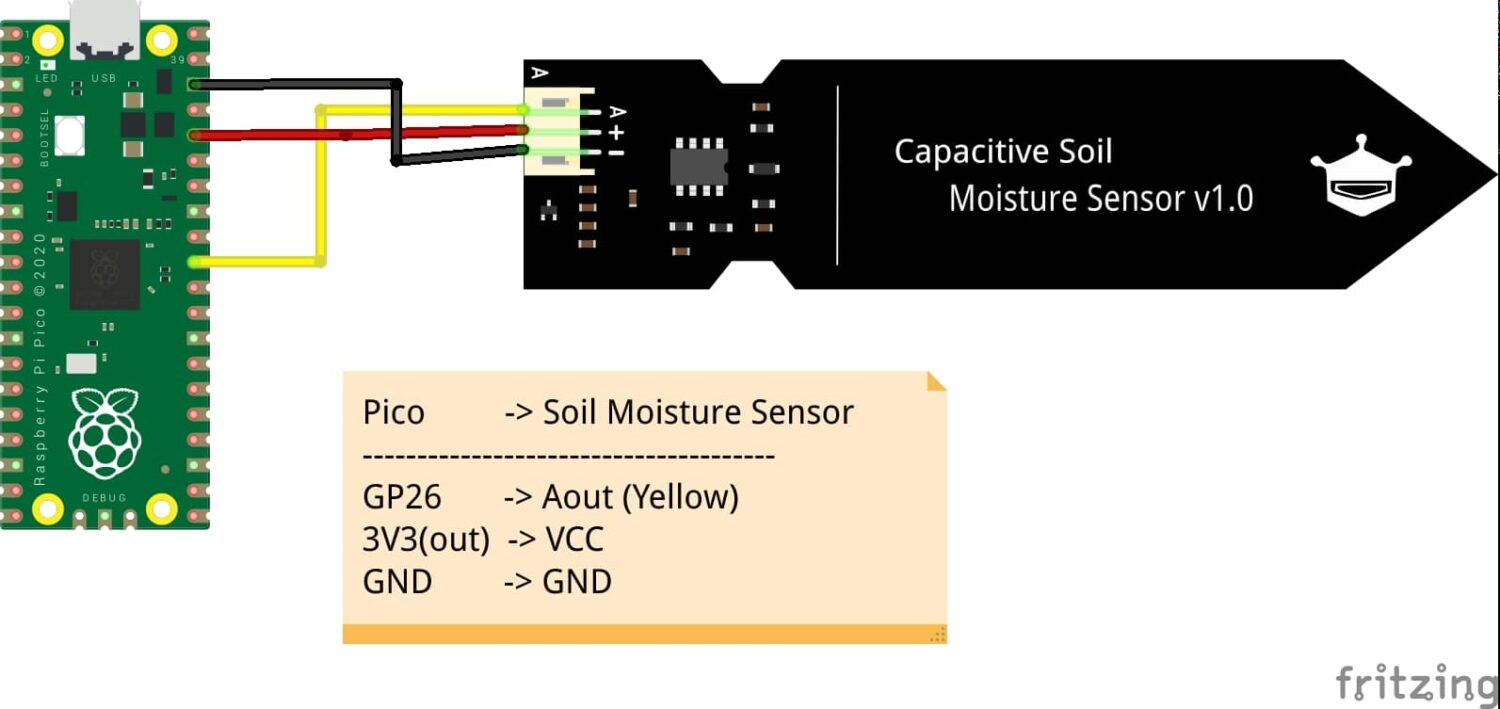
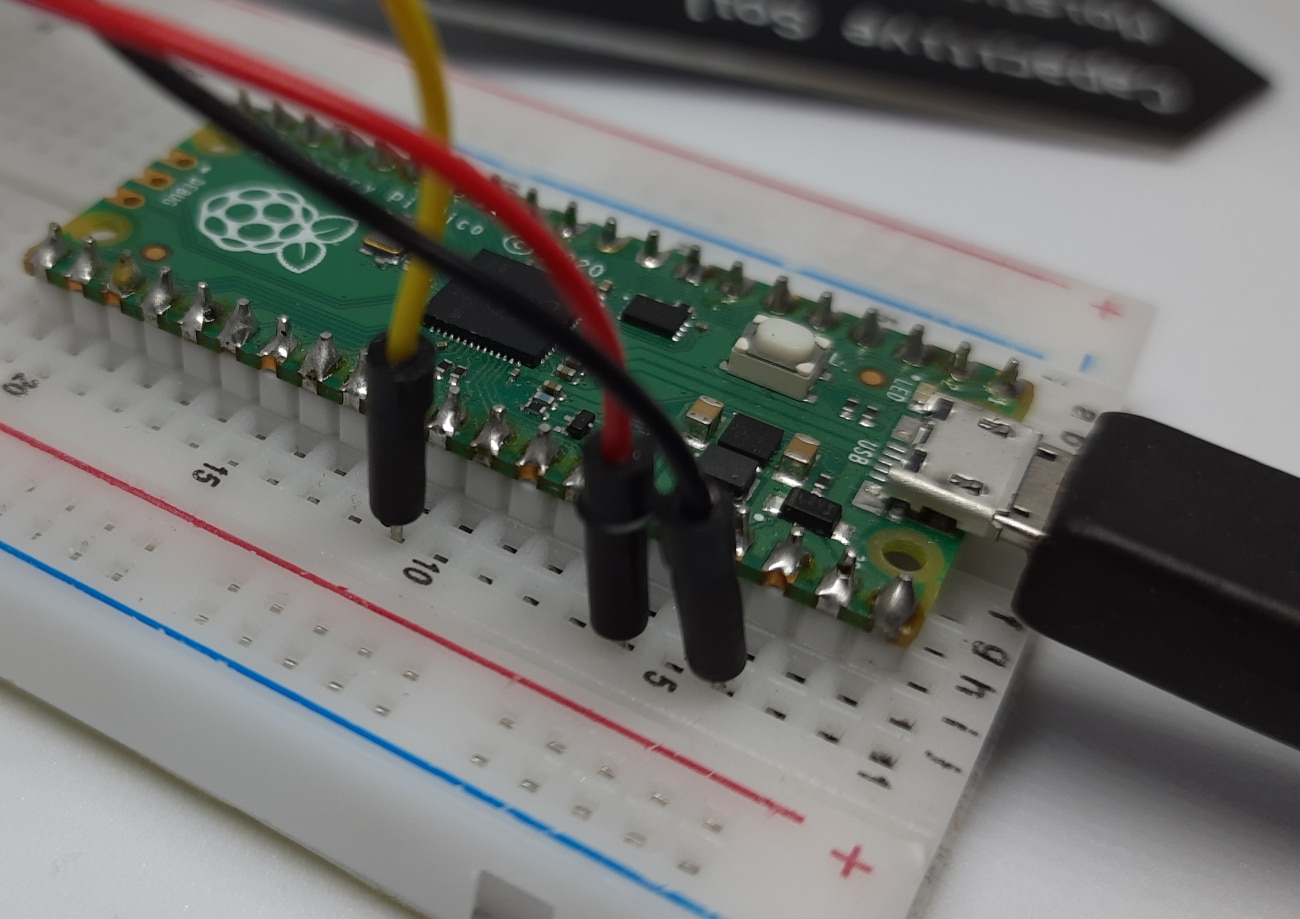
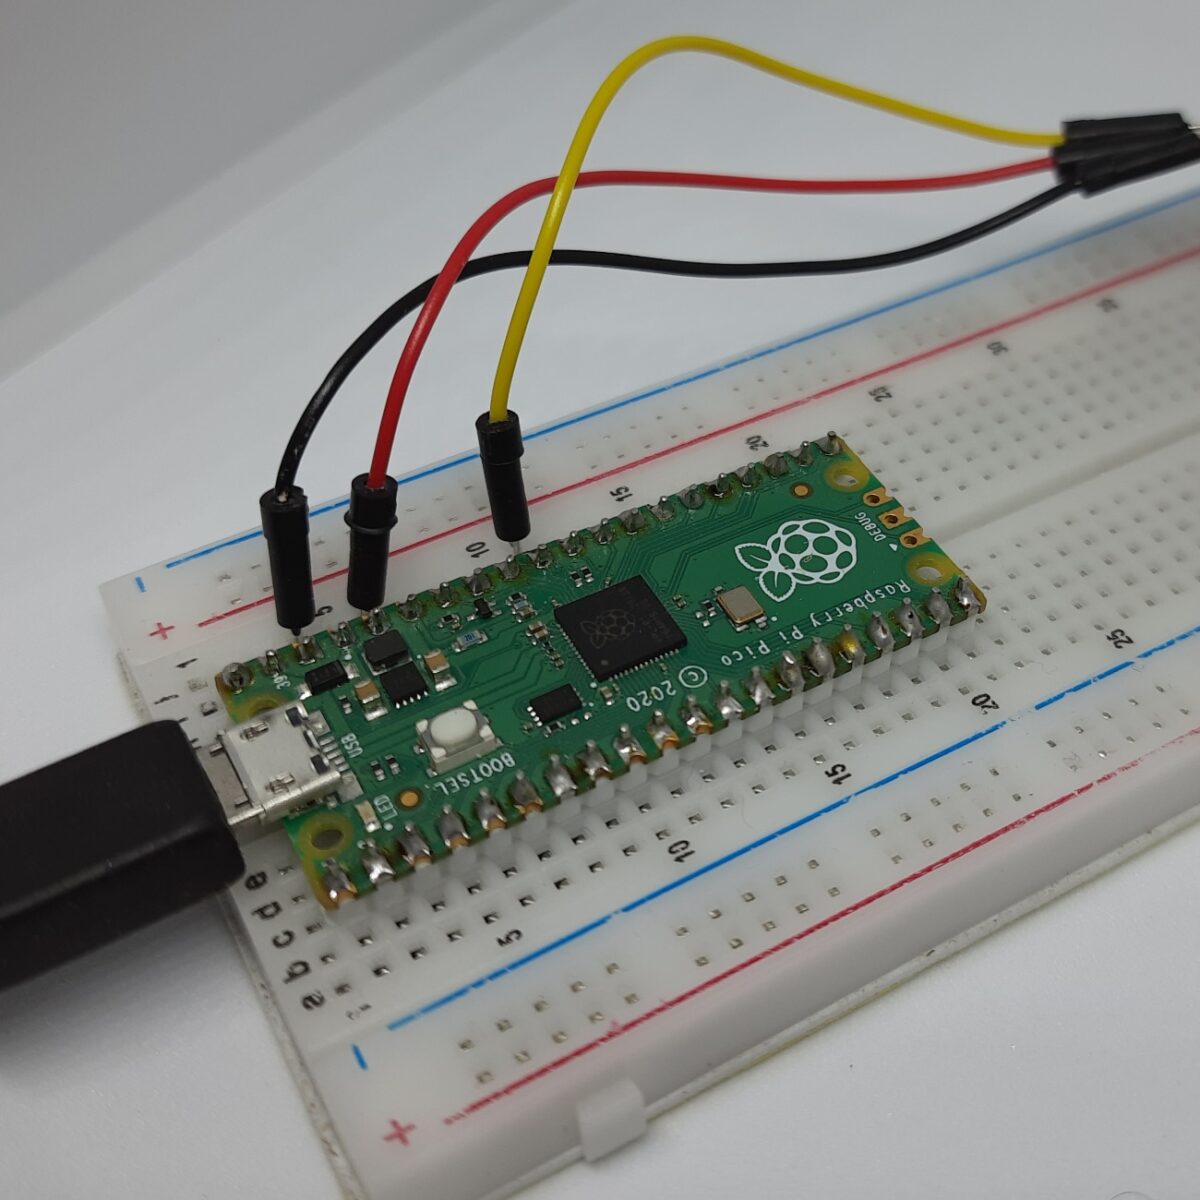
Please arrange cabling according to the following picture, according to Raspberry PI Pico pinout:
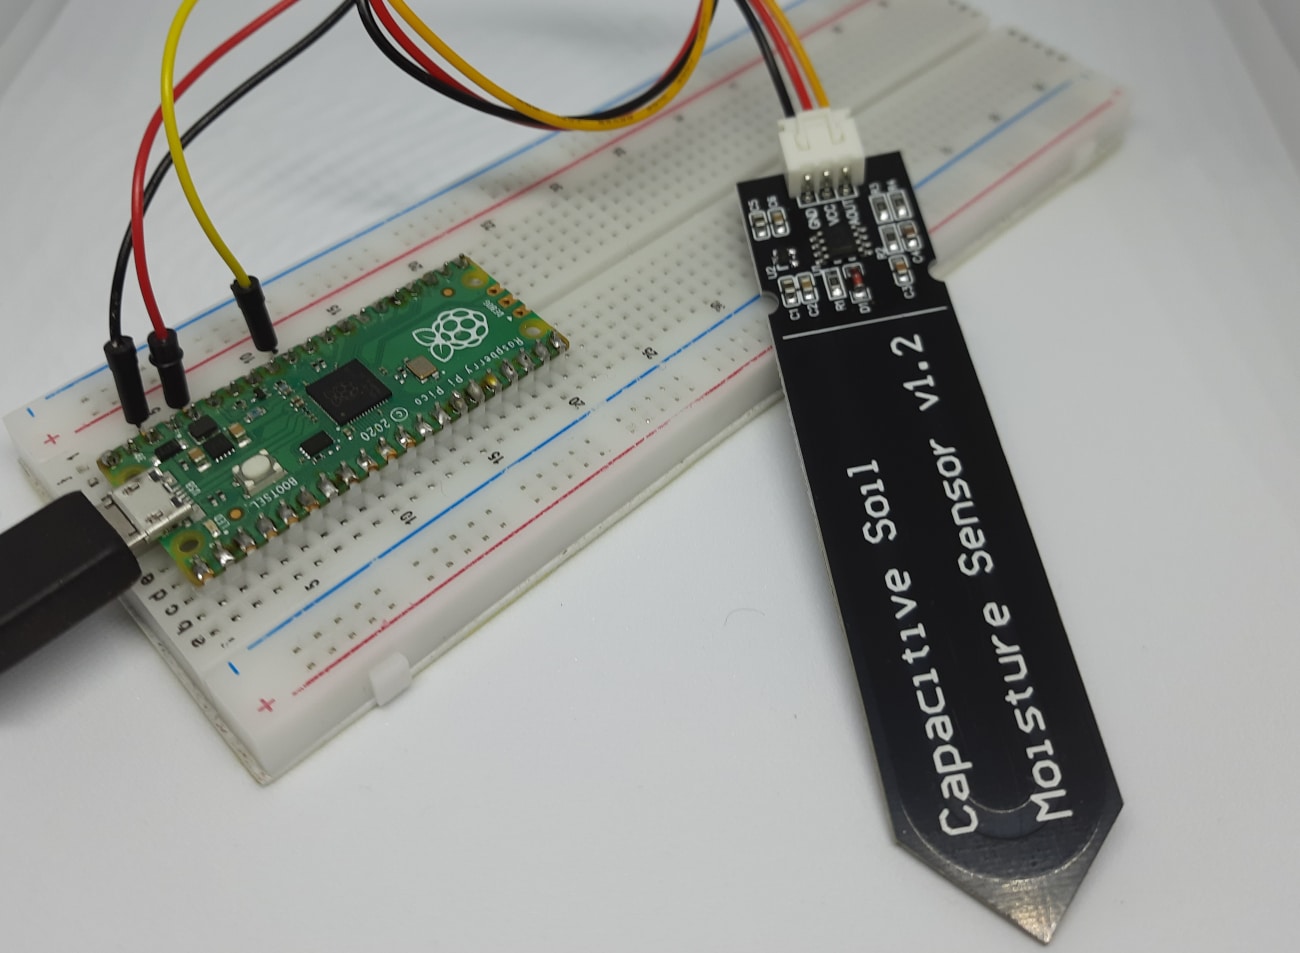
Please find below some pictures from my test lab:

Get my Soil Moisture MicroPython Code for Raspberry PI Pico
Connect RPI Pico to Thonny (you can refer to my tutorial about First steps with Raspberry PI Pico). Download my capacitive-soil-pico.py script on your computer and open it with Thonny.
Please remember that when you’ll need to execute it without a computer plugged into RPI Pico, you will need to keep the code saved in Raspberry PI Pico as “main.py”.
The following paragraphs will describe my code line by line. In the end, you will find the script expected results.
Capacitive-Soil-Pico.py Code
Our code starts by importing the required modules:
from machine import ADC, Pin
import utime
Then, we create the soil ADC (analog) object by referencing the GP port used in our Raspberry PI Pico:
soil = ADC(Pin(26))The two following variables allow us to calibrate our Capacitive Soil Moisture sensor with the ground type. The initial values are set to maximum and minimum values that can be read. We’ll see the calibration process in the next chapter:
min_moisture=0
max_moisture=65535
Hardly we’ll need to get a continuous measurement of soil moisture and a too fast reading will result in harder values reading. For this reason, I added a sleep time of half a second. You can edit or remove this value once calibration has been performed:
readDelay = 0.5The main loop starts by reading the sensor values and mapping them in a percentage value (0-100). We assign the resulting value to the “moisture” variable:
while True:
    moisture = (max_moisture-soil.read_u16())*100/(max_moisture-min_moisture)
You can use this variable for your projects. We also print it to the serial monitor in order to perform the calibration phase and for project tests. Besides the percentage value, we also print the raw value get from our GP26 port. Finally, a sleep time will make our loop run again only after a time delay:
    print("moisture: " + "%.2f" % moisture +"% (adc: "+str(soil.read_u16())+")")
    utime.sleep(readDelay)
Calibrate the Capacitive Soil Moisture Sensor with Raspberry PI Pico
Every sensor can have a different production process and, for this reason, can give different raw results. Moreover, every soil can have a different electricity conduction value. For this reason, a calibration is strongly recommended in order to get reliable values.
We’ll start by measuring the maximum value, that can get in DRY soil. The process is:
- Put the sensor in the dry soil
- Press the soil around the sensor
- Run the capacitive-soil-pico.py code from Raspberry PI Pico connected to your PC and check the serial monitor (shell) to compare the read values.
- Take higher value and set it to “max_moisture” variable in your capacitive-soil-pico.py
Now we have to repeat the process to get the lower value. This can be achieved with the following steps:
- Put the capacitive soil moisture sensors in an empty glass
- Filling the glass with water until the level reaches quite all the sensor (keep electrical components outside the water)
- Run the capacitive-soil-pico.py code from Raspberry PI Pico connected to your PC and check the serial monitor (shell) to compare the read values.
- Take the lower value and set it to min_moisture variable in your capacitive-soil-pico.py
The calibration phase ended.
Test your code
You are now ready to effectively test your project. Put again the capacitive soil moisture sensor in your soil, keep the ground well pressed around the sensor. Run the code and start watering your ground with the code running. You will see the moisture value increasing, as in the following:
MicroPython v1.17-145-g86125de2e-dirty on 2021-12-20; Raspberry Pi Pico with RP2040
Type "help()" for more information.
>>> %Run -c $EDITOR_CONTENT

moisture: 2.10% (adc: 48491)
moisture: 2.10% (adc: 48475)
moisture: 1.96% (adc: 48443)
moisture: 1.96% (adc: 48731)
moisture: 3.47% (adc: 48267)
moisture: 3.80% (adc: 48075)
moisture: 3.93% (adc: 48347)
moisture: 27.11% (adc: 42218)
moisture: 47.67% (adc: 37289)
moisture: 58.94% (adc: 34584)
moisture: 66.40% (adc: 32695)
moisture: 73.02% (adc: 31367)
moisture: 76.49% (adc: 30311)
moisture: 79.30% (adc: 29543)
moisture: 81.59% (adc: 29063)
moisture: 84.54% (adc: 28390)
moisture: 87.88% (adc: 27606)
moisture: 90.90% (adc: 26758)
moisture: 92.34% (adc: 26694)
moisture: 90.90% (adc: 26550)
moisture: 91.88% (adc: 26518)
moisture: 93.12% (adc: 26390)
moisture: 94.10% (adc: 25702)
moisture: 95.35% (adc: 25766)
What’s Next
Interested to do more with your Raspberry PI Pico? Try to look at my Raspberry PI Pico tutorials for useful and funny projects!
Enjoy!

Open source and Raspberry PI lover, writes tutorials for beginners since 2019. He's an ICT expert, with a strong experience in supporting medium to big companies and public administrations to manage their ICT infrastructures. He's supporting the Italian public administration in digital transformation projects.
![]()
![]()
![]()
![]()
![]()
![]()
![]()


I followed your guide step by step. And the information is very great. I stumbled upon something which is not mentioned, and I’m not sure how to handle it. It appears that my sensor doesn’t give constant values which can be repeated, as soon as enter calibration of max_moisture around 50k the adc will not go further than 1000 in the next trial, when i set it to max 1000 it will be around 50k in the next and so on. I figured out that it has to do something with the Pin thats being used on the board and so its very sensitive to little physical impacts. My Question is the pico probably reads the voltage right from the sensor and doesnt “buffer” it to the correct value, right?
Hi. Yes, I confirm that Pico doesn’t buffer the values read on its Pins. The one you are experiencing is a really strange behaviour. Please also check that the soldering of RPI Pico PINs is correct (heading are not moving)
Great info!
I used the following code and it seems to work fine as well:
cf = 3.3 / 65535 # conversion_factor
readings = soil.read_u16() * cf
Hi Emilio. Thank you for your feedback and for your alternative code!
実際、コップに水を入れセンサーをコードを実行した %Run -c $EDITOR_CONTENT
MPY: soft reboot
moisture: 83.20% (adc: 11330)
moisture: 83.22% (adc: 11362)
moisture: 83.18% (adc: 11362)
moisture: 83.25% (adc: 11442)
moisture: 83.13% (adc: 11442)
moisture: 83.13% (adc: 11426)
moisture: 83.08% (adc: 11474)
moisture: 83.08% (adc: 11362)
moisture: 83.15% (adc: 11362)
moisture: 83.20% (adc: 11362)
moisture: 83.20% (adc: 11410)
moisture: 83.25% (adc: 11314)
moisture: 83.30% (adc: 11330)
moisture: 83.27% (adc: 11298)
moisture: 83.27% (adc: 11298)
記事の結果と値が大きく違うなぜか
HI. Did you calibrate the sensor before using it, with the related chapter in my post? Also, it’s important to press the ground around the sensor before performing the calibration and leave it as is pressed even in the following measurements.