
Last Updated on 22nd January 2023 by peppe8o
Raspberry Pi boards can be used in a number of interesting ways for electronic projects. But they can be also used as very very small computers with complete desktop environment.
Raspberry PI OS offers a very stable and useful desktop version. A comparison between the Desktop and Lite versions can be found in Raspberry PI OS Desktop vs Lite article.
In February 2022, Raspberry PI Foundation finally released its official 64-bit OS release. So, from this date, you can choose between the common 32-bit distribution and the new 64-bit one. Please note that you are forced to use a 32-bit image if you have Raspberry PI 1, Raspberry PI 2 and Raspberry PI Zero computer boards, as their CPU relies on armhf architecture and doesn’t support the 64-bit instruction set. Newer Raspberry PI computer boards (including Raspberry PI Zero 2) can use both 32 and 64-bit images.
If you need to download the image, the 2 distributions can be get with the following links:
Once get the distribution, the installation procedure will be the same in both cases.
Now, we are going to install Raspberry PI OS Desktop. Please note that I’ll use the version withOUT recommended software, because I will select later what software to install.
What do you need
As usual, I suggest adding from now to your favourite e-commerce shopping cart all the needed hardware, so that at the end you will be able to evaluate overall costs and decide if to continue with the project or remove them from the shopping cart. So, hardware will be only:
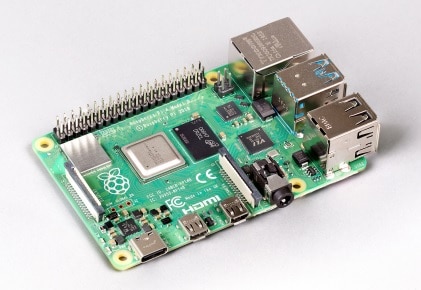
- Raspberry PI Computer Board (including proper power supply or using a smartphone micro usb charger with at least 3A)
- high speed micro SD card (at least 16 GB, at least class 10)
- a USB/wireless keyboard
- HDMI Monitor with a proper HDMI cable (based on your Raspberry PI computer board model)
You can find on Amazon or other e-commerce vendors many offers related to starter kits which include part of the above component. I strongly suggest evaluating a case with a cooling system (fan) if you are thinking to use your raspberry for resource-intensive applications.
You also need a PC (notebook or desktop) with an SD card reader
SOFTWARE
- Raspberry PI OS with Desktop disk image (you can download it from the links above referred)
- an image flashing software like, for example, Etcher
Step-by-step guide
Download and install in your PC Etcher (if not available).
Download Raspberry Pi OS with desktop disk image (ZIP version).
Insert your SD card into your PC/SD card reader.
Run Etcher on your PC. Click “Select Image” and select the Raspberry PI OS disk image previously downloaded.
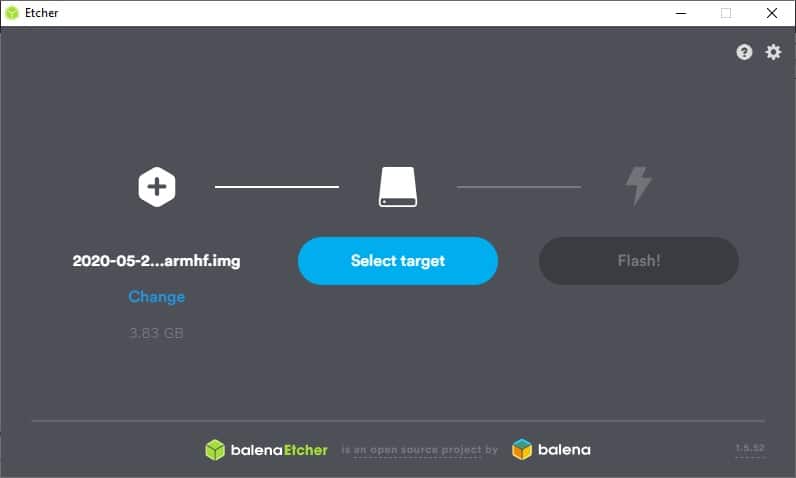
Now Etcher should also have recognised your SD card. Otherwise, click “Change” and select the correct SD card.
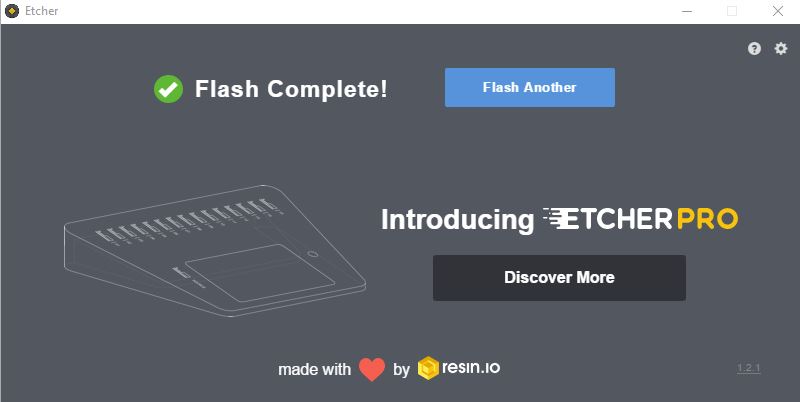
Click the “Flash!” button and wait for the operation to be completed:
If you want to use your Raspberry PI as Desktop PC with a monitor, then you can insert the SD card inside the Raspberry Pi, connect your monitor and connect the power supply. You will log on to your desktop with the default user (user: pi; password:raspberry).
If you want to use your RPI from a remote desktop, please see the following steps.
OPTIONAL: Enabling Remote Desktop
In my case, I don’t want to use an HDMI connection to my TV in order to finalize the system setup (my Raspberry will be connected only via WiFi).
Preconfiguring WiFi and enabling SSH
So, before using it and after having flashed its SD, let’s configure WiFi and SSH connection directly modifying files inside the SD card.
Extract SD card and re-insert it in your PC. From our File explorer, in “This Computer” we can see 1 new SD partition:

We will create a connection configuration file under this boot partition.
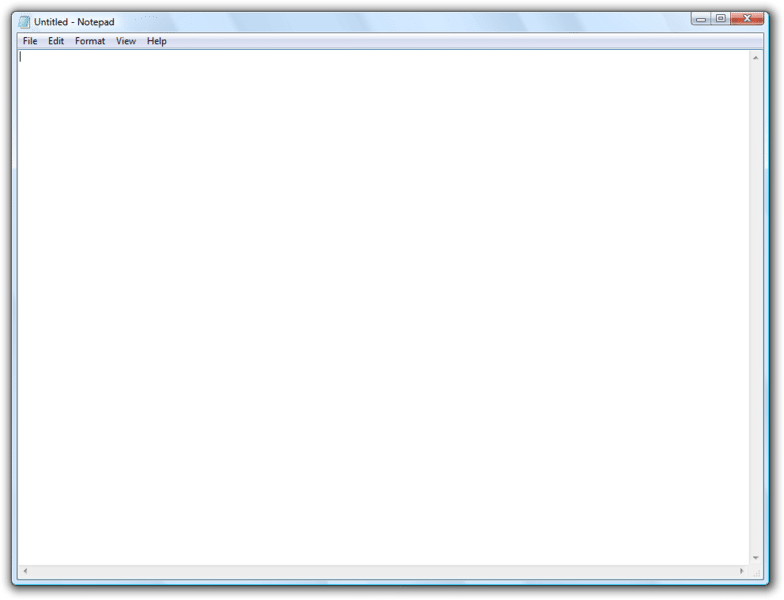
Open your notepad and paste the following lines:
ctrl_interface=DIR=/var/run/wpa_supplicant GROUP=netdev
update_config=1
country=«your_ISO-3166-1_two-letter_country_code»
network={
     ssid="«your_SSID»"
     psk="«your_PSK»"
     key_mgmt=WPA-PSK
}
Replace «your_ISO-3166-1_two-letter_country_code» with your ISO Country Code (such as CA for Canada), «your_SSID» with your wireless access point name and «your_PSK» with your wifi password.
Save this file under boot partition, naming it as “wpa_supplicant.conf”.
In addition, we will create a new file named “ssh” (without extension) under the boot partition to enable SSH in our Raspberry. What is contained in this file is not important: when the Pi boots, it looks for the “ssh” file. If it is found, SSH is enabled, and the file is deleted.
So, let’s open a new Notepad window:
Go to: File -> Save as
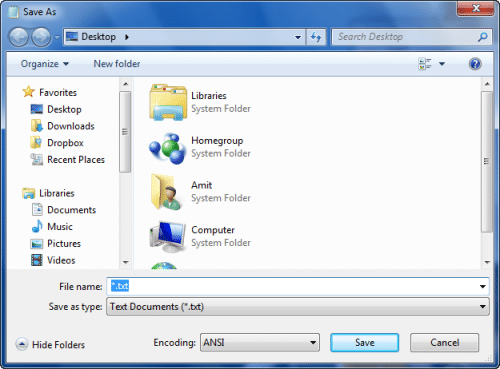
Select the boot partition in the left column.
Insert in “File name” field value “ssh” and click “Save”. Be aware that Notepad sometimes saves files by adding a “.txt” extension. So, control saved file and be sure that its extension is NOT included.
Extract the SD card from your SD reader and insert it in your Raspberry.
Enable Remote Desktop
Power the Raspberry PI on, wait a few minutes for the first boot, check its IP address in your router and connect to it from Putty (or whatever connection program you are using for ssh) using default ssh port (22).
Default user: pi
Default password: raspberry
Make the OS up-to-date:
sudo apt update -y && sudo apt upgrade -yInstall xrdp service to enable remote desktop protocol server:
sudo apt install xrdpConnect remotely with RDP
If you are a Windows PC, open the Remote Desktop application and insert your RPI IP address in the Computer input box, then press the Connect button. After the RSA confirmation window, you should see the Raspberry PI OS login page:
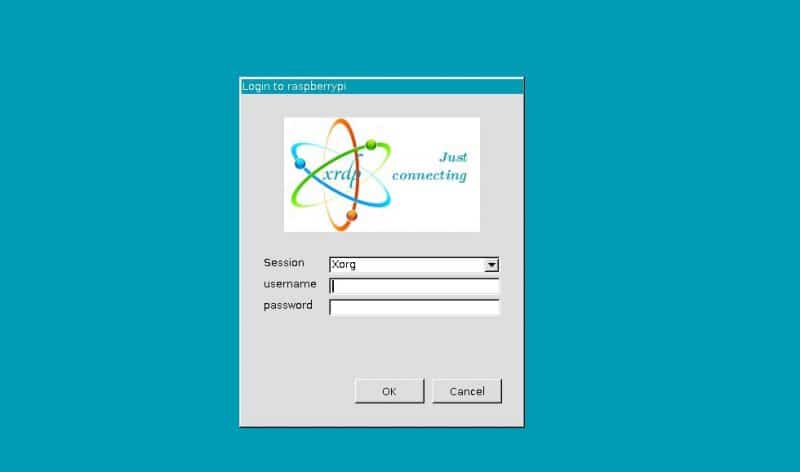
Insert the default Raspberry PI username (pi) and password (raspberry).
Next Steps
After finishing the OS installation, you may need the following setup:
- Assign static IP address and configure Networking
- Change timezone to display correct local time
- Fix slow SSH session from remote terminal
- Fixing slow mouse with Raspberry PI OS
- Fix HDMI monitor not working with Raspberry PI
- Add 2 factor authentication
- Read a Serial port from USB
- Use USB Microphone
- Migrate to larger SD Card
- free Raspberry PI remote access and management tools
- Set Raspberry PI Swap Memory
- Manage Raspberry PI GPU Memory Split
Enjoy!

Open source and Raspberry PI lover, writes tutorials for beginners since 2019. He's an ICT expert, with a strong experience in supporting medium to big companies and public administrations to manage their ICT infrastructures. He's supporting the Italian public administration in digital transformation projects.
![]()
![]()
![]()
![]()
![]()
![]()
![]()


