
Last Updated on 22nd November 2025 by peppe8o
In this tutorial, I will show you how to install Paperless-ngx on Raspberry PI computer boards. For this article, I’ll use my Raspberry PI 5 model B, but this should work with any Raspberry PI computer board capable of running the 64-bit OS.
This tutorial uses Docker to install Paperless-ngx, as Docker assures a very simple installation procedure.
About Paperless-ngx
Paperless-ngx is an open-source platform enabling your Raspberry PI computer board to save your electronic documents into digital files where you can perform OCR, add tags (also with machine-learning automated tools), organise, index, and so on.
It offers a WEB GUI, so that uploading and managing your documents will be possible with an interface accessible from any device capable of running a browser, without the need to install any app. Anyway, many apps have been developed by the community to allow you to scan and send documents directly to your Paperless-ngx service. You can find them in the paperless-ngx wiki pages.
Paperless-ngx stores your files in your local storage (on Raspberry PI). In this way, you will avoid the risk of data breaches from online services.
What We Need
As usual, I suggest adding from now to your favourite e-commerce shopping cart all the needed hardware, so that at the end you will be able to evaluate overall costs and decide if to continue with the project or remove them from the shopping cart. So, hardware will be only:
- Raspberry PI Computer Board (including proper power supply or using a smartphone micro USB charger with at least 3A)
- high speed micro SD card (at least 16 GB, at least class 10). I suggest you use a bigger micro SD card, as this will store all your documents.

Step-by-Step Procedure
Preparing the Operating System
The first step is to install the Raspberry PI OS Lite (I suggest the 64-bit version) to get a fast and lightweight operating system (headless). If you need a desktop environment, you can also use the Raspberry PI OS Desktop, in which case you will work from its terminal app. Please find the differences between the 2 OS versions in my Raspberry PI OS Lite vs Desktop article.
Once installed, please make sure that your OS is up to date. From your terminal, use the following command:
sudo apt update -y && sudo apt full-upgrade -yWe also need Docker. For this task, please refer to my Beginner’s Guide to Install and Use Docker with Raspberry PI tutorial.
Prepare the Docker Files
We’ll use Docker Compose to prepare all the required configuration files “offline”, then installing it with a single command line.
At the beginning, let’s create a folder in our Raspberry PI storage which will store the configuration files:
mkdir paperless
cd paperless
We’ll need 3 files:
- the
.envfile, which includes the general environment configuration - the
docker-compose.envfile, which brings the environment configuration for the Docker compose - the
docker-compose.****.ymlfile, which lists all the parts to install
Regarding the last file, it is important to note the naming convention used by Paperless-ngx. There are different .yml files available, each one including the database platform in its name. You can choose to use MariaDB, PostgreSQL, or SQLite. Paperless-ngx suggests using PostgreSQL, but Raspberry PI computer boards with very low RAM amounts may run better with SQLite.
Moreover, some of the available .yml files also include the “-tika”: these files also include the required packages to enable optional support for Office and other documents.
You can select the files to download from the following link: https://github.com/paperless-ngx/paperless-ngx/tree/dev/docker/compose and download them with the wget terminal command and their raw file link. For example, I’ll download the postgreSQL files with tiki, the .env, and the docker-compose.env with the following 3 terminal commands:
wget https://raw.githubusercontent.com/paperless-ngx/paperless-ngx/refs/heads/dev/docker/compose/.env
wget https://raw.githubusercontent.com/paperless-ngx/paperless-ngx/refs/heads/dev/docker/compose/docker-compose.env
wget https://raw.githubusercontent.com/paperless-ngx/paperless-ngx/refs/heads/dev/docker/compose/docker-compose.postgres-tika.yml
Install Paperless-ngx on Raspberry PI
Now, you can download the required packages and install them with the following terminal command (please take care to use the correct .yml file according to the one you downloaded):
docker compose -f docker-compose.postgres-tika.yml up -dAt any time, you can check the web server logs with the command:
docker logs paperless-webserver-1The installation will be complete once you get the something like following from the logs:
[tasks]
  . documents.bulk_edit.delete
  . documents.signals.handlers.send_webhook
  . documents.tasks.bulk_update_documents
  . documents.tasks.check_scheduled_workflows
  . documents.tasks.consume_file
  . documents.tasks.empty_trash
  . documents.tasks.index_optimize
  . documents.tasks.sanity_check
  . documents.tasks.train_classifier
  . documents.tasks.update_document_content_maybe_archive_file
  . paperless_mail.mail.apply_mail_action
  . paperless_mail.mail.error_callback
  . paperless_mail.tasks.process_mail_accounts

[2025-11-22 14:28:10,724] [INFO] [celery.worker.consumer.connection] Connected to redis://broker:6379//
[2025-11-22 14:28:10,745] [INFO] [celery.apps.worker] celery@9737d0a7f7c7 ready.
Please use your Raspberry PI’s IP address as URL in a browser, adding the port 8000. For example, as my Raspberry PI has IP 192.168.1.218, my URL will be http://192.168.1.218:8000. You will find the registration page for your Paperless-ngx from Raspberry PI:
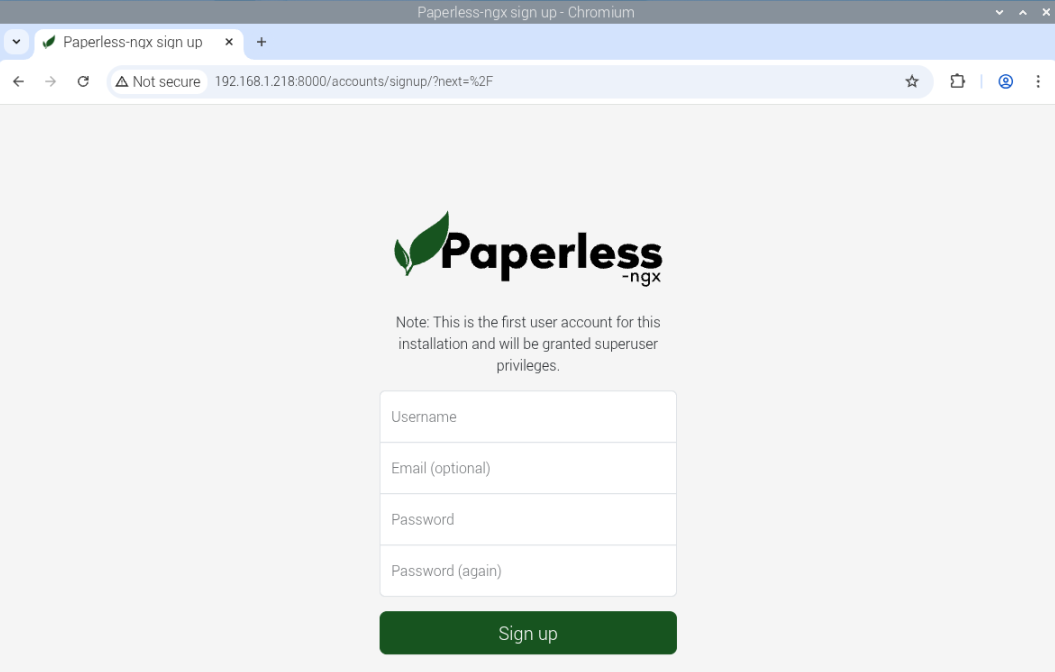
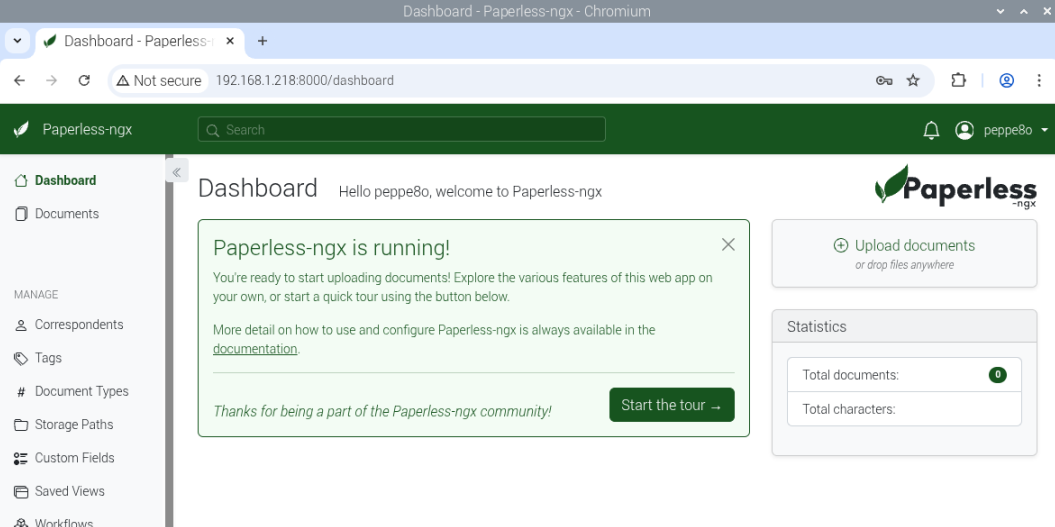
You can register your first user here, choosing your favourite username and password. You will reach the Paperless-ngx home page:
Upload and Tag Documents
One of the key features of Paperless-ngx is that you can upload new documents from any page by dragging and dropping the documents on the web page.
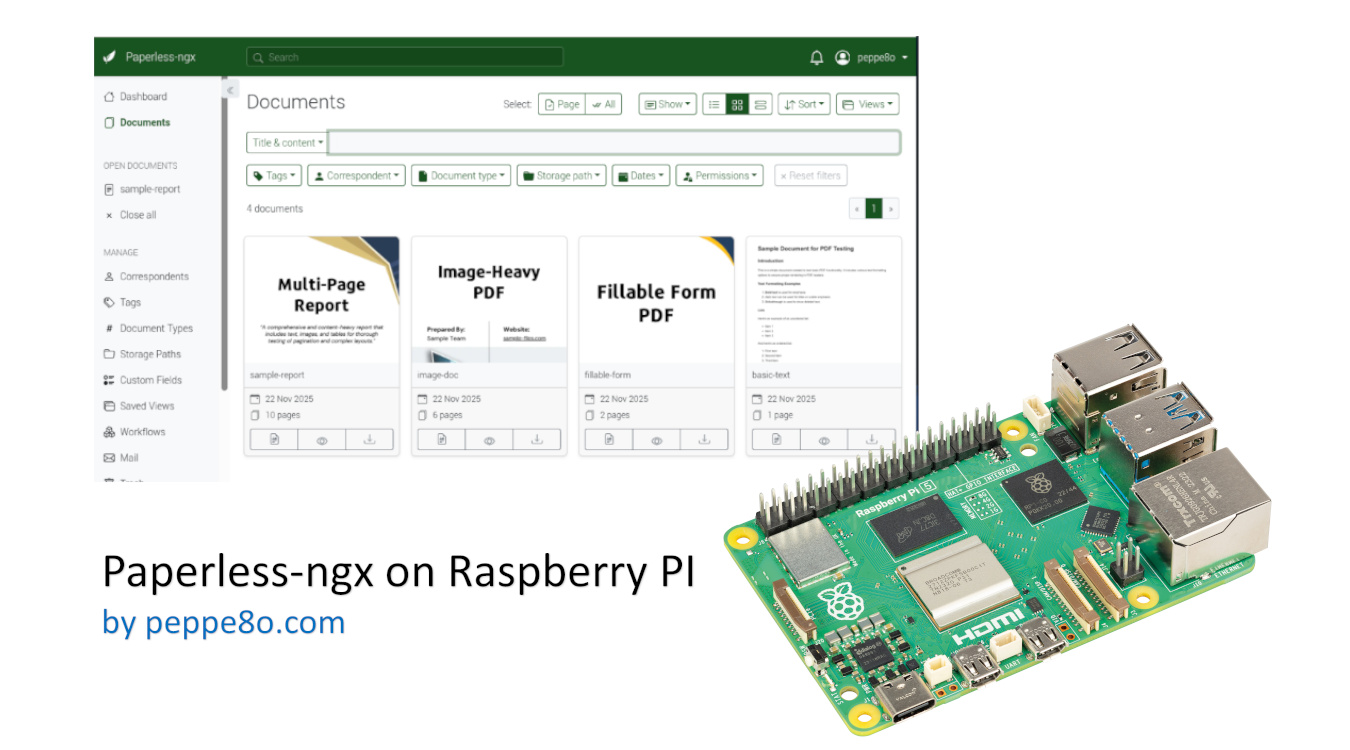
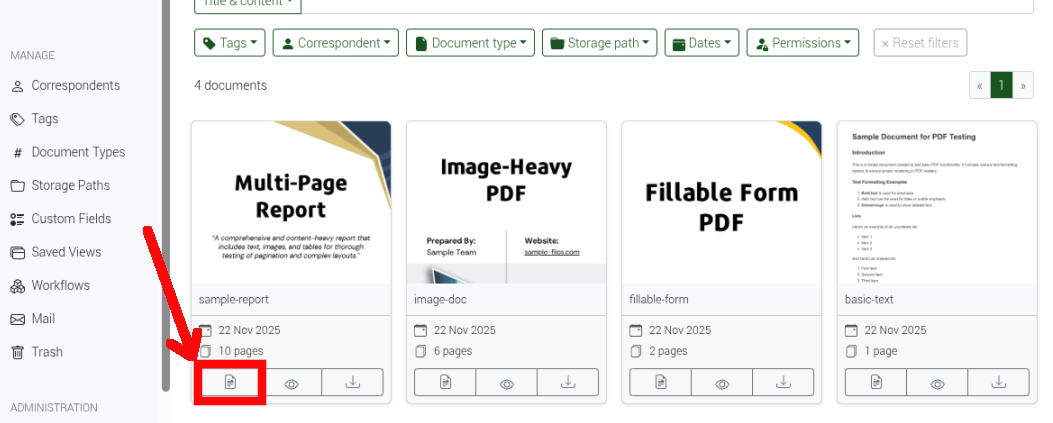
As soon as you upload documents, they will be added to the documents section:

For each document, at the bottom of the document widget, you will find 3 buttons: the first button allows you to see document with its info, the second will show it into a new browser page, and the third will download it.
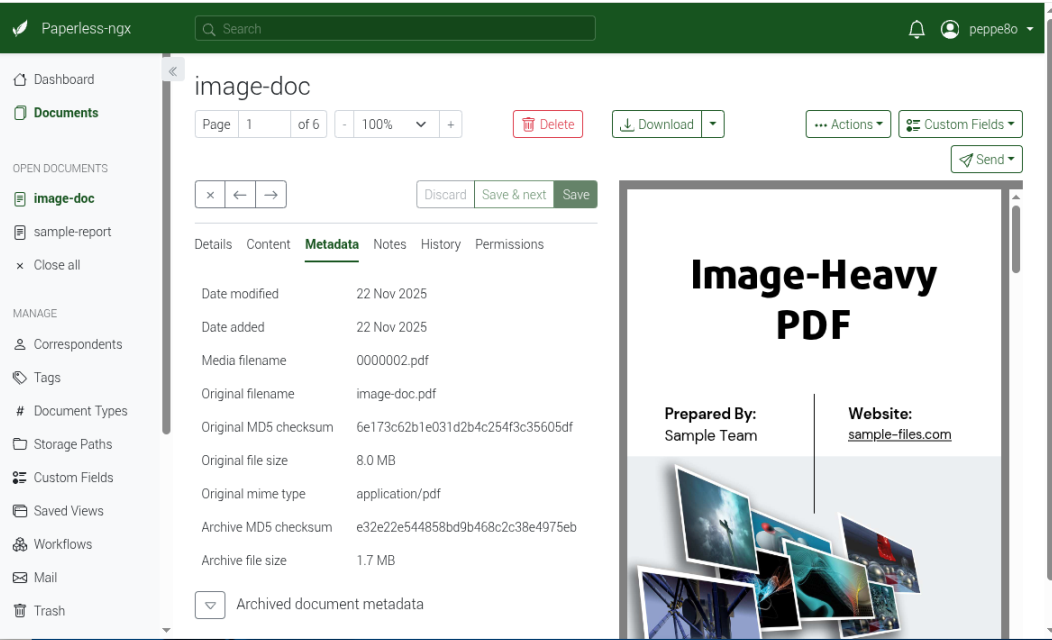
Let’s look at the document details by clicking the Open Document button:
Here we’ll find several document info like details, content (automatically scanned both from common documents as well as from images at the import phase), metadata, and so on.
The details page also include the Tags field. You can fill it by selecting one of the tags already created, or create a new tag to associate to the document:
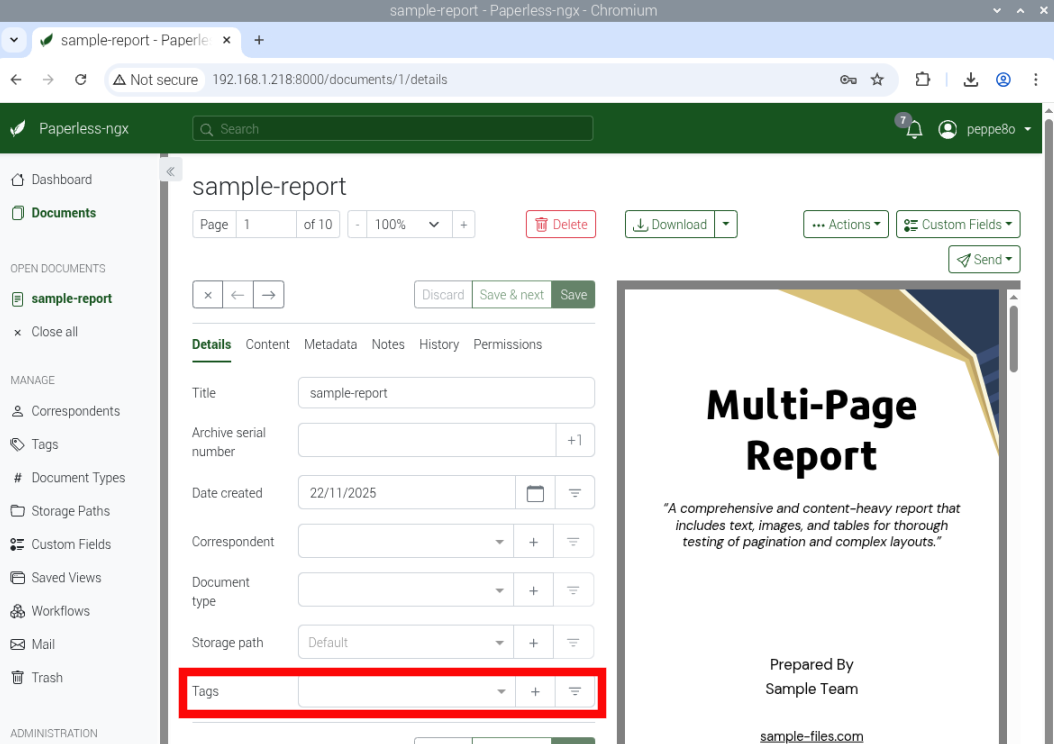
Tags are important parts for documents as they allow you to search and organize them according to your preferences.
Automatically Saving Emails and Attachments
Another important feature of Paperless-ngx is in its ability to connect to email accounts and automatically store the received messages and/or attachments in its database.
For this task, you must click the “Mail” in the left sidebar (as shown in the following screenshot). You will reach the a page which allows to add email accounts as well as email rules:
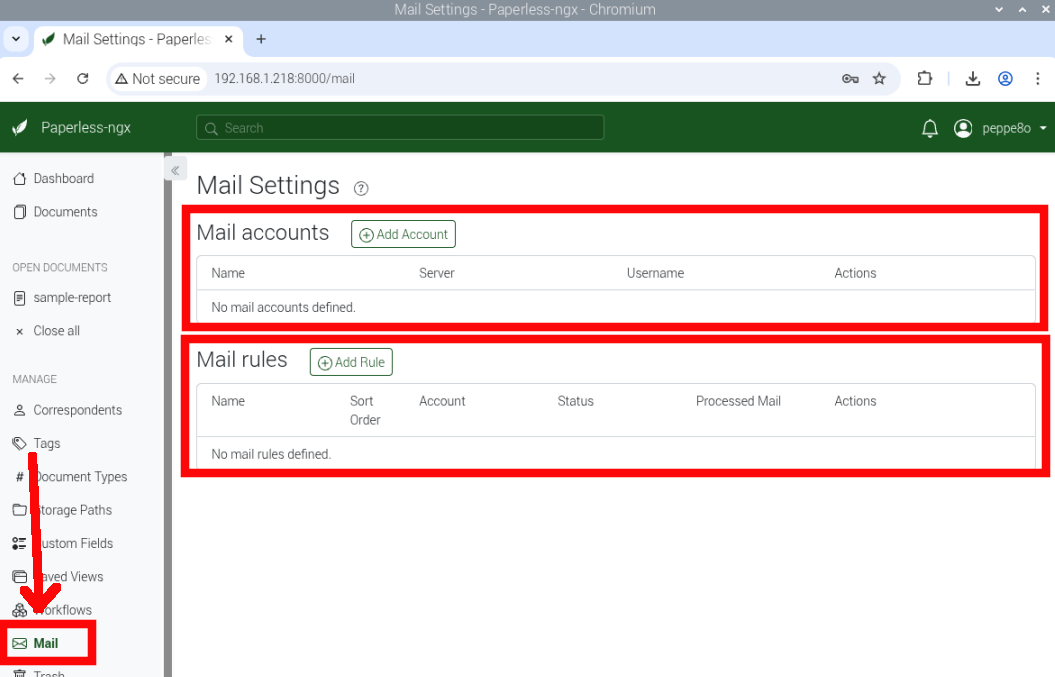
The configuration of email accounts is as easy as for any email client.
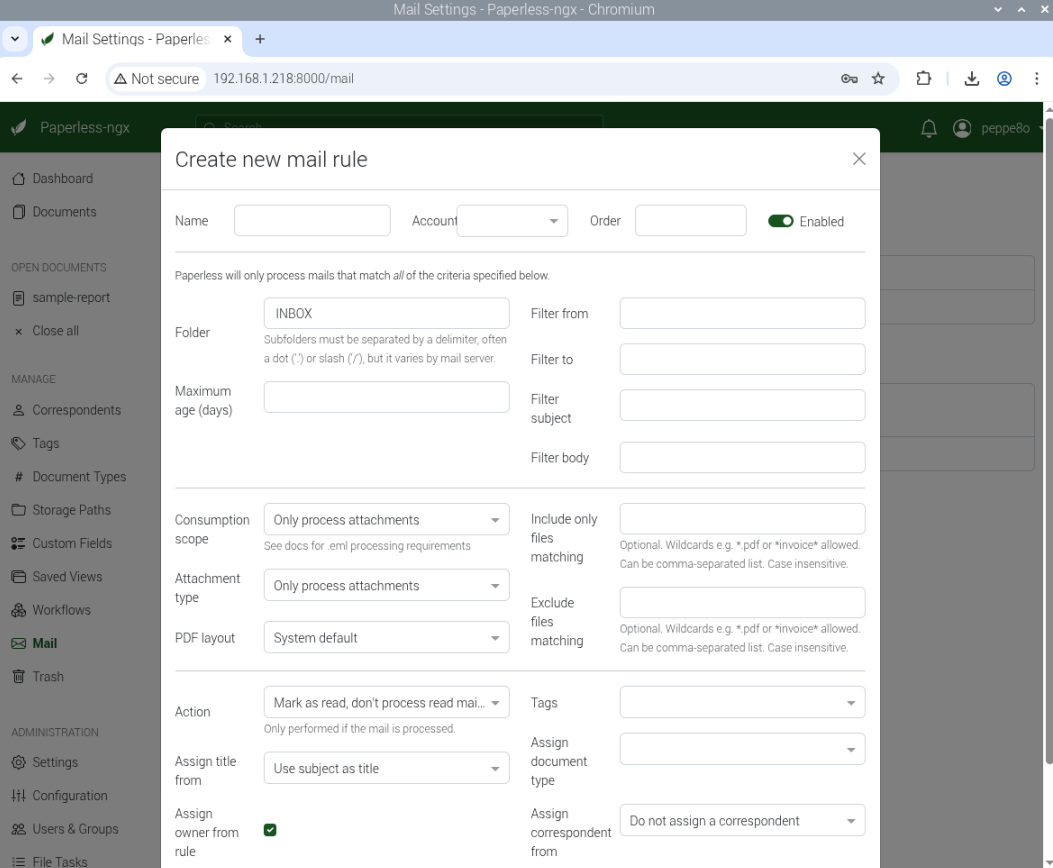
The Mail rules enables you to configure the actions to perform when any message is received from the email account.
With the configurations in the first section, you can define if you want to process all the email messages or filter them only for those that match specific filters (like sender, recipient, subject). As the message fits these requirements, Paperless-ngx will apply the processing actions defined in the second part of the rule page.
Paperless-ngx Documentation
Please find the official documentation in the Paperless-ngx Docs pages.
Next Steps
Interested in more projects with your Raspberry PI? Take a look at peppe8o Raspberry PI computers tutorials pages.
Enjoy!

Open source and Raspberry PI lover, writes tutorials for beginners since 2019. He's an ICT expert, with a strong experience in supporting medium to big companies and public administrations to manage their ICT infrastructures. He's supporting the Italian public administration in digital transformation projects.
![]()
![]()
![]()
![]()
![]()
![]()
![]()


