Last Updated on 2nd September 2023 by peppe8o
In this tutorial, I’m going to show you how to create a kiosk with Raspberry PI, mounted with a touchscreen display.
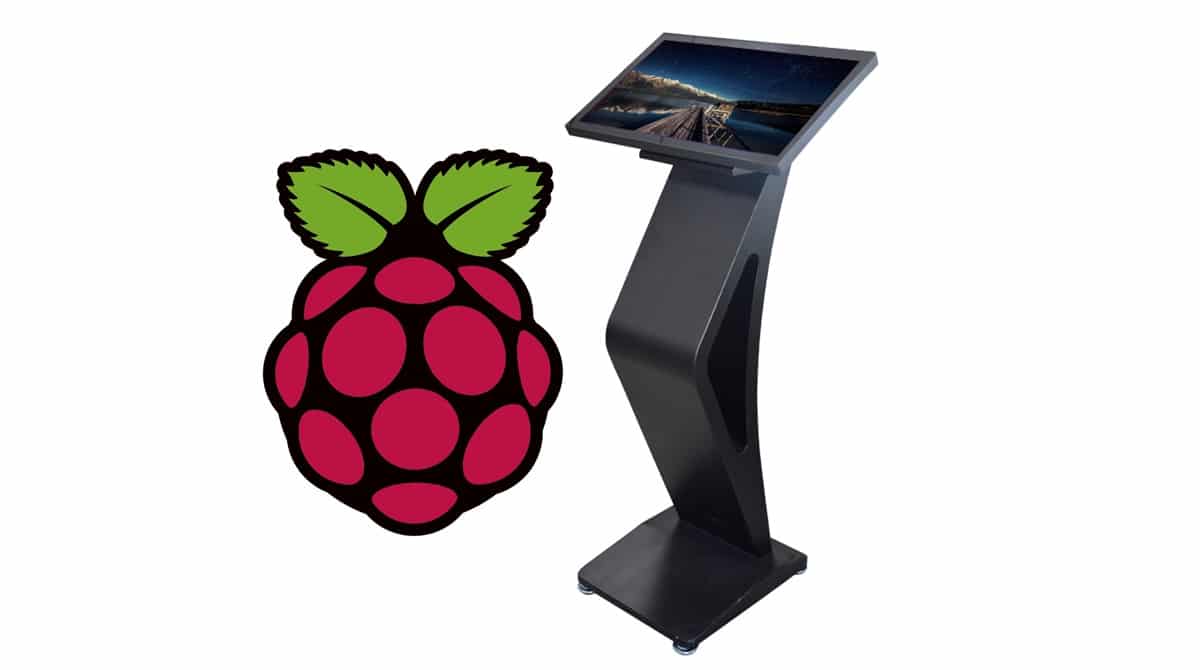
Welcoming guests in stores or exibitions can require a lot of effort when peak hours are in progress. Usually, informative stands help managing guests with self-service devices, giving the first info and reducing guests bounce rate. You can build them on low costs solution by creating kiosks with Raspberry PI computer boars and touchscreen display.
About Raspberry PI Kiosk Solutions
A lot of tutorials on this topic focus on installing specialized kiosk software. I will make things simpler: our kiosk will just show a web page for the user. I’ll build my kiosk configuration on Chromium running in a special configuration named “kiosk”.
All the logic and customer services will be built on web pages to be shown. A good practice will be creating these web pages with a clear navigation menu so that guests can easily understand where they are and how to go back to the home page.

You can create a kiosk with a Raspberry PI computer board also by starting from a minimal OS installation, and then adding the required packages to install the X11 window manager and Chromium. On the other hand, for this tutorial, I’m going to make it simpler starting from a Raspberry PI OS Desktop. This comes with all the packages needed to get your kiosk live in a few hours and Raspberry PI 3 Model B /4 Model B are enough powerful to keep it responsive.
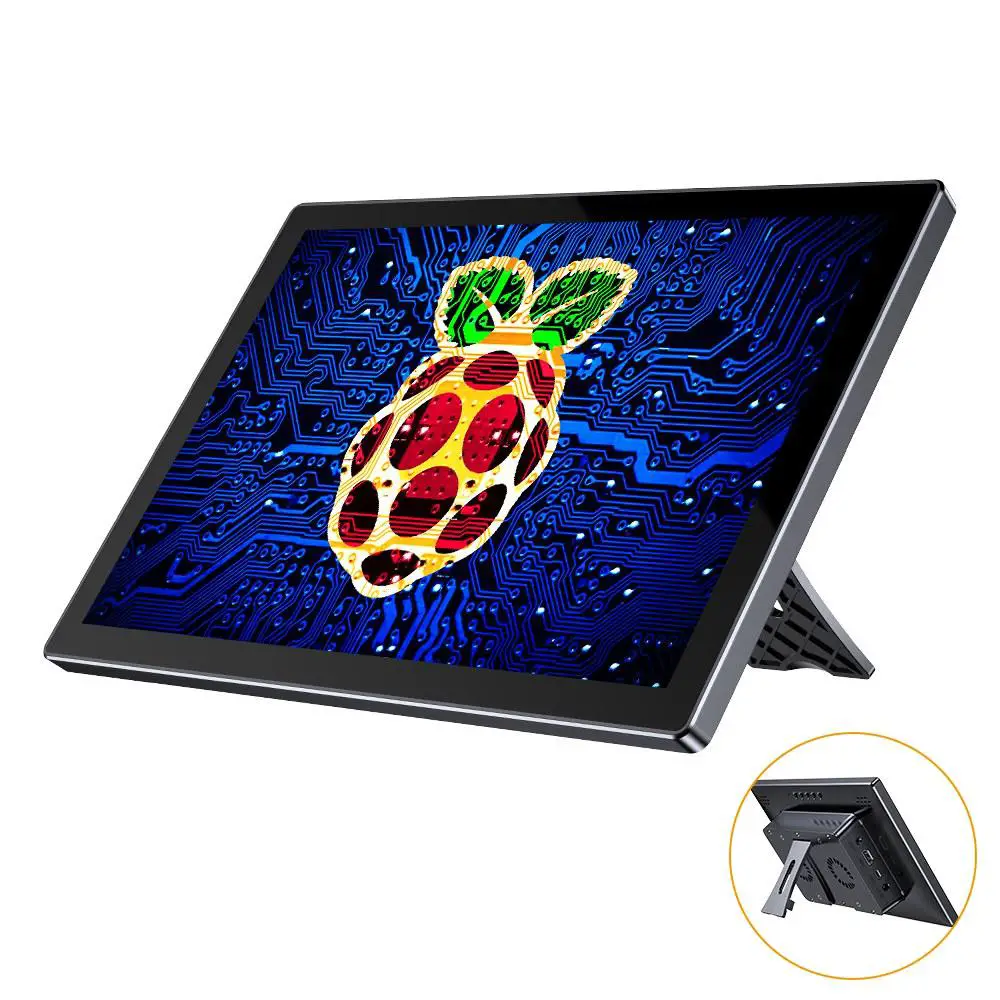
For this guide, I’ve used a Raspberry PI 3 Model B+ connected with Uperfect touchscreen (this perfectly integrates both RPI 3 model B/B+ and RPI 4 model B), but this tutorial will be usable also with a newer Raspberry PI computer board compatible with the touchscreen.
What We Need
As usual, I suggest adding from now to your favourite e-commerce shopping cart all the needed hardware, so that at the end you will be able to evaluate overall costs and decide if to continue with the project or remove them from the shopping cart. So, hardware will be only:

- Raspberry PI 3 Model B+ including proper power supply or using a smartphone micro usb charger with at least 3A, if needed (the Uperfect touchscreen already has the power supply for RPI) or newer Raspberry PI Board
- high speed micro SD card (at least 16 GB, at least class 10)
- a USB/wireless keyboard
- Uperfect RPI All-In-One monitor (you can buy this also in Uperfect store)
Check hardware prices with the following links:


Step-by-Step Procedure
Prepare Operating System
To get a desktop computer setup, you will need to use my install Raspberry PI OS Desktop tutorial.
Install the Raspberry PI inside the Backpack Box of Uperfect Touchscreen
Before starting here, please insert the microSD card into the Raspberry PI slot. Then, installation operation can be easily achieved with the producer User Manual and videos available from the product page, which well explains how to open the box, install your RPI and connect it to the display.
Run Chromium in Kiosk Mode
Chromium can run into the kiosk mode by adding the “–kiosk” option so that the terminal command will be likely the following one, where you have to change “https://peppe8o.com”with the home URL for your kiosk:
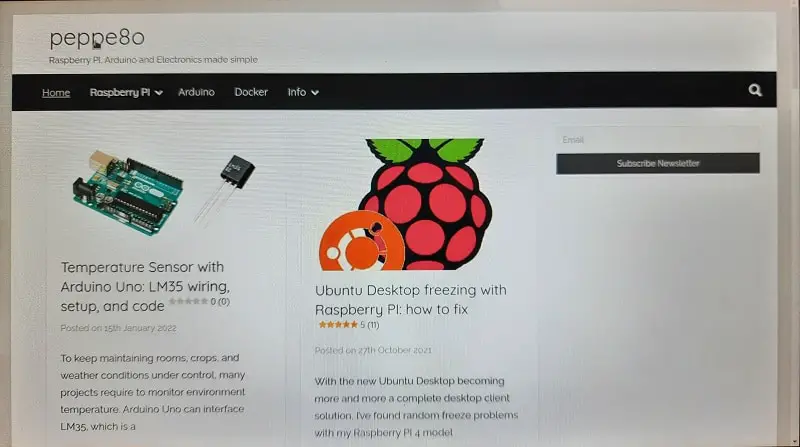
chromium-browser --kiosk https://peppe8o.comThis command will result in a full-screen window without URL/favourites bar and without the navigation buttons, as in following picture:

By using the touchscreen, the user will be able to scroll and navigate using page links.
Preventing User from Exiting Kiosk Mode
Usually, kiosks must be protected from being unwanted access to your local network, so we need to keep sure that any guest can’t exit from the kiosk mode.
Possible exit ways are:
- error popup windows
- hotkeys pressure (also known as keyboard shortcuts, like ALT+F4) from a keyboard, if available to users.
You can prevent the error popup window to appear with another useful Chromium option: ” –noerrdialogs “. So, our Chromium shell command will be something like the following:
chromium-browser --noerrdialogs --kiosk https://peppe8o.comYou probably need to run the kiosk mode at boot. To do it, just create a “.desktop” file in your user config/autostart folder:
nano /home/pi/.config/autostart/kiosk.desktopAnd add the following content (remember to change the URL with your one):
[Desktop Entry]
Type=Application
Name=Chromium-Kiosk
Exec=chromium-browser --noerrdialogs --kiosk https://peppe8o.com
Inhibiting hotkeys
Now, we need to inhibit hotkeys that could allow users to exit from kiosk mode. This could create risks for unwanted access to your local network.
You can see hotkeys as a 2 level problem. There are some hotkeys intercepted by OS which run pre-configured actions at OS level (like opening the terminal with the CTRL+ALT+T combination), and some hotkeys used by Chromium (like the ALT+F4 to close current window or CTRL+N to open a new chromium window).
To inhibit OS hotkeys, we can delete them at all from LXDE configuration file. Firstly, create a backup for this file, so that you can restore an original copy of it if needed:
sudo cp /etc/xdg/openbox/lxde-pi-rc.xml /etc/xdg/openbox/lxde-pi-rc.xml.backupThen open to edit the running file:
sudo nano /etc/xdg/openbox/lxde-pi-rc.xmlScroll down to the “keyboard” section. you have to delete all what is between this initial tag and it’s closure. It will appear like following:
  <keyboard>
  </keyboard>
This will disable all the OS hotkeys.
Managing Chromium hotkeys
But we have still to manage the chromium ones and here is one of biggest problems. I’ve found that many tutorials redirect to install the “Disable keyboard shortcuts” extension on Chromium. Maybe this could work on Chrome, but this didn’t work for my Chromium.
But I noticed that hotkeys intercepted from OS are automatically inhibited to Chromium, as if there is a sort of priority. So, my approach has been converting this risk into an opportunity: I decided to convert hotkeys that allow exiting from Chromium into OS hotkeys which reinitialize our kiosk and revert it to its start status.
This way, you can address the ALT+F4 and CTRL+N to close all running chromium processes and the opening a new chromium session in kiosk mode from home page. These 2 actions can be done with the following two commands:
pkill -9 chromiumThis closes all running processes whose name include “chromium”. And the following:
chromium-browser --noerrdialogs --kiosk https://peppe8o.comThis opens a new chromium session in kiosk mode. Put together ina single line, the become:
pkill -9 chromium;chromium-browser --noerrdialogs --kiosk https://peppe8o.comWith this in mind, we can convert ALT+F4 and CTRL+N hotkeys into re-initiation hotkeys with the following content into the lxde-pi-rc.xml file, still in the cleared keyboard tag section:
  <keyboard>
    <chainQuitKey>C-g</chainQuitKey>
    <keybind key="A-F4">
      <action name="Execute">
        <command>sh -c "pkill -9 chromium;chromium-browser --noerrdialogs --kiosk https://peppe8o.com"</command>
      </action>
    </keybind>
    <keybind key="C-N">
      <action name="Execute">
        <command>sh -c "pkill -9 chromium;chromium-browser --noerrdialogs --kiosk https://peppe8o.com"</command>
      </action>
    </keybind>
  </keyboard>
This action can be also performed for any additional hotkey which brings an unwanted action. Save and close this file, then reboot your Raspberry PI with the classic:
sudo reboot nowFinal toughts
Please note that with this configuration, you will be able to manage your Raspberry PI kiosk only from remote SSH sessions.
Another best practice to reduce security risks is by restricting kiosk network access to the server presenting the web pages for guests. As an additional security measure, you can also append to re-initiation hotkeys also a warning command sending a message (for example an email) to a defined recipient. In this way, a message will warn any required internal person if there are too many hotkey events from a specified stand.
An additional improvement will be a shutdown button. Powering off an RPI by simply cutting the power is never a good idea and hiding the desktop will deny accessing the shutdown command. In this configuration, you have to send the shutdown signal from a remote computer having access to the kiosk via SSH connection. But you can also build a physical shutdown button by using my Shutdown button with Raspberry PI and Python tutorial.
Finally, keep a backup of your kiosk SD: this will allow on-the-fly restores by simply changing its microSD card.
If you are interested in more RPI projects, please also visit my Raspberry PI tutorials.
Enjoy!

Open source and Raspberry PI lover, writes tutorials for beginners since 2019. He's an ICT expert, with a strong experience in supporting medium to big companies and public administrations to manage their ICT infrastructures. He's supporting the Italian public administration in digital transformation projects.

