
Last Updated on 2nd September 2023 by peppe8o
In this tutorial, I’m going to show you how to connect and setup Arduino Uno with an LM35 temperature sensor, also examining its pinout, working, convention, and working protocol.
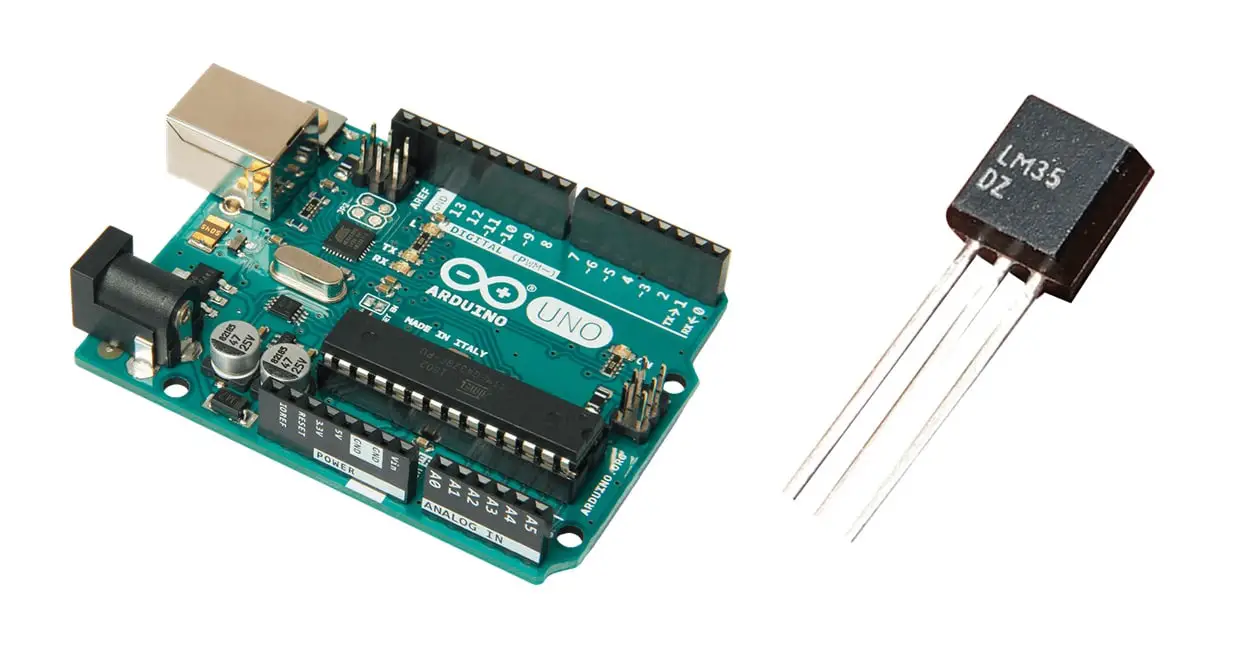
To keep maintaining rooms, crops, and weather conditions under control, many projects require monitoring environment temperature. Arduino Uno can interface LM35, which is a good temperature sensor as it can measure from -55 to 150 ˚C with a 0.1°C resolution
Ventures and business structures, where applications require high precision of temperature estimating, regularly use LM35 sensors for:
- Surface plates – surface plates regularly use ring terminal temperature sensors are, as you can mount them on a level surface and successfully measure temperature
- Home apparatuses – ovens, clothes washers, dishwashers, and tea-making machines all contain temperature sensors.
LM35 Description
Basically, LM35 is a positive temperature coefficient electronic component. The most important thing in this component is that it is easy to install with the system due to its only one pin added with the microcontroller. LM35 works on the basis of voltage change with respect to the temperature. When the temperature has changed the voltage at the LM35 also changes.

Features of LM35/LM36
LM35 works on the basis of analog voltage: when the temperature has changed the voltage, then the analog pin also changes. It is a sort of regularly utilized temperature sensor, that can be utilized to gauge temperature with an electrical result near to the temperature in (°C).
- It is an ordinarily utilized temperature sensor, giving results in voltages rather than degrees Celsius.
- The resulting voltage of LM35 is corresponding to the Celsius temperature. The scale factor is .01 V/°C
- The most significant trademark is that it draws only 60 microamps from its stockpile and procures a low self-warming limit.
The temperature sensor has a resolution of 0.01 volt after every degree centigrade change, so its high precision make this sensor the best solution for high precision measurements projects. Moreover, you can easily integrate it within any external hardware.
What We Need

As usual, I suggest adding from now to your favourite e-commerce shopping cart all the needed hardware, so that at the end you will be able to evaluate overall costs and decide if to continue with the project or remove them from the shopping cart. So, hardware will be only:
Step-by-Step Procedure
Wiring Diagram
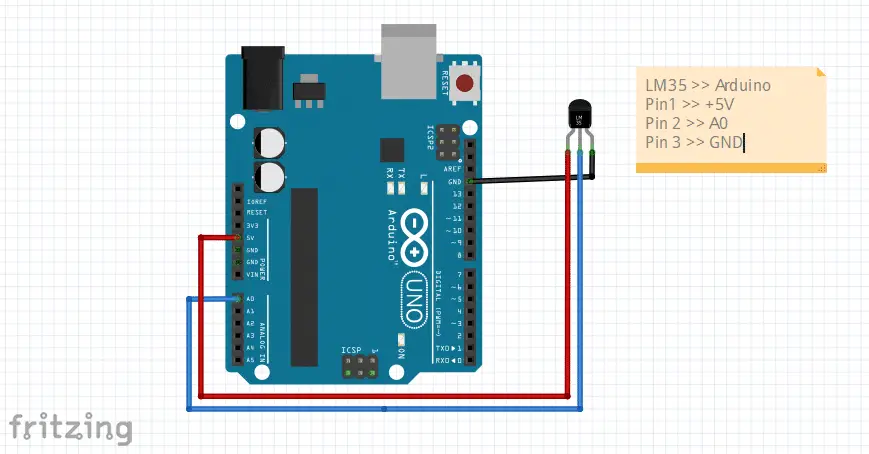
There are three pins of LM35, which are a VCC, analog pin, and ground. In the connection diagram, you can see that VCC is connected with plus 5 volts, the second pin is connected to analog port and the GND is connected with ground of the Arduino UNO. The temperature sensor analog PIN goes to one of PINs ranging from A0 to A6. As these are the analog PINs of Arduino, this allows you to measure voltage from 0 to 5 volts.
Please connect the LM35 sensor to Arduino according to the following picture:
Please find below the connection table:
| PIN No. | PIN Name | Purpose |
| 1. | VCC | Voltage PIN >> Connect to +5V |
| 2. | Vout | Analog Output >> Connect with an Analog port |
| 3. | Ground | Ground PIN >> Connect to 0V or GND |
Get my LM35 Temperature Code
Connect your PC to Arduino and open Arduino IDE. For the very first steps, you can refer to Connecting Windows PC with Arduino tutorial. Please download my LM35 temperature code, by using the following link:
Extract the folder content in your PC and open this file with your Arduino IDE.
Coding Explanation
We define the analog pin as a global variable and, in the setup function, we set the serial speed at a Baud rate of 9600. This sets the transmission rate with our serial monitor so that we can display the performed measurements:
float temp; // Temperature value storing variable
int tempPin = A0; // Temperature Pin
void setup() // Setup
{
  Serial.begin(9600); // Serial Monitor Initialized
}
The analog PIN of the temperature sensor is read by analoRread command: this gives the voltage in mV, which we have to convert in the form of temperature. So, after the translation, we get the temperature value:
void loop() // loop started
{
  temp = analogRead(tempPin); // Reading Analog Pin
  temp = ((double)temp / 1024) * 5; // Converting voltage to Temperature
  temp = temp - 0.5;
  temp = temp * 100;
In the following section, the temperature values are printed on a serial monitor after every 1 second (where a 1000 delay means 1 second):
  Serial.print("TEMPERATURE ="); // Print Temperature
  Serial.print(temp);
  Serial.print(" *C");
  Serial.println();
  delay(1000);
}
Results and Discussion
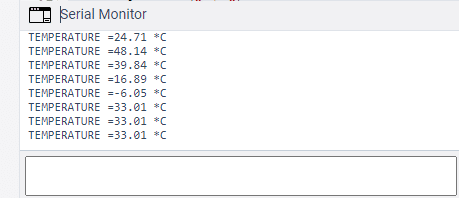
In the following picture, you can see a registered session where the serial monitor shows temperature sensor results with code in running. We can see from the serial monitor that the temperature is shown in Celsius degrees, but we can convert this voltage into any other temperature scale as well:
Enjoy!
Please find more tutorials on Arduino in peppe8o Arduino archives.
Umar Jamil
For any queries and help for work, please contact me at:
Whatsapp: +92-346-661-7017
Email: umarjamil0007@gmail.com

I'm an Electronic Engineer, well-skilled to solve the issues of hardware and software. I do have laboratory which contains unlimited sensors and modules for testing the working. Also, I am experienced in Arduino programming, Android mobile application, microcontroller programming, IOTs and embedded projects. I provide services to control, realize the sensor data in the Mobile Application. For any queries and help for work Contact: Whatsapp:+92-346-661-7017 Email: umarjamil0007@gmail.com
![]()


