

Last Updated on 6th February 2022 by peppe8o
In the last few days, I get hands on an interesting Raspberry PI touchscreen display. I was wishing to use it to test some projects like a retro gaming console and/or a home control display, but using it I thought that it is enough interesting for being worth a dedicated post.
The display is the 10.1 inches version of RPI All-In-One product, from Uperfect. Please note that the Raspberry PI board is not included in the standard package and you have to buy your one apart from it:
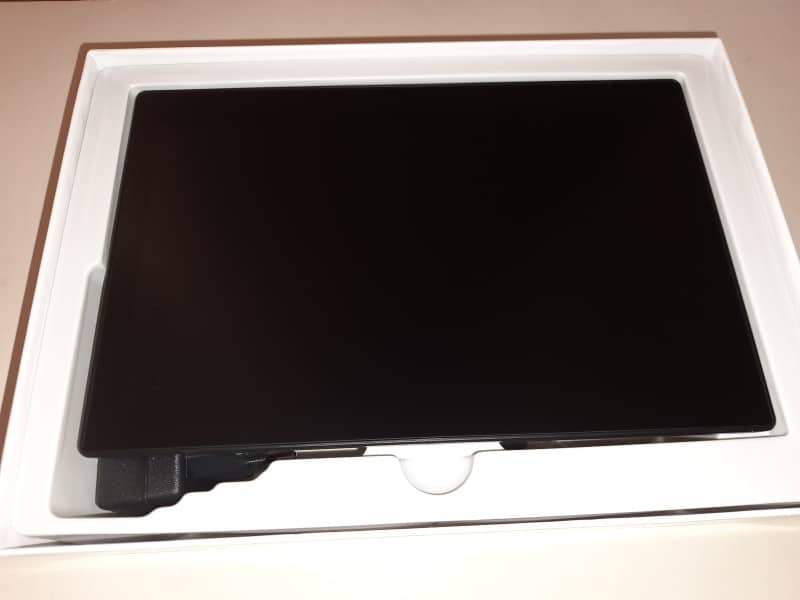
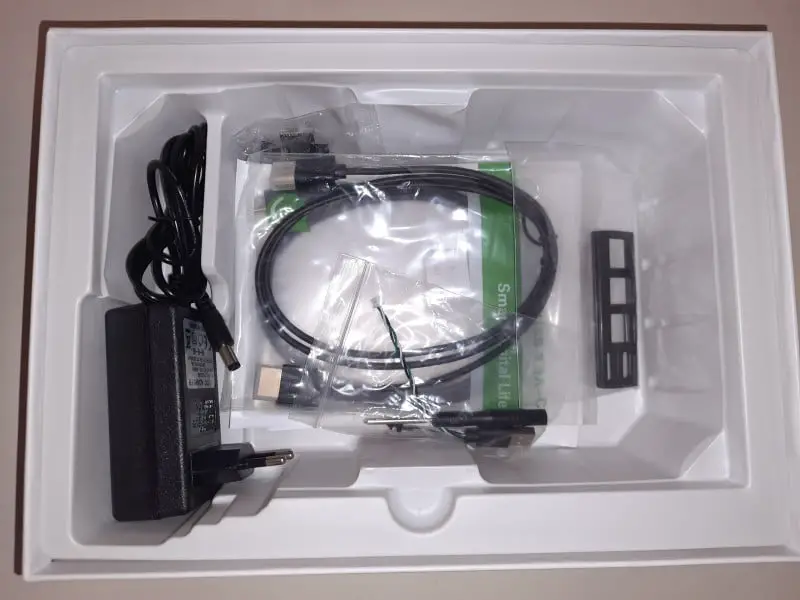
This device is built to be compatible with Raspberry PI 3/4 model B and includes a specific space to host your Raspberry PI board. The packages come with all the needed pieces to install your Raspberry PI inside the box attached to the display back.
Please find below the main features of this device:
- Panel Type: IPS Screen
- Screen Size: 10.1 inch
- Aspect Ratio: 16:9
- Resolution: 1366×768
- Refresh Rate: 60 Hz
- Built-in Speakers: 8Ohm 2W
- Output interface: 3.5mm headphone interface
The Uperfect RPI All-In-One touchscreen display also includes an HDMI input port, to use this monitor with any other external computer, and a type-C input port (which has to be connected too at the external computer to pass touch inputs).
The built-in speakers are good to listen to a video or music in a silent room, but to get a better audio performance a headphone is better (maybe connected to the comfortable 3.5mm headphone jack or with Bluetooth headphones).
An appreciated hardware already included is the fan: all the RPI users know that cooling can be a vital factor to keep our boards safe, especially with Raspberry PI 4. The fan can be activated within the monitor menu and I experienced that keeping it active can reduce the CPU temperature from a working 66 Celsius degrees to less than 45 Celsius degrees.
Finally, there are also 4 back holes that can fit any need to mount this display to a wall (useful, for example, with Home Assistant or Volumio projects).
What really surprised me is that it worked out of the box with Raspberry PI OS Desktop! I was ready to start editing configuration files or other time consuming stuff. On the contrary, once flashed Raspberry PI OS Desktop in my RPI and installed it inside the display, I booted it and my touches were immediately working.
Everyone could think that having a touch display with touch capabilities would be enough from the start. Here I warn you that for the very first installation you will need anyway an external keyboard: by default, the Raspberry PI OS desktop doesn’t include a virtual keyboard, so you will need a way to input your settings for your Wifi/internet connection and then install a virtual keyboard letting you add your text inputs without external devices. Differently, you need at least to enable SSH access from OS flashing and this is the only alternative to work for the first stages without a keyboard.
So, my first test was with a classic Raspberry PI OS desktop installation to get a mini-desktop PC for blogging needs during my holidays without keeping with me a second notebook (the first notebook is from the company I work to, but I can’t install all of my software there for security reasons).
Please find below how I get my desktop installation. For these tests, I used a Raspberry PI 3 Model B+, but you can also use newer Raspberry PI computer boards with the “Model B” form factor.
What We Need

As usual, I suggest adding from now to your favourite e-commerce shopping cart all the needed hardware, so that at the end you will be able to evaluate overall costs and decide if to continue with the project or remove them from the shopping cart. So, hardware will be only:
- Raspberry PI 3 Model B+ (including proper power supply or using a smartphone micro usb charger with at least 3A) or newer Raspberry PI Board
- high speed micro SD card (at least 16 GB, at least class 10)
- a USB/wireless keyboard
- Uperfect RPI All-In-One monitor
Check hardware prices with the following links:


Step-by-Step Procedure
Prepare Operating System
To get a desktop computer setup, you will need to use my install Raspberry PI OS Desktop tutorial.
Install the Raspberry PI inside the Backpack Box
Before starting here, please insert the microSD card into the Raspberry PI slot.
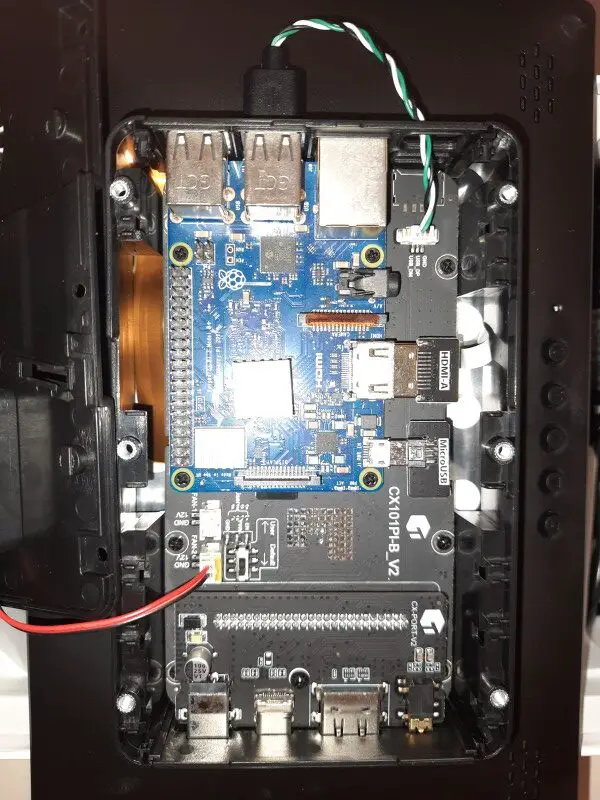
Then, installation operation can be easily achieved with the producer User Manual and videos available from the product page, which well explains how to open the box, install your RPI and connect it to the display. The following picture shows my Raspberry PI installed, just before closing the back box:
Update and Install Matchbox Keyboard
Make sure your OS is up to date. From a terminal shell session, please issue the following command:
sudo apt update -y && sudo apt upgrade -yNow we need also a virtual keyboard so that we can type directly from the screen without the use of a physical keyboard (this can be useful for some cases). For this, please use the following:
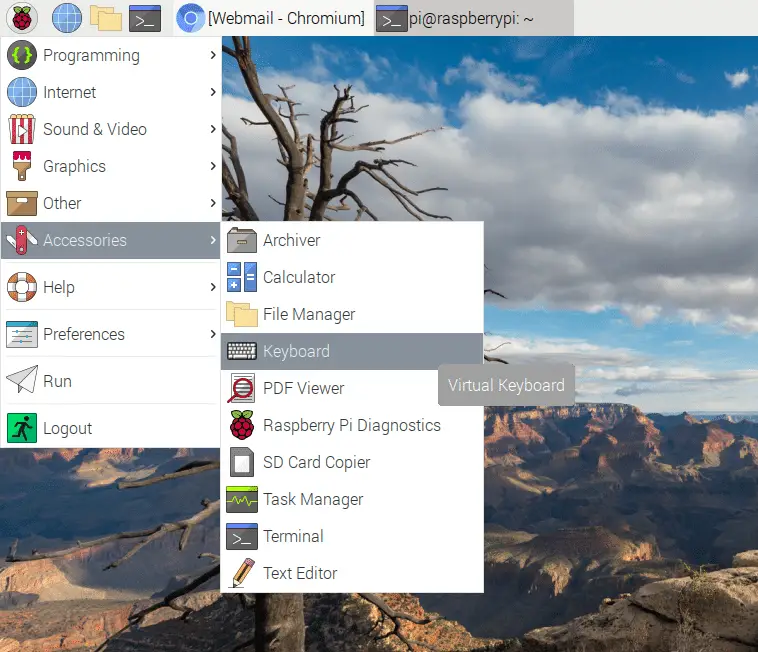
sudo apt install matchbox-keyboardOnce finished, you will find the keyboard link from Menu -> Accessories -> Keyboard:
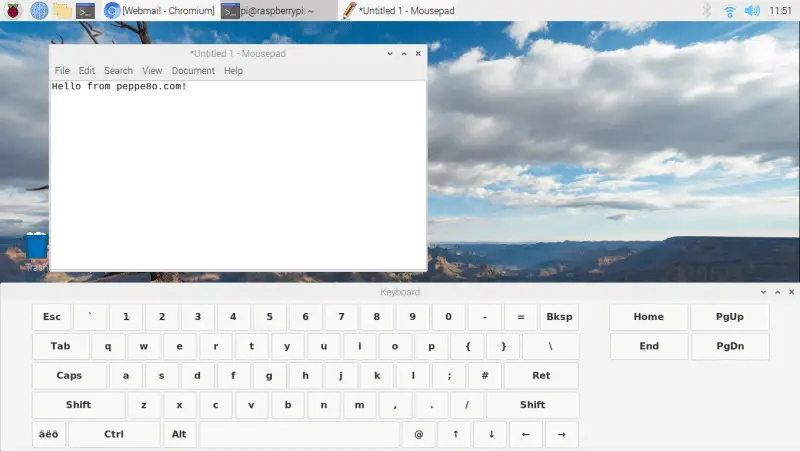
This way, you will activate the on-screen virtual keyboard for fast input when the physical one isn’t at your hand:
Other optimizations, common to RPI desktop installations, will be setting memory split to give more RAM to GPU and increasing Swap size.
Feelings After a Few Days of Work
After working with this desktop for a few days, I have to say that I experienced a new, more interactive way of using a desktop.
I didn’t need a mouse at all, as the integrated touchpad in my keyboard has been enough only for precision-specific tasks. Quite all the actions I was making in past with a mouse have been replaced with the touchscreen interaction. Also making small changes to picture with the Mirage application have become faster and faster as I was physically interacting with the picture (I have to say that my usual image editing tasks are only crop and resize).
Also scrolling a web page is more user friendly as you literally drag the page up and down with the speed and precision you need.
So, my overall impression of this first experience with a touchscreen display (the Uperfect one) is really positive.
Improvement Areas
Even being a great display, I felt that some small improvements could make this monitor a great monitor. These small personal suggestions are collected in this paragraph.
FAN Noisy
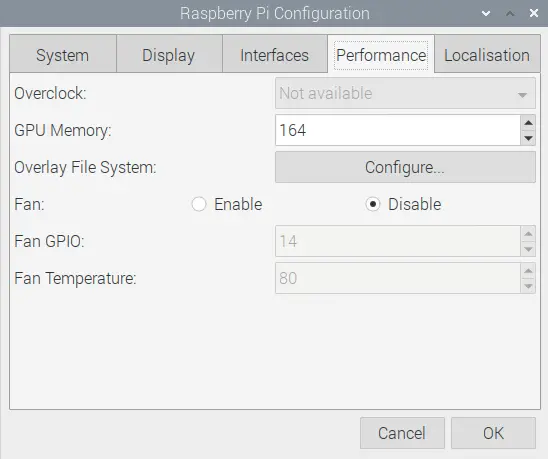
The included Fan coming with the case is a bit noisy. There are at least 2 ways to do better with this. The first (and more invasive) one is by replacing it with a less noisy one. The second way is by letting Raspberry PI activate it only when needed. Raspberry PI gives the user the ability to control the fan from one of its PINs and set it from raspi-config tool (Menu -> Preferences -> Raspberry PI Configuration, then selecting Performance tab):
Giving the user a wire to connect a PIN and enabling this option would keep the fan activated only when the Raspberry PI temperature goes above a defined threshold, so also increasing the FAN lifetime. The point is that Raspberry PI GPIO is 3,3V out capable, while the fan could be of any other voltage. For this, a small level shifter would do the trick.
Raspberry PI SD Card Slot
Once you mounted the Raspberry PI inside the box, you will note that removing and reinserting the microSD card will not be as easy. A microSD soft extender cable will solve this problem, by making it exiting from the holes near USB ports, but it would be a really appreciated accessory for people, like me, loving to have different microSD cards with different installations for different usages (so, needing to change it often).
Power Button
The power button on RPI All-In-One display cuts the power which keeps on the mounted Raspberry PI. It is always better to avoid shutting down Raspberry PI by simply cutting power, as it could corrupt the filesystem and break its OS installation. So, remember to shut down properly the Raspberry PI before using the power button to close the display. A better solution could be letting the user connect a second wire for dtoverlay=gpio-poweroff configuration in /boot/config.txt and another wire for 5V (or 3,3V) GPIOs. The solution should work so that at the power button pressure a power off signal is sent to Raspberry PI via the first wire. Once the 5V (or 3,3V) output from Raspberry PI go to zero, which means that RPI has completely shut down, the power is completely put off for all the display.
This is surely more complex than the FAN change, but it would better integrate Raspberry PI with this display.
Optional Camera
With the pandemic, all the world started to make video conferences with familiars and friends, besides job ones. Including an optional camera into this monitor can make it a perfect solution to set video conferencing terminals easy to be used and fast to setup.
Enjoy!

Open source and Raspberry PI lover, writes tutorials for beginners since 2019. He's an ICT expert, with a strong experience in supporting medium to big companies and public administrations to manage their ICT infrastructures. He's supporting the Italian public administration in digital transformation projects.
![]()
![]()
![]()
![]()
![]()
![]()
![]()


