
Last Updated on 26th July 2025 by peppe8o
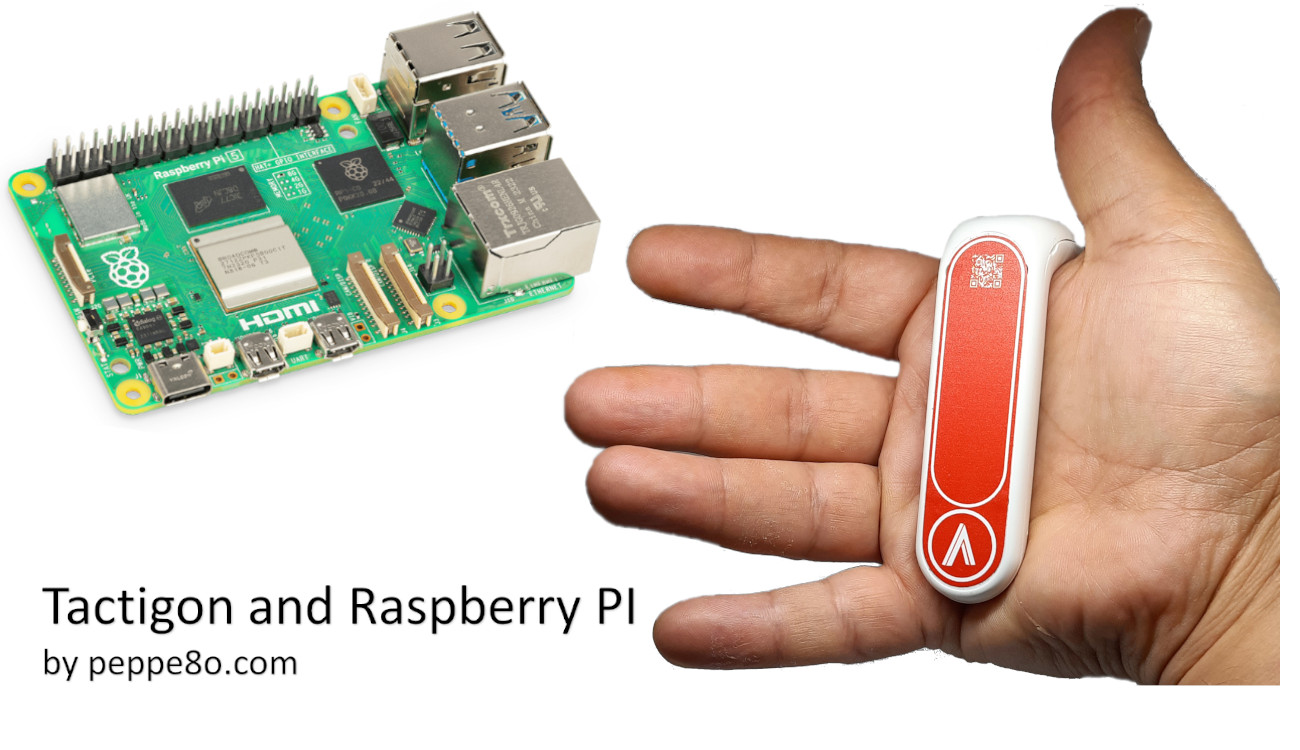
In this tutorial, I will show you the basics of using the Tactigon with Raspberry PI computer boards. In this tutorial, I will use Python to collect data from Tactigon sensors and print it to the terminal.
About Tactigon
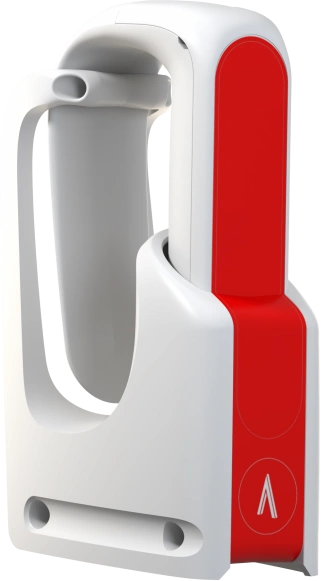
The Tactigon is a wearable device that enables you to control a remote computer or robot via gestures or voice. As you can see from the following picture, it is composed of the Tactigon Skin (a wearable controller) and the related docking station, which only charges the skin.
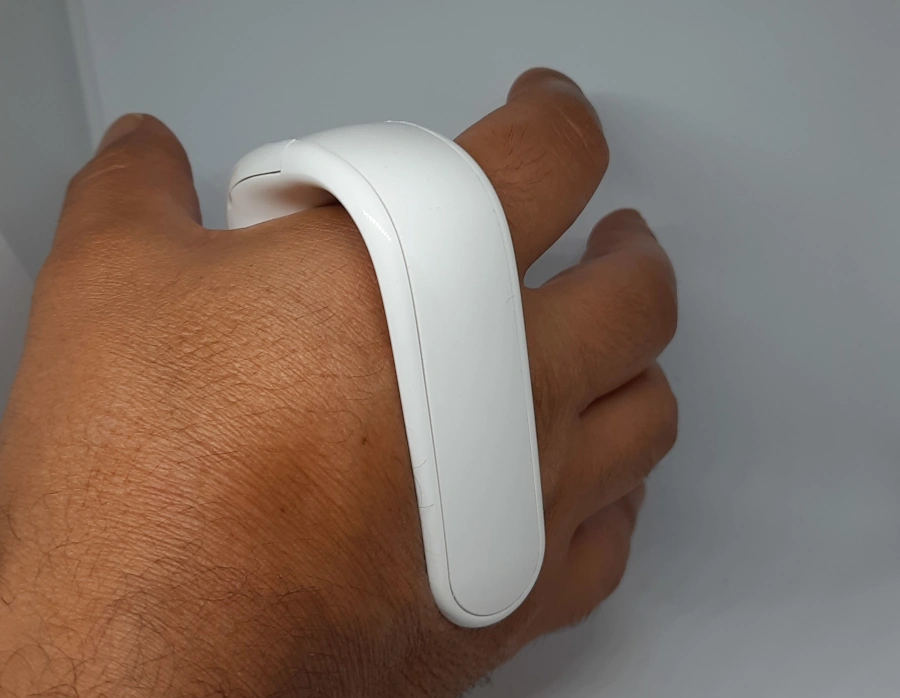
You can wear the Tactigon skin on your hand. It’s also possible to configure it for both right-hand and left-hand use.
It connects with the remote computer via Bluetooth and can be used with Windows, macOS, and Linux operating systems.
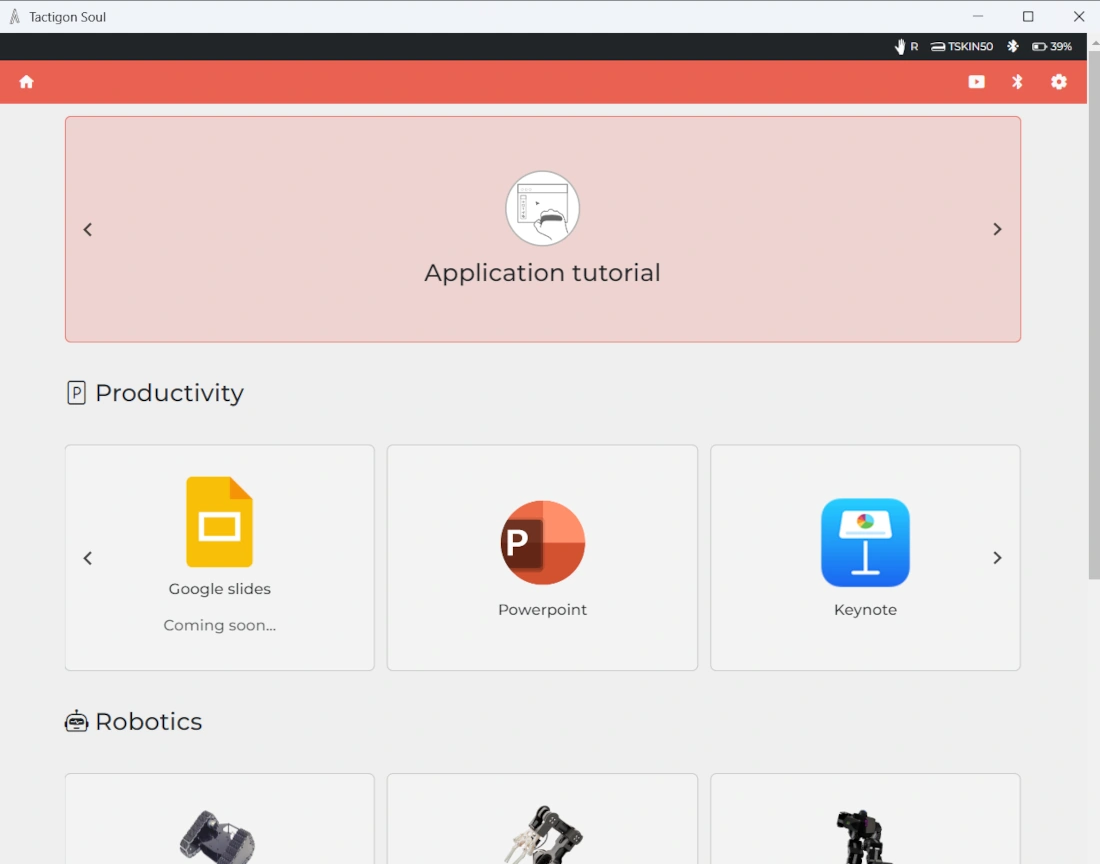
For people wishing to use it from a Windows or macOS, the Tactigon team provides a desktop software to install all the required packages, which includes a tutorial to learn about some usage tricks: the Tactigon Soul. The included tutorials will guide you to use the Tactigon Skin to improve your productivity with office software and use it with design software (like FreeCAD and Inkscape). The Tactigon team is progressively providing more tutorials focused on controlling robotics projects, also with Arduino.
For the scope of this tutorial, I will show you a basic connection between the Tactigon Skin and your Raspberry PI, showing how to get the sensor data from Tactigon Skin in your Python program. From this basic approach, you should be able to easily integrate the controller into your project and add cool gesture control to your robots.
I will use my Raspberry PI 5 Model B, but this tutorial should work with any Raspberry PI computer board.
What We Need
As usual, I suggest adding from now to your favourite e-commerce shopping cart all the needed hardware, so that at the end you will be able to evaluate overall costs and decide if to continue with the project or remove them from the shopping cart. So, hardware will be only:
- The Tactigon. It will be available in the Tactigon Shop. If it isn’t still there, you can contact the Tactigon Team.
- Raspberry PI Computer Board (including proper power supply or using a smartphone micro USB charger with at least 3A)
- high-speed micro SD card (at least 16 GB, at least class 10)

Step-by-Step Procedure
Prepare the Raspberry PI Operating System
The first step is installing the Raspberry PI OS Lite (I suggest the 64-bit version, for boards supporting it) to get a fast and light operating system (headless). If you need a desktop environment, you can also use the Raspberry PI OS Desktop, in this case working from its terminal app. Please find the differences between the 2 OS versions in my Raspberry PI OS Lite vs Desktop article.
For this test, I will use a headless installation. However, a Desktop installation also works by using the terminal.
Please make sure that your OS is up to date. From your terminal, use the following command:
sudo apt update -y && sudo apt full-upgrade -yInstall the Tactigon on Raspberry PI
Now, we can install the Python packages required to manage our Tactigon Skin. As we’ll use the PIP package manager, we must create a Python Virtual Environment where we can add all the required software. Please refer to the link to learn how to use and activate virtual environments.
python3 -m venv my_project --system-site-packagesAlso, remember that after every Raspberry PI reboot (or exiting from the virtual environment) we need to activate the virtual environment, as follows. Run the following terminal command:
source ./my_project/bin/activateYour prompt will show you that we activated the “my_project” virtual environment by prepending it:
(my_project) pi@raspberrypi:~ $Before installing the Tactigon packages, if you’re using a Raspberry PI OS Lite, you must install the Python Dev packages:
sudo apt-get install python3-devWe can now proceed to install Tactigon on our Raspberry PI:
pip install tactigon-gearNOTICE: Before testing the Tactigon
The Tactigon uses Bluetooth connection to communicate with your Raspberry PI.
The first thing to check is that the Bluetooth connection on the Raspberry PI is active. You can assure yourself of it by using the following terminal command:
bluetoothctl power onYou may need to force the stop of a running script with the Tactigon. This may lead to a condition where your Tactigon can’t connect again to the new run of your script. In this case, restarting the Bluetooth chip on the Raspberry PI can fix the issue. The terminal command to use follows:
bluetoothctl power off && bluetoothctl power onGet the Tactigon MAC Address
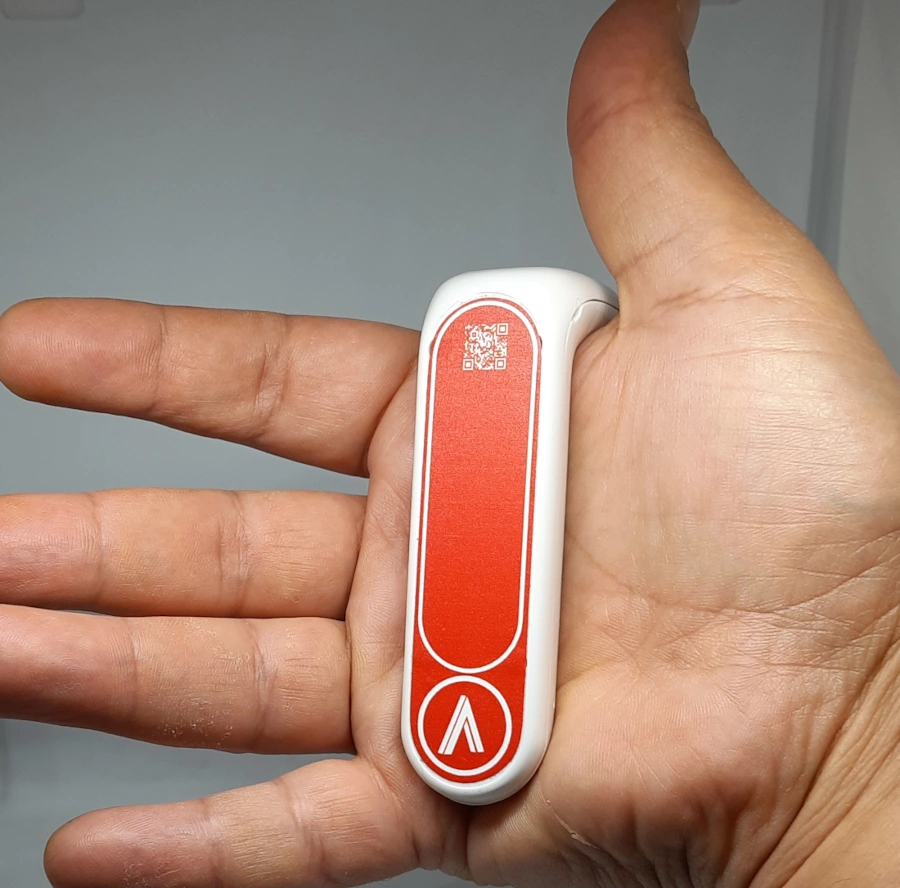
The MAC address of your Tactigon is a very important input to ensure that the following test script will work. The Tactigon package doesn’t include it, and you must get it by scanning the QR code in front of your Tactigon Skin:
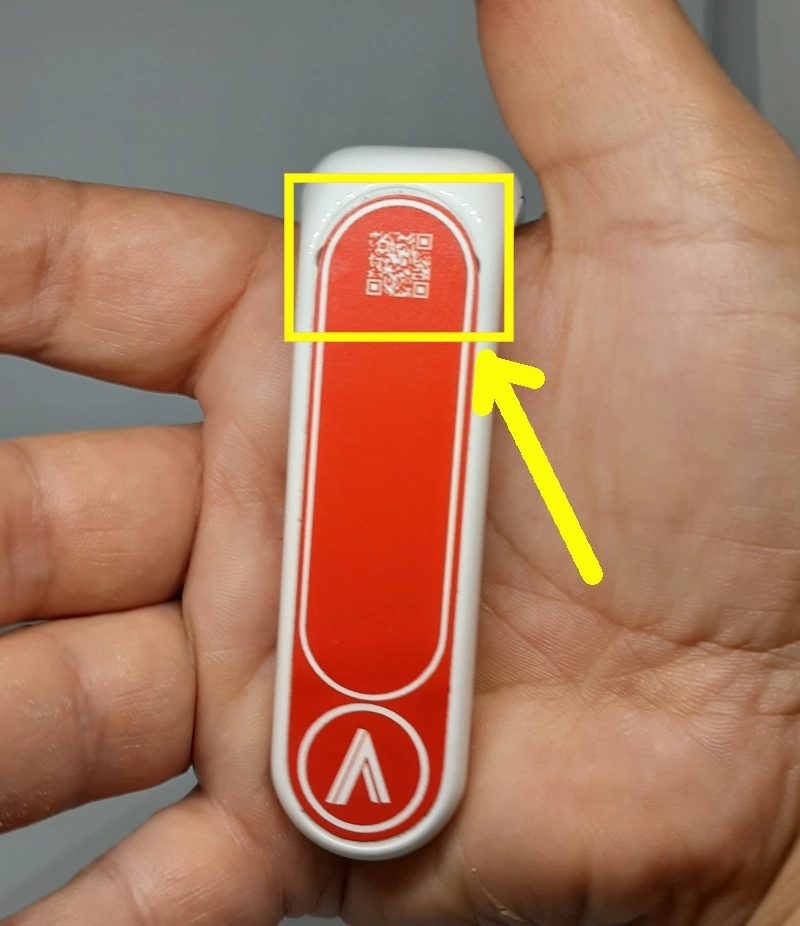
The MAC address is a code composed of a 12-digit hexadecimal number, organised in six pairs separated by colons.
By scanning it from the Tactigon, you will get 6 pairs separated from the “_” (underscore) character. Before using it, please remember to change the “_” characters with “:” (colons).
For example, if you get a MAC address similar to “A1_B2_C3_D4_E5_F6”, you must use as MAC address “A1:B2:C3:D4:E5:F6”.
Get my Test Script for Tactigon
We’re ready to test the device with Raspberry PI. I wrote a Python script alternative to the official (available from the pip page for the tactigon-gear package), as I wished for something showing in a clearer way the measured values.
Please get the following test script from my download area:
wget https://peppe8o.com/download/python/tactigon/tactigon-basic.pyBefore running it, please open the file for editing:
nano tactigon-basic.pyIdentify the following line:
TSKIN_MAC = "add_here_your_tactigon_mac_address"Change it according to your MAC address. Your line should appear similar to the following:
TSKIN_MAC = "A1:B2:C3:D4:E5:F6"Moreover, only if you use it on the left hand, please change the following line:
tskin_cfg = TSkinConfig(TSKIN_MAC, Hand.RIGHT)to the following:
tskin_cfg = TSkinConfig(TSKIN_MAC, Hand.LEFT)You can close and save the file.
From this script, there are a few important things to note.
The first is that you can check if the Skin is connected by using the tskin.connected boolean. Before looking for any sensor data, please remember to wait for this value to return True.
The defined tskin object gives you the sensor’s data with the following 4 properties:
- .angle -> giving the roll, the pitch, and the yaw values in degrees.
- .touch -> giving information if the touch area (the red part in the Tactigon skin picture where the QR code is placed) has been touched, where and how (single tap or hold)
- .acceleration -> giving acceleration on x, y, and z axes
- .gyro -> giving direction x, y, and z axes compared to the magnetic north of Earth
The print("\033c") statement at the beginning of the loop will clear the terminal screen on each reading of the Tactigon, so that you will see the values changing in real time.
The sleep(0.5) line will add a small delay on every loop run, so that you can read the current values as they’re not changing too fast. You can remove this delay in real projects to get real-time values, but you shouldn’t go lower than the sleep(0.02) line at the end of the loop to get the required time to the device to send the data correctly.
Test the Tactigon with Raspberry PI
You can run the example script by using the following terminal command (please remember, with the virtual environment active):
python tactigon-basic.pyWhen your terminal prints the “Connecting” message, please move the Tactigon skin to connect it. Then, something similar to the following output will start appearing in your terminal:
Touch One Finger: None
Touch Two Finger: None
Touch X: None
Touch Y: None

Angle roll:        4.00
Angle pitch:    -105.00
Angle yaw:       185.00

Acceleration x:    0.17
Acceleration y:    0.14
Acceleration z:   -4.59

Gyro x:            0.00
Gyro y:           -0.03
Gyro z:            0.03
To stop the script, please tap and hold the skin touch area for 5 seconds (0.5 sleep delays x 10 iterations, according to what is set in the code).
Final Thoughts About Tactigon with Raspberry PI
In my personal opinion, the Tactigon is a great device to control robots, and I think it would be a great way to control, for example, my PiDog. I think it could also be a great revolution if applied to drone controlling, as it could allow you to drive a drone with just one hand in a natural manner compared to the current drone controllers.
It enables you to have direct interaction and control of robots. It makes the interface as natural as moving your hand, which allows you to get complete control with something like moving a hand.
By combining the angle, acceleration, and gyro values, you can also create gestures for special actions, which would greatly increase
For this post, I didn’t have enough time to try the audio and AI interaction from Python, while they worked pretty well when I used it with my Windows computer. Moreover, there are several examples that you can test from the Tactigon SDK page.
On the other hand, some things could be improved to make it even better: the skin part passing on the rear side of the hand was a bit too small for my hand. I would prefer something that I can adjust based on my hand size. Moreover, the touch area could give many options, as it can detect the touch position on the red area and can detect multi-finger touches. But I found it a bit hard to reach and a bit small to manage. This may be related to the size of my hands (not very very big, to say the true), or simply a bit of training with the device.
Overall, I think this is a promising device for the future, and I hope this will get to market as soon as possible.
What’s next
If you are interested in more Raspberry PI projects (both with Lite and Desktop OS), take a look at my Raspberry PI Tutorials.
Enjoy!

Open source and Raspberry PI lover, writes tutorials for beginners since 2019. He's an ICT expert, with a strong experience in supporting medium to big companies and public administrations to manage their ICT infrastructures. He's supporting the Italian public administration in digital transformation projects.
![]()
![]()
![]()
![]()
![]()
![]()
![]()


