
Last Updated on 30th June 2024 by peppe8o
In this tutorial, I will review the Crowtail Starter Kit for Raspberry Pi, a kit with sensors and devices that you can use with a very low programming skill to start your journey with microelectronics and programming.
I will give you a few insights about the kit and detailed pictures from the kit I received for review.
About the Crowtail Starter Kit
The kit I will review here comes from Elecrow, a company known in the Raspberry PI community for its Raspberry PI-based laptops. It also produces many sensors and PCBs (Printed Circuit Boards).
This kit is based on Raspberry PI computer platforms with a 40-pin header (so, from Raspberry PI model B+ onwards).
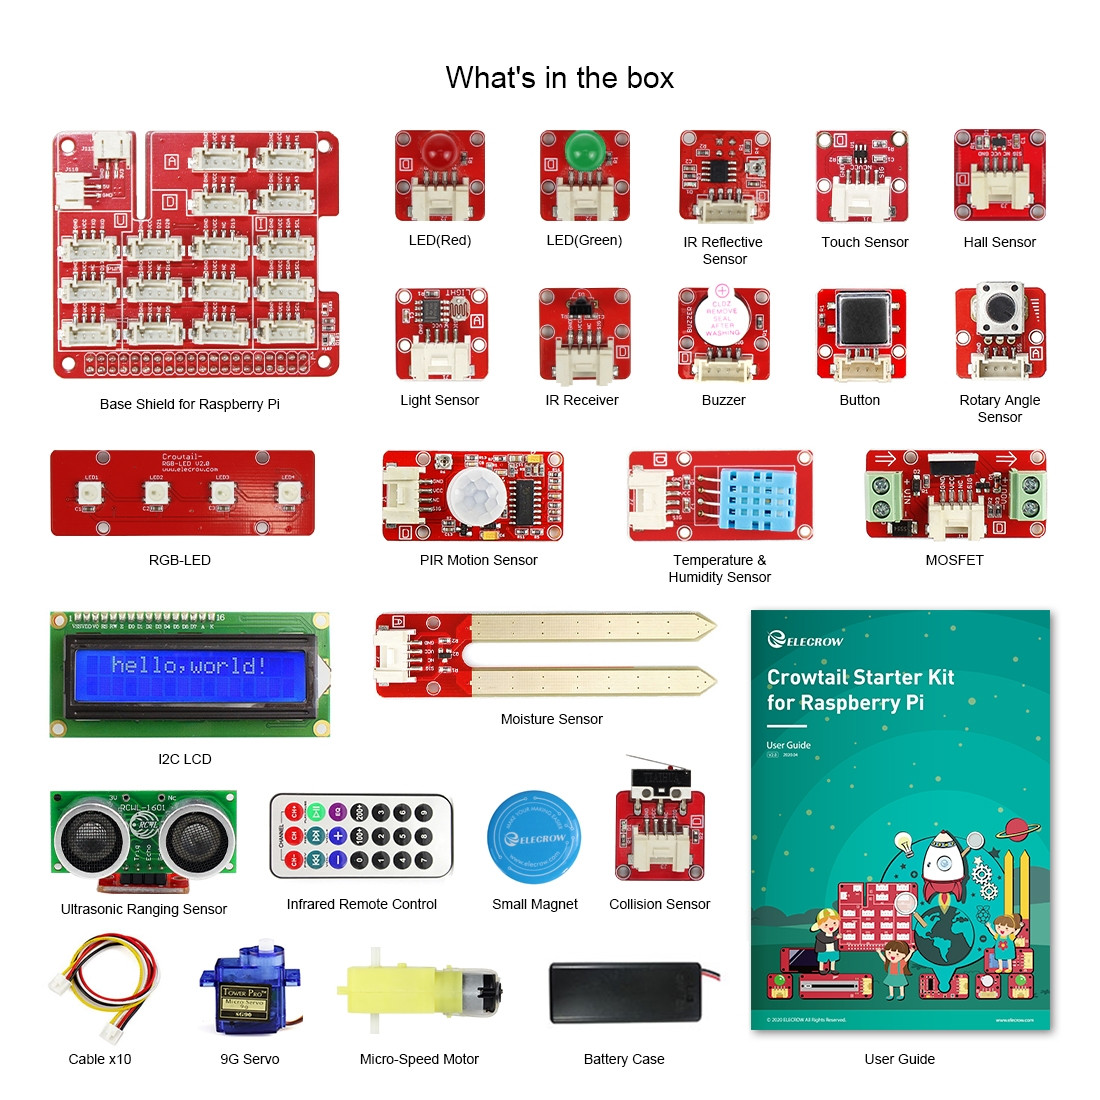
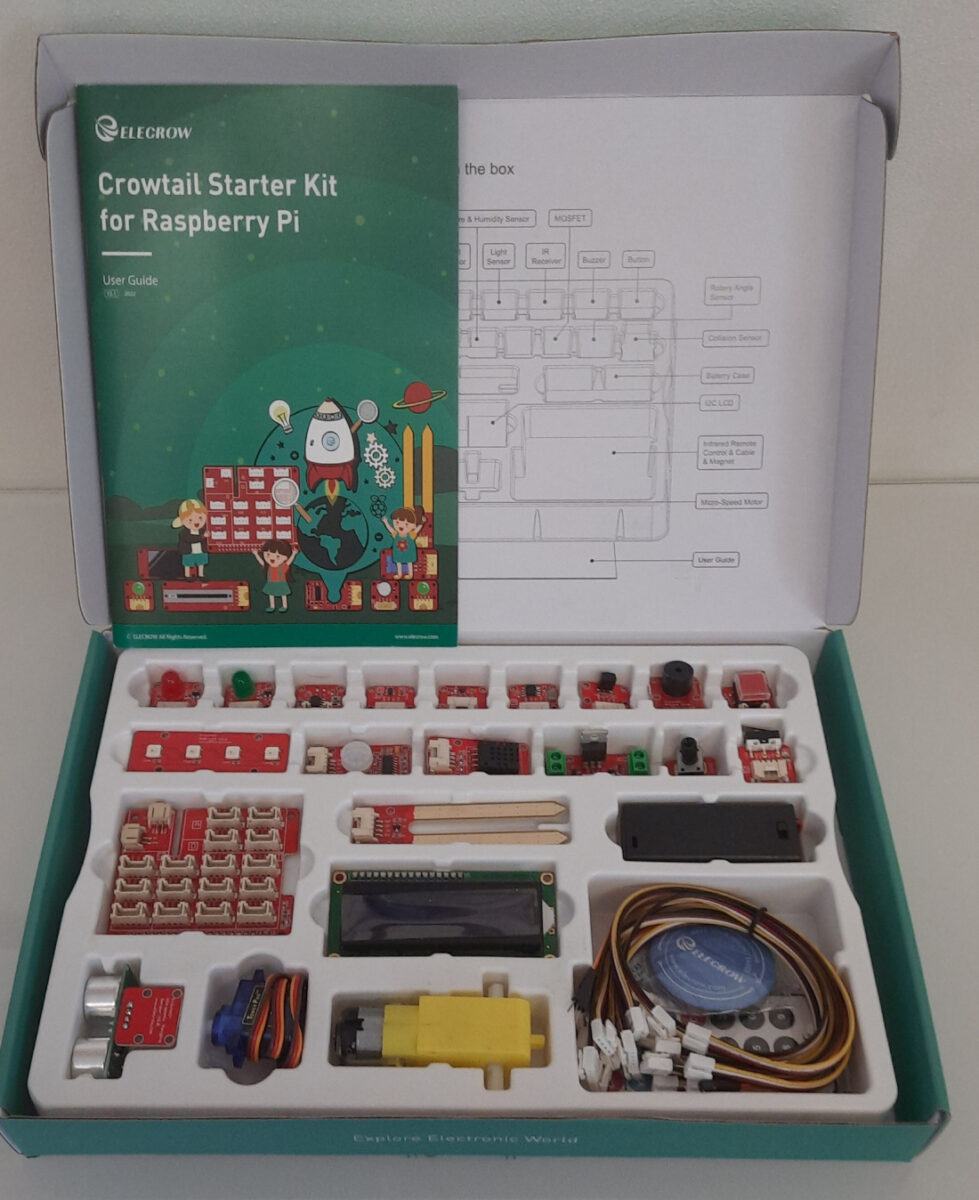
It includes the following parts:
- Base Shield for Raspberry Pi x1
- Button x1
- Buzzer x1
- LED(Green)x1
- LED(Red) x1
- Touch Sensor x1
- Hall Sensor x1
- PIR Motion Sensor x1
- Moisture Sensor x1
- Light Sensor x1
- Rotary Angle Sensor x1
- IR Reflective Sensor x1
- Collision Sensor x1
- MOSFET x1
- 9G Servo x1
- Ultrasonic Ranging Sensor x1
- Temperature & Humidity Sensor x1
- RGB-LED x1
- I2C LCD x1
- IR Receiver x1
- Infrared Remote Control x1
- Micro-Speed Motor x1
- Cable x10
- Battery Case x1 (for 2x AAA batteries, not included)
- Small Magnet x1
All of these parts are included in a single package with a competitive price. It is important to note, that the Raspberry PI computer board is not included in the package, so you must buy it separately.
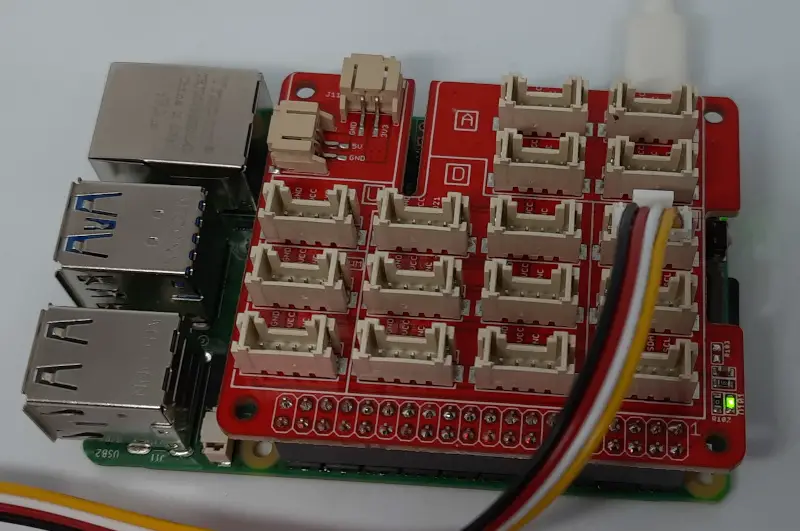
The central part of the kit is the Base Shield, which is a HAT to install on top of the Raspberry PI and adds to your computer board all the ports where to connect the devices. I will talk about this part later.
Pictures of Crowtail Starter Kit
The Packaging
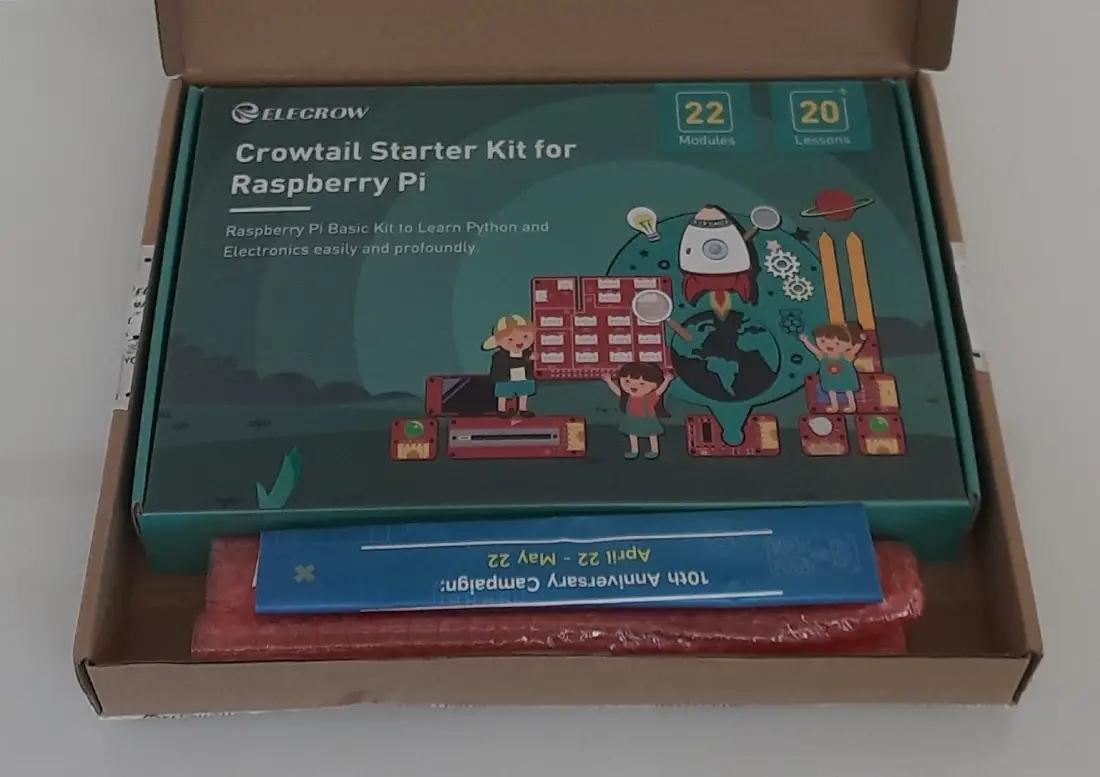
The kit comes in a small shipping package which encloses the kit box and a few sheets with the latest news from Elecrow:
Here I found some cool stickers. They are not part of the projects, but they are always funny to have and to stick on your computers or other gadgets:
Keeping the box in your hand and turning it in the backside, you will note a small QR-code. With this you will be able to reach the user manual with about 20 projects for beginners:

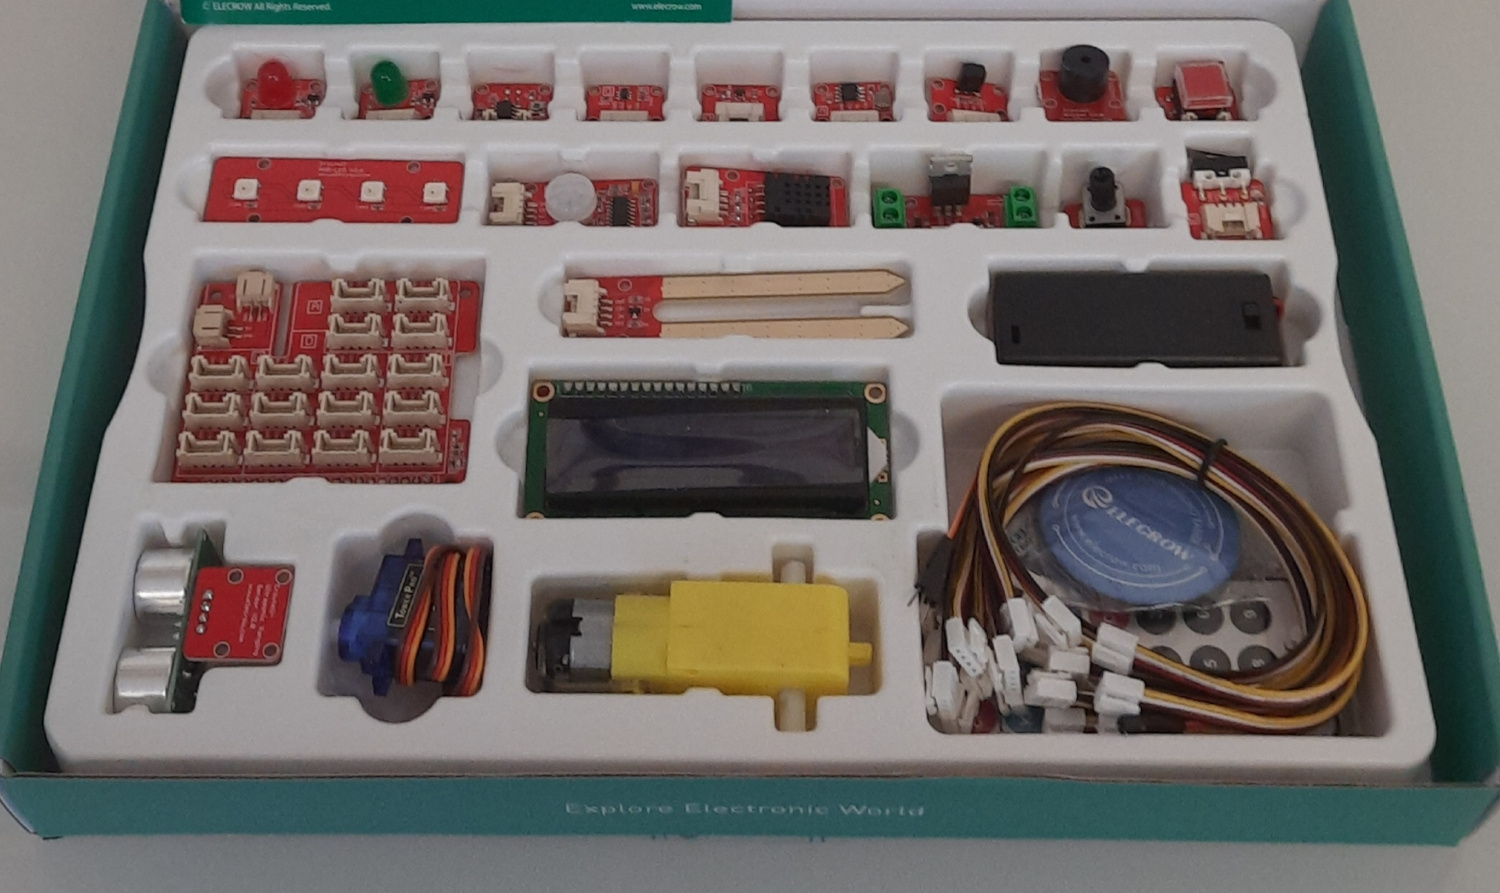
Opening the box, you will find all the parts ordered into a
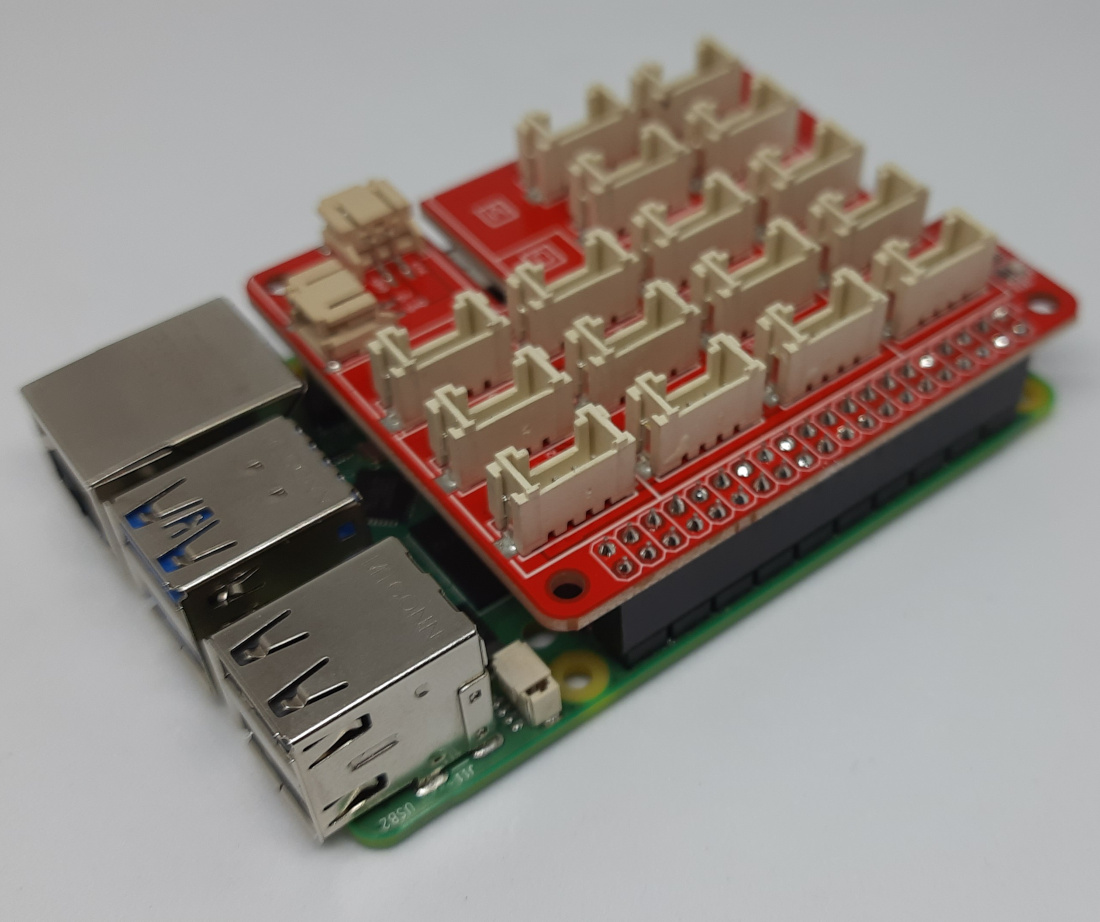
The Base Shield
As said, the base shield is the most important part of this kit. In the front side, you will see all the connectors to the external devices. In the back-side, you will find the connector which goes on top of your Raspberry PI.

On the front side, the available ports are built for easy-to-use plugin connectors, which makes it impossible to plug the cables (available in the kit) on the wrong side.
All the ports are marked into 5 main sections:
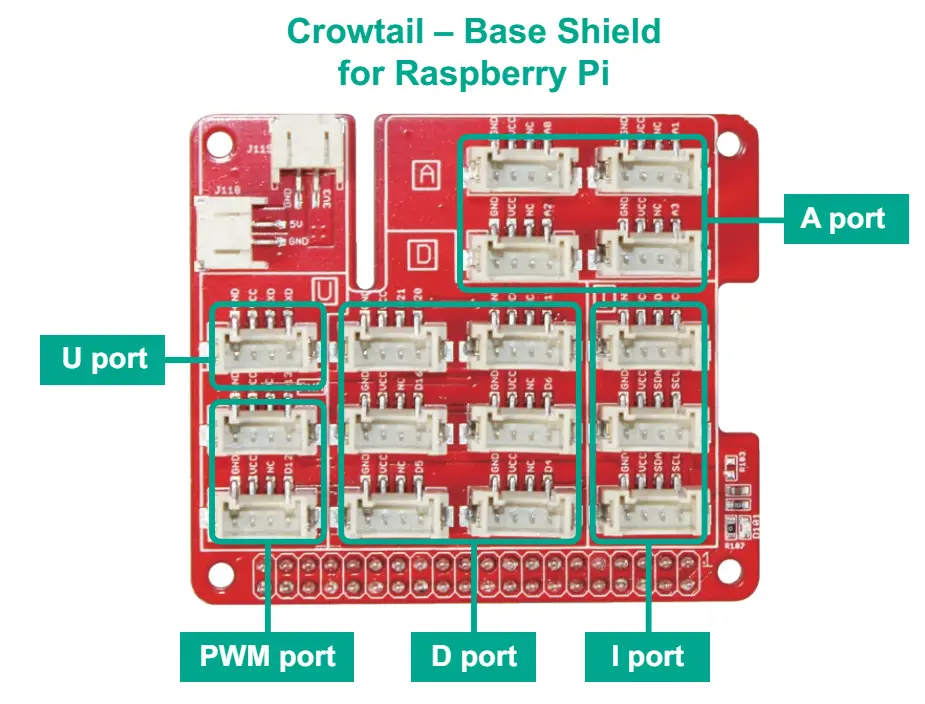
- 4x A port: analog ports, all of them able to read analog signals, besides working also as digital ports
- 1x U port: for UART communication
- 2x PWM port: for Pulse Width Modulation signals
- 6x D port: for digital signals
- 3x I port: for I2C communication (please note that you can use max 2x I2C modules at the same time
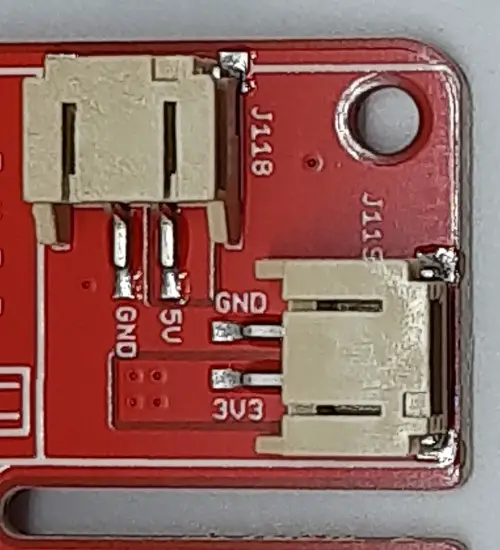
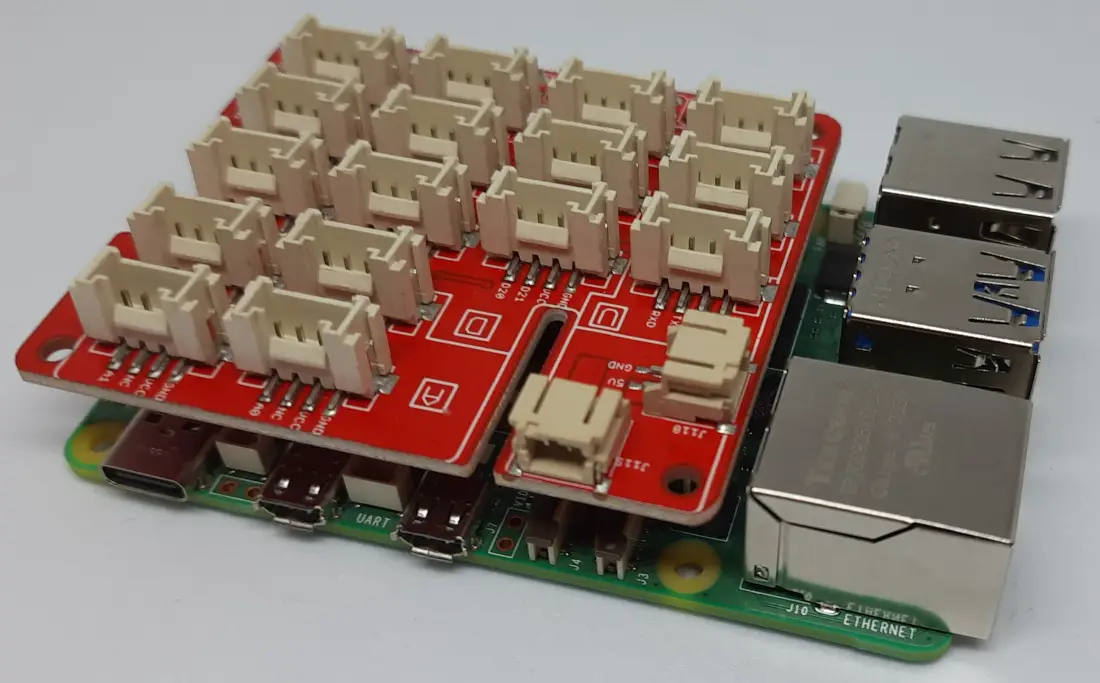
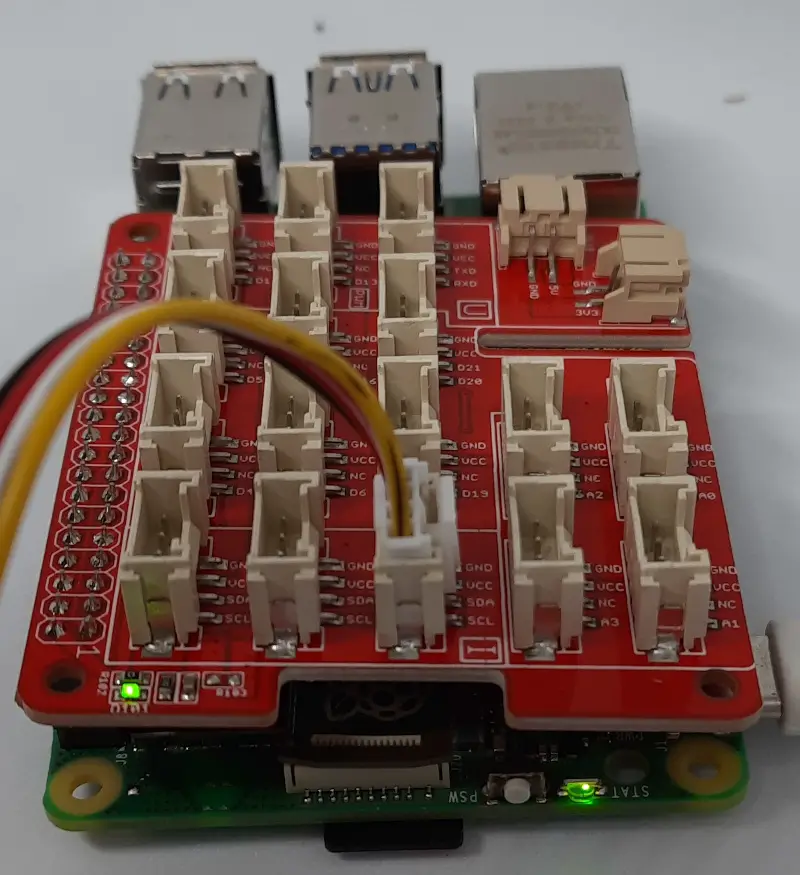
On the top-left part of the shield, you will also find 2 power ports, 5V and 3.3V, coming directly from the power port of your Raspberry PI, together with GND points:
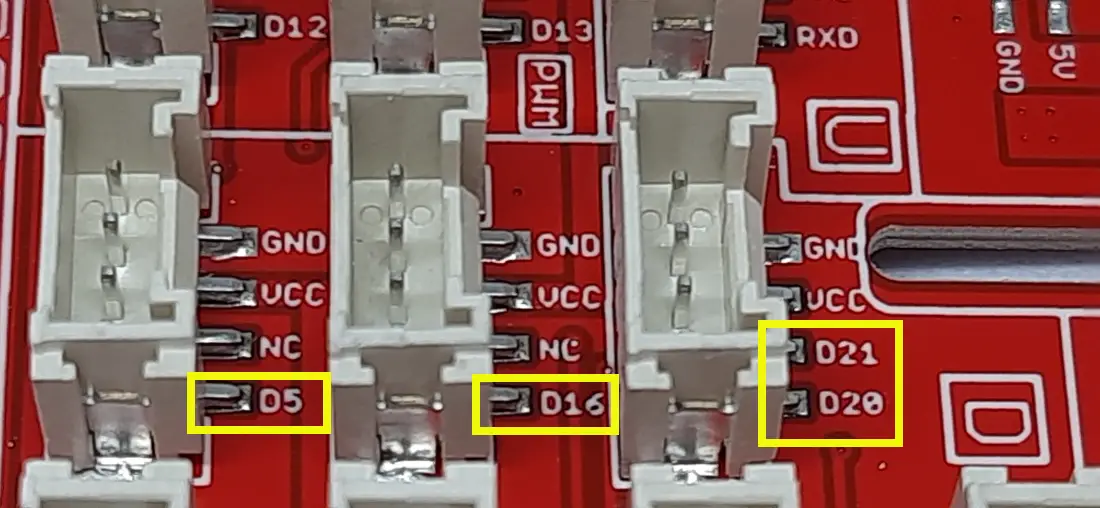
All the digital ports have a GND, a VCC and 1 or 2 digital pins. You can see the number of this pin near the port, printed on the shield. The number will be important when programming, as you will be able to include that number in your Python script:
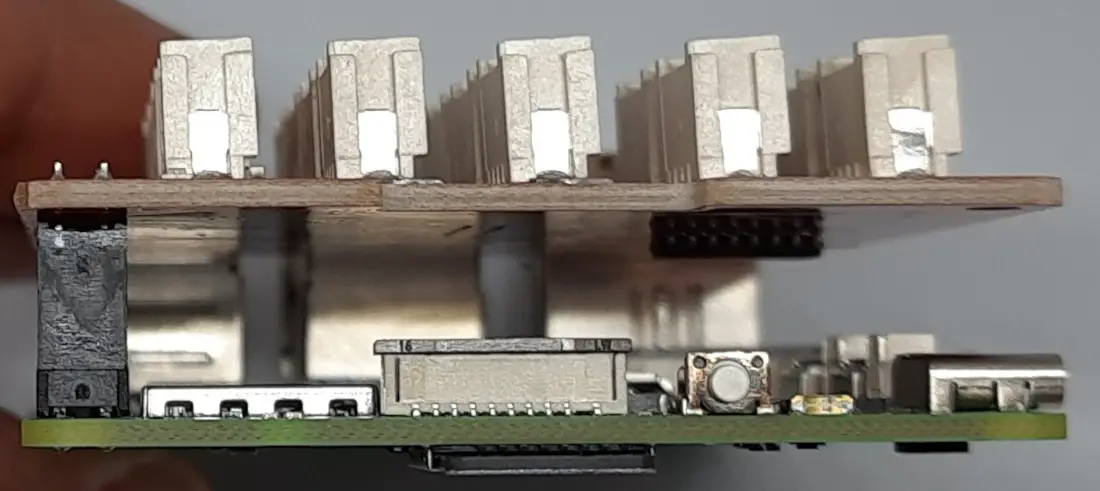
It is important to note that the Raspberry PI doesn’t have analog ports by itself. So the base shield enhances our computer board to read analog values with the MCP3008 analog-to-digital converter chip, with a 10-bit resolution (analog signals are read with resulting values from 0 to 1023). You can see this chip on the back side of the shield.
The base shield goes directly on top of the Raspberry PI heading. There’s no risk to mount in incorrectly if you see the following pictures:
The Sensors and Devices
The parts included in the kit have been listed in the previous chapter. Here I will share the pictures of them. Each one has its port and a cable to connect it to the base shield.
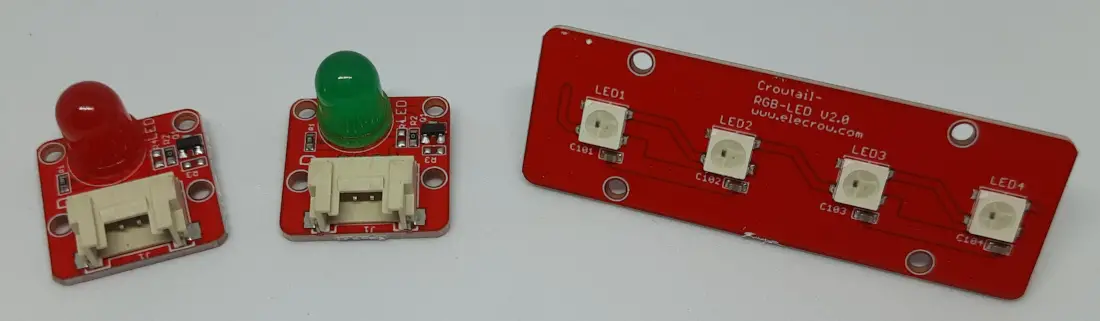
The kit includes 2 LED circuits and a 4x RGB LED board:
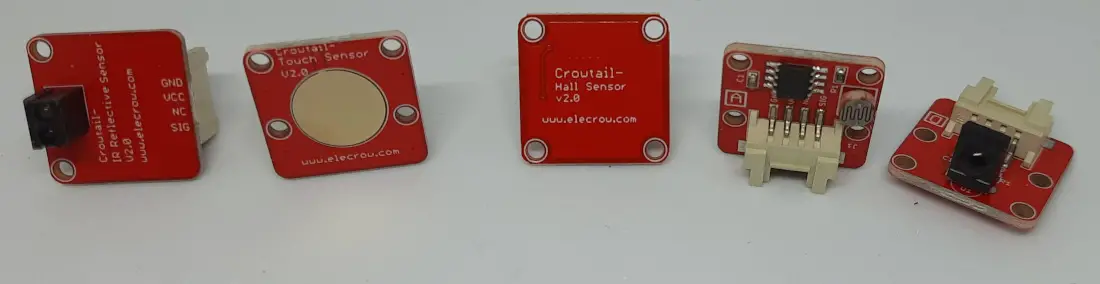
It also includes an IR receiver, a touch sensor, an hall sensor, a light sensor (photocell) and a IR reflective sensor:
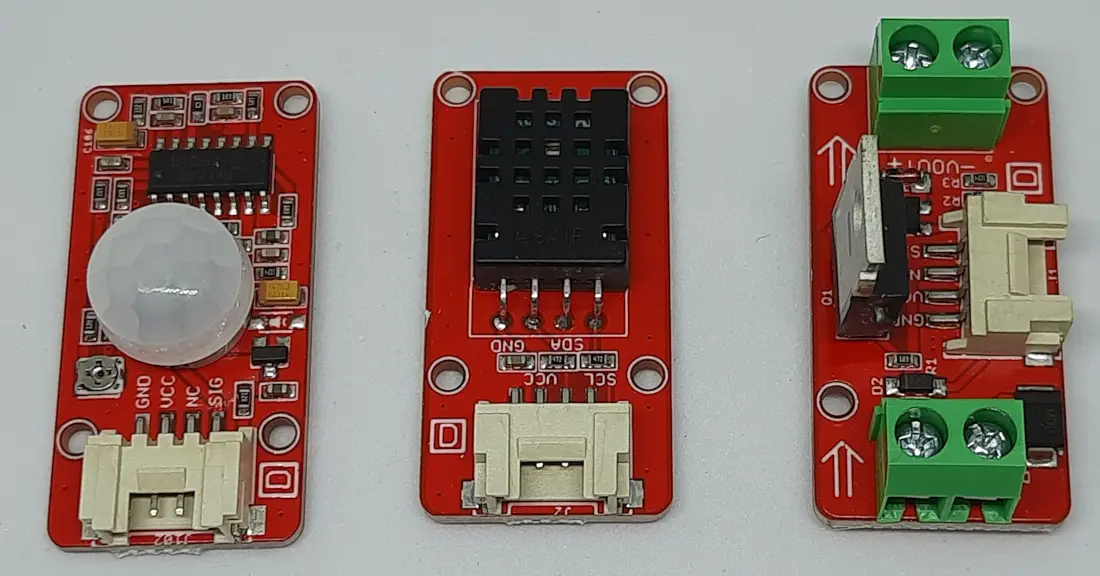
The following parts are a PIR sensor, a DHT11 humidity and temperature sensor, a MOSFET:
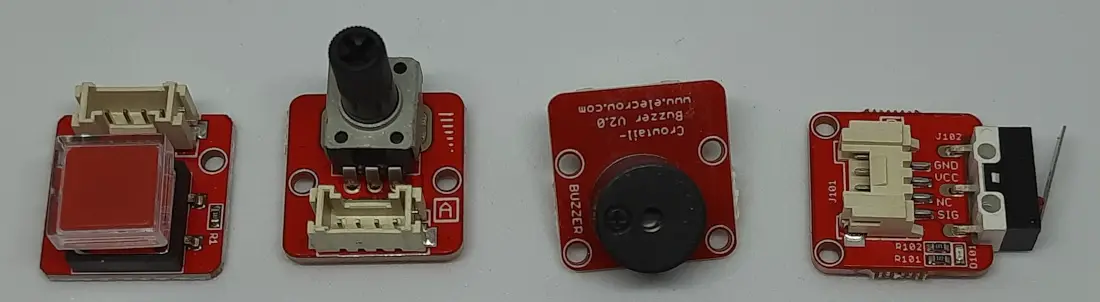
The following picture shows the button, the angle sensor, the buzzer and the collision sensor:
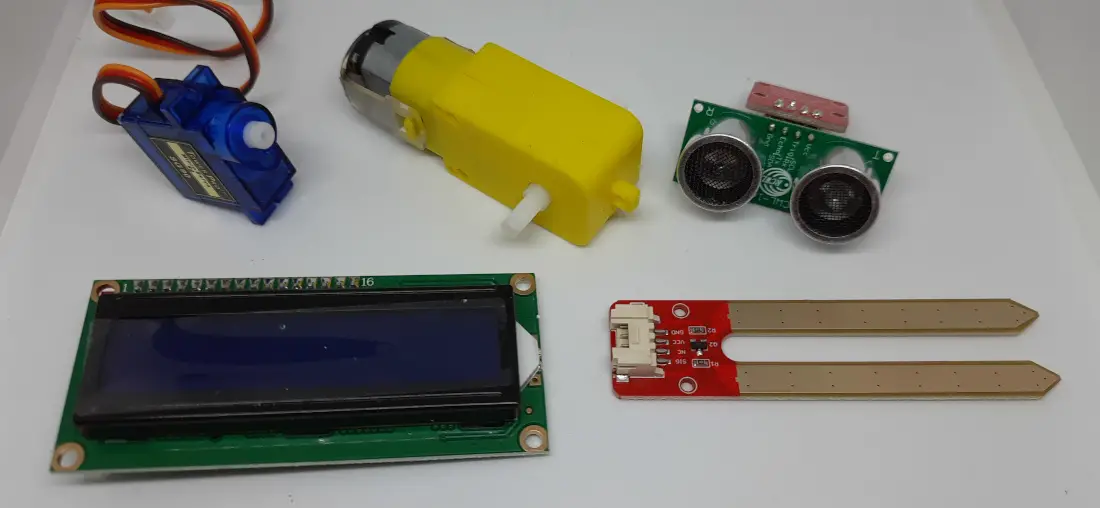
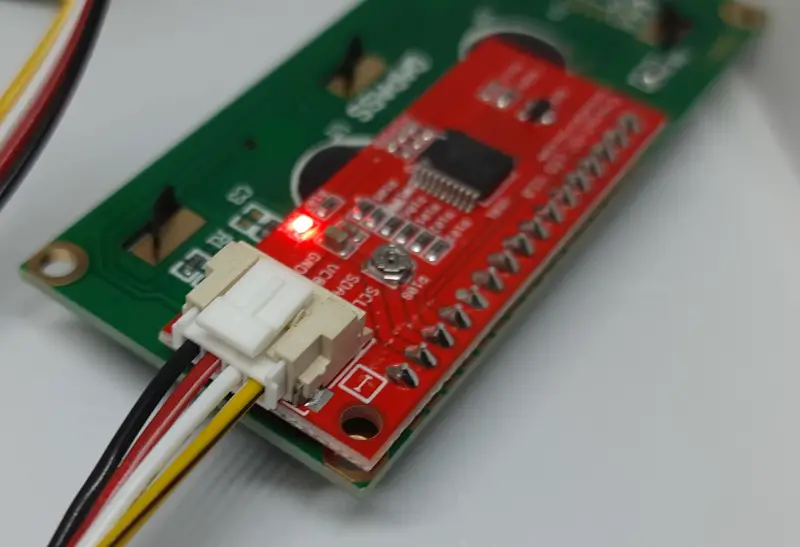
Then, the SG90 servo motor, the motor with a reducer, the ultrasonic sensor, the LCD display, the moisture sensor:
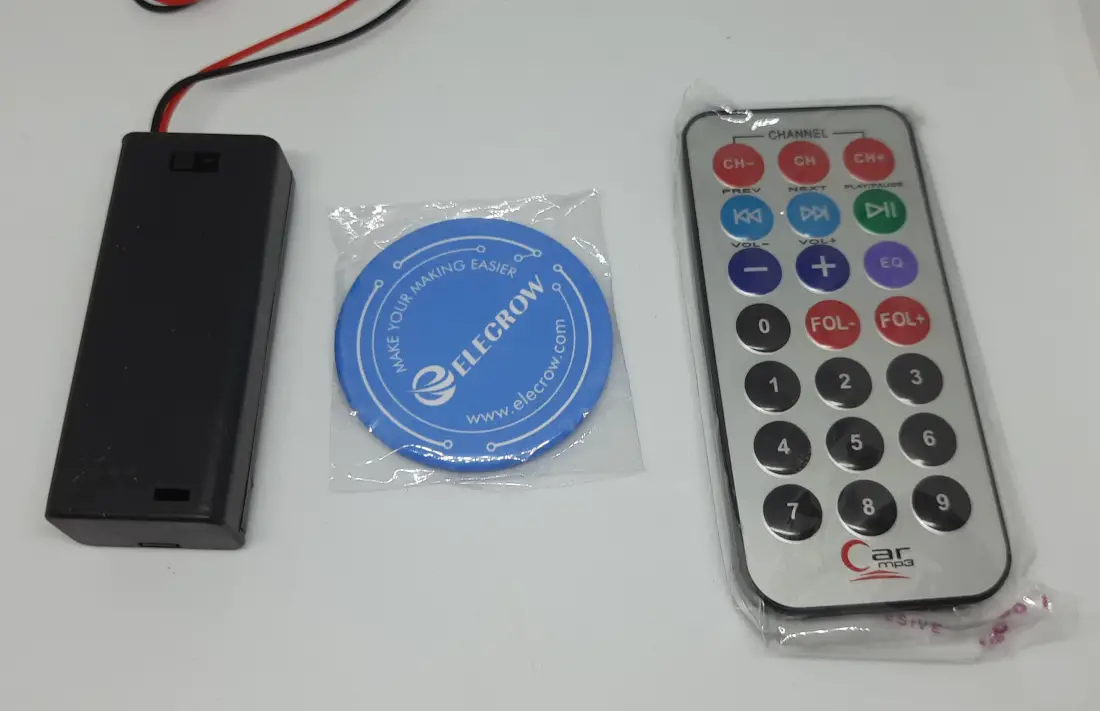
We also have a battery holder (without batteries), a magnet and a remote (for the IR receiver):
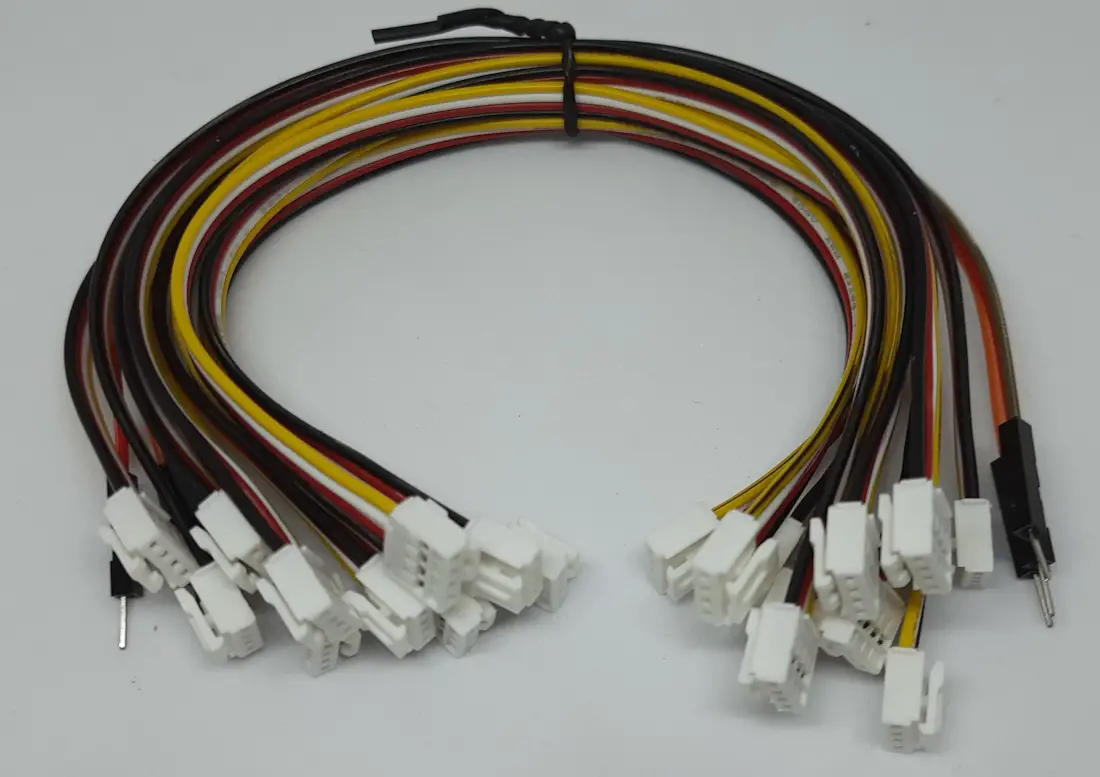
Finally, we also find the cables for all of the parts:
Testing the projects
The user manual from the Elecrow is also available at the following link: Crowtail_Starter_Kit_for_Raspberry_Pi_User_Manual. With the electronic version of the manual, you will be able to copy and paste the commands. All of the examples are made with Python, so this kit is also a good way to start learning this incredible programming language (you can find a tons of Python projects with Raspberry PI in my blog).
What We Need
As usual, I suggest adding from now to your favourite e-commerce shopping cart all the needed hardware, so that at the end you will be able to evaluate overall costs and decide if to continue with the project or remove them from the shopping cart. So, hardware will be only:
- Crowtail Starter Kit for Raspberry Pi
- Raspberry PI Computer Board (including proper power supply or using a smartphone micro USB charger with at least 3A)
- high speed micro SD card (at least 16 GB, at least class 10)

Prepare the Raspberry PI Operating System
Before all, you must install the Operating System in your Raspberry PI. The user manual from Elecrow will show you how to work from the Raspberry PI OS Desktop. I will show you how to work with the Raspberry PI OS Lite (use the provided link to install it, is suggest the 64-bit version for boards supporting it), as it enables you to get a fast and light operating system but headless (without a desktop environment). If you need a desktop environment, you can also use the desktop version, in this case working from its terminal app. Please find the differences between the 2 OS versions in my Raspberry PI OS Lite vs Desktop article.
Please make sure that your OS is up to date. From your terminal, use the following command::
sudo apt update -y && sudo apt upgrade -yEnable I2C and SPI interfaces
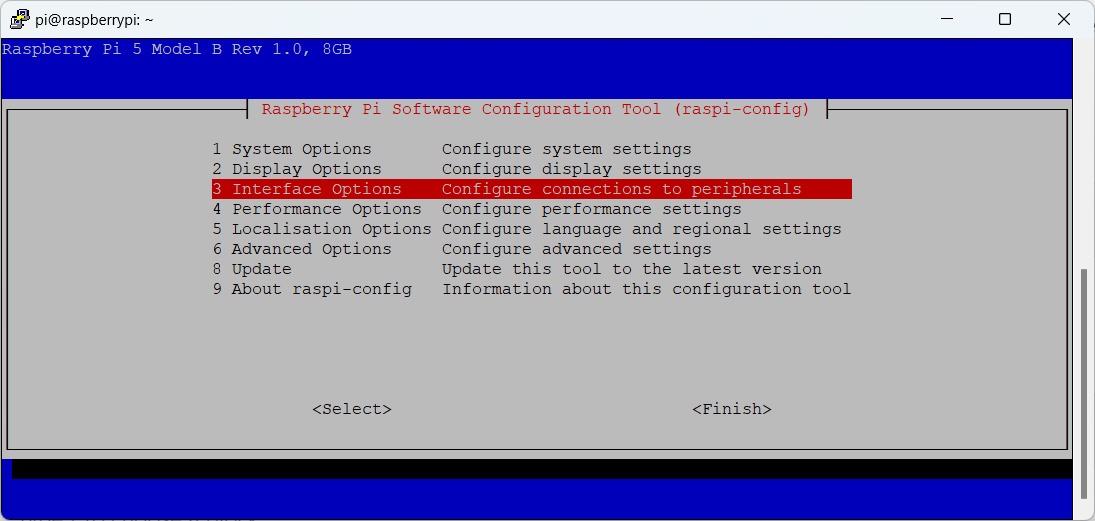
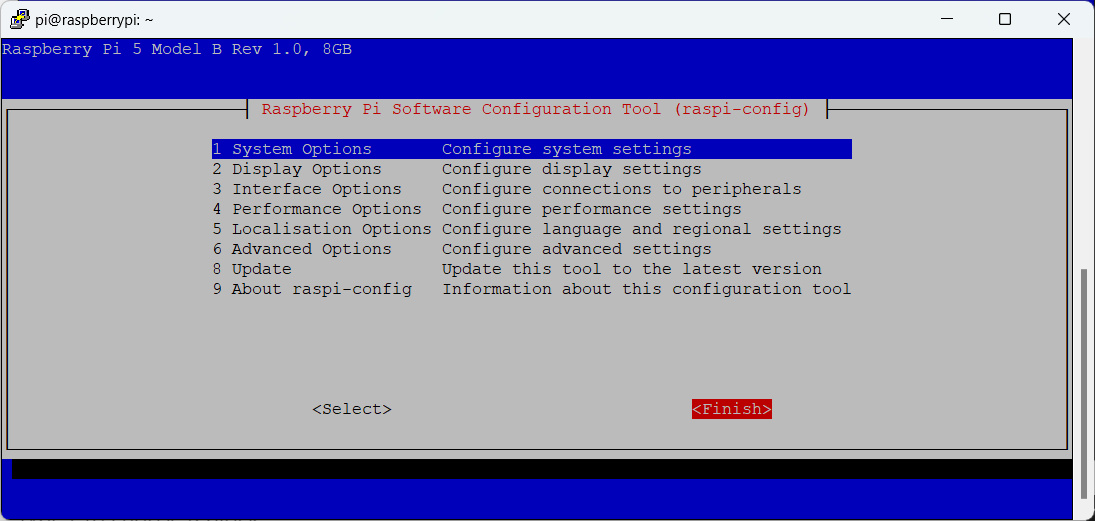
To use some parts of the kit, we need to enable the SPI and I2C interfaces in our Raspberry PI. To do this job with Raspberry PI OS Lite, please open the raspi-config with the following command:
sudo raspi-configFrom the screen, please select the “Interface Options” menu:
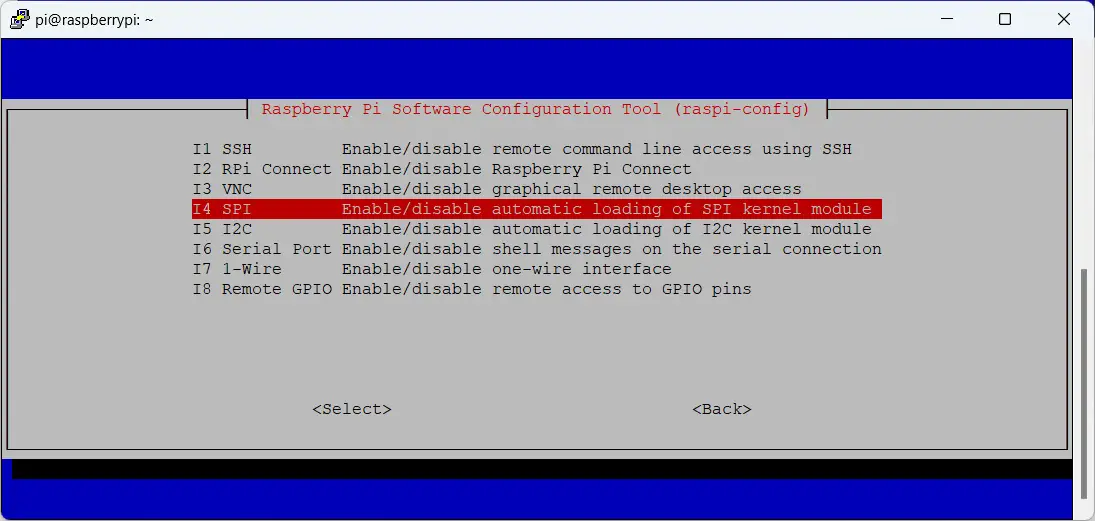
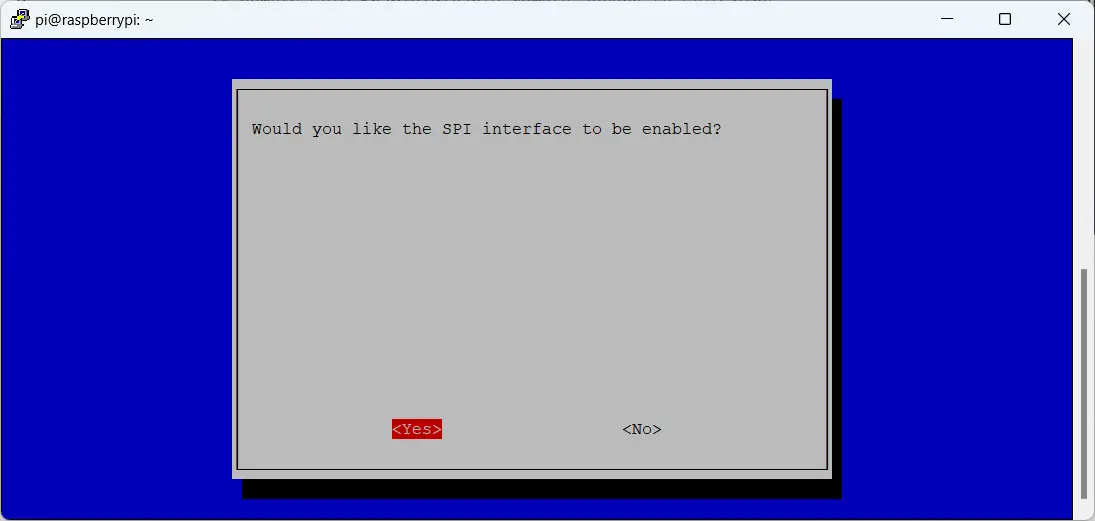
Here you will find both the SPI and I2C menus. Let’s start by choosing the SPI option:
In the following screen, please select “Yes”:
A message will confirm that the interface is now enabled:
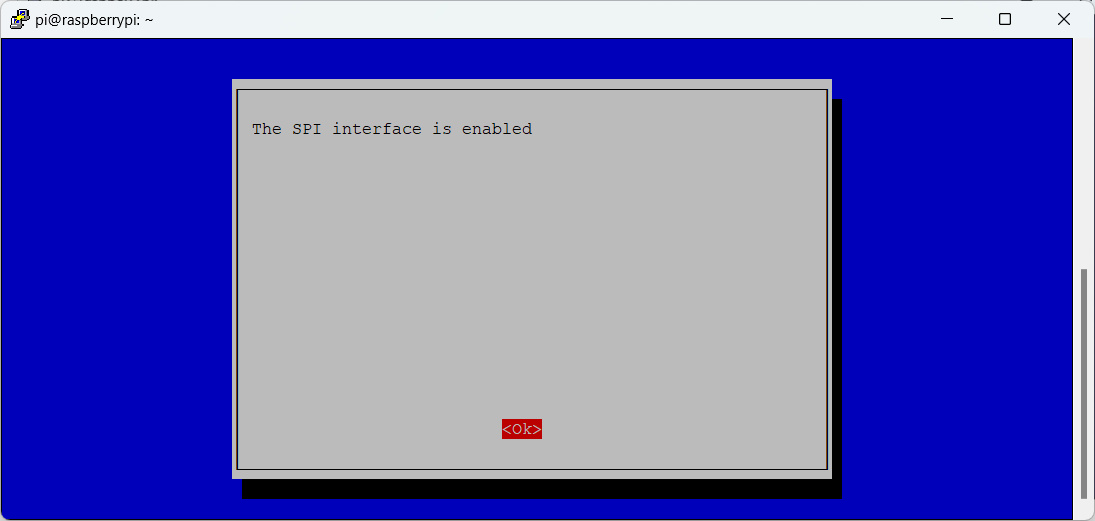
Click ok.
Back to the raspi-config home, please enter the “Interface Options” again and, this time, select “I2C”:
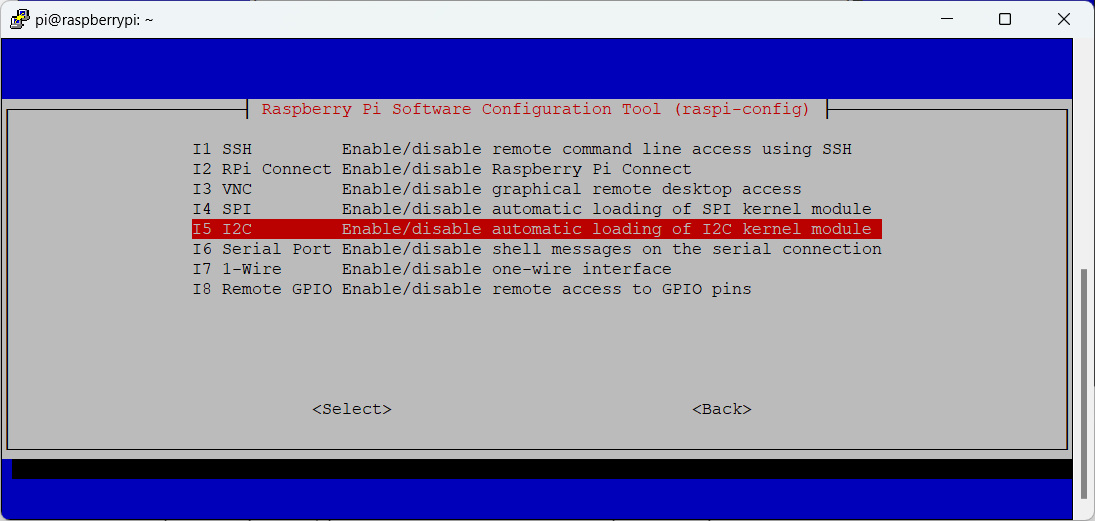
Again, select YES:

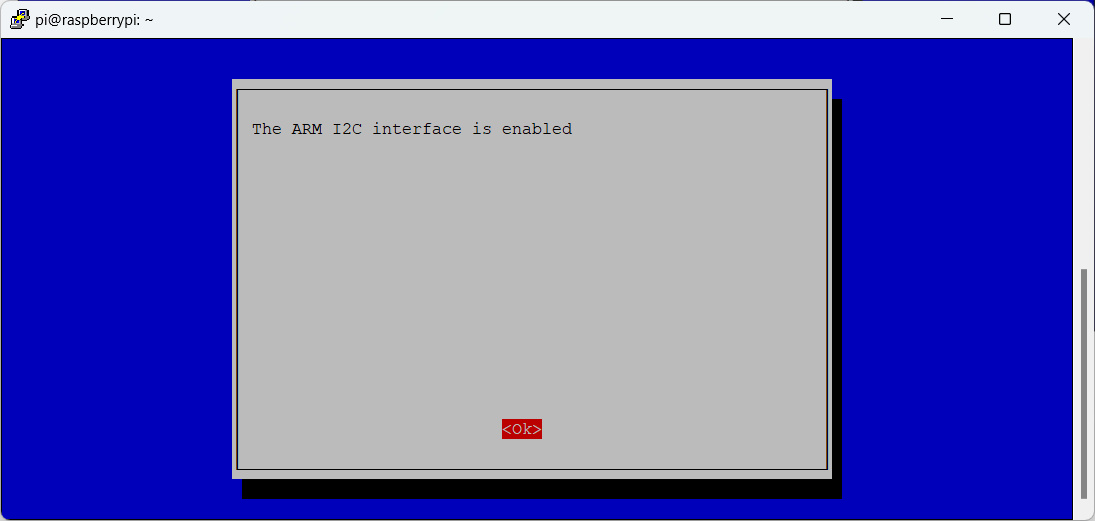
You will get again the same confirmation:
This time, from the raspi-config home, please select “Finish”:
At this point, you have both I2C and SPI interfaces enabled. To use them you need to reboot your Raspberry PI, with the following command:
sudo rebootImport the Elecrow Examples
Elecrow has prepared for the users a set of more than 20 code examples to let you get started with the kit parts. Every code use a specific part from the kit and you can combine them to create your own project with mix of the different parts.
To download the examples, we need to install git in our Raspberry PI. I also suggest installing pip3, as it allows you to find a world of libraries to enrich your projects. So, please use the the following command:
sudo apt install git python3-pip -yNow, we can clone the Elecrow’s GitHub folder, so downloading the examples:
git clone https://github.com/Elecrow-RD/RPi-Starter-KitWe can find all the examples by entering the related folder:
cd RPi-Starter-Kit/examplesEvery example code is numbered and explained in the user manual. All you have to do is connecting the part and running the example with the command python3 as shown below:
python3 1_hello_world.pyTesting the LCD Display
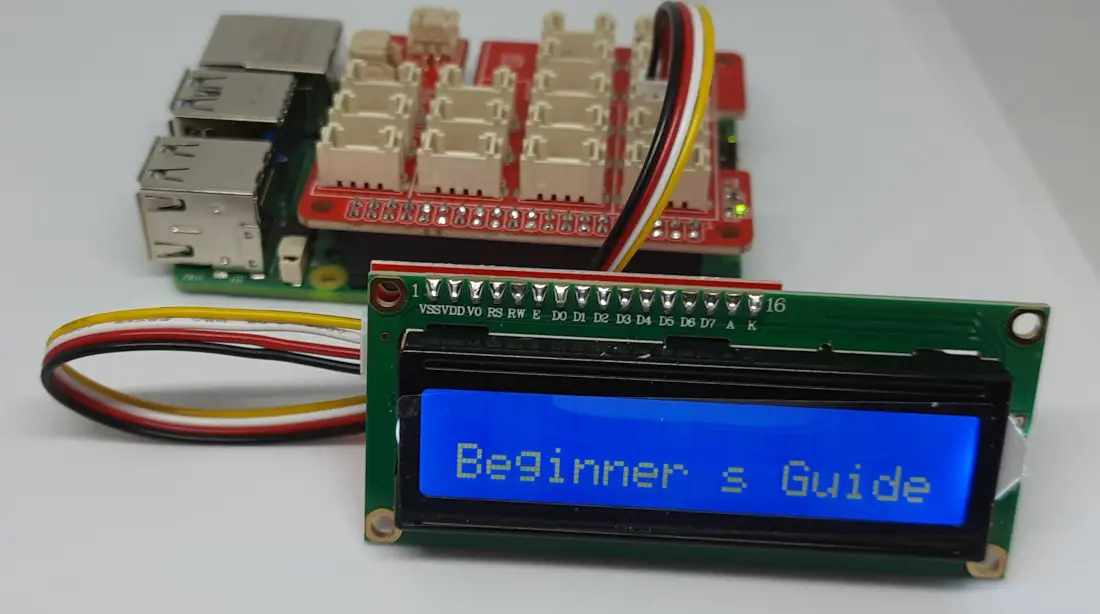
As a test, I will show you how to use the LCD from the kit to show the latest post from my blog. In this example, I will use the latest python3 instead of the Python version used by Elecrow.
If you are still in the Elecrow folder, I suggest moving to your home folder:
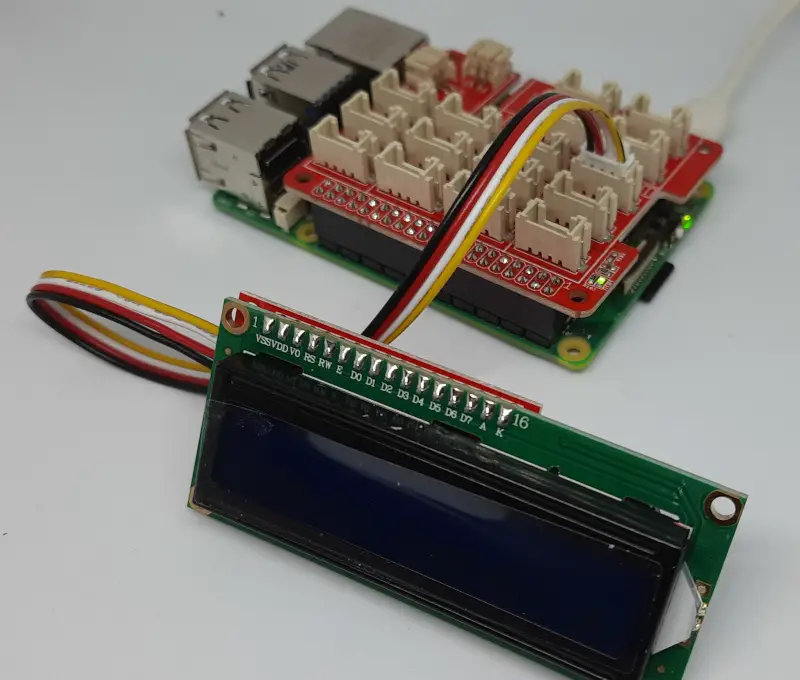
cd --Please connect the LCD Display to the Raspberry PI shield, as shown in the following pictures
Before using the LCD display, we need to install the Python “smbus” library and the Adafruit LCD libraries. The first one just requires the following command:
sudo apt-get install python3-smbus -yWith the latest Python versions, we need to use virtual environments with Raspberry PI to install external libraries (please refer to the link for a complete guide). So, let’s create our virtual environment (I named it “my_project, but you can give it whatever name:
python3 -m venv my_project --system-site-packagesLet’s activate the virtual environment:
source ./my_project/bin/activatePlease note that you will need to activate the environment every time you use the libraries installed in it if your deactivate the environment and/or reboot your Raspberry PI.
Let’s install the Adafruit library needed to manage our LCD display:
pip3 install adafruit-circuitpython-charlcdNow, please download my script into your Raspberry PI with the following wget command:
wget https://peppe8o.com/download/python/lcd/elecrow_lcd_test.pyThe script is explained in the comments inside the code. the most important parts are the following.
The “get_latest_post()” custom function gets the feed from my blog and picks the first occurrence of the title tag. Thinking to the downloaded xml from my feed as an array, this means position [0] -> [10] ->[0]. The function returns the related text:
def get_latest_post():
  response = requests.get("https://peppe8o.com/feed")
  tree = ElementTree.fromstring(response.content)
  return tree[0][10][0].text
The LCD library lets you choose the cursor position where to start printing the text. This is made with the following line, which writes from column 0 (the first column) of the second line (counting rows and starts always from 0):
lcd.cursor_position(0,1)LCD text is written with the lcd.message = "text" command. With the following command inside the for loop, at each loop step we increase the “i” variable of 1, and the square parenthesis will grab the characters from position “i” to “i+16”, which means exactly 16 characters with an initial position increasing of 1 character at each loop. This will result into a scrolling text effect:
lcd.message = scroll_msg[i:i+16]You can run the test file with the following command:
python3 lcd_test.pyThe following will be the final result, with a scrolling effect:
You can find more options and commands for the LCD library on the following Adafruit page:
https://learn.adafruit.com/i2c-spi-lcd-backpack/python-circuitpython
Final Thoughts
The Crowtail Starter Kit for Raspberry PI by Elecrow is a great kit for people wishing to get started with microelectronics and programming, using the Raspberry PI computer boards. It has a lot of parts to use and combine, while the base shield makes it simple to connect the parts. Here are the advantages that I detected from this kit and some suggestions for improving to the Elecrow team.
Advantages:
- Affordable cost for the kit
- Good parts quality
- Easy-to-use and well-documented projects
- From time, the analog port has been a big missing part of Raspberry PI computer boards. The base shield in this kit adds the ability to read non-digital values, a big enhancement in some microelectronic projects
Suggestions for improving to the Elecrow Team:
- Update the guides and examples to use python3, as Python 2 is outdated
- Try converting your examples to use GPIOZERO library instead of RPI.GPIO, as the first is maintained by the Raspberry PI team and it is far simpler than RPI.GPIO
- Personally, I think that the User Manual in paper format is not necessary. People will surely use the link to the electronic manual, also to copy-paste the commands here defined. Reducing paper usage, in our current environment awareness, should be a polar star for everyone.
- I suggest improving the plastic holder for the parts: some sensors (like the LCD are a bit hard to pull out from and some may risk damaging them. However, with a bit of attention, the user can extract them safely.
What’s Next
Want to know more about cool projects to do with Raspberry PI computer boards? In this case, the right resource for you is my Raspberry PI tutorials pages.
Enjoy Docker with Raspberry PI!

Open source and Raspberry PI lover, writes tutorials for beginners since 2019. He's an ICT expert, with a strong experience in supporting medium to big companies and public administrations to manage their ICT infrastructures. He's supporting the Italian public administration in digital transformation projects.
![]()
![]()
![]()
![]()
![]()
![]()
![]()


