
Last Updated on 30th September 2025 by peppe8o
In this tutorial, I’ll show you how to install Discourse on a Raspberry PI computer board, to get a self-hosted (private) forum with a modern interface and accessible both from a web browser as well as from the Discourse app for smartphones.
About Discourse
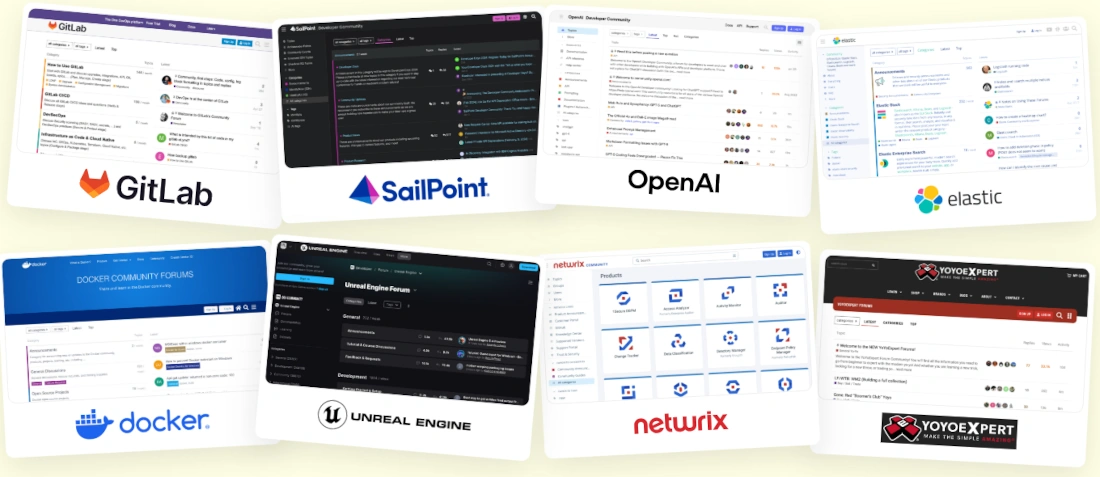
Discourse is an open-source platform designed to host and organise discussions into a forum schema. It offers a modern interface and natively supports mobile access, besides a clean web GUI for desktop access. Maybe you didn’t hear about it, but you used it for sure: it powers many discussion forums like, for example, OpenAI, Docker, HuggingFace, and CloudFlare.
It allows you to customise your forum platform by choosing your favourite theme, as well as enriching it by adding plugins. All of these actions can be performed from an intuitive web administration GUI.
It natively includes all the features you would get from a forum platform, like comment moderation, social login, and badges for your most active users.
You can find the full list on its features page.
Discourse Requirements – Please Check Before Starting
There are a few important requirements you must ensure before trying to install Discourse. Otherwise, the installation procedure won’t complete successfully.
From the hardware point of view, your computer board should have at least 1GB of RAM (for small communities), they recommend 2GB. They also suggest at least a modern single core (from a 64-bit CPU) and 10GB of free storage (for this spec, considering also the Raspberry PI OS, I would suggest using a 32GB storage). For this tutorial, I’ve used my Raspberry PI 5 model B with 8GB of RAM and 32GB of total storage. These hardware requirements mean that Discourse will probably not run in Raspberry PI models older than Raspberry Pi 3 Model B and in Raspberry PI Zero W.
But there are also other important requirements to note.
You must have a public name domain. There are some free services on the web offering it, like, for example, the good No-IP service.
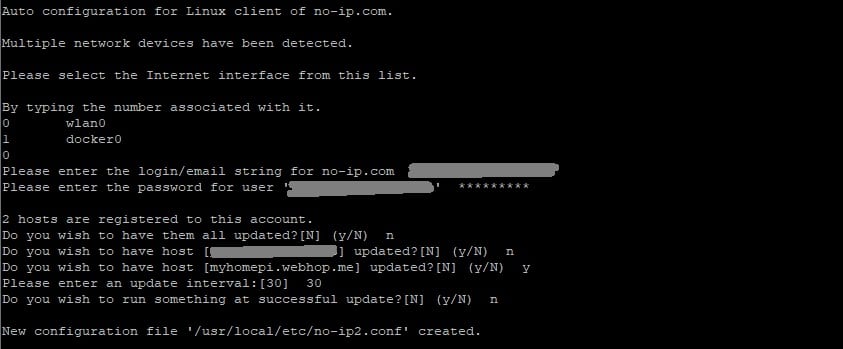
You must have a public IP. For this point, please check with your Internet Service Provider if they offer it: some companies offer a Public IP for free. If your public IP is not static (it periodically changes, for example, at any reboot of your home router), you must setup a process of domain update. With No-IP, you can use my tutorial to make it automatic from the Raspberry PI with NoIP DUC configuration on Raspberry PI.
You must be able to manage your home router, as you will need to setup the port forwarding rules on it. Some routers may refer to this feature as “Virtual Server”. This step depends on the user manual of your router and will not be explained in this tutorial. You must forward ports 80 and 443 from the router WAN access to your Raspberry PI’s IP (on the same ports).
Finally, you must have a valid email address, which will be used by your Discourse server to send emails (like notifications and registration confirmations). For this part, you must have the SMTP address, SMTP port, username, and password that Discourse will use to send emails. Please note that some email service providers (like Gmail) use a specific password for applications. Here also, please refer to your service provider manuals to check if a secure app password is required or to get the required info.
I suggest you note the domain name and the email settings in a notepad software on your computer, so that you will have them in an easy-to-copy way at the installation process.
What We Need
As usual, I suggest adding from now to your favourite e-commerce shopping cart all the needed hardware, so that at the end you will be able to evaluate overall costs and decide if to continue with the project or remove them from the shopping cart. So, hardware will be only:
- Raspberry PI Computer Board (including proper power supply or using a smartphone micro USB charger with at least 3A)
- high speed micro SD card (at least 16 GB, at least class 10)

Step-by-step Procedure
Prepare the Raspberry PI Operating System
The first step is installing the Raspberry PI OS Lite (I suggest the 64-bit version, for boards supporting it) to get a fast and light operating system (headless). If you need a desktop environment, you can also use the Raspberry PI OS Desktop, in this case working from its terminal app. Please find the differences between the 2 OS versions in my Raspberry PI OS Lite vs Desktop article.
For low RAM Raspberry PI computer models (1GB), the Lite OS is strongly suggested.
For this test, I will use a Raspberry PI OS Lite headless installation. However, a Desktop installation also works by using the terminal.
Please make sure that your OS is up to date. From your terminal, use the following command:
sudo apt update -y && sudo apt full-upgrade -yA few more optimisations can be performed with the following links:
- Reduce the GPU to 16MB (only for computer boards up to Raspberry PI 4 and only with Raspberry PI OS Lite) -> Manage Raspberry PI GPU Memory Split
- Change Swap File to 2000MB -> Set Raspberry PI Swap Memory
You must install the lsof utility. It isn’t vital for your installation, but this helps the installer:
sudo apt install lsof -yFinally, install Docker with the following tutorial: Beginner’s Guide to Install and Use Docker with Raspberry PI.
Install Discourse on Raspberry PI
Get Discourse Installation Files
The Discourse installation using Docker and the Discourse installer is really simple, even for a beginner.
To install Discourse, we need to get root permissions. Please use the following command in your terminal:
sudo -sNow, we can download the required installation files by cloning them to the /var/discourse folder in our Raspberry PI’s storage. For this task, please use the following terminal command:
git clone https://github.com/discourse/discourse_docker.git /var/discourseAfter this step, please enter the new folder and change the file permissions for the containers folder::
cd /var/discourse
chmod 700 containers
Configure Discourse
Now, we can proceed to the parameter configuration, which will require you to set all the parameters (email and domain) previously arranged.
You can run the configuration process by issuing the following command from inside the /var/discourse folder:
./discourse-setupThe script will perform some basic checks, similar to the following:
Ports 80 and 443 are free for use
'samples/standalone.yml' -> 'containers/app.yml'
Found 8GB of memory and 4 physical CPU cores
setting db_shared_buffers = 2048MB
setting UNICORN_WORKERS = 8
containers/app.yml memory parameters updated.
After this, the script will start asking you some of the info already collected in the previous steps. The first one regards the hostname. Here I will use my myhomepi.webhop.me domain name from my No-IP account. You should add your public domain name:
Hostname for your Discourse? [discourse.example.com]:The script will probably warn you that it can’t use netcat from your system to verify the hostname. Anyway, you can proceed by typing “y” and pressing RETURN:
Checking your domain name . . .
In order to check the connection to myhomepi.webhop.me:443 we need to open a socket using netcat.
However netcat is not installed on your system. You can continue without this check
or abort the setup, install netcat and try again.
Would you like to continue without this check? [yn]
After this, the procedure requires your email data. The first part is to get your personal email for the admin account (this isn’t the email to send Discourse notifications). Please type your email address:
Skipping port check.
Email address for admin account(s)? [me@example.com,you@example.com]:
Now, the SMTP configuration step comes. In the following fields, please insert the SMTP data you want to use for your forum platform to send email communications. You must set them: otherwise, the installation step will be interrupted! Here I mark some example values, please change them with your ones:
SMTP server address? [smtp.example.com]: smtp.gmail.com
SMTP port? [587]: 587
SMTP user name? [user@example.com]: my_discourse_email@gmail.com
SMTP password? []: my_email_password
The following question allows you to set the email sender name as you prefer. The most cases, it matches again with the email to send notifications:
notification email address? [noreply@myhomepi.webhop.me]: my_discourse_email@gmail.comAfter this, the installation process will ask you to prompt an email address for Let’s Encrypt. It is the provider (set up automatically by Discourse in the installation process) that will make it possible to use an httpS connection instead of an insecure http. You can give here your personal email address:
Optional email address for Let's Encrypt warnings? (ENTER to skip) [me@example.com]: my_personal_email@peppe8o.comthe final question will ask you if you want (optionally) to provide a MAXMIND account for GEO targeting. You can also proceed with the default value by simply pressing RETURN:
Optional MaxMind Account ID (ENTER to continue without MAXMIND GeoLite2 geolocation database) [123456]:At the end of the process, before starting the installation process, the script will ask for a confirmation about the configuration answers, enabling you to confirm them or review (if you want to change some of the answers):
Does this look right?

Hostname          : myhomepi.webhop.me
Email             : my_personal_email@peppe8o.com
SMTP address      : smtp.gmail.com
SMTP port         : 587
SMTP username     : my_discourse_email@gmail.com
SMTP password     : my_email_password
Notification email: my_discourse_email@gmail.com
Let's Encrypt : my_personal_email@peppe8o.com
MaxMind account ID: (unset)
MaxMind license key: (unset)

ENTER to continue, 'n' to try again, Ctrl+C to exit:
You can press the ENTER (RETURN) button on your keyboard to proceed with the installation process.
After this, the process will start downloading and installing the required docker images (something like the following). It may take some minutes to finish. So, take a coffee and come back a bit later 🙂
2.0.20250722-0020: Pulling from discourse/base
37259e733066: Extracting [================================================>  ]  27.13MB/28.08MB
0b1e47fba2c9: Downloading [=====================================>             ]  37.56MB/50.02MB
85a40d1037b5: Download complete
c340df315b1c: Download complete
8e7662375d8e: Download complete
d434687ce50b: Downloading [=>                                                 ]  15.54MB/394.7MB
0f787492cfea: Download complete
83dc9f9fce9f: Waiting
691a5e916537: Waiting
73b5bdc273c2: Waiting
...
After you get back the prompt signal from your terminal, the installation is probably still in progress. You can check how it is progressing by using the docker logs commands. It requires the container name, which is the latest column of the docker ps command:
root@raspberrypi:/var/discourse# docker ps
CONTAINER ID   IMAGE                 COMMAND        CREATED         STATUS         PORTS                                                                          NAMES
a90c251fcdc3   local_discourse/app   "/sbin/boot"   4 minutes ago   Up 4 minutes   0.0.0.0:80->80/tcp, [::]:80->80/tcp, 0.0.0.0:443->443/tcp, [::]:443->443/tcp   app
As it may be a bit hard to read, you can also see only the container name with the following command/result:
root@raspberrypi:/var/discourse# docker ps --format "table {{.Names}}"
NAMES
app
Also, in your case the service name is probably “app”. Let’s look at the logs for this container with the following command:
docker logs appWhen the procedure really finishes, you will get from this command something like the following:
...
Started runsvdir, PID is 3178
ok: run: redis: (pid 3192) 0s
warning: postgres: unable to open supervise/ok: file does not exist
ok: run: redis: (pid 3192) 1s
ok: run: postgres: (pid 3206) 1s
supervisor pid: 3220 unicorn pid: 3225
Setup Discourse on Raspberry PI
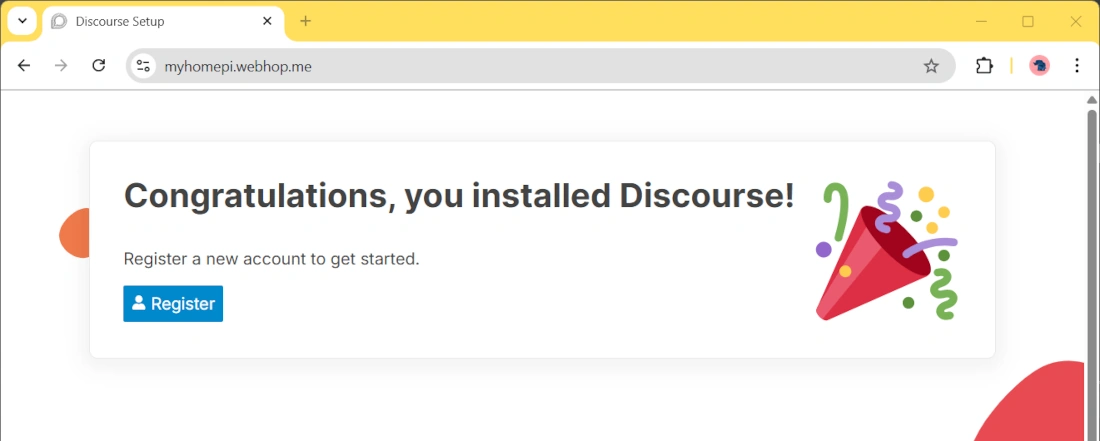
At this point, all the “hard” work is done. From your favourite browser, please use your domain name to reach your Discourse server. You will get the setup page:
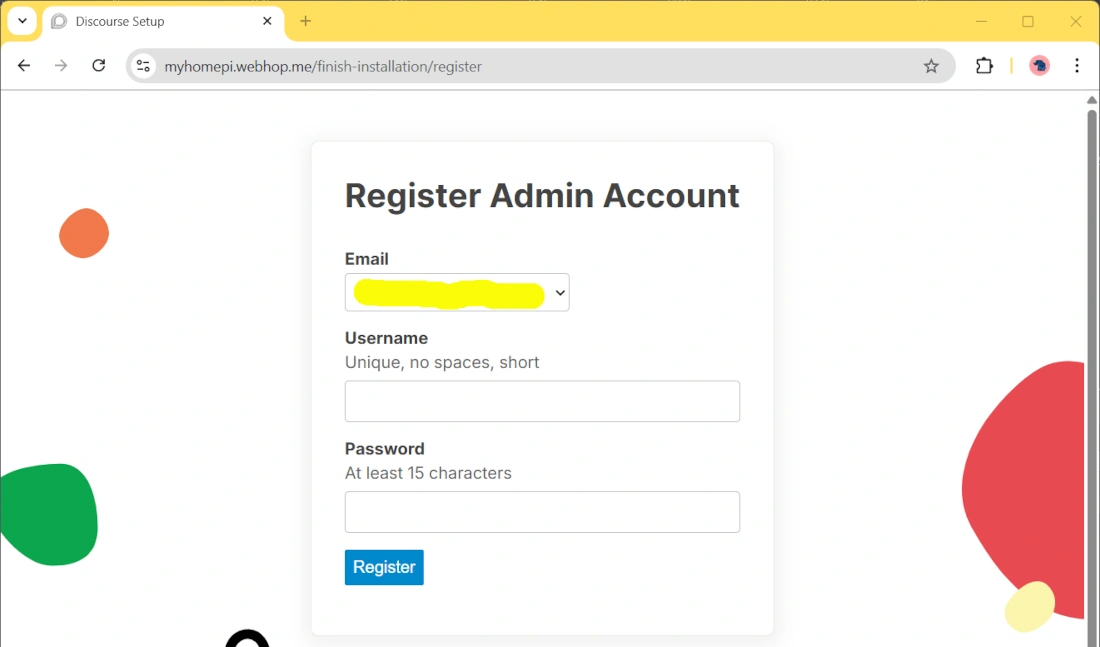
Please click the “Register” button to start the registration process for your very first (admin) user. The following form will require the needed info, while the email field should already be filled with the email address provided in the configuration steps. Please note that the password field requires a 15-character password!
Then, please press the “Register” button. It will send a confirmation email to the provided address:
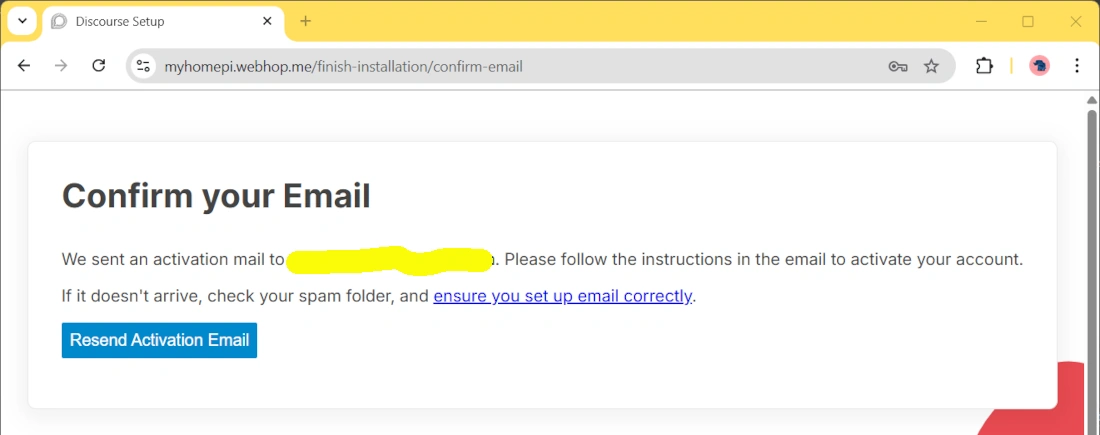
At this point, you can close this browser window, and you should control your email address for the message with the confirmation link:
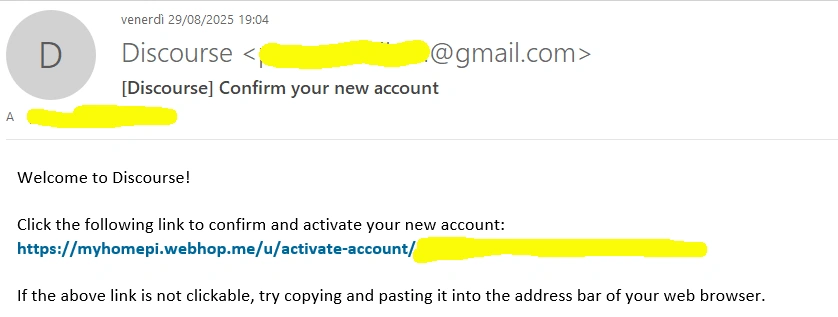
Please click the link provided, which will open a welcome page:
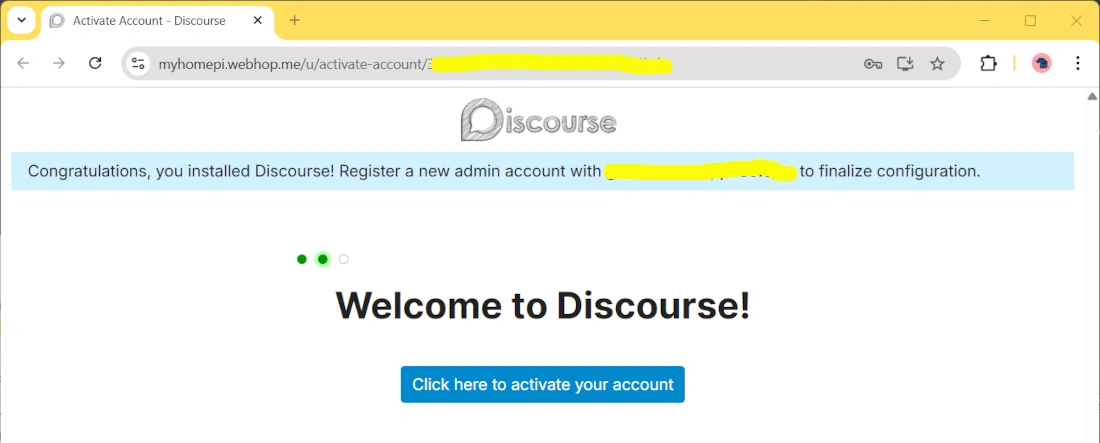
Now, you can click the blue button to activate your account.
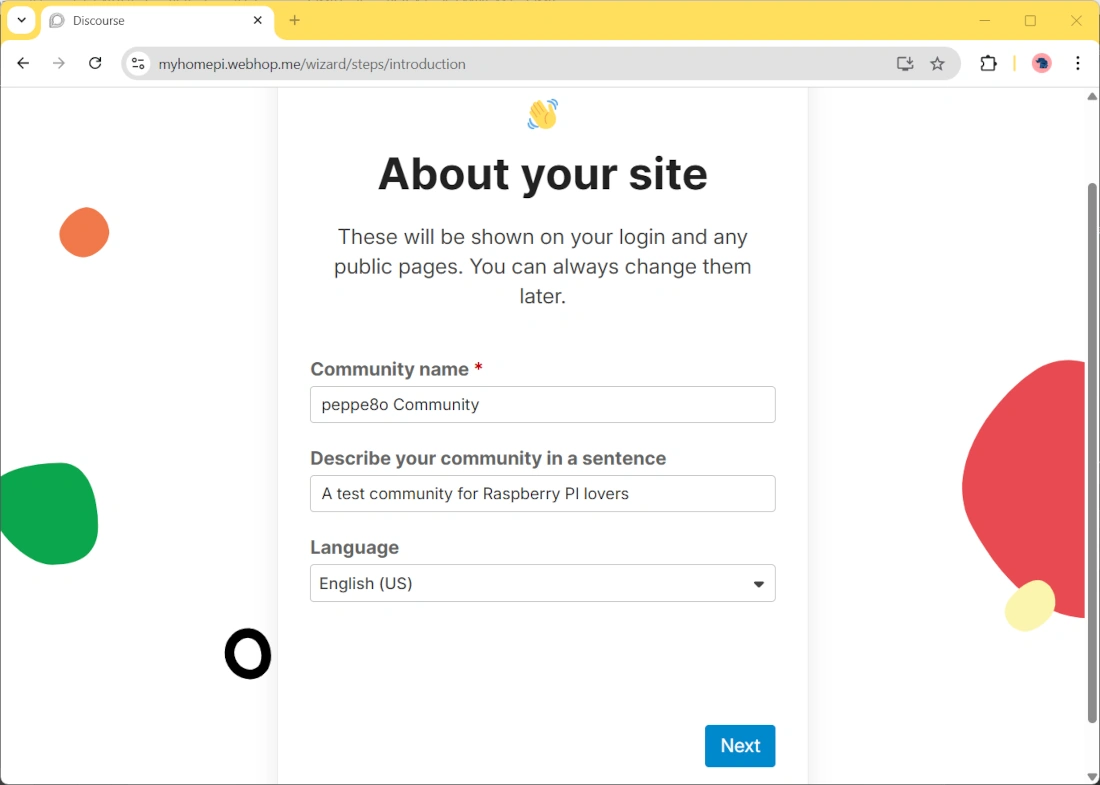
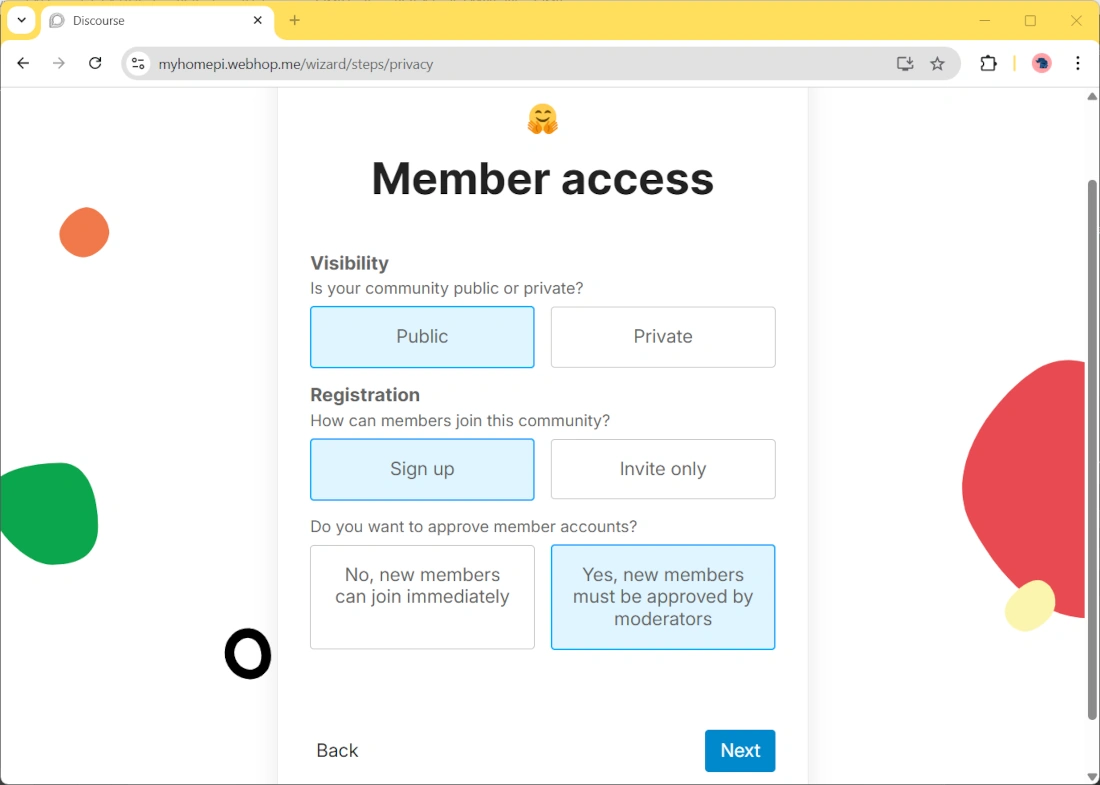
The following 2 pages will allow you to customise your self-hosted forum by setting up the Community name, its language, and a few visibility and access rules:
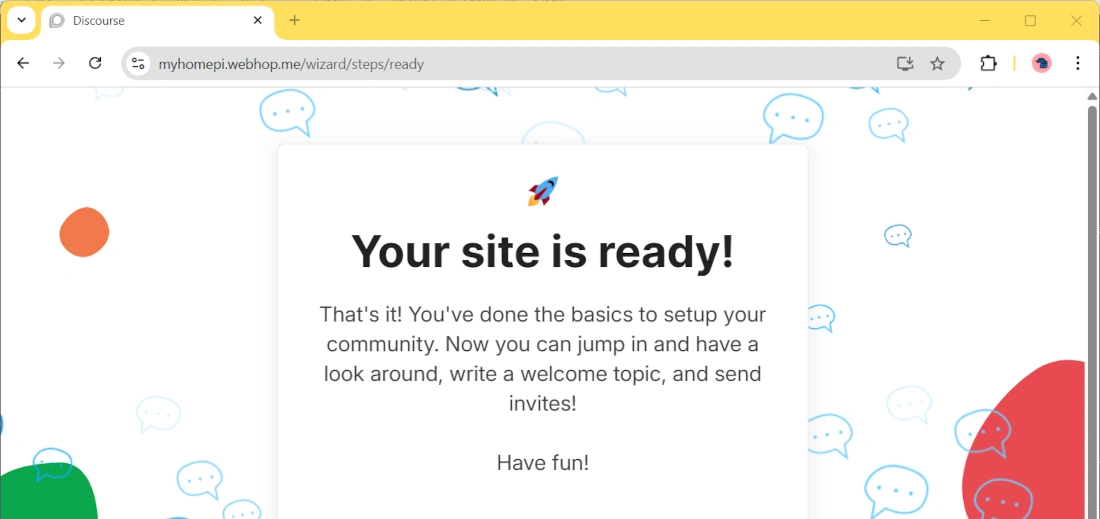
The last page will confirm to you that everything is complete and your forum is ready to get your friends!
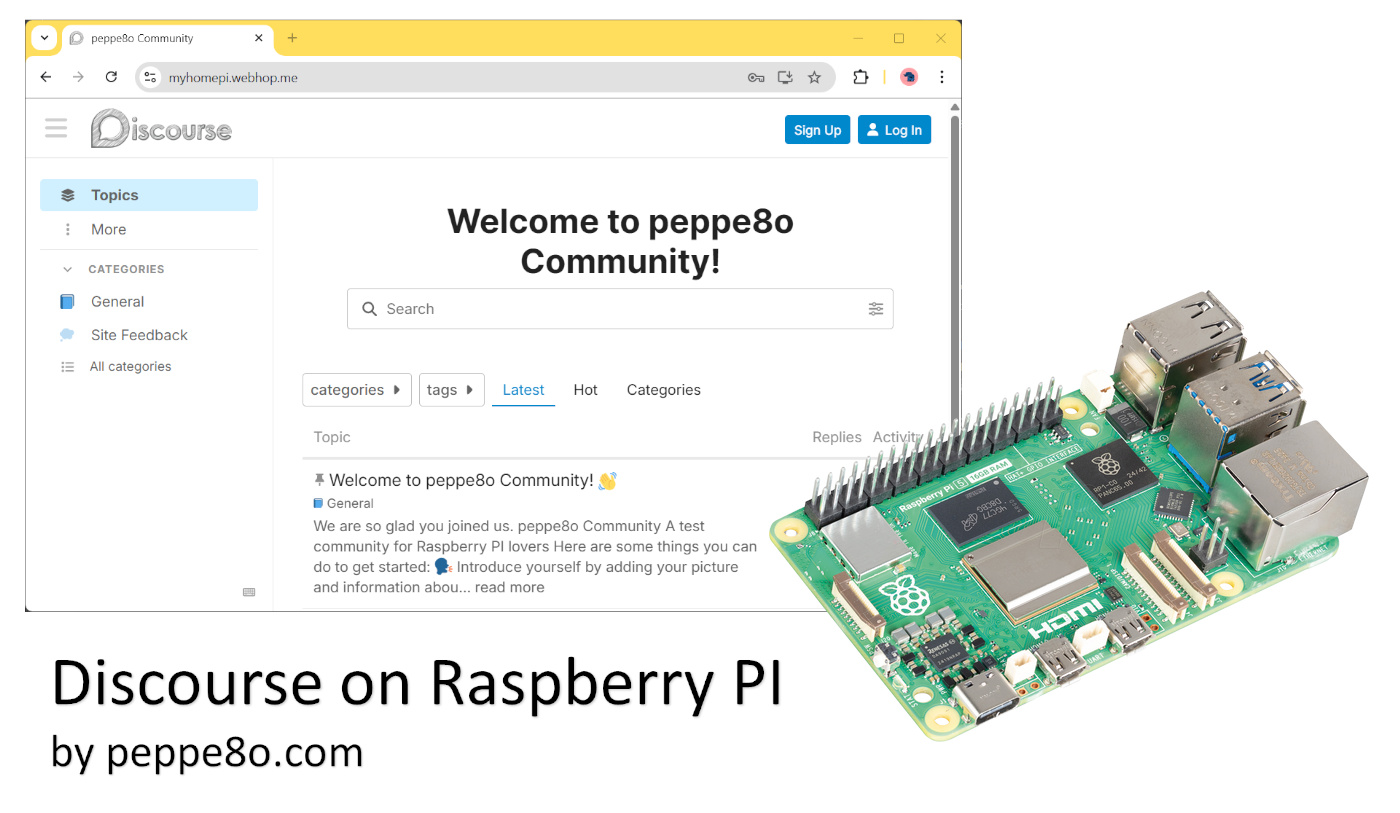
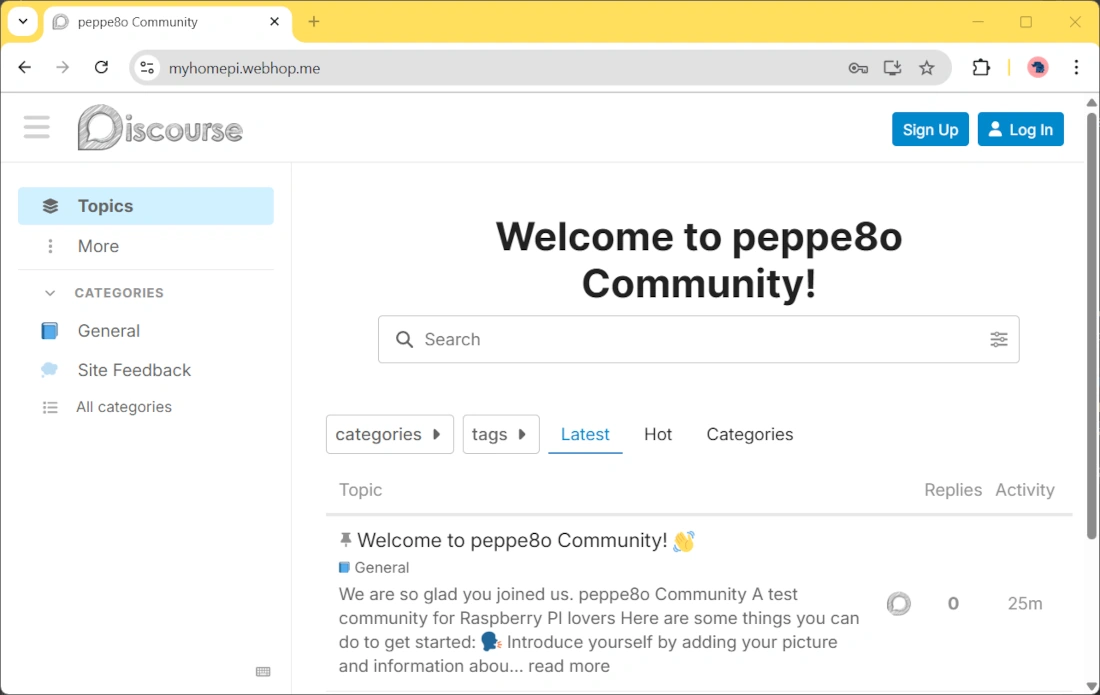
The final result, for a new user and with default settings, will be like the following:
Discourse Documentation
More info about how to use Discourse can be found at the Discourse Resource Center.
What’s next
If you are interested in more Raspberry PI projects (both with Lite and Desktop OS), take a look at my Raspberry PI Tutorials.
Enjoy!

Open source and Raspberry PI lover, writes tutorials for beginners since 2019. He's an ICT expert, with a strong experience in supporting medium to big companies and public administrations to manage their ICT infrastructures. He's supporting the Italian public administration in digital transformation projects.
![]()
![]()
![]()
![]()
![]()
![]()
![]()


