
Last Updated on 2nd September 2023 by peppe8o
In this tutorial I’m going to show you how to install Drupal in Raspberry PI.
One of most spread internet platforms to host websites, Drupal is a big WordPress competitor. It has a long history, starting from 2000. Drupal runs perfectly on Raspberry PI computer boards and installs with few steps.
What is Drupal
Drupal is, before all, a Content Management System (CMS). Between their users you can find, for example, City of London web page, New York web page, Tesla and many others.
Drupal focuses to make working well these features that everyone refers as standard, like easy content authoring, reliable performance, and excellent security. It also aims to get macimum felxibility with modular core, enabling website owners to extend functionalities by installing add-ons.
Like quite all CMSs, you can customize your website appearence by selecting your favourite theme.
The Drupal project is open source software, distributed under the terms of the GNU General Public License (GPL). This means that you can download, use, work on, and share it with others and that there are no licensing fees, ever.
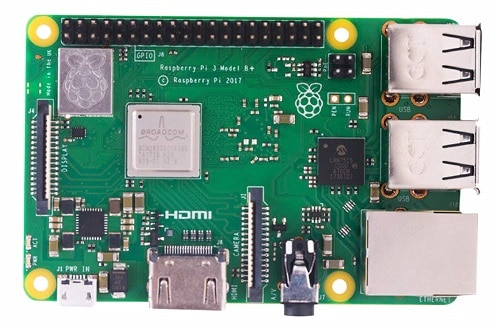
For this tutorial, I’m going to use a Raspberry PI 3 Model B+, but this procedure should work with all Raspberry PI computer boards.
What We Need
As usual, I suggest adding from now to your favourite e-commerce shopping cart all the needed hardware, so that at the end you will be able to evaluate overall costs and decide if to continue with the project or remove them from the shopping cart. So, hardware will be only:
- Raspberry PI (including proper power supply or using a smartphone micro usb charger with at least 3A)
- high speed micro SD card (at least 16 GB, at least class 10)
Check hardware prices with following links:

Step.by-Step Procedure
Prepare Operating System
Start preparing your OS. You can install Raspberry PI OS Lite (for a fast, headless OS) or use Raspberry PI OS Desktop (in this case, using its internal terminal).
Once installed, make sure that your OS is up to date. From terminal, use following command line:
sudo apt update -y && sudo apt upgrade -yInstall Required Packages
For running Drupal, we need a Linux-Apache-Mysql-Php server. You can refer my tutorial to install LAMP server in Raspberry PI for this task (phpmyadmin section is optional).
Drupal has some specific requirements to run.
Drupal – Apache Requirements
The Apache ‘mod_rewrite’ extension is required. The Apache Virtualhost configuration must contain the directive AllowOverride All.
Open apache configuration file with your favourite text editor (I will use nano):
sudo nano /etc/apache2/apache2.confIdentify following configuration block (referring to “Directory /var/www/“);
<Directory /var/www/>
        Options Indexes FollowSymLinks
        AllowOverride None
        Require all granted
</Directory>
change “AllowOverride None” to “AllowOverride All”, getting like following:
<Directory /var/www/>
        Options Indexes FollowSymLinks
        AllowOverride All
        Require all granted
</Directory>
Save and close. Also a2enmod rewrite is required:
sudo a2enmod rewriteWe need a final Apache service restart, which will be done later.
Drupal – Php Requirements
Php modules required can be also found in https://git.drupalcode.org/project/drupal/blob/8.7.x/core/composer.json, by reading in “requires” section all those packages having “ext” prefix. On the other side, you can get list of your current php modules with terminal comand “php -m”. I’ve already made this match, finding following check list:
"ext-date": available in default php installation
"ext-dom": to be installed (included with php-xml)
"ext-filter": available in default php installation
"ext-gd": to be installed
"ext-hash": available in default php installation
"ext-json": available in default php installation
"ext-pcre": available in default php installation
"ext-PDO": available in default php installation
"ext-session": available in default php installation
"ext-SimpleXML": to be installed (included with php-xml)
"ext-SPL": available in default php installation
"ext-tokenizer": available in default php installation
"ext-xml": to be installed
Moreover, following php modules are recommended:
openssl: available in default php installation
curl: to be installed
mbstring: to be installed
You can complete php module requirements with following command line:
sudo apt install php-xml php-gd php-mbstring php-curlFinally, restart apache;
sudo systemctl restart apache2.serviceCreate Drupal Database and get Drupal Code
Create your database space and credential to let Drupal connect your DB. If you still don’t changed root password, after first command it will be empty. I anyway strongly suggest to change root password. Also use your favourite database name, user and password instead of tutorial “drupalDB”, “drupalUser” and “drupalPassword”. From terminal:
sudo mysql -uroot -p
create database drupalDB;
create user drupalUser@localhost identified by 'drupalPassword';
grant all privileges on drupalDB.* to drupalUser@localhost;
flush privileges;
quit
You can now get latest Drupal version directly in your Raspberry PI with the useful wget command:
wget https://www.drupal.org/download-latest/zip -O drupal.zipExtract code from zip file to apache root folder. Zipped file has everything under a “drupal-v.x.y” root folder (v.x.y is lates version), which will be better to move outside to avoud sub-url (unless this is your desired behaviour). Following commands have in red comments explaining what done row by row (comments after “#” aren’t executed by bash terminal):
sudo unzip drupal.zip -d /var/www/html/ #extract drupal to apache root
cd /var/www/html/ #enter apache root folder
sudo chown -R www-data:www-data ./ #change files ownership to defaul apache user
sudo rm index.html #remove old index.html apache template
sudo mv drupal-9.1.5/* ./ #extract drupal files. Change 9.1.5 with your downloaded version, if different!
sudo mv drupal-9.1.5/.[!.]* ./ #required to move also hidden files
sudo rmdir drupal-9.1.5/ #remove old, empty folder
With this, tasks from terminal are out. We can move to browser.
Install and Setup Drupal
From a web browser, use your Raspberry PI’s IP address to reach your Drupal installation instead of mine “192.168,1,238”. Browsing “http://<<YorRpiIP>>/” will redirect, for first time, to Drupal installation wizard:
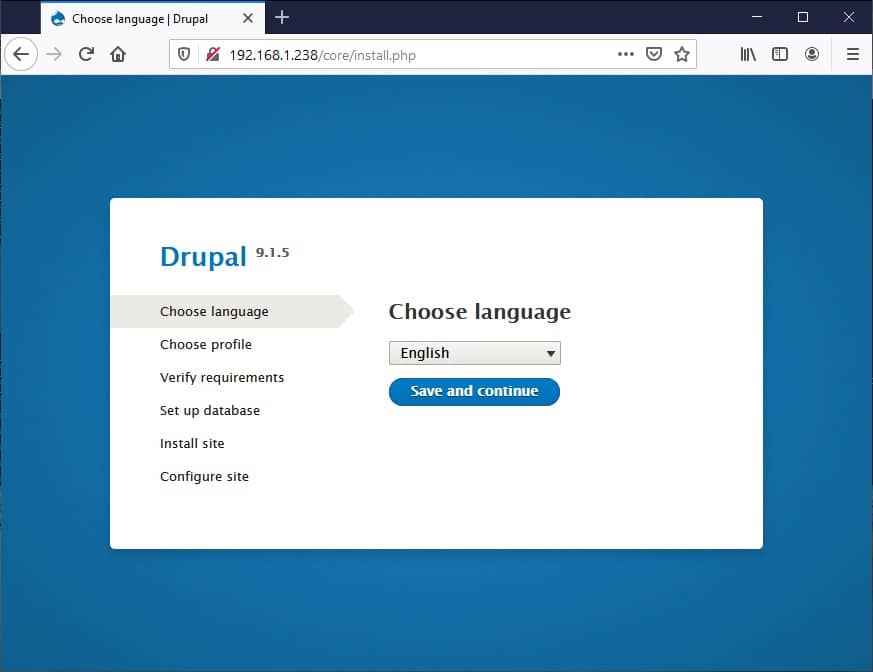
Select your favourite language and press “Save and continue”. Next screen requires which installation profile to use:
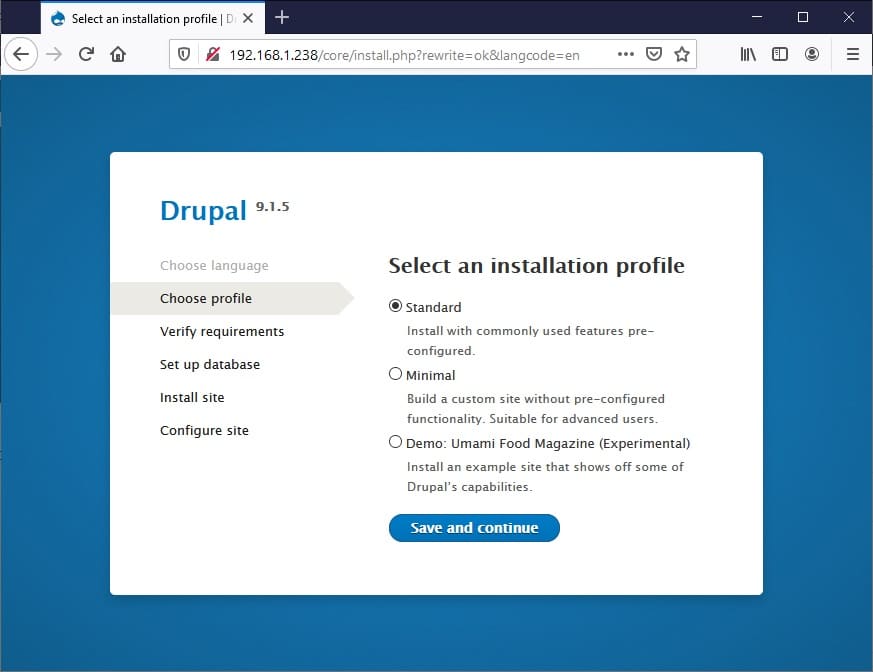
I will select a standard profile. Then press “Save and continue”.
Next screen will check system requirements:
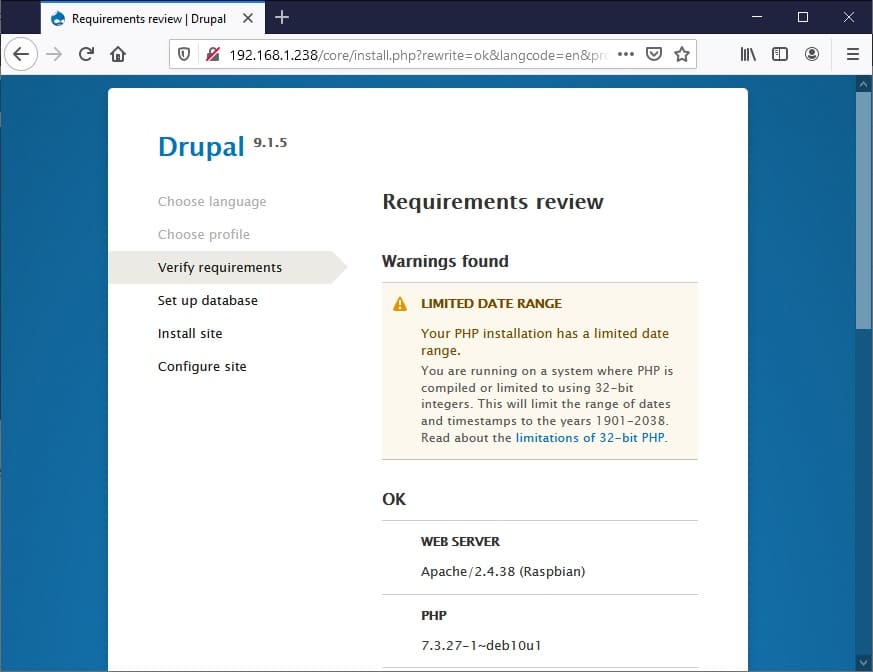
It will include only 1 warning regarding php compiled in 32 bit system. This is a warning related to ALL servers using drupal (not only Raspbery PI) and detailed in https://www.drupal.org/docs/system-requirements/limitations-of-32-bit-php. You can scroll down the page and click “continue anyway” link at bottom part.
Next sceen requires database connection settings. Compile according to credential you set in MariaDB DB/user creation section:

Press “Save and continue”. Drupal will start installing your site, ending to final Site configuration screen:
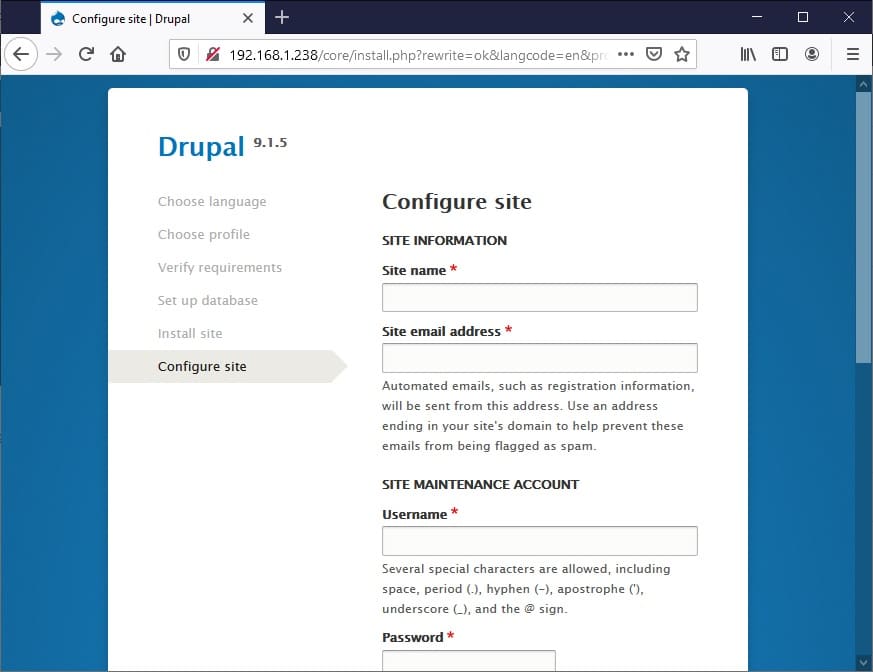
Fill according to your preferences and then press “Save and continue” button at the end of page.
You will finally get your home page and Drupal installation finished:
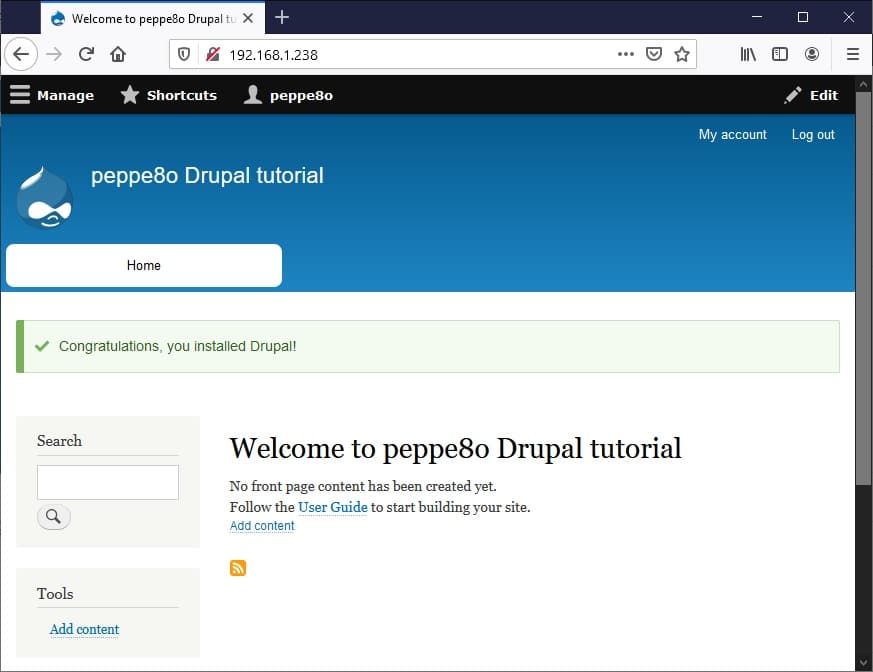
From here, user guides can be found in official Drupal User Guide.
Enjoy!

Open source and Raspberry PI lover, writes tutorials for beginners since 2019. He's an ICT expert, with a strong experience in supporting medium to big companies and public administrations to manage their ICT infrastructures. He's supporting the Italian public administration in digital transformation projects.
![]()
![]()
![]()
![]()
![]()
![]()
![]()


Nice job, good walk through.
Thank you for you appreciation!
Very nice job.
Perhaps it is possible to describe the installation of Drupal using composer. This could help to update Drupal smoothly.
Kind Regards
Thank you for your feedback. Of course, drupal can be installed in several ways. As I’m currently involved in a lot of projects, if you already have the tested steps and if you want to, you could send these to me to be published in this article. It would be really appreciated!