
Last Updated on 23rd February 2024 by peppe8o
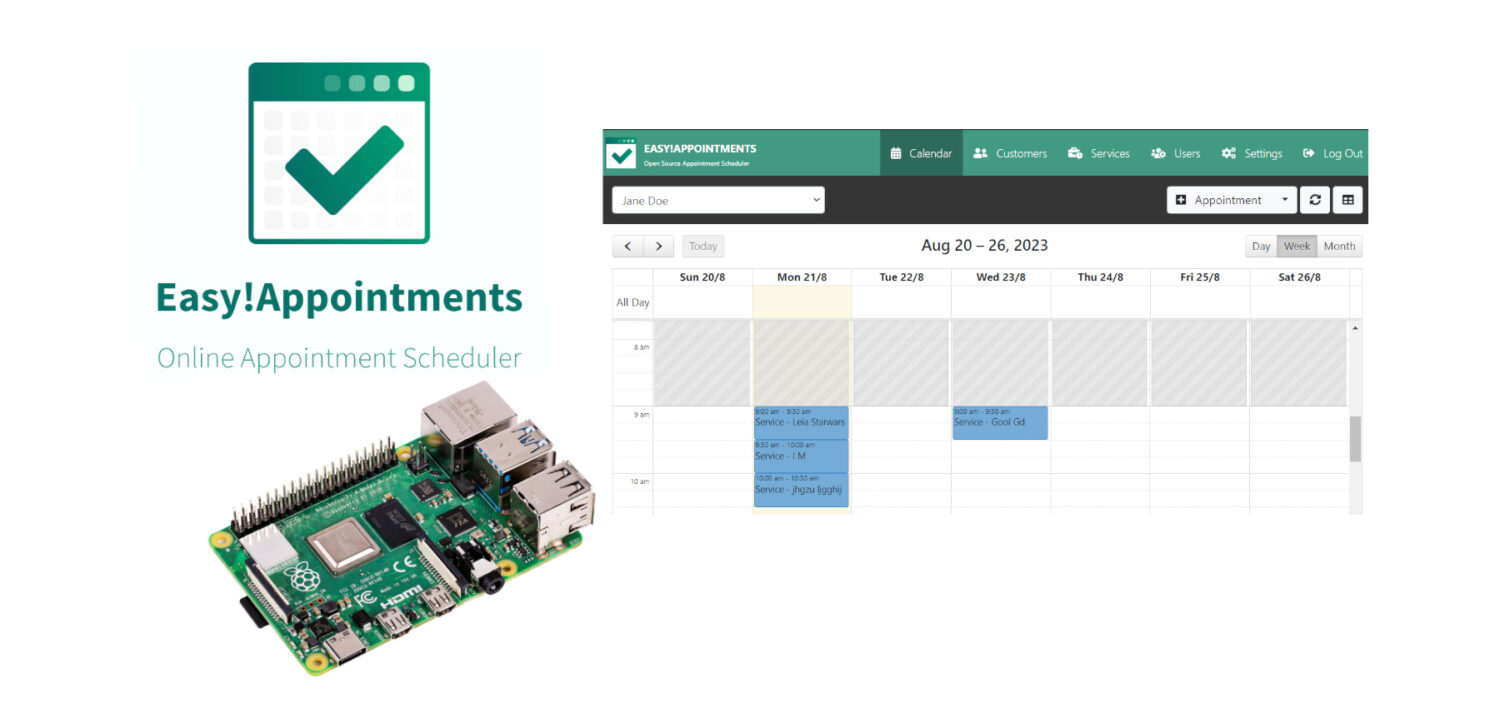
This tutorial will show you how to install and configure Easy!Appointments on Raspberry PI, to create a self-hosted and open-source customer reservations management tool with no headaches.
What is Easy!Appointments
Easy!Appointments is an open-source software that allows managing reservations with a very low effort. It enables you to easily handle appointments, bookings, and schedules, making it ideal for small businesses and organizations.
The main feature of Easy!Appointments development is its simplicity: both the frontend (where customers book a service for a specified time) and the backend (where administrators manage services) are simple to understand and use.
Exposing Easy!Appointments with Raspberry PI to Internet
In order to make the service available to the web, you will need an internet connection with a public IP (better if the IP is also static). In this way, you should buy a domain or use the free No-IP with Raspberry PI. This will enable to to provide your customers with a mnemonic address instead of an IP address.
Moreover, you may also opt to install Let’s Encrypt and Certbot on Raspberry PI in order to make your connection secure with an HTTPS connection instead of HTTP and avoid browser warnings.
In this tutorial, I will use Easy!Appointments with my Raspberry PI Zero 2 W and a private IP in order to test the installation steps.
What We Need

As usual, I suggest adding from now to your favourite e-commerce shopping cart all the needed hardware, so that at the end you will be able to evaluate overall costs and decide if to continue with the project or remove them from the shopping cart. So, hardware will be only:
- Raspberry PI Computer Board (including proper power supply or using a smartphone micro USB charger with at least 3A)
- high speed micro SD card (at least 16 GB, at least class 10)
Step-by-Step Procedure
Prepare Raspberry PI OS Lite
Please start installing your favourite Operating System for Raspberry PI (must be Debian-based). I suggest using Raspberry PI OS Lite, as it provides a headless, faster environment for low-capabilities Raspberry PI computer boards. But you can also use Raspberry PI OS Desktop, in this case working from its internal terminal. You can check the difference between the two OS from my Raspberry PI OS Lite vs Desktop: comparison between the 2 distributions.
Make your OS up-to-date. From the terminal, please use the following command:
sudo apt update -y && sudo apt upgrade -yInstall LAMP Packages
We must also install all the packages to transform our Raspberry PI into a Linux-Apache-MySQL-Php (LAMP) server. We’ll use MariaDB instead of MySQL as it performs better in our Raspberry PI. You can check all the required steps detailed in my LAMP server on Raspberry PI tutorial. These steps can be resumed with the following apt line:
sudo apt install apache2 php mariadb-server php-mysql -yYou should also secure your MariaDB installation with the following command:
sudo mysql_secure_installationThis will ask you some questions, better explained in the referred LAMP tutorial. That tutorial also includes the Phpmyadmin installation. It isn’t required but you can also install it to get a web tool to visually manage your database.
We also need the php_curl extension to be able to sync with Google Calendar. We can get it easily by running the following terminal command:
sudo apt install php-curl -yFinally, we can remove the default Apache Index page:
sudo rm /var/www/html/index.htmlPrepare The Database
We must prepare a database and user for our Easy!Appointments installation.
Log into MariaDB shell as root:
sudo mariadb -u rootCreate a database for Easy!Appointments (I called it “EADB”, but you can name it as you prefer):
create database EADB;grant all privileges of Easy!Appointments database to the user (with password) that you will configure in Easy!Appointments in the next steps. Please use your favourite database name, DB user and DB password instead of red ones (respectively EADB, EAuser and EApassword):
grant all privileges on EADB.* to EAuser@localhost identified by 'EApassword';Flush the privileges table for the changes to take effect and then exit
flush privileges;
exit;
Get Easy!Appointments source files
Now, we have to download the latest Easy!Appointments files. This can be achieved by checking the link available at the Easy!Appointments home page (scrolling the page down a bit):
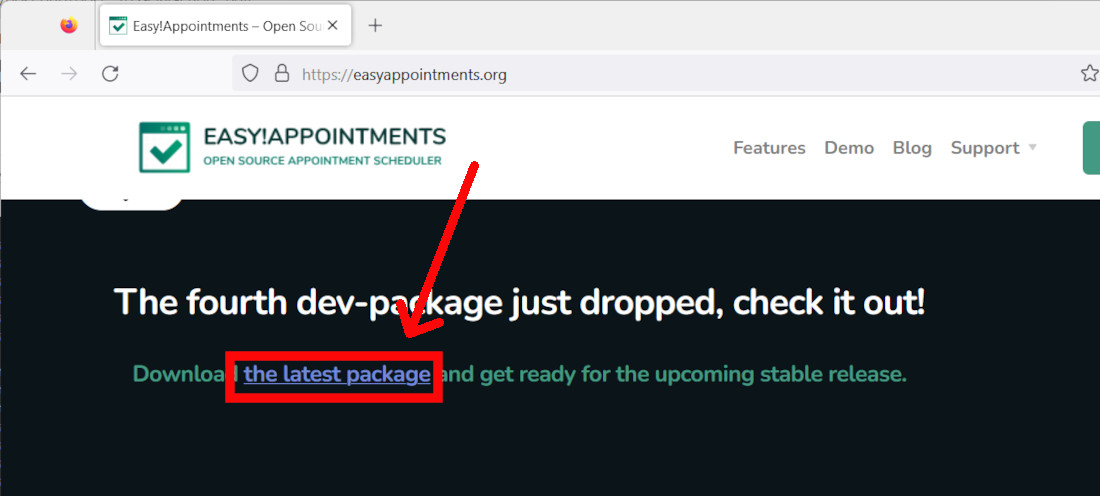
If you click it with the right button of your mouse, you can just use the “Copy link address” option to copy the path and use it in your Raspberry PI terminal with the wget command. It should result in a command like the following:
wget https://github.com/alextselegidis/easyappointments/releases/download/1.5.0-dev.4/easyappointments-1.5.0-dev.4.zipNow, please create a folder that will include all the Easy!Appointments files in your Apache “www” folder and use the unzip command to extract the package directly there (please remember to change your filename if your version is different):
sudo mkdir /var/www/easyappointments
sudo unzip easyappointments-1.5.0-dev.4.zip -d /var/www/easyappointments/
Finally, grant the proper permissions to the folder:
sudo chown -R www-data:www-data /var/www/easyappointments/Edit the config.php File
Some settings must be configured at the very first run to get our Easy!Appointments installation working on Raspberry PI. Please make a copy of the config-sample (named “config.php”), assign the permissions and edit it with the following 3 command lines:
sudo cp /var/www/easyappointments/config-sample.php /var/www/easyappointments/config.php
sudo chown www-data:www-data /var/www/easyappointments/config.php
sudo nano /var/www/easyappointments/config.php
Inside the GENERAL SETTINGS section, we’ll find the following:
    const BASE_URL      = 'http://url-to-easyappointments-directory';
    const LANGUAGE      = 'english';
    const DEBUG_MODE    = FALSE;
Please change the “BASE_URL” variable to your one. If you have a domain, you can insert it here. Otherwise, for local installation maybe for testing purposes, you can use the Raspberry PI’s IP Address. In my case, with my RPI’s IP Address equal to 192.168.137.18:
const BASE_URL = 'http://192.168.1.18';The following DATABASE SETTINGS section available from the same file will allow you to add the database name and credentials set in the previous steps. For my example values, it will be:
    const DB_HOST       = 'localhost';
    const DB_NAME       = 'EADB';
    const DB_USERNAME   = 'EAuser';
    const DB_PASSWORD   = 'EApassword';
The DB_HOST will remain to localhost unless you use a remote database instance (this isn’t our case, you can leave it as is).
Save and close the file.
Change the Apache DocumentRoot
To make Apache aware that there is a new web directory, we must configure it to point the document root to our easyappointments folder. To make it, please open the Apache default
sudo nano /etc/apache2/sites-available/000-default.confPlease identify the DocumentRoot variable, that should be as default:
DocumentRoot /var/www/htmlAnd change it to point to our easyappointments folder:
DocumentRoot /var/www/easyappointmentsTo make the change running, please restart the Apache service:
sudo systemctl restart apache2.serviceStarting the Installation Wizard for Easy!Appointments on Raspberry PI
Now, we can go to our favourite browser to check if everything is working, by using your Raspberry PI’s IP address as URL (in my case, “http://192.168.1.18”).
You should find the following page:
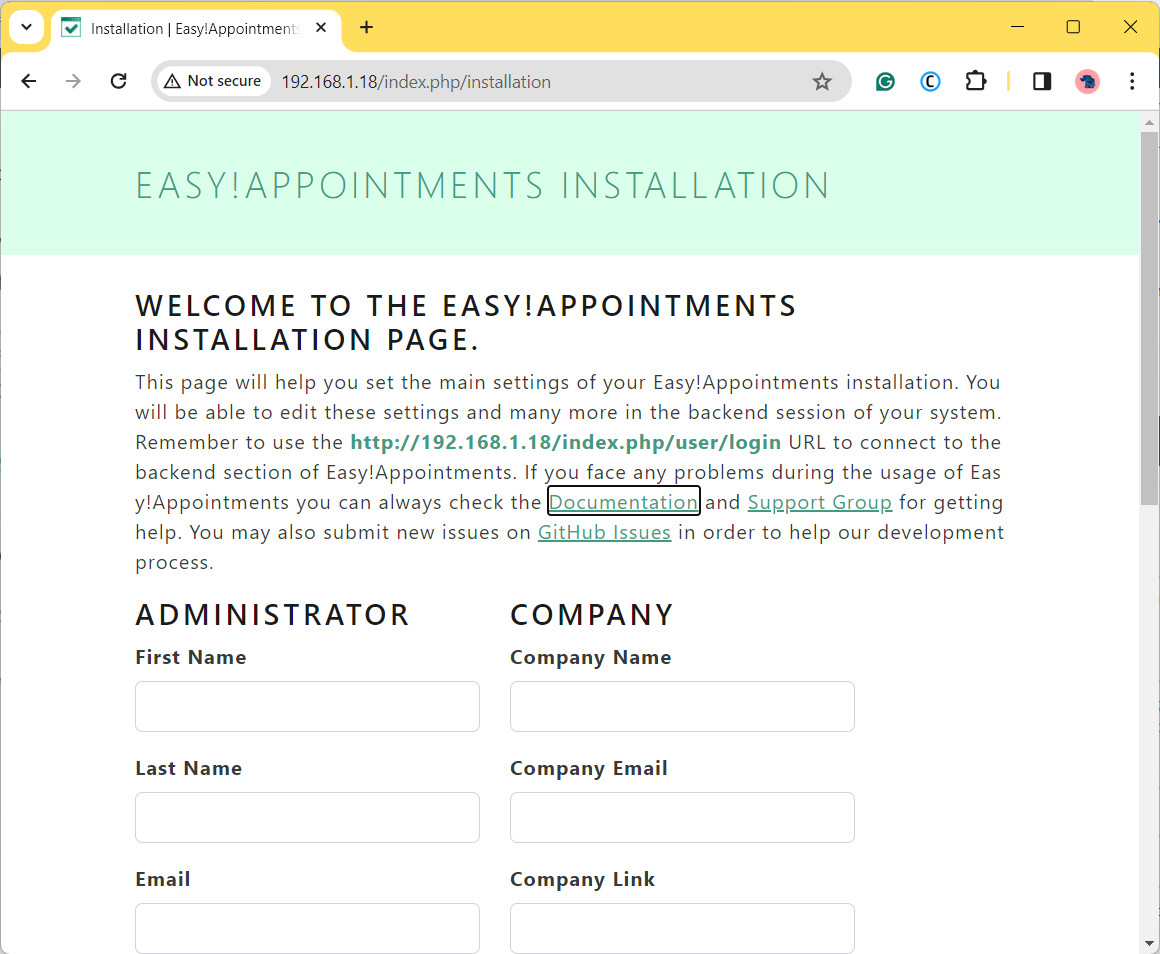
Please fill out the form with your favourite credentials and scroll down to click the “INSTALL EASY!APPOINTMENTS” button. It will take a few seconds to complete the installation and redirect you to your calendar:
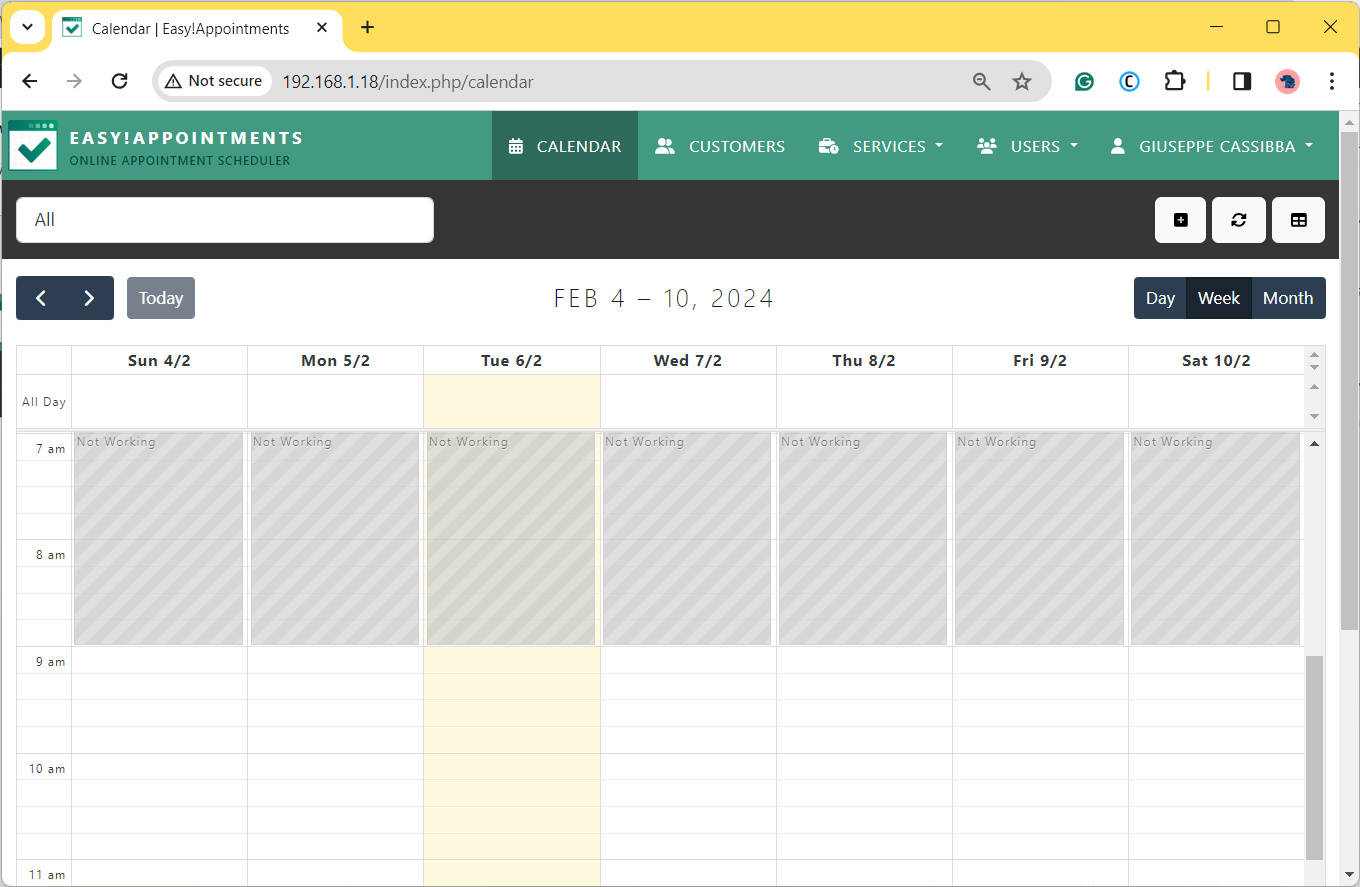
You are now ready to use the Easy!Appointments with Raspberry PI.
Please remember that there are 2 main addresses to know:
- http://YourAddress/index.php/login: will show the login page to access the backend, where you manage your users, services and reservations
- http://YourAddress: will show the frontend, where customers will access for reserving a service
Create a New Provider
By default, Easy!Appointments creates one demo “Provider” user named “Jane Doe”. A provider is a person that will be shown as available for customers for reservations.
You can manage providers (as well as Admins and Secretaries) from the Users menu:
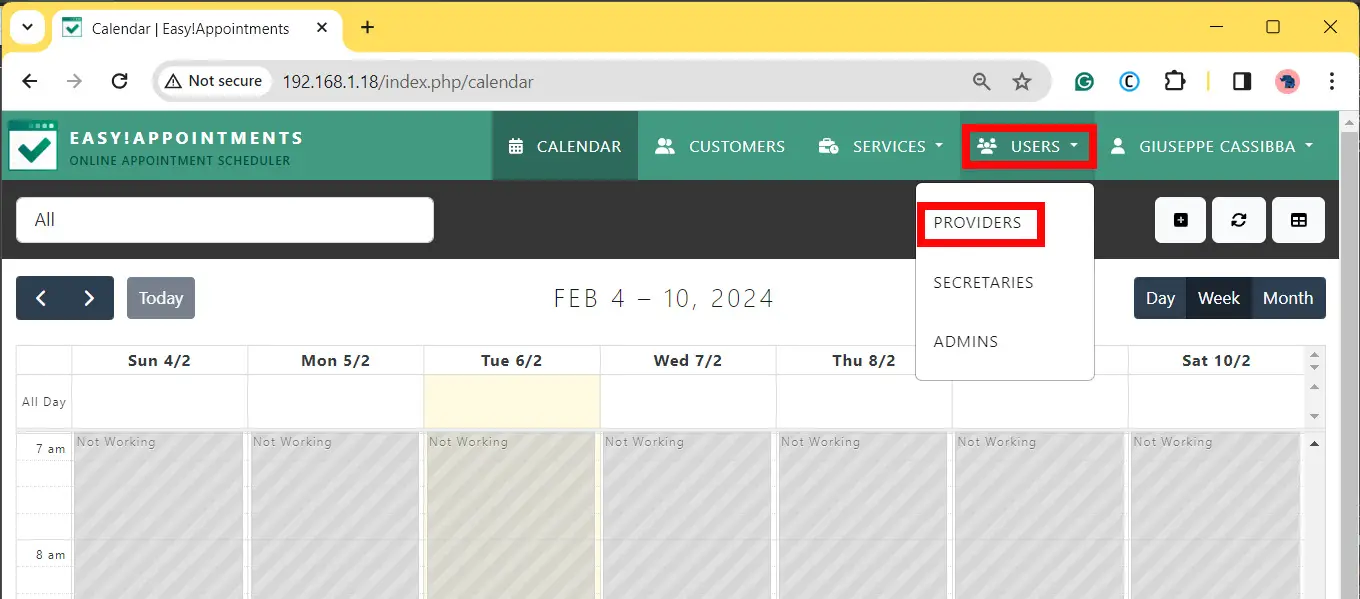
On the resulting page, you can create a new user (or edit/delete existing ones) with the menu shown on top:
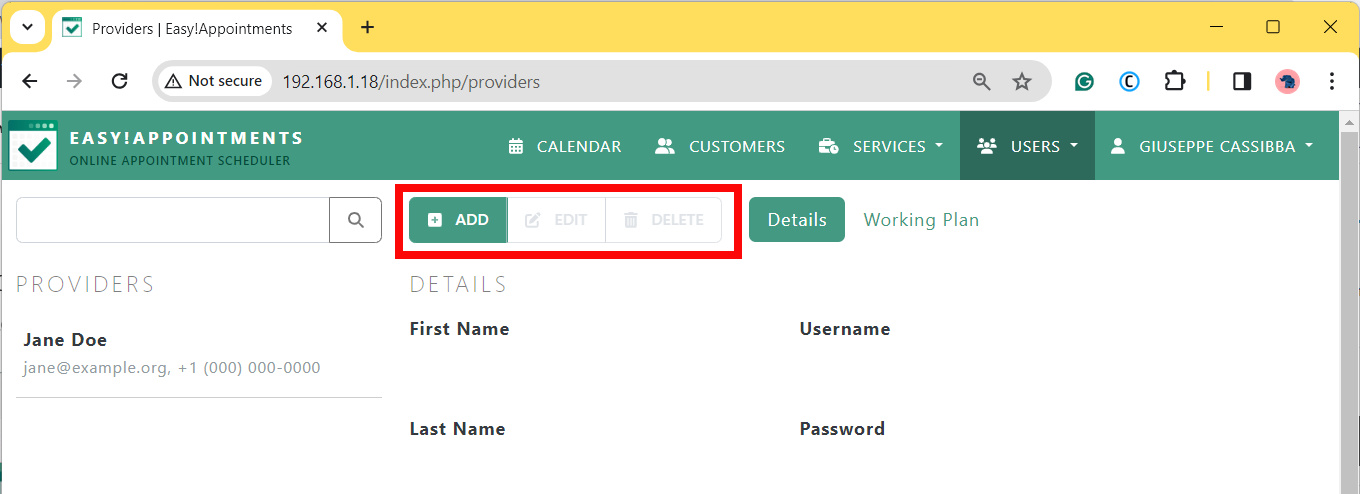
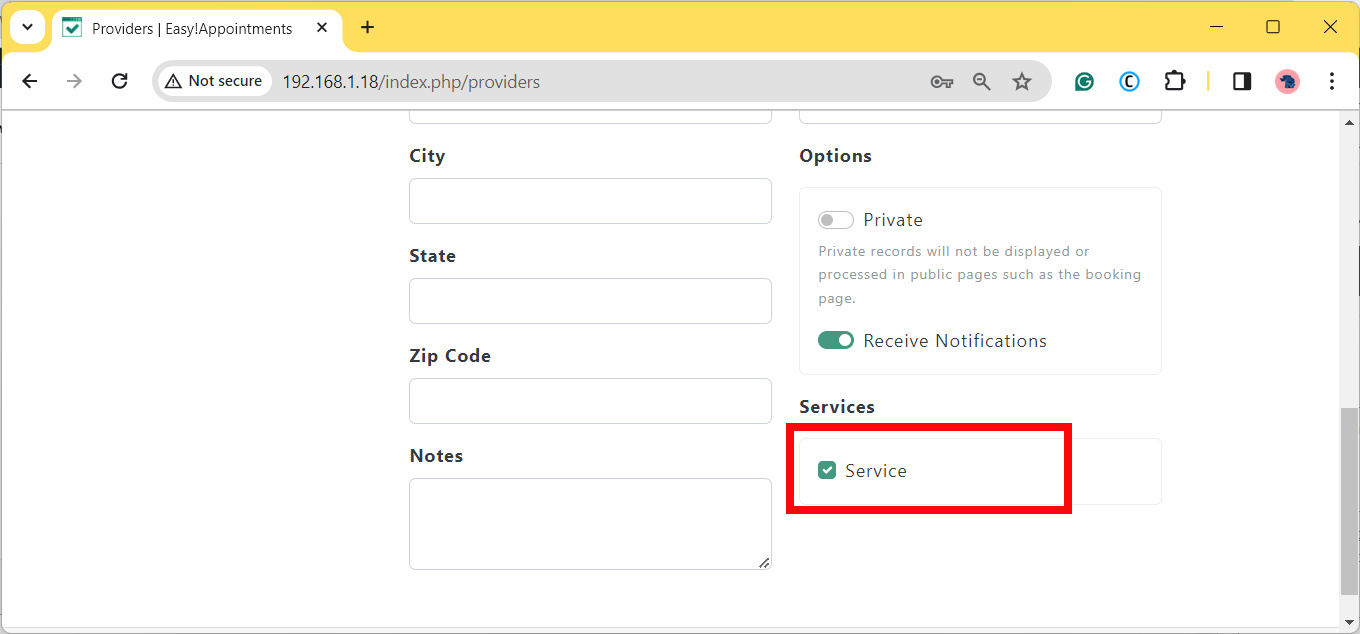
Please use the “ADD” button to create a new provider. Before saving it, please remember to assign the default Service to the created user:
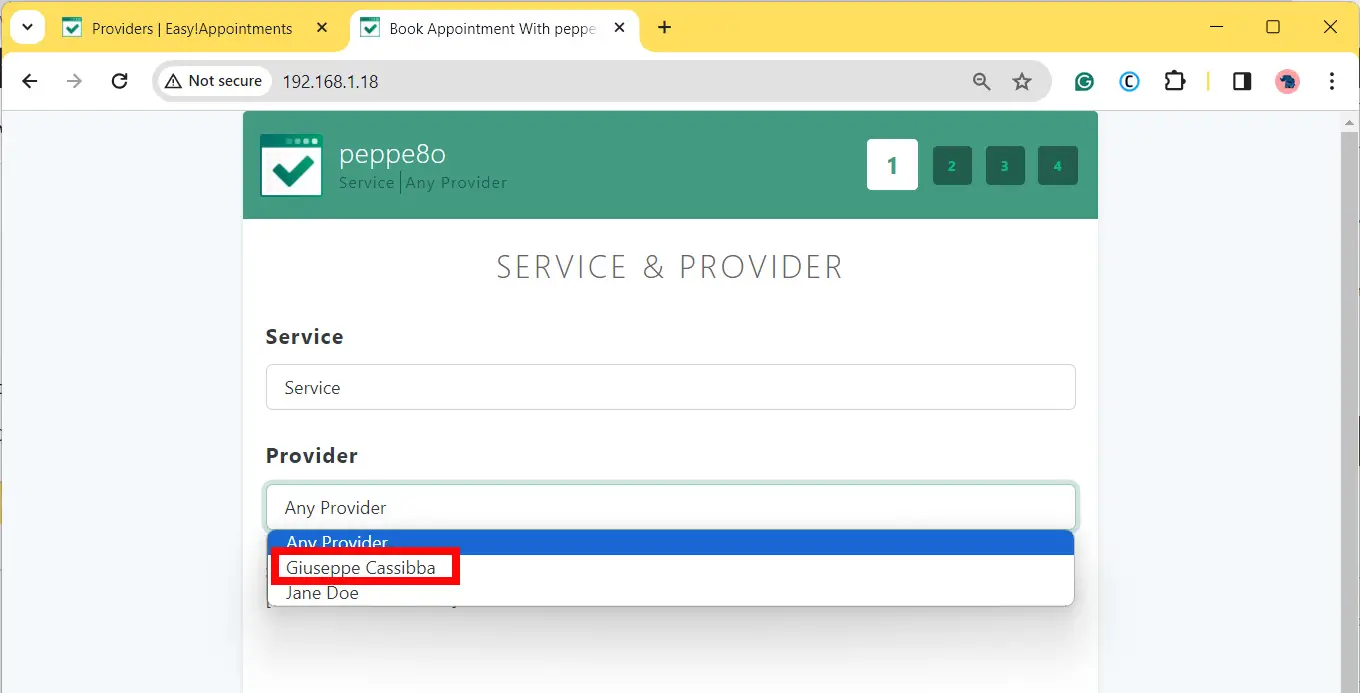
Switching to the frontend, in this way your customer will be able to select the new Provider from the booking form:
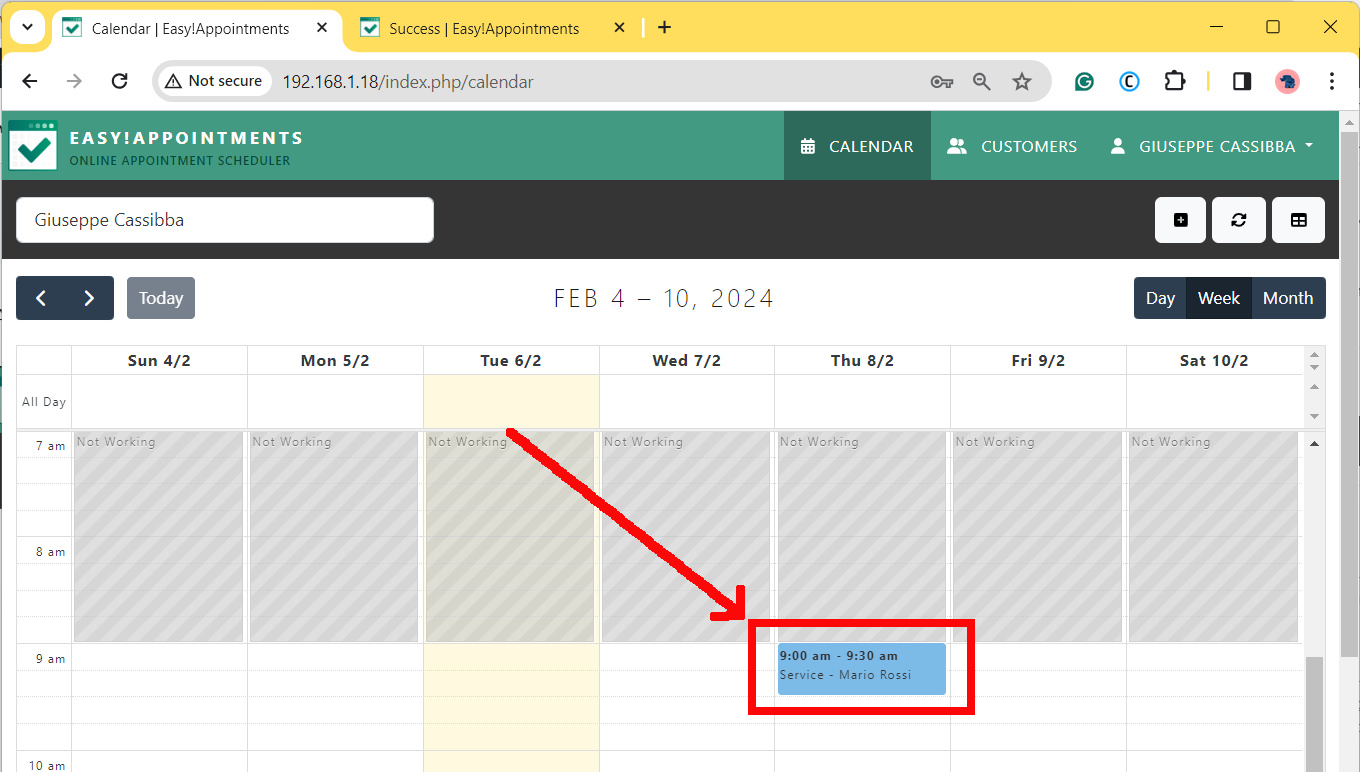
And the provider will see the new reservation in its calendar, after logging in:
Setup Sendmail with Easy!Appointments
With the integrated notification system, Easy!Appointments can automatically send email notifications, with an attached ICS file, for each session booking.
To make it work, please install Sendmail in Raspberry PI. This will allow you to enable your computer board to send email messages.
We need an additional PHP module. From our Raspberry PI’s terminal command, please install the mbstring module:
sudo apt install php-mbstring -yAlso, a reboot is required:
sudo reboot nowOpen for editing the configuration file which manages the email setting:
sudo nano /var/www/easyappointments/application/config/email.phpMake it appear as the following, commenting out all the other lines with the “//” characters at the beginning of every line you want to remove:
<?php defined('BASEPATH') or exit('No direct script access allowed');
$config['protocol'] = 'sendmail';
$config['mailpath'] = '/usr/sbin/sendmail';
$config['mailtype'] = 'html';
$config['charset'] = 'utf-8';
$config['wordwrap'] = TRUE;
You can now test the notifications by booking an appointment. There will be 2 notifications: to the provider and to the customer.
Easy!Appointments Support
The team that maintains Easy!Appointments has created a support page available at https://groups.google.com/g/easy-appointments for any support request.
What’s Next
Interested in more cool projects for your Raspberry PI computer board? Take a look at peppe8o Raspberry PI tutorials.
Enjoy Easy!Appointments on Raspberry PI!

Open source and Raspberry PI lover, writes tutorials for beginners since 2019. He's an ICT expert, with a strong experience in supporting medium to big companies and public administrations to manage their ICT infrastructures. He's supporting the Italian public administration in digital transformation projects.
![]()
![]()
![]()
![]()
![]()
![]()
![]()


I am not 100% sure if it is my VPN connection or Pi-Hole that kept the “Install” from working…used a different machine that had neither the VPN nor Pi-Hole on them…and it worked…..now I just have to figure out how I want to utilize it…
Ron
Opportunity for improvement.
1) have a step for installing “sendmail” on the RASPBERRY PI. Without installing it, the email notification part of EASYAPPOINTMENTS does not work and there isn’t any documentation that gives one a clue.
2. Just install the current version of PHP as the one that gets installed is the 7.4 version that causes the error — so instead of having the steps to fix the error, just install the latest version.
3. Please add the “-y” to this “sudo apt install php-curl” step. Makes it way better.
Thanks.
Ron
Thank you, Ronald. I will update the post with your feedbacks and improvement suggestions
Hi Ronald,
improvement suggestions acquired and tutorial updated according to them. Please let me know your feedback.
Thank you very much