

Last Updated on 25th November 2023 by peppe8o
This tutorial will show you how to install OpenLiteSpeed on a Raspberry PI computer board.
OpenLiteSpeed is the Open Source edition of LiteSpeed Web Server Enterprise, a well-known web server used to accelerate website performances, specifically designed to handle resources efficiently.
What is OpenLiteSpeed?
OpenLiteSpeed is developed by LiteSpeed Technologies Inc. It is released under the GPLv3.
It gets many of the features from the Enterprise distribution, one of the most important being its compatibility with Apache files. OpenLiteSpeed (as well as LiteSpeed) is known for its efficiency compared to Apache, Nginx, or other web servers.
Key Features of OpenLiteSpeed
- Optimized Performance
- Lightweight and Efficient
- Event-Driven Architecture
- Scalability and Load Balancing
- Easy Integration and Compatibility
- WebAdmin Console
What We Need
As usual, I suggest adding from now to your favourite e-commerce shopping cart all the needed hardware, so that at the end you will be able to evaluate overall costs and decide if to continue with the project or remove them from the shopping cart. So, hardware will be only:
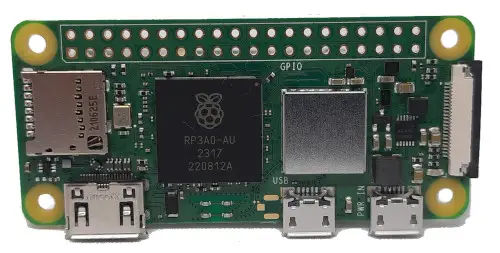
- Raspberry PI Zero 2 W (including proper power supply or using a smartphone micro USB charger with at least 3A) or newer Raspberry PI Board
- high speed micro SD card (at least 16 GB, at least class 10)
Step-by-Step Procedure
Prepare the Raspberry PI Operating System
Please start installing the Raspberry PI OS. Also, note that you have to install the 64-bit version.
I suggest using Raspberry PI OS Lite: This is a lightweight OS for Raspberry PI computer boards, without a Desktop environment (headless), fitting the needs for low-power Raspberry PI computers (like the RPI Zero 2 W), but also for newer computer models in order to get the full computing power working for your service.
After installing the OS, please make it up-to-date. From the Raspberry PI SSH session (or terminal):
sudo apt update -y && sudo apt upgrade -yTake the Correct OpenLiteSpeed Binary Files
As OpenLiteSpeed supports arm64 systems from 1.7.17, we should put care into using the right packages in order to have it installed for our Raspberry PI CPU architecture (aarch64/arm64).
For this task, please use your favourite browser to reach the OpenLiteSpeed GitHub page and find the latest version for aarch64 platforms (you will find it in the release name). Right-click with your mouse on the release link and select “Copy Link”:
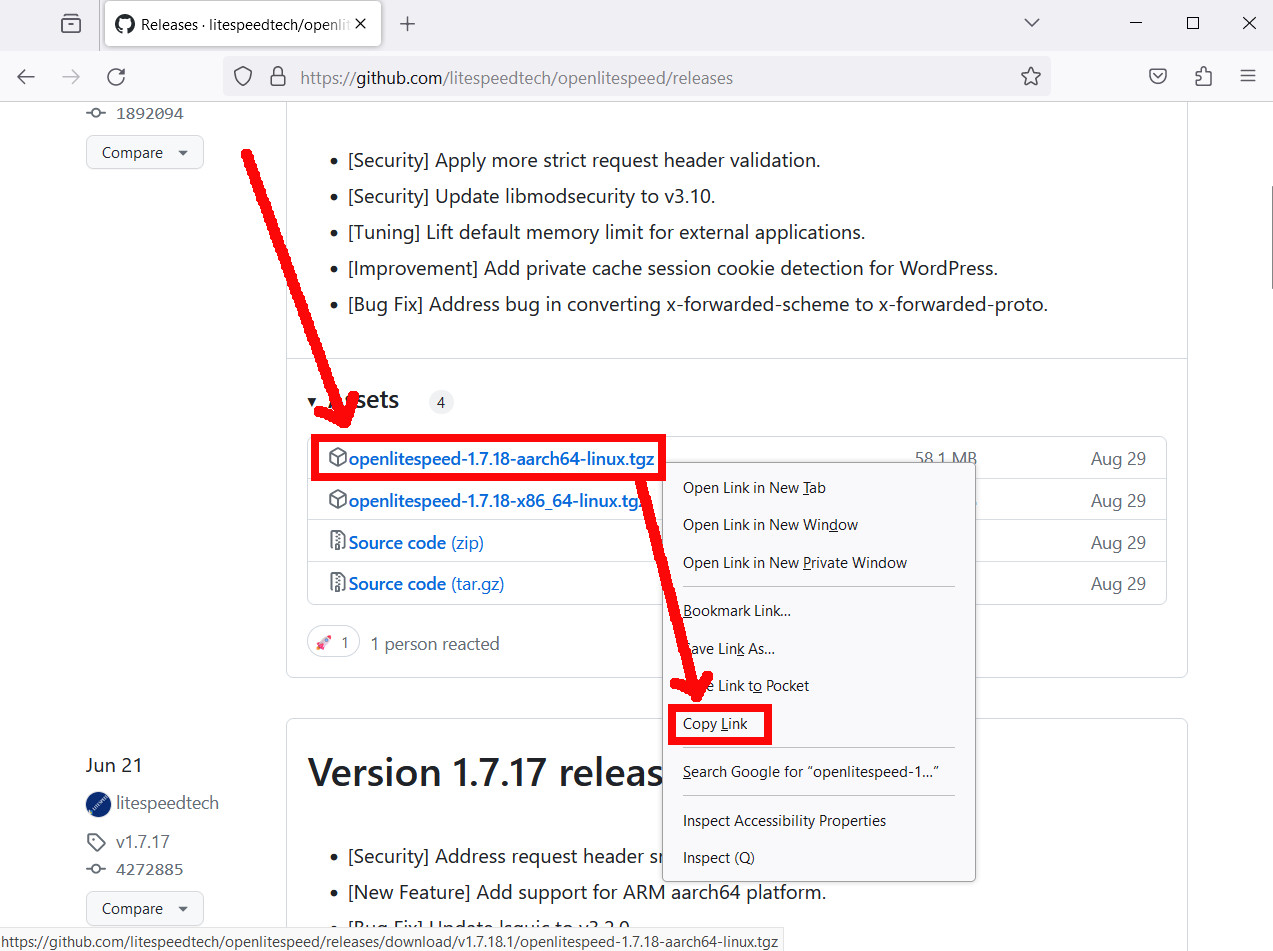
In this way, we have the package link in our clipboard and we can put it in our Raspberry PI terminal session with a wget command so that we can download the package directly in our Raspberry PI storage. For example, at the date of this tutorial the latest OpenLiteSpeed version is 1.7.18 and here’s the wget with the link:
wget https://github.com/litespeedtech/openlitespeed/releases/download/v1.8.0/openlitespeed-1.8.0-aarch64-linux.tgzInstall OpenLiteSpeed in Raspberry PI
Now, we can install the packages. Extract all the files from the compressed file:
tar -zxvf openlitespeed-*.tgzEnter the extracted folder and launch the installer with sudo:
cd openlitespeed
sudo ./install.sh
It will take a bit of time to install the software. At the end, you will get a notification showing the admin password set for your admin user in the OpenLiteSpeed console (which we’ll see later):
Done!

-e Installation finished, Enjoy!

-e Your webAdmin password is ZWZlMzAx, written to file /usr/local/lsws/adminpasswd.
You can get the same credentials from the “/usr/local/lsws/adminpasswd” file:
pi@raspberrypi:~ $ sudo cat /usr/local/lsws/adminpasswd
WebAdmin user/password is admin/ZWZlMzAx
Please take note of these credentials, as we’ll need them later in the OpenLiteSpeed Console.
Finally, we need to make OpenLiteSpeed running as service in our Raspberry PI, so that we can find it started every time our Raspberry PI reboots. We must create the related service in our system configuration:
sudo nano /etc/systemd/system/lsws.servicePut the following content into the new file:
[Unit]
Description=Openlitespeed web server
After=network.target remote-fs.target nss-lookup.target

[Service]
Type=simple
PIDFile=/tmp/lshttpd/lshttpd.pid
KillMode=mixed
PrivateTmp=false
User=root
Group=root
ExecStart=/usr/local/lsws/bin/lswsctrl start
ExecReload=/usr/local/lsws/bin/lswsctrl reload
ExecStop=/usr/local/lsws/bin/lswsctrl stop

[Install]
WantedBy=multi-user.target
Close and save. Then, please reload the systemd daemon and start/enable the new service:
sudo systemctl daemon-reload
sudo systemctl start lsws.service
sudo systemctl enable lsws.service
From here, we can check that the service is running with the systemctl status command:
pi@raspberrypi:~ $ sudo systemctl status lsws.service
● lsws.service - Openlitespeed web server
     Loaded: loaded (/etc/systemd/system/lsws.service; enabled; preset: enabled)
     Active: active (running) since Fri 2023-11-17 16:18:51 CET; 43min ago
   Main PID: 582 (litespeed)
      Tasks: 6 (limit: 176)
        CPU: 20.521s
     CGroup: /system.slice/lsws.service
             ├─582 "openlitespeed (lshttpd - main)"
             ├─592 "openlitespeed (lscgid)"
             ├─683 "openlitespeed (lshttpd - #01)"
             ├─684 "openlitespeed (lshttpd - #02)"
             ├─685 "openlitespeed (lshttpd - #03)"
             └─686 "openlitespeed (lshttpd - #04)"

Nov 17 16:18:51 raspberrypi systemd[1]: Started lsws.service - Openlitespeed web server.
Nov 17 16:18:52 raspberrypi lswsctrl[510]: [OK] litespeed: pid=582.
Check that OpenLiteSpeed on Raspberry PI Works
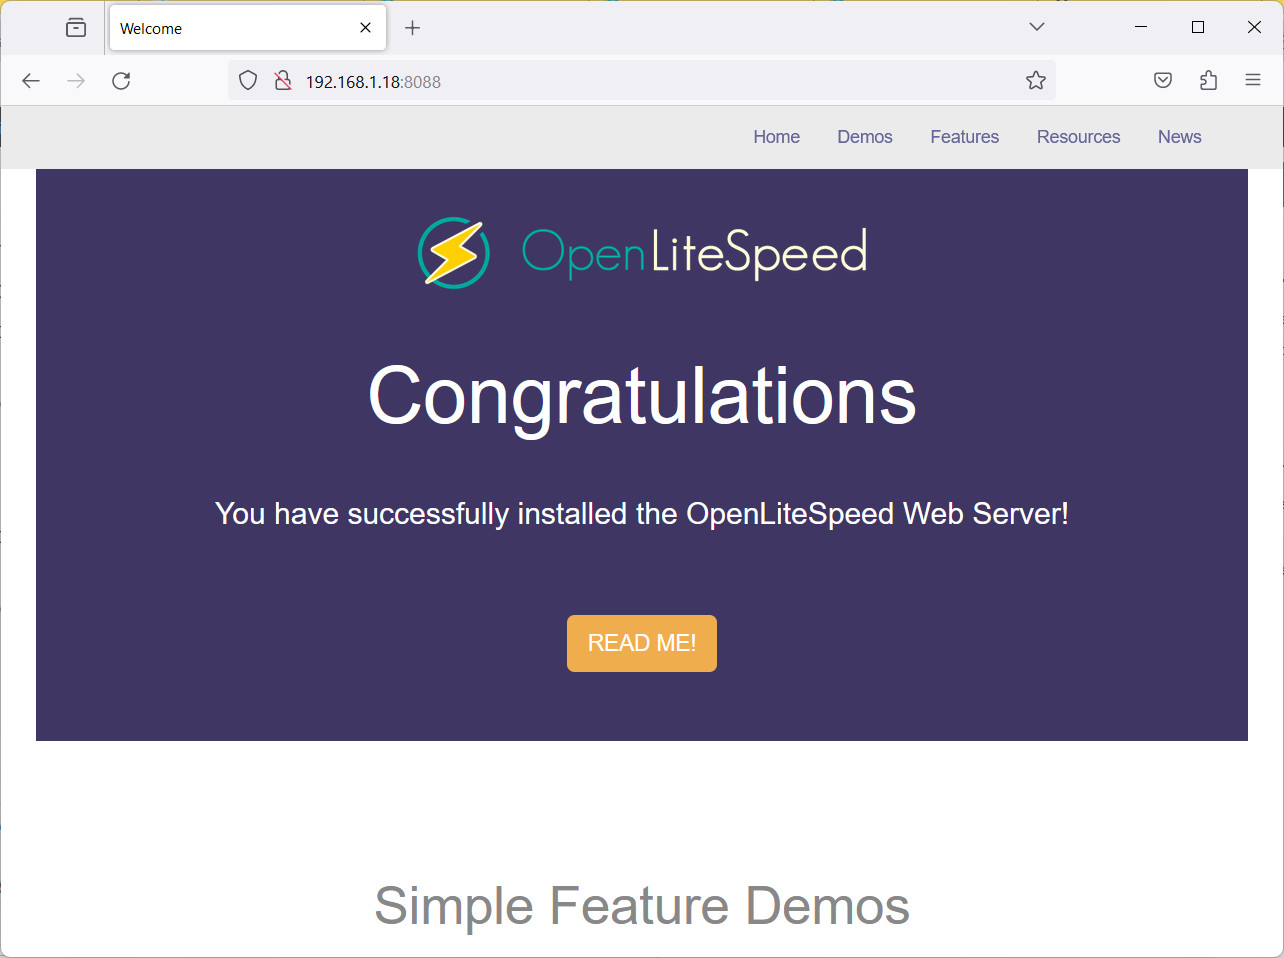
At this point, we have 2 resources to test that our OpenLiteSpeed installation works. There’s an example file, showing a test page, and the OpenLiteSpeed web console. From here, I will use my Raspberry PI’s IP address, which is 192.168.1.18. Please use your one instead.
From your remote PC, please use your favourite browser to reach the Raspberry PI’s IP, also explicating the 8088 port. Your URL will be something like “http://192.168.1.18:8088” and you will reach the example page, confirming that the web server is correctly working:
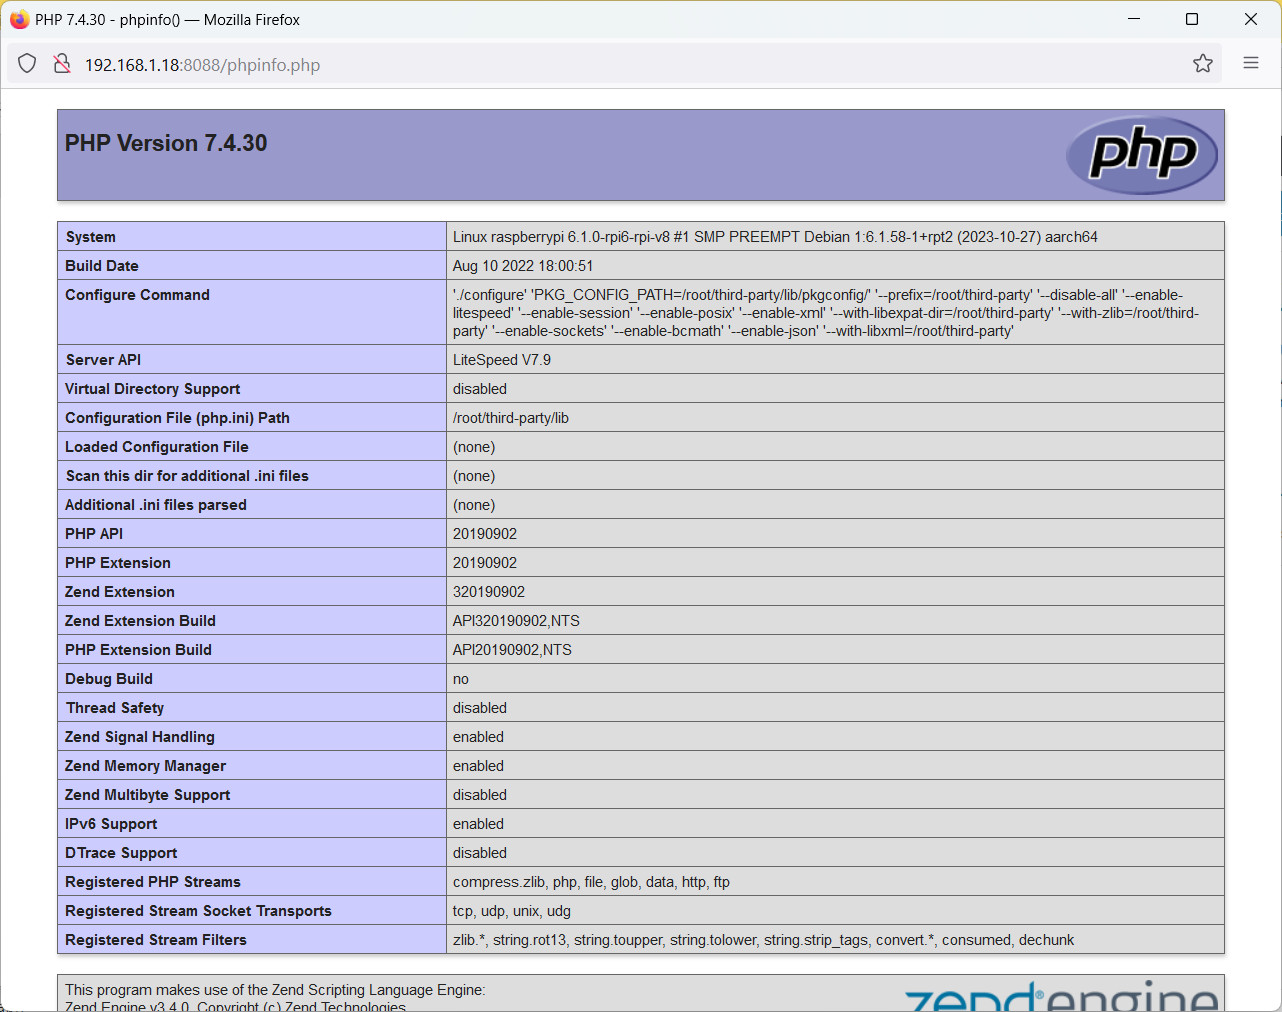
Scrolling down this page, you can find some additional tests, like the PHP configuration check, which will show you more info about your PHP packages:
The OpenLiteSpeed Web Console
A great tool coming with OpenLiteSpeed is its administration Console. This is a web tool allowing us to configure some specific settings and check performances.
By default, the console is exposed at the 7080 port, so your URL will be something like “https://192.168.1.18:7080”. When you connect to this address, you may get a security warning from your browser:
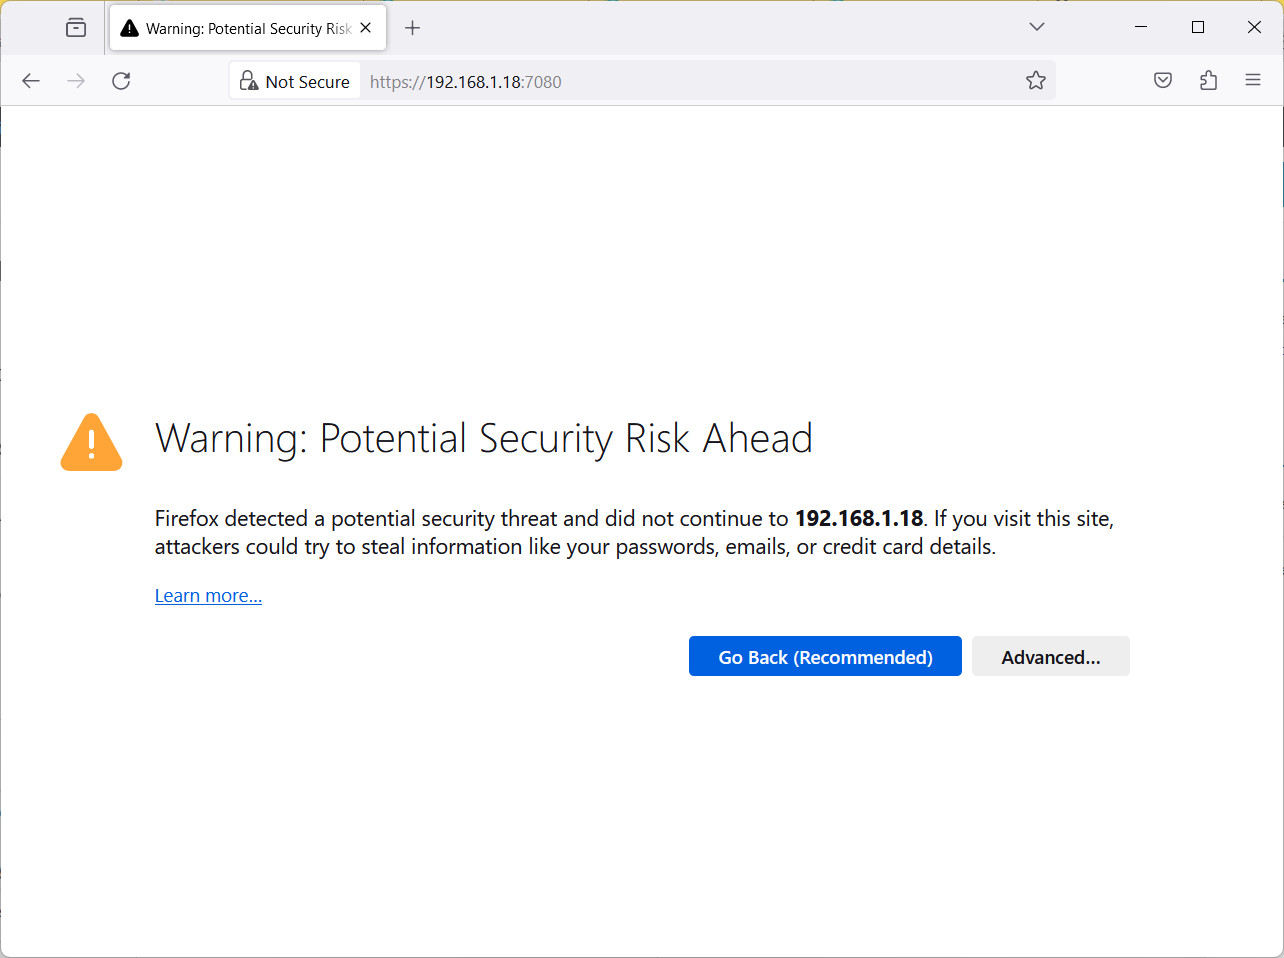
As we’re working in our local network with the server identified (our Raspberry PI), we can skip this warning (with Firefox the “Advanced” button and then clicking “Accept the Risk and Continue”, in Chrome “Advanced” button and then clicking “Proceed to 192.168.1.18 (unsafe)”). This warning can be cleaned in a second stage, by installing proper certificates, for example with Certbot, in the folders that can be set from the console.
This will show you the login page. Please fill the user and password with those get earlier at the installation step (admin and ZWZlMzAx in my case):
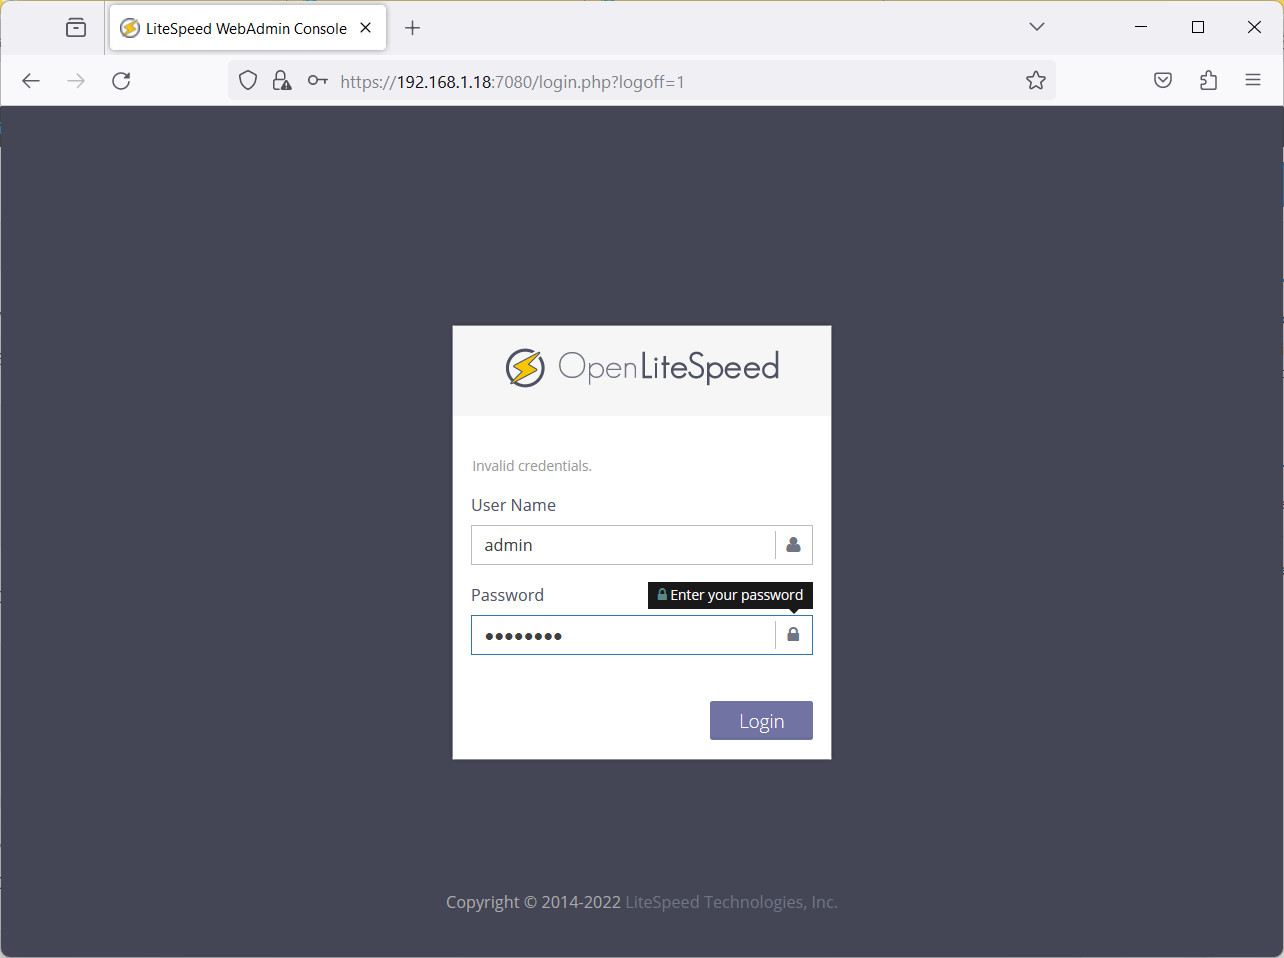
Press Login.
You will reach the Console Dashboard:
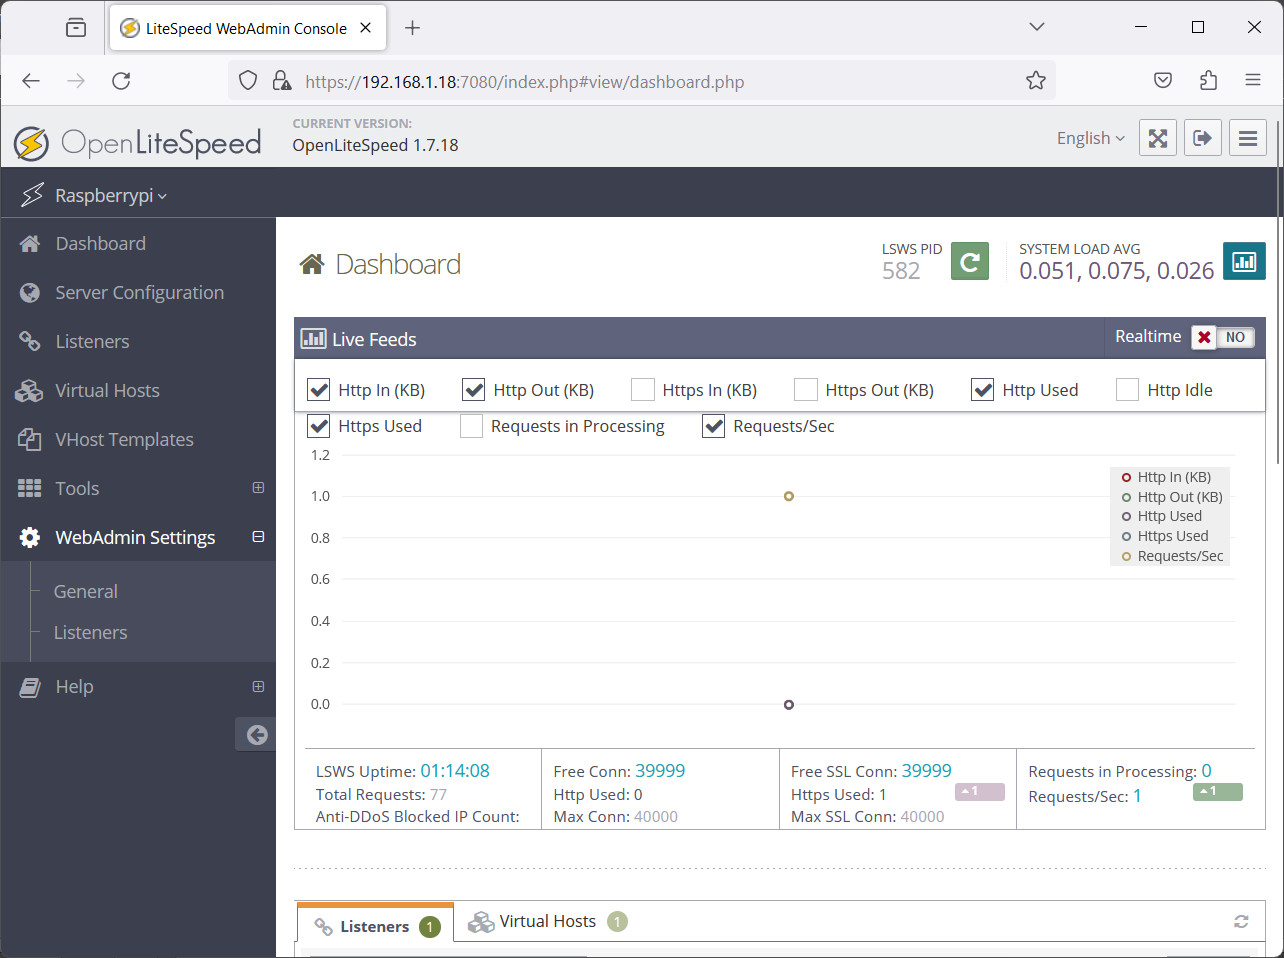
The Dashboard shows the main stats about the traffic server from OpenLiteSpeed on Raspberry PI, as well as the listeners (websites), and error logs. From the left menu, we can enter the “WebAdmin Settings” in order to manage our administration listeners (currently it’s only the Console page):
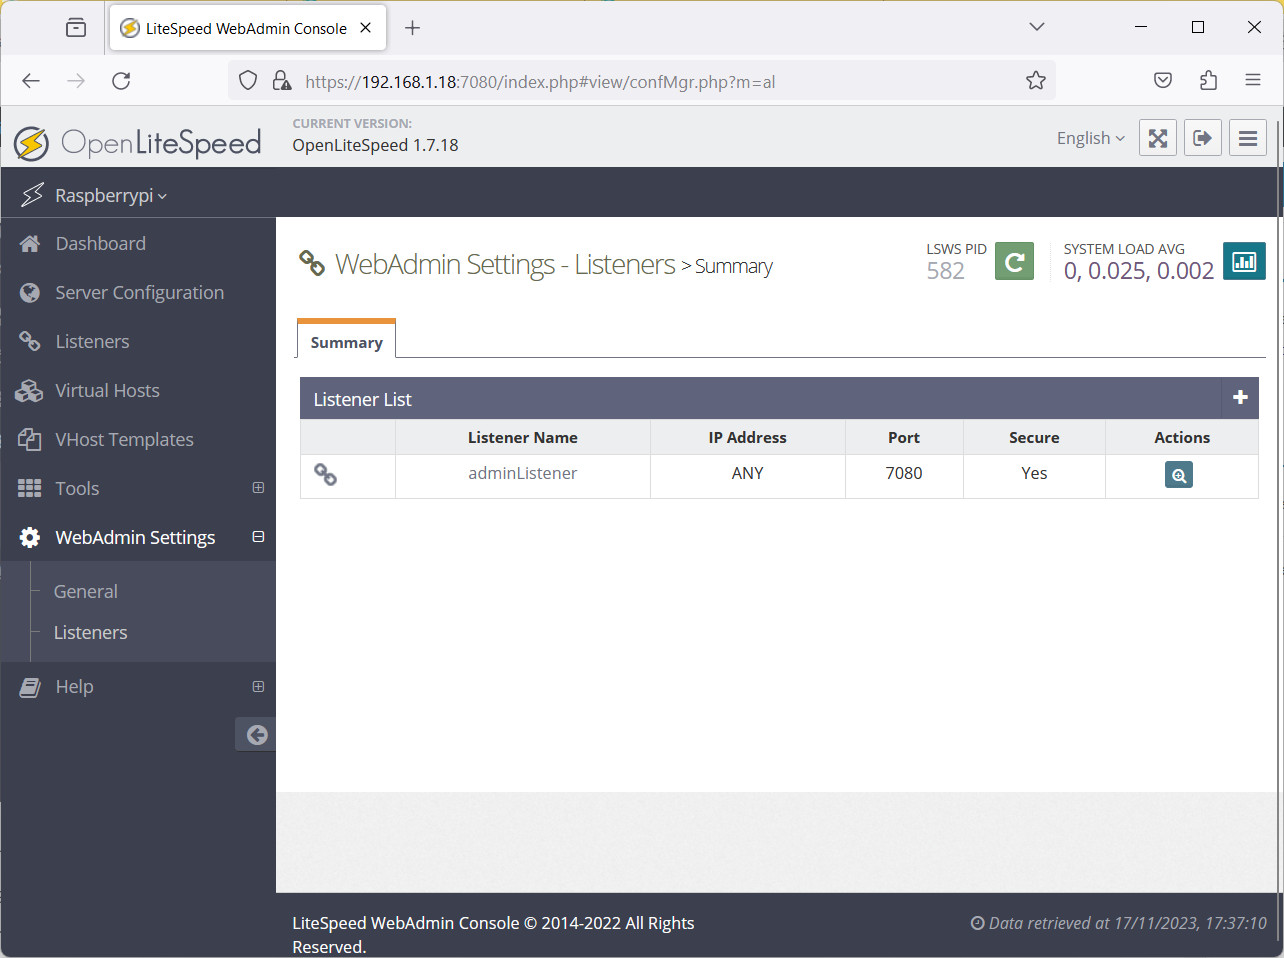
Other websites hosted are available from the Listeners menu:
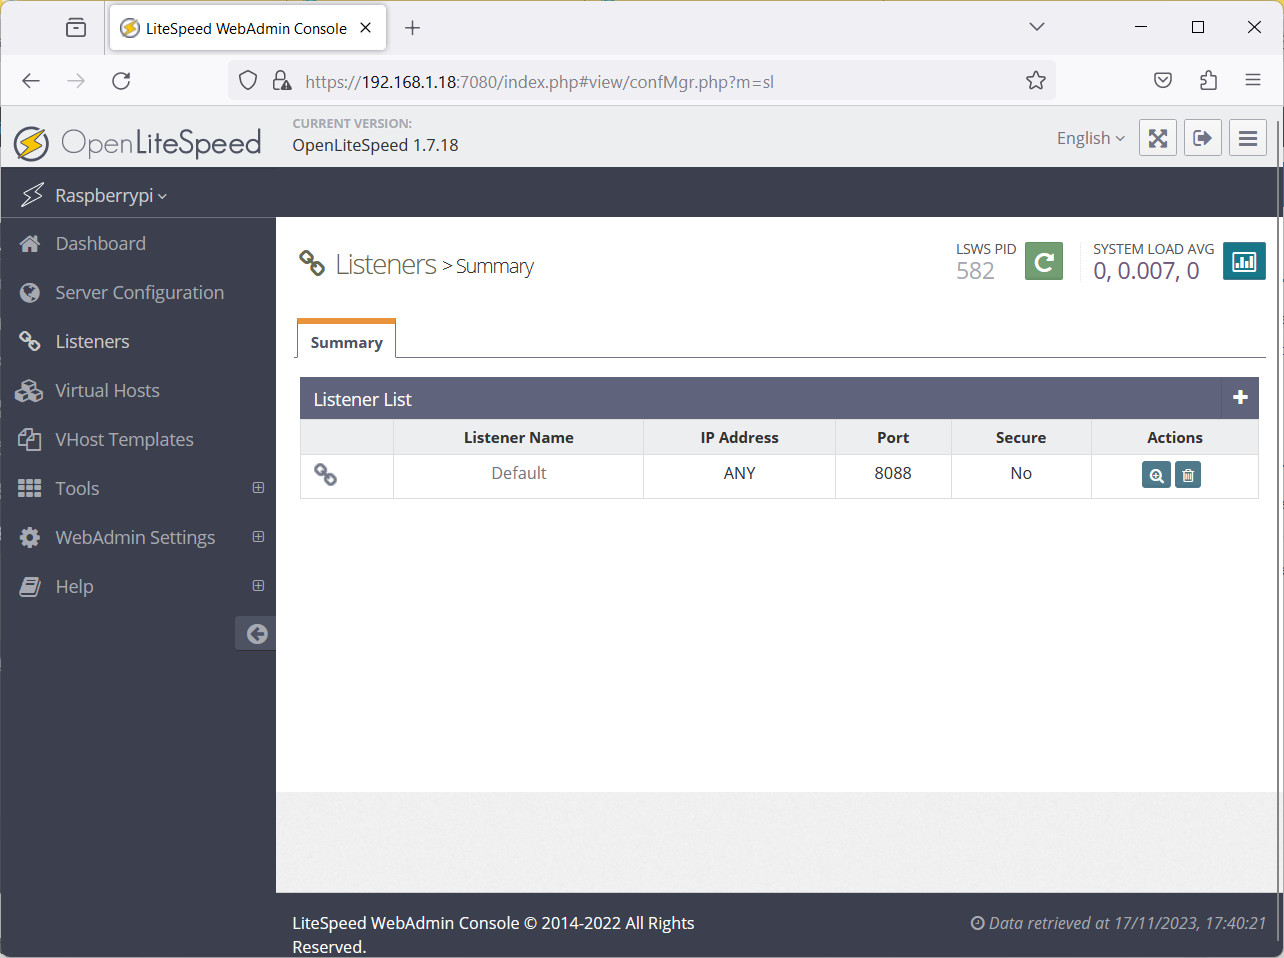
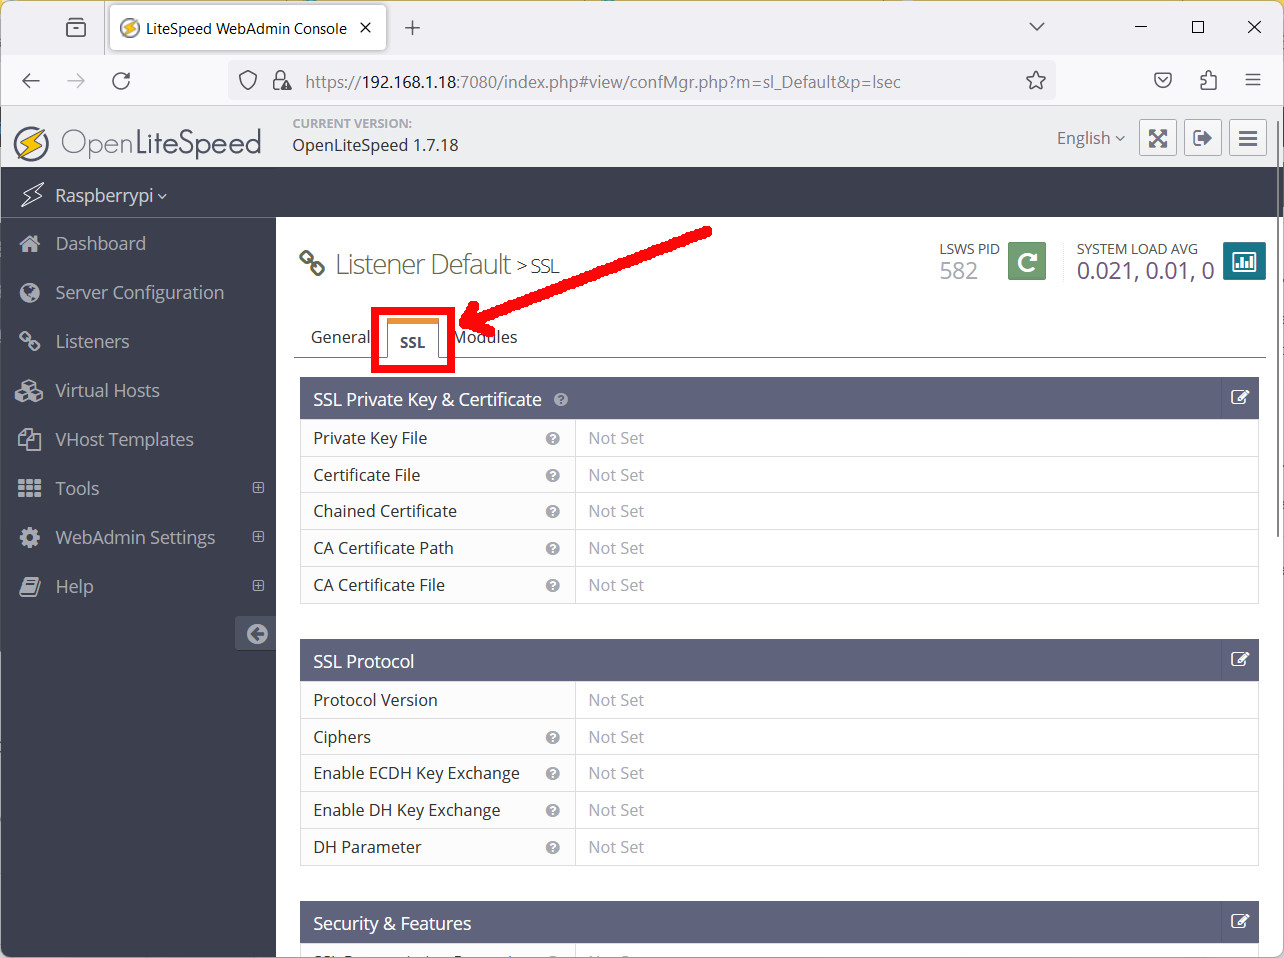
In both the Listener cases, we can set their configurations by using the magnifying glass icon within the Actions column. This will show you also the SSL tab, where you can set the certificates in order to avoid the certificate verification errors:
Change Admin Password
Last but not least, we’ve seen that our admin password is currently stored in our Raspberry PI in plain text. It’s a good practice to change it at the first login from the OpenLiteSpeed console. To do this, please
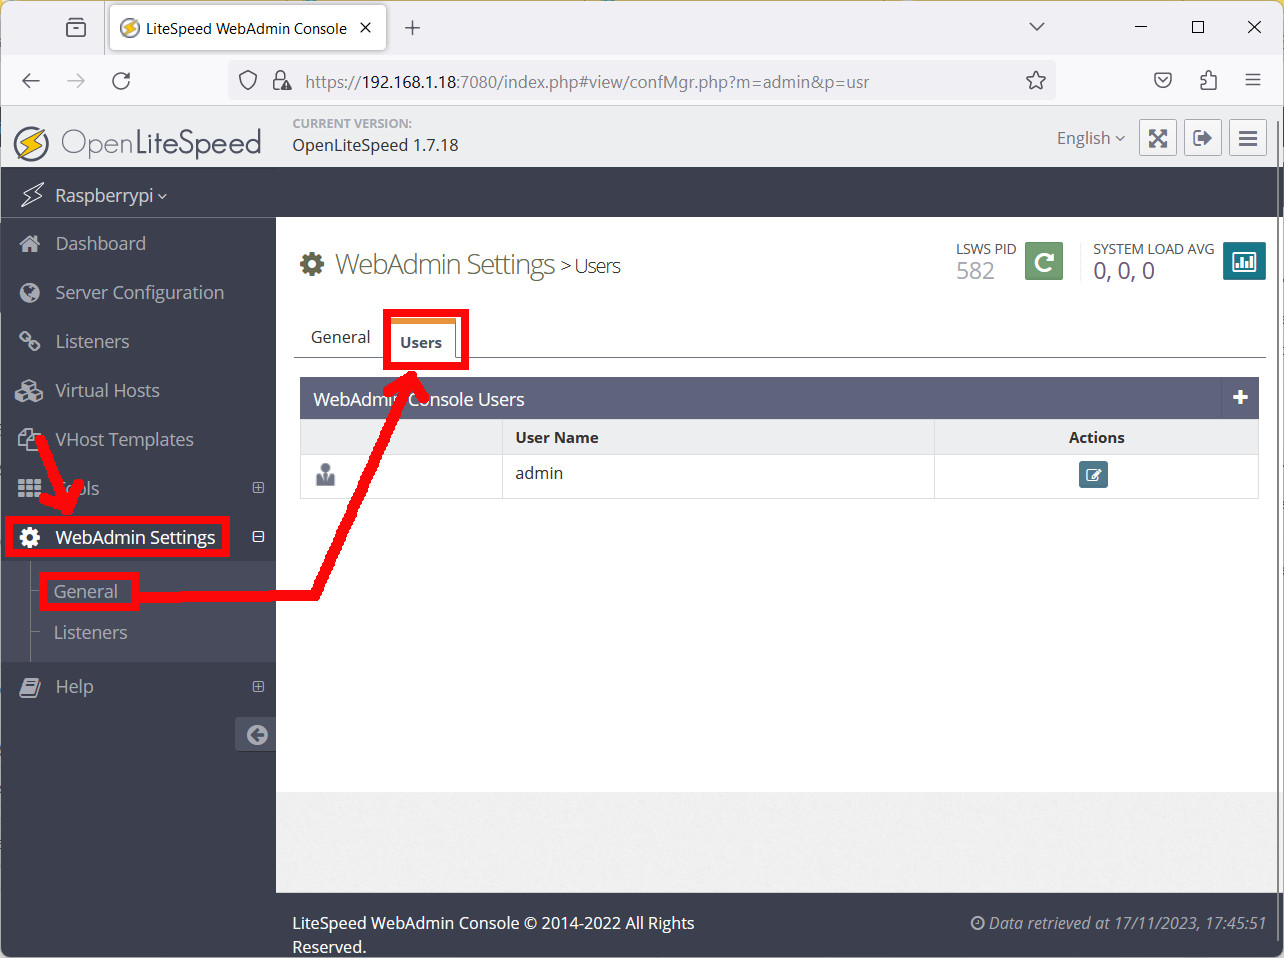
Use the Edit button in the Actions column:
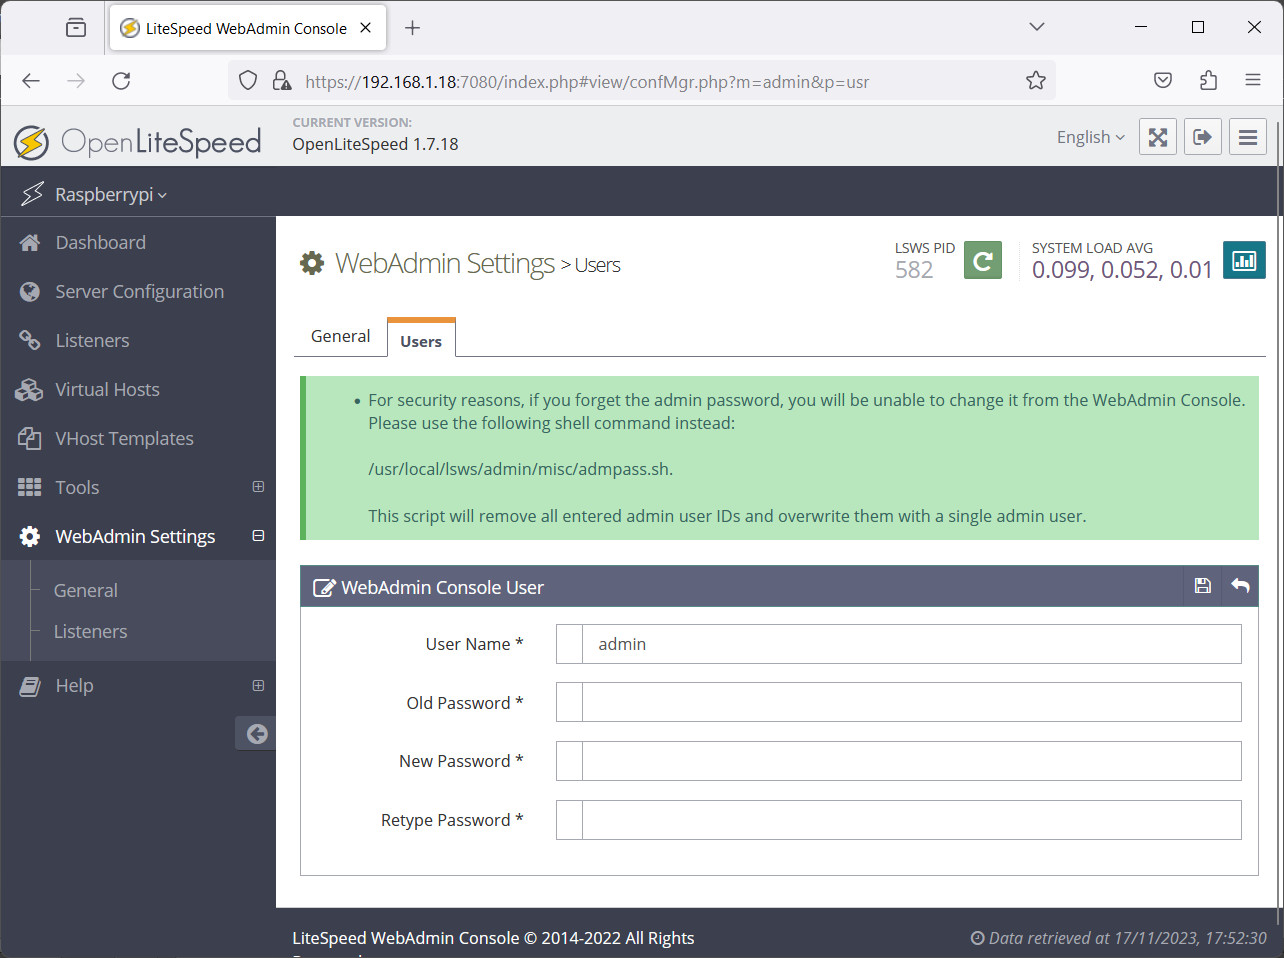
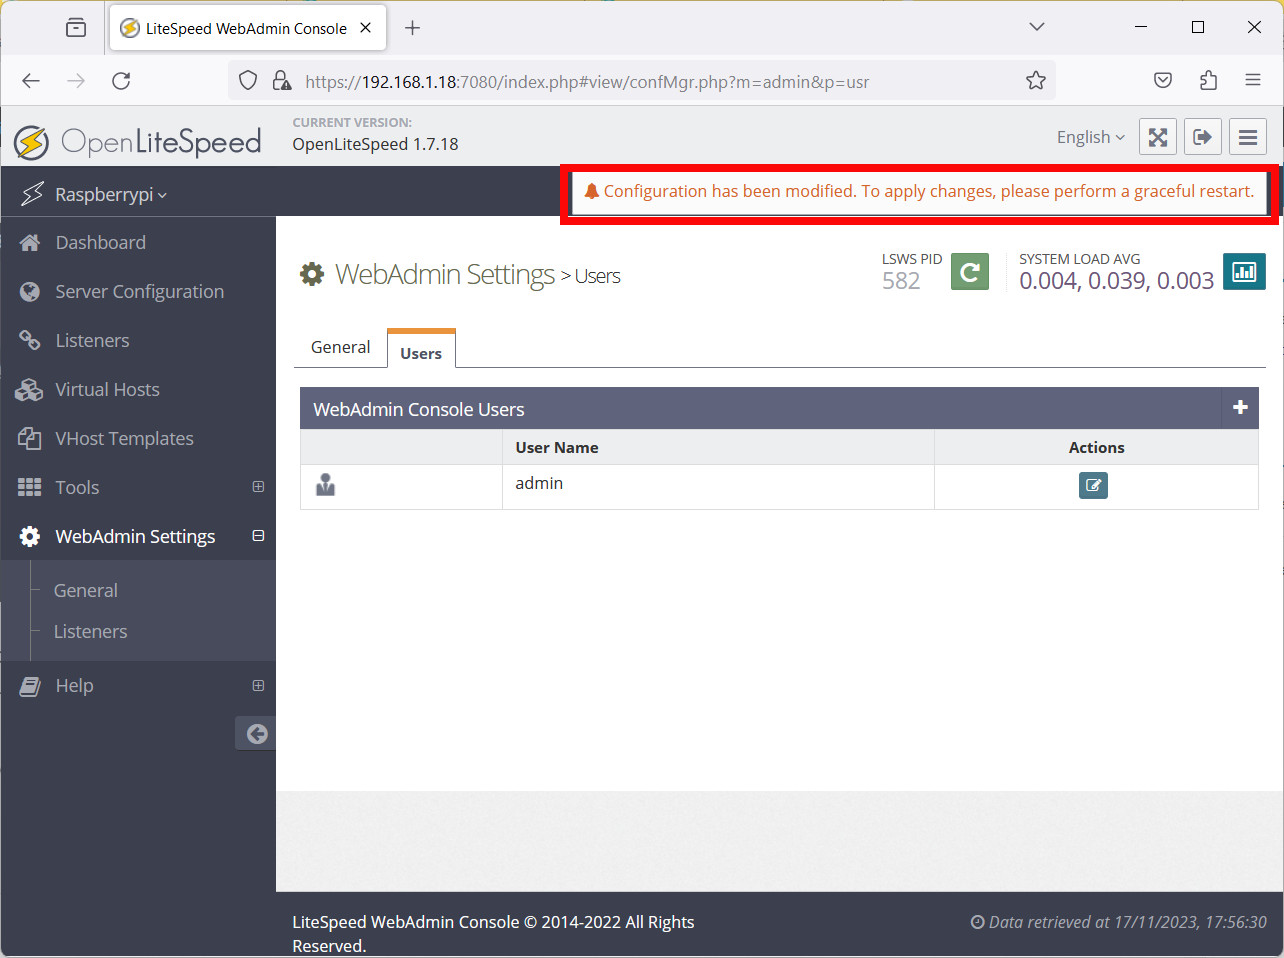
Add your previous password and the new one (the last, repeated 2 times) and then click the “Save” button (that icon with the form of a floppy disk) at the right side of the “WebAdmin Console User” title.
The OpenLiteSpeed Console warns you that a restart is required:
You can do it with the Graceful restart button:
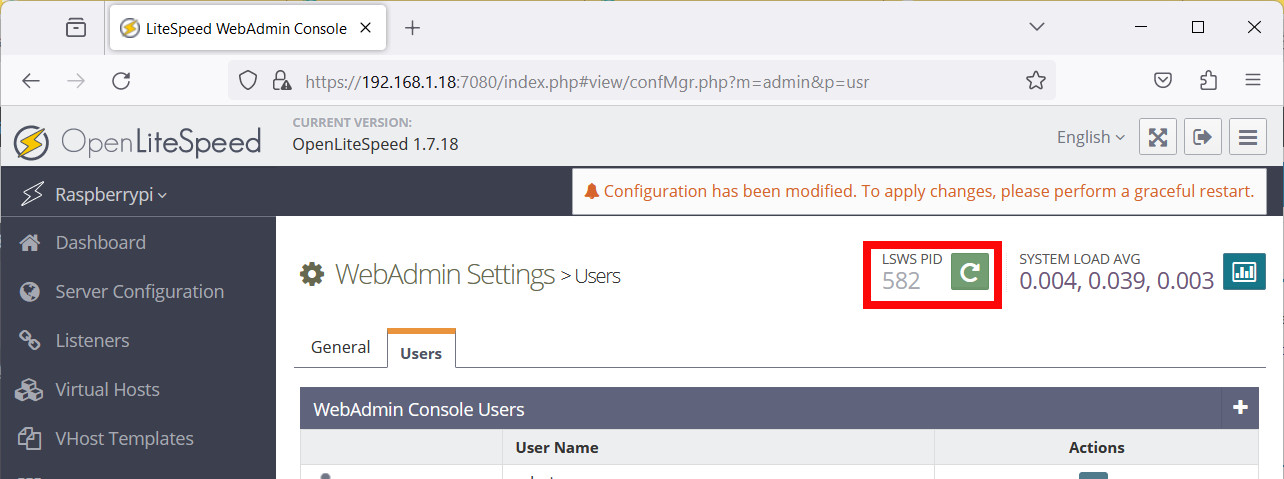
It will require from you for a confirmation, by clicking the “Go” button in the following message:

At the end, you will be redirected to the Console login page.
What’s Next
Interested in more cool ways to use your RPI? Take a look at peppe8o Raspberry PI computer tutorials!
Enjoy!

Open source and Raspberry PI lover, writes tutorials for beginners since 2019. He's an ICT expert, with a strong experience in supporting medium to big companies and public administrations to manage their ICT infrastructures. He's supporting the Italian public administration in digital transformation projects.
![]()
![]()
![]()
![]()
![]()
![]()
![]()


