Last Updated on 2nd September 2023 by peppe8o
In this tutorial, I’m going to show you how to interface the real-time module (DS3231) with Arduino Uno and display real-time & date on the serial monitor. In this work, Arduino code, wiring diagram and component list presents for experimentation.
To control the system with the time and date, Real Time Clock (RTC) module (DS3231) is best to use. The time and date can store and it works for a long time as it contains the cell.
DS3231 Description

DS3231 (RTC) is a low-cost, highly accurate Real Time Clock with having built-in temperature sensor. It can maintain hours, minutes and seconds, as well as, day, month and year information. RTC modules use in computers, mobiles, embedded system devices, etc. to provide time and date. RTC module works on the I2C protocol. The module provides details such as second, minute, hour, day of the week, day of the month, month, and year including correction for leap year. It can operate in 12 and 24-hour time formats. It uses in projects like data-logging, time stamping, clocks and alarms.
Working Phenomena
RTC DS3231 module contains a backup battery which provides supply when the main supply is cut off. DS3231 RTC maintains its clock by counting the cycles of an oscillator, usually an external crystal oscillator circuit, an internal capacitor-based oscillator, or a quartz crystal. DS3231 module needs an Arduino-compatible microcontroller. It works on the I2C communication protocol. The Arduino gets the time & date information and other time-relevant flags from the RTC module by using the I2C protocol,
What We Need
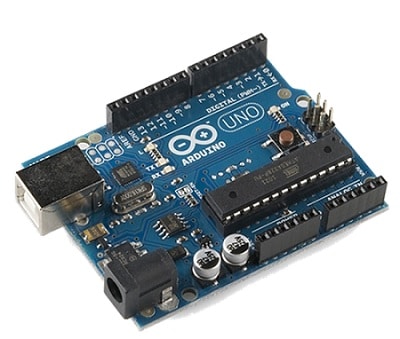
As usual, I suggest adding from now to your favourite e-commerce shopping cart all the needed hardware, so that at the end you will be able to evaluate overall costs and decide if to continue with the project or remove them from the shopping cart. So, hardware will be only:
Check hardware prices with the following links:


Step-by-Step Procedure
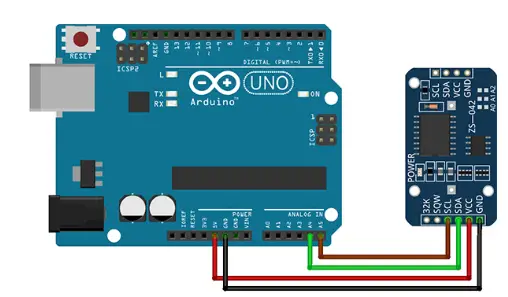
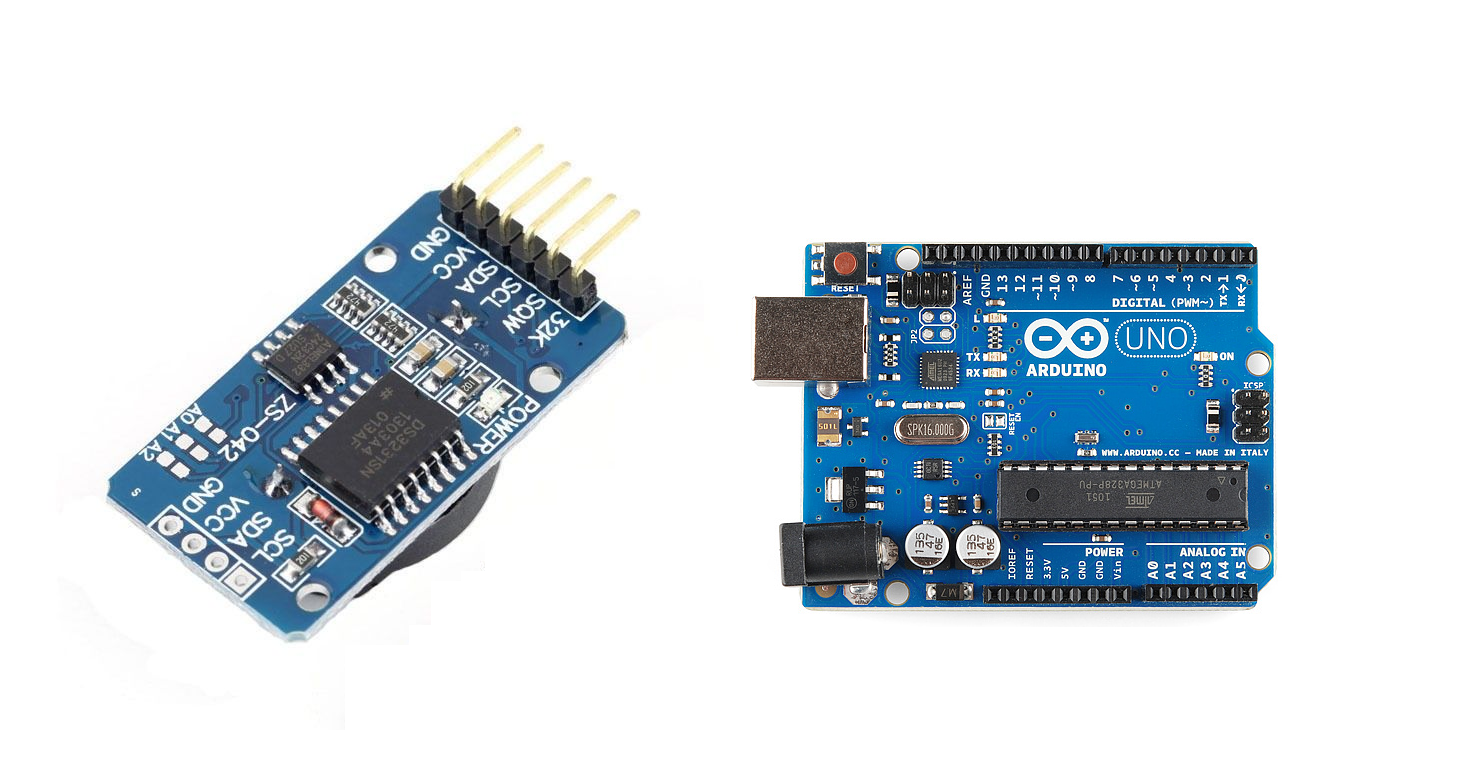
DS3231 contains 6 pins, which are VCC, GND, SCL, SDA, SQW and 32K. At this time we will use only VCC, GND, SCL and SDA (I2C pins). Every microcontroller has dedicated pins of I2C. For Arduino Uno are A4 (SDA) and A5 (SCL).
| Board | I2C Dedicated Pins |
| Uno, Ethernet | A4 (SDA), A5 (SCL) |
| Arduino Mega 2560 | 20 (SDA), 21 (SCL) |
| Leonardo | 2 (SDA), 3(SCL) |
| Due | 20(SCA), 21 (SCL |
Wiring Diagram of DS3231 clock with Arduino Uno
To connect the DS3231 module to Arduino we need to:
- Connect Ground to Ground.
- Connect the VCC pin to the Arduino 5v pin.
- Connect SDA pin to Arduino analogue pin A4
- Connect SCL pin to Arduino analogue pin A5.
Please follow the wiring from the following picture, according to Arduino Uno Pinout:
Get the code and DS3231 Library (RTClib)
Connect your PC to Arduino and open Arduino IDE. For the very first steps, you can refer to Connecting Windows PC with Arduino tutorial. You can get the .ino code and libraries from my download area with the following link:
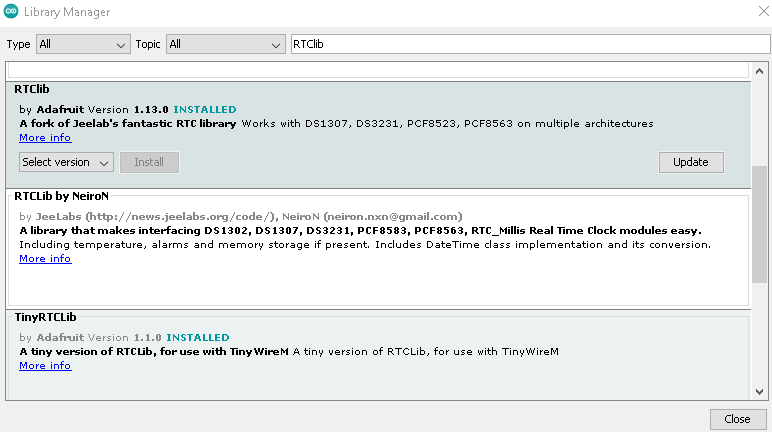
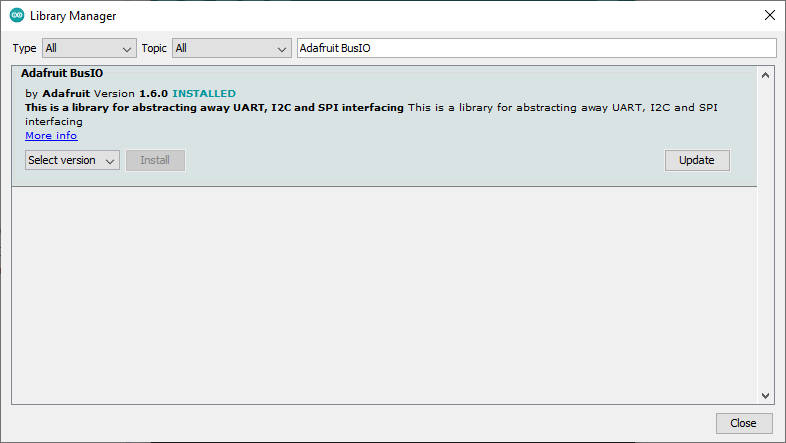
You also need to install the following libraries, according to my Install Arduino Libraries: methods to add libraries with Arduino IDE tutorial.
Code Explanation
Section 1;
This is the section before setup which uses for globe variables defining and libraries additions. RTClib.h is the library for real-time clocks. Here we have defined the instance (etc) of the class (RTC_DS3231) and array for the days of the week.
#include "RTClib.h"
RTC_DS3231 rtc;
char daysOfTheWeek[7][12] = {"Sunday", "Monday", "Tuesday", "Wednesday", "Thursday", "Friday", "Saturday"};
Section 2;
This is the setup section in which Serial.begin(9600) initialise. rtc. begin() use to check whether the DS3231 module attaches or not. when we use the DS3231 for the first time, it doesn’t know the current time and date. So we use this line (rtc.adjust(DateTime(F(__DATE__), F(__TIME__)));) it will automatically get the date and time from your pc or we can manually set it by uncommenting the below line.
void setup ()
{
Serial.begin(9600);
if (! rtc.begin())
{
    Serial.println("Couldn't find RTC");
    Serial.flush();
    abort();
  }
    Serial.println("Setting the time...");
    // When time needs to be set on a new device, or after a power loss, the
     rtc.adjust(DateTime(F(__DATE__), F(__TIME__)));
    // rtc.adjust(DateTime(2022, 08, 27, 4, 0, 0));
  }
Section 3;
In the loop section DateTime now = rtc.now() use get the current date and time from the DS3231 module. now.year() is use for current year, now.month() is use for current month, now.day() is use for current date, daysOfTheWeek[now.dayOfTheWeek() is use for the current day (Monday to Sunday), now.hour() is use for current hour, now.minute() is use for current minutes and now.second() is use for the current seconds.
void loop ()
{
    DateTime now = rtc.now();
    //////////////////////////////
    Serial.print(now.year(), DEC);
    Serial.print('/');
    Serial.print(now.month(), DEC);
    Serial.print('/');
    Serial.print(now.day(), DEC);
    Serial.print(" (");
    Serial.print(daysOfTheWeek[now.dayOfTheWeek()]);
    Serial.print(") ");
    Serial.print(now.hour(), DEC);
    Serial.print(':');
    Serial.print(now.minute(), DEC);
    Serial.print(':');
    Serial.print(now.second(), DEC);
    Serial.println();
    delay(2000);
}
Run the code
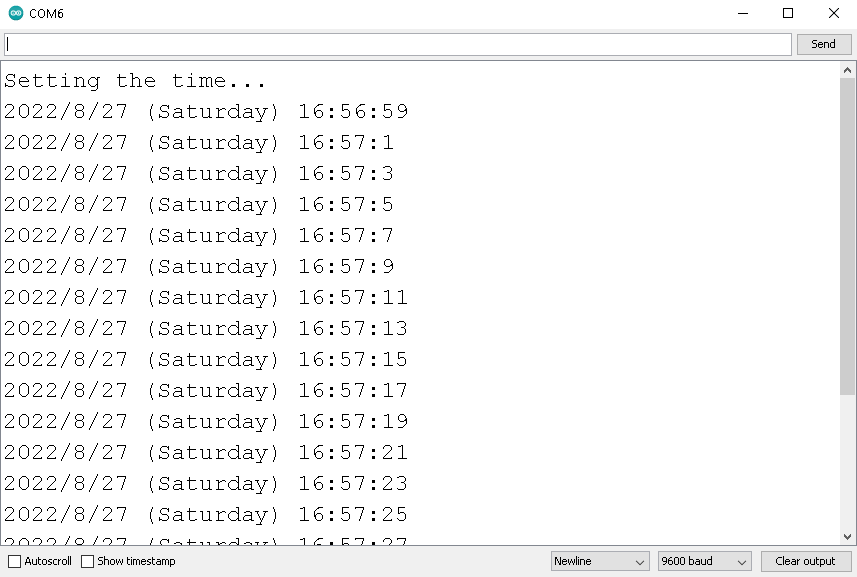
From your Arduino IDE, compile the code. Upload the code and open the serial monitor, On the serial monitor day and time display. On the serial monitor, time displays based on a two-second delay intentionally so that there should be rest time for the whole system. Otherwise second last line delay (2000) can change to delay(1000) for each second delay. Time, day and date prints on the serial monitor at baud rate 9600.
What’s Next
Please find more tutorials on Arduino in peppe8o Arduino archives.
Enjoy!
Umar Jamil
For any queries and help for work, please contact me at:
Whatsapp: +92-346-6617017/ Link
Email: umarjamil0007@gmail.com

I'm an Electronic Engineer, well-skilled to solve the issues of hardware and software. I do have laboratory which contains unlimited sensors and modules for testing the working. Also, I am experienced in Arduino programming, Android mobile application, microcontroller programming, IOTs and embedded projects. I provide services to control, realize the sensor data in the Mobile Application. For any queries and help for work Contact: Whatsapp:+92-346-661-7017 Email: umarjamil0007@gmail.com

what if power cuts and starts again?
There is no issue of power because the RTC has its own power. It has its own cell CR1220, When it’s powered from the Arduino, it used Arduino power while otherwise using cell voltages. The only case is when both cell charging is drained and power from the Arduino is disconnected, then time resets.