
Last Updated on 13th July 2024 by peppe8o
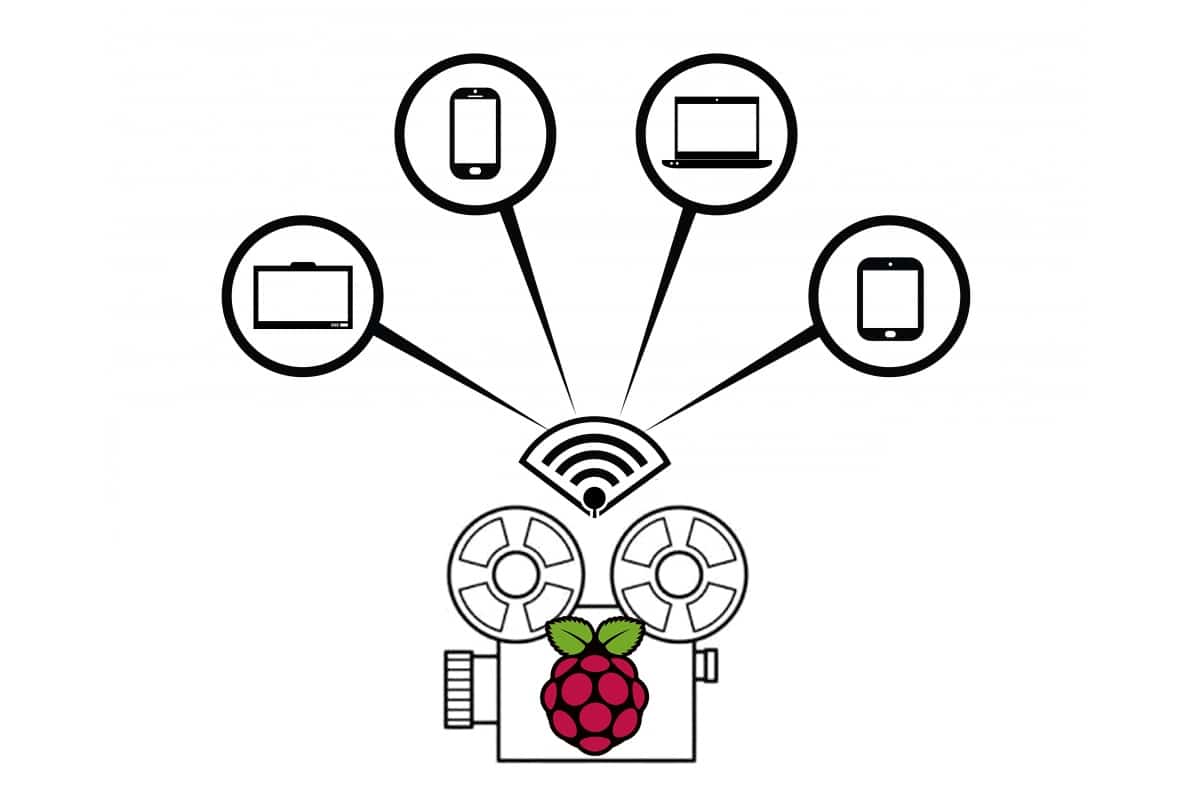
This tutorial will show you how to setup a remote video streaming from a Raspberry PI camera using the terminal, without needing a desktop environment.
Streaming camera video within a Raspberry PI OS Desktop is simple and useful. However, some projects may need remote video streaming from a Raspberry PI camera with a headless setup (Lite).
Software Used
In this project, Raspberry PI will work as a streaming server, broadcasting its camera video using the built-in software from the Raspberry PI OS Lite.
rpicam-vid is the default (preinstalled in all the latest Raspberry PI OS distributions) command line tool for capturing video with a Raspberry Pi camera module. It is part of the rpicam-apps, a set of software able to manage your Raspberry PI Camera for getting videos, time lapse video or photographs. In the latest Raspberry PI OS releases it substituted the old raspicam-tools.
I will use a Raspberry PI 3 Model B+, but this procedure applies to all Raspberry PI boards.
What We Need
As usual, I suggest adding from now to your favourite e-commerce shopping cart all the needed hardware, so that at the end you will be able to evaluate overall costs and decide if to continue with the project or remove them from the shopping cart. So, hardware will be only:
- Raspberry PI Computer Board (including proper power supply or using a smartphone micro USB charger with at least 3A)
- high speed micro SD card (at least 16 GB, at least class 10)
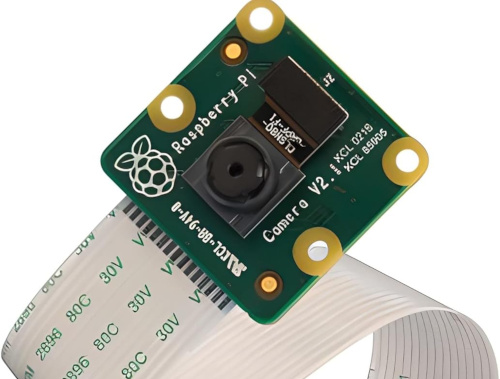
- Raspberry PI Camera
Step-by-Step Procedure
Please connect the camera module to your Raspberry PI in its port before starting. The Raspberry PI provided a complete article about connecting it in their install a raspberry pi camera article.
Prepare the Raspberry PI OS
The first step is installing the Raspberry PI OS Lite (I suggest the 64-bit version, for boards supporting it) to get a fast and light operating system (headless). If you need a desktop environment, you can also use the Raspberry PI OS Desktop, in this case working from its terminal app. Please find the differences between the 2 OS versions in my Raspberry PI OS Lite vs Desktop article.
Please make sure that your OS is up to date. From your terminal, use the following command::
sudo apt update -y && sudo apt upgrade -yWith old Raspberry PI OS releases, you had to enable the camera interface from the raspi-config tool. With the last releases the camera module automatically becomes active at the sensor connection.
The rpicam-vid Tool
The rpicam-vid tool helps you to capture video output from Raspberry PI camera devices. By default, with Raspberry PI OS Desktop it opens a preview window where you can see the captured video. On the other hand, with Raspberry PI OS lite it doesn’t show you a preview, but it still works in capturing the video source. By default, it produces videos with H.264 encoding.
The first step is to check if the camera is correctly detected and what are the supported modes. You can do it with the following command:
rpicam-hello --list-camerasand your result will be similar to the following:
pi@raspberrypi:~ $ rpicam-hello --list-cameras
Available cameras
-----------------
0 : ov5647 [2592x1944 10-bit GBRG] (/base/soc/i2c0mux/i2c@1/ov5647@36)
    Modes: 'SGBRG10_CSI2P' : 640x480 [58.92 fps - (16, 0)/2560x1920 crop]
                             1296x972 [43.25 fps - (0, 0)/2592x1944 crop]
                             1920x1080 [30.62 fps - (348, 434)/1928x1080 crop]
                             2592x1944 [15.63 fps - (0, 0)/2592x1944 crop]
Now, you can test the video capturing with the following basic command:
rpicam-vid -t 10s -o test.mp4A few explanation of the options follows:
-t 10s: defines the time of the captured video. With -t 0 you will run the program without a stop-o test.mp4: outputs the resulting video to a file named “test.mp4”
With Raspberry PI OS Desktop you can see this video with the built-in VLC video player. With Raspberry PI OS Lite, you can download the video file (with a file transfer app like Filezilla) and see it on your computer.
Other important options are:
--width: to set the image width (0 = use default value)--height: to set the image height (0 = use default value)-n: do not show the preview window--framerate: set a specific framerate--inline: force PPS/SPS header with every I frame (h264 only)--codec: Set the codec to use, either h264, libav, mjpeg or yuv420 (default h264)
It is important to note that Raspberry PI OS Lite doesn’t bring by itself all the usable codecs. For example, if you want to use the libav codecs you must install them with the libcamera-apps package:
sudo apt install libcamera-apps -yVideo Stream from Raspberry PI with rpicam-vid
The rpicam-vid tool is also capable of outputting your video to a remote source, but I had a lot of problems to get a reliable way to stream directly from it. Instead, I will show you how to get the remote video stream from your Raspberry PI with the help of VLC.
Please install VLC in your Raspberry PI:
sudo apt install vlc -yYou can start a video streaming from the Raspberry PI with the following terminal command:
rpicam-vid -t 0 --width 1296 --height 972 --framerate 60 --inline -o - | cvlc stream:///dev/stdin --sout '#rtp{sdp=rtsp://:5555/}' :demux=h264This command will trigger rpicam-vid to start capturing camera video and directing its output, via the pipe operator (“|”), to VLC (cvlc is the console tool of VLC).
Please note that the used port (5555) can be changed at your choice, as well as you can adjust all the other parameters (like width and height).
Once you run this command, the Raspberry PI will start to publish the video in your network.
From the receiving PC side, you will now be able to get the video stream with a video player able to read network streams using the RTSP protocol and h264 encoding. In my example I will use the free VLC (Videolan), avaliable both for windows and linux. I will use it installed on a windows PC on the same LAN.
From the VLC interface, select from “Media” menù “Open Network Stream”.
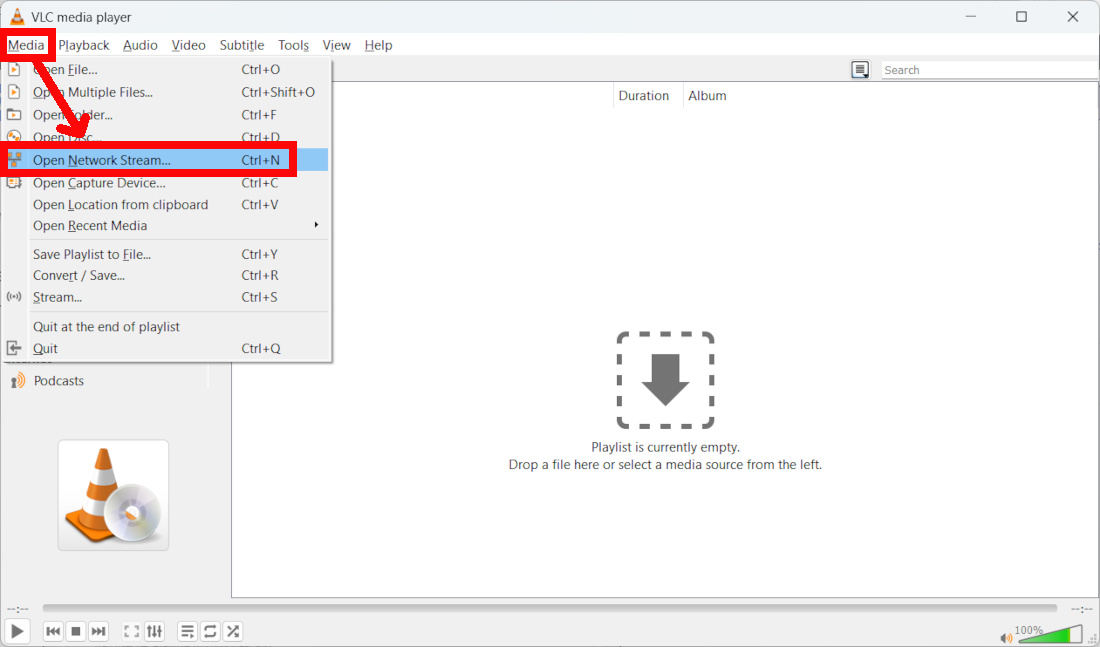
In the following window, please use your Raspberry PI IP address instead of mine (192.168.1.8) and insert a link composed as following:
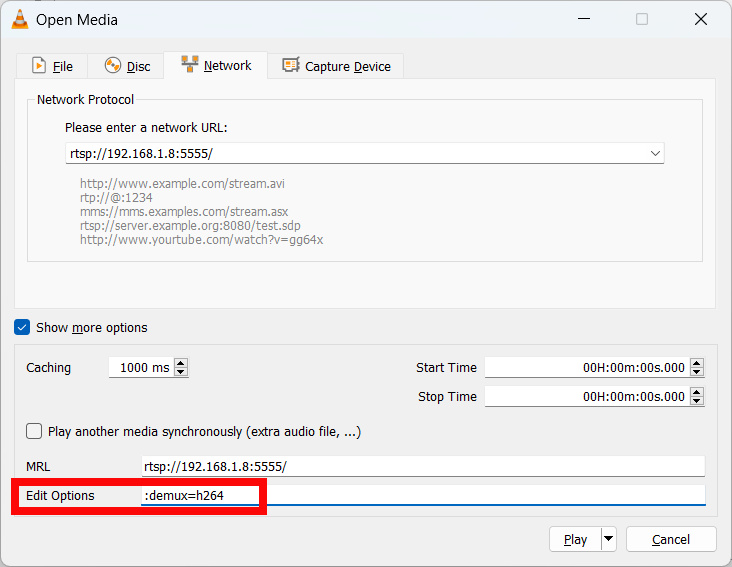
rtsp://192.168.1.8:5555/You also need to open the additional options with the highlighted in the following picture:

Here, you will be able to add the “:demux=h264” option, as shown in the following picture:
Finally, use the Play button to start viewing your Raspberry PI camera stream.
Final Toughts
rpicam-vid will produce reliable remote video streaming, but it will also introduce a delay of a few seconds. This makes it usable for projects where you don’t need a real-time interaction with the video. However, it opens your projects to a great number of applications as environment monitoring.
Enjoy!

Open source and Raspberry PI lover, writes tutorials for beginners since 2019. He's an ICT expert, with a strong experience in supporting medium to big companies and public administrations to manage their ICT infrastructures. He's supporting the Italian public administration in digital transformation projects.
![]()
![]()
![]()
![]()
![]()
![]()
![]()


Thank you so much for sharing this information! I have been working on a Pi Zero 2W remote camera project and this was
exactly what I had been wanting to do. After fixing a few typos I was able to get it to work, and It works great! Thank you
again.
Thank you for your feedback, Kedric