
Last Updated on 3rd March 2024 by peppe8o
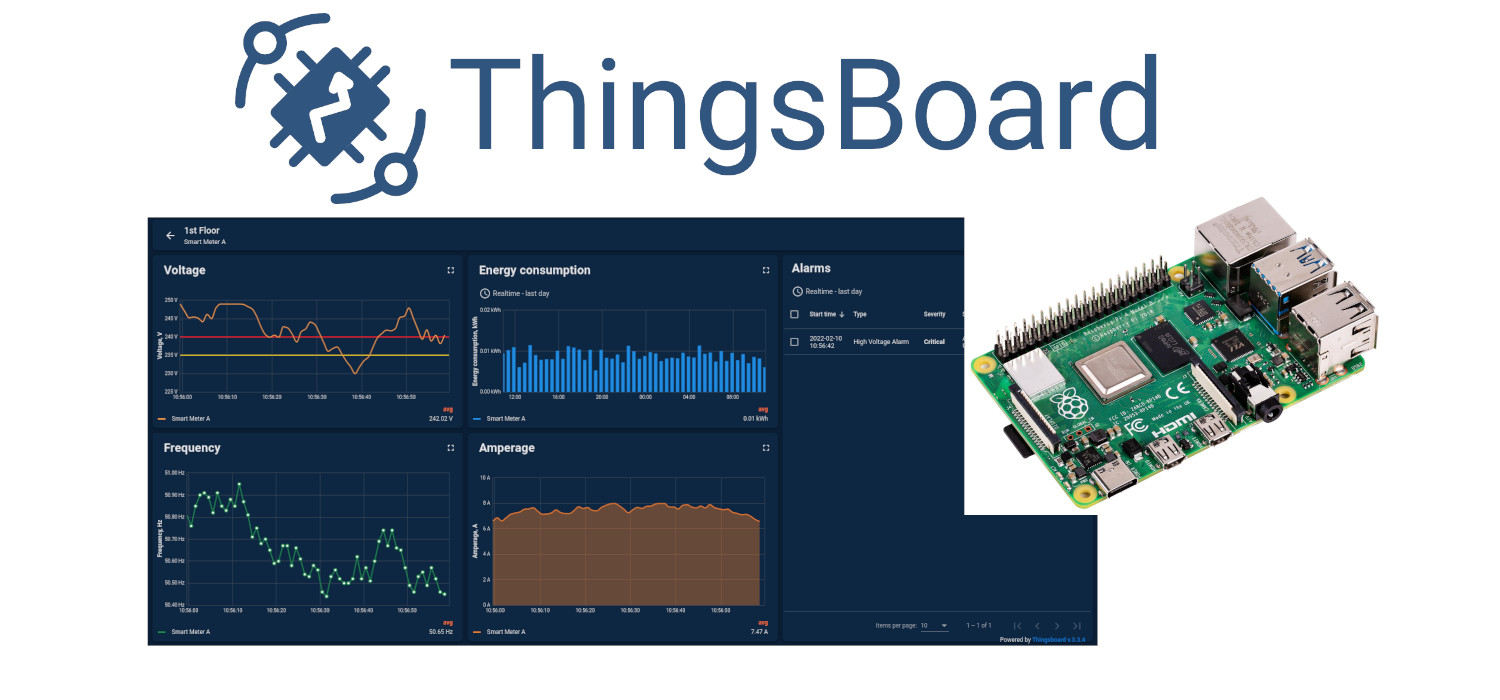
In this tutorial, I will show you how to install ThingsBoard on Raspberry PI computer boards.
IoT devices can collect a lot of environmental data that you have to manage, rearrange and show. ThingsBoard on Raspberry PI lets you create amazing dashboards getting data from a wide number of devices
ThingsBoard features
ThingsBoard is an Open Source platform allowing you to easily manage IoT devices, collect data and create amazing dashboards for your IoT projects. You can also set triggers with connected notifications or general reactions, to manage outages or issues in real-time.
The official ThingsBoard page shows common use cases as Device Metering, Energy Management, Smart Farming and Fleet Tracking, but it has a so versatile structure that the only limit to its usage fields is your imagination.
Finally, the following gives you a brief list of ThingsBoard features, but you can refer to the ThingsBoard official page for more details:
- Collect and store telemetry data in a reliable way, surviving network and hardware failures.
- Support multi-tenant installations out-of-the-box
- Provides 30+ configurable widgets out-of-the-box and the ability to create your widgets using a built-in editor
- Amount of supported server-side requests and devices increase linearly as new ThingsBoard servers are added in clustering mode
- Process incoming device data with flexible rule chains based on entity attributes or message content. Forward data to external systems or trigger alarms using custom logic.
- Allows to monitor client-side and provision server-side device attributes. Provides API for server-side applications to send RPC commands to devices and vice-versa.
- Supports transport encryption for both MQTT and HTTP(s) protocols.
- Provides the ability to register and manage assets.
- Extend default platform functionality using customizable rule chains, widgets and transport implementations.
- ThingsBoard is licensed under Apache License 2.0, so you can use it in your commercial products for free.
- Offers a Cloud implementation with managed services
The following procedure will use the official Docker installation with in-memory queue service. For this tutorial, I will use a Raspberry PI 5 Model B+ computer board, but this also applies to all newer Raspberry PI computer boards supporting the 64-bit Raspberry PI OS.
What We Need

As usual, I suggest adding from now to your favourite e-commerce shopping cart all the needed hardware, so that at the end you will be able to evaluate overall costs and decide if to continue with the project or remove them from the shopping cart. So, hardware will be only:
- Raspberry PI 5 Model A+ (including proper power supply or using a smartphone micro USB charger with at least 3A) or newer Raspberry PI Board
- high speed micro SD card (at least 16 GB, at least class 10)
Step-by-Step Procedure
Prepare the Operating System
Start Raspberry PI OS Lite (64-bit version) installation to get a fast Operating System. With the newest RPI computer boards (from RPI 4) you can also use Raspberry PI OS Desktop (still 64-bit), as they have enough RAM and CPU to run ThingsBoard and the desktop environment. In any case, if you don’t need the desktop environment I suggest using the Lite version as it assures you to get the best from your computer board.
Make sure that your OS is updated. From the terminal, please use the following command:
sudo apt update -y && sudo apt upgrade -yThis tutorial uses the docker to make the installation steps simple. So, please install Docker in Raspberry PI (using the linked tutorial).
Install ThingsBoard in Raspberry PI
With docker and docker compose, we need only a configuration file. Let’s create a folder named “tb” (or your preferred name, remembering to change it in the following paths if you use a different one), enter it and create the docker compose file with the following commands:
mkdir tb
cd tb
We’ll also create persistent volumes for ThingsBoard configuration data and logs:
mkdir -p ~/tb/.mytb-data && sudo chown -R 799:799 ~/tb/.mytb-data
mkdir -p ~/tb/.mytb-logs && sudo chown -R 799:799 ~/tb/.mytb-logs
Now, we can set the docker-compose.yaml file which will include all the settings to configure ThingsBoard. Please create and enter the file for editing with the nano text editor:
nano docker-compose.ymlPlease paste the following content:
version: '3.0'
services:
  mytb:
    restart: unless-stopped
    image: "thingsboard/tb-postgres"
    ports:
      - "8080:9090"
      - "1883:1883"
      - "7070:7070"
      - "5683-5688:5683-5688/udp"
    environment:
      TB_QUEUE_TYPE: in-memory
    volumes:
      - ~/tb/.mytb-data:/data
      - ~/tb/.mytb-logs:/var/log/thingsboard
Save and exit (CTRL+X, then confirm).
At this point, we have already made all the required steps from the configuration side. We can start the ThingsBoard installation with the following command:
docker compose up -dIt will start pulling the required docker packages. At the end, the ThingsBoard installation will continue in the background (it will take a few minutes) and you will be able to check the progress by using the following terminal command:
docker compose logs -f mytbFrom the logs, please wait to get the following output:
mytb-1  |  /_  __/   / /_    (_)   ____    ____ _   _____   / __ )  ____   ____ _   _____  ____/ /
mytb-1  |   / /     / __ \  / /   / __ \  / __ `/  / ___/  / __  | / __ \ / __ `/  / ___/ / __  /
mytb-1  |  / /     / / / / / /   / / / / / /_/ /  (__  )  / /_/ / / /_/ // /_/ /  / /    / /_/ /
mytb-1  | /_/     /_/ /_/ /_/   /_/ /_/  \__, /  /____/  /_____/  \____/ \__,_/  /_/     \__,_/
mytb-1  |                               /____/
mytb-1  |
mytb-1  |  ===================================================
mytb-1  |  :: ThingsBoard ::       (v3.6.2)
mytb-1  |  ===================================================
mytb-1  |
mytb-1  | Starting ThingsBoard Installation...
mytb-1  | Installing DataBase schema for entities...
mytb-1  | Installing SQL DataBase schema part: schema-entities.sql
mytb-1  | Installing SQL DataBase schema indexes part: schema-entities-idx.sql
mytb-1  | Installing SQL DataBase schema PostgreSQL specific indexes part: schema-entities-idx-psql-addon.sql
mytb-1  | Installing SQL DataBase schema views and functions: schema-views-and-functions.sql
mytb-1  | Successfully executed query: DROP VIEW IF EXISTS device_info_view CASCADE;
mytb-1  | Successfully executed query: CREATE OR REPLACE VIEW device_info_view AS SELECT * FROM device_info_active_attribute_view;
mytb-1  | Installing DataBase schema for timeseries...
mytb-1  | Installing SQL DataBase schema part: schema-ts-psql.sql
mytb-1  | Successfully executed query: CREATE TABLE IF NOT EXISTS ts_kv_indefinite PARTITION OF ts_kv DEFAULT;
mytb-1  | Loading system data...
mytb-1  | Loading system widgets
mytb-1  | Creating default notification configs for system admin
mytb-1  | Creating default notification configs for all tenants
mytb-1  | Loading system images...
mytb-1  | Loading demo data...
mytb-1  | Installation finished successfully!
mytb-1  | Starting ThingsBoard ...
From my experience, the service will be effectively available when the Tomcat web server is running. you can get a more specific check with the following grep on logs:
pi@raspberrypi:~/tb $ docker compose logs -f mytb | grep tomcat
mytb-1  | 2024-03-03 10:15:24,134 [main] INFO  o.s.b.w.e.tomcat.TomcatWebServer - Tomcat initialized with port(s): 9090 (http)
mytb-1  | 2024-03-03 10:15:44,008 [main] INFO  o.s.b.w.e.tomcat.TomcatWebServer - Tomcat started on port(s): 9090 (http) with context path ''
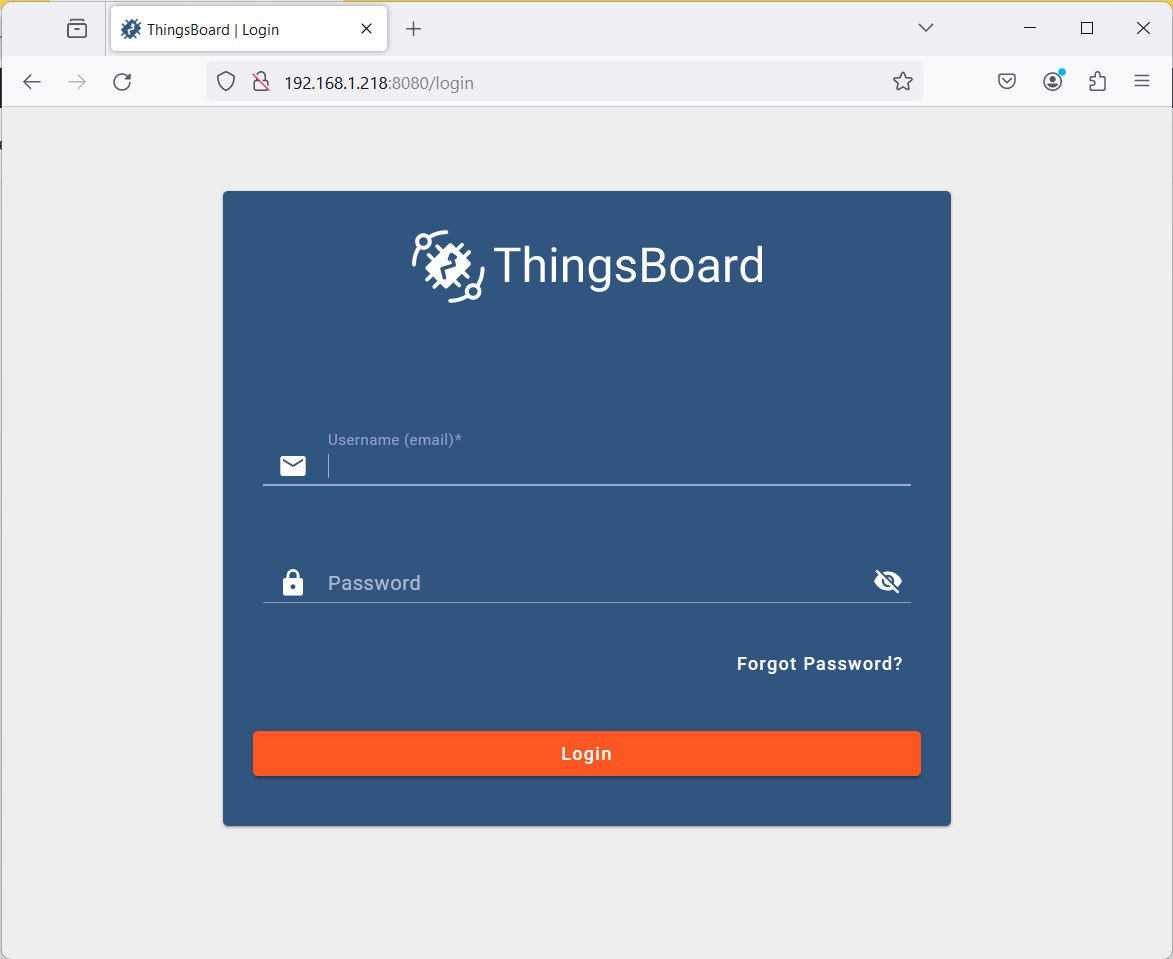
At this point, the ThingsBoard will be available from a web browser by using your Raspberry PI address as URL and appending “8080” port. In my case, my RPI local address is 192.168.1.218 and the URL will be “http://192.168.1.218:8080”.
You will reach the Thingsboard login page:
By default, ThingsBoard comes with 3 credentials (email/passwords):
- System Administrator: sysadmin@thingsboard.org / sysadmin
- Tenant Administrator: tenant@thingsboard.org / tenant
- Customer User: customer@thingsboard.org / customer
For security reasons, I strongly suggest changing these passwords as soon as you get ThingsBoard installed and running.
Let’s try logging in with the System Administrator profile, we’ll get the related home page:
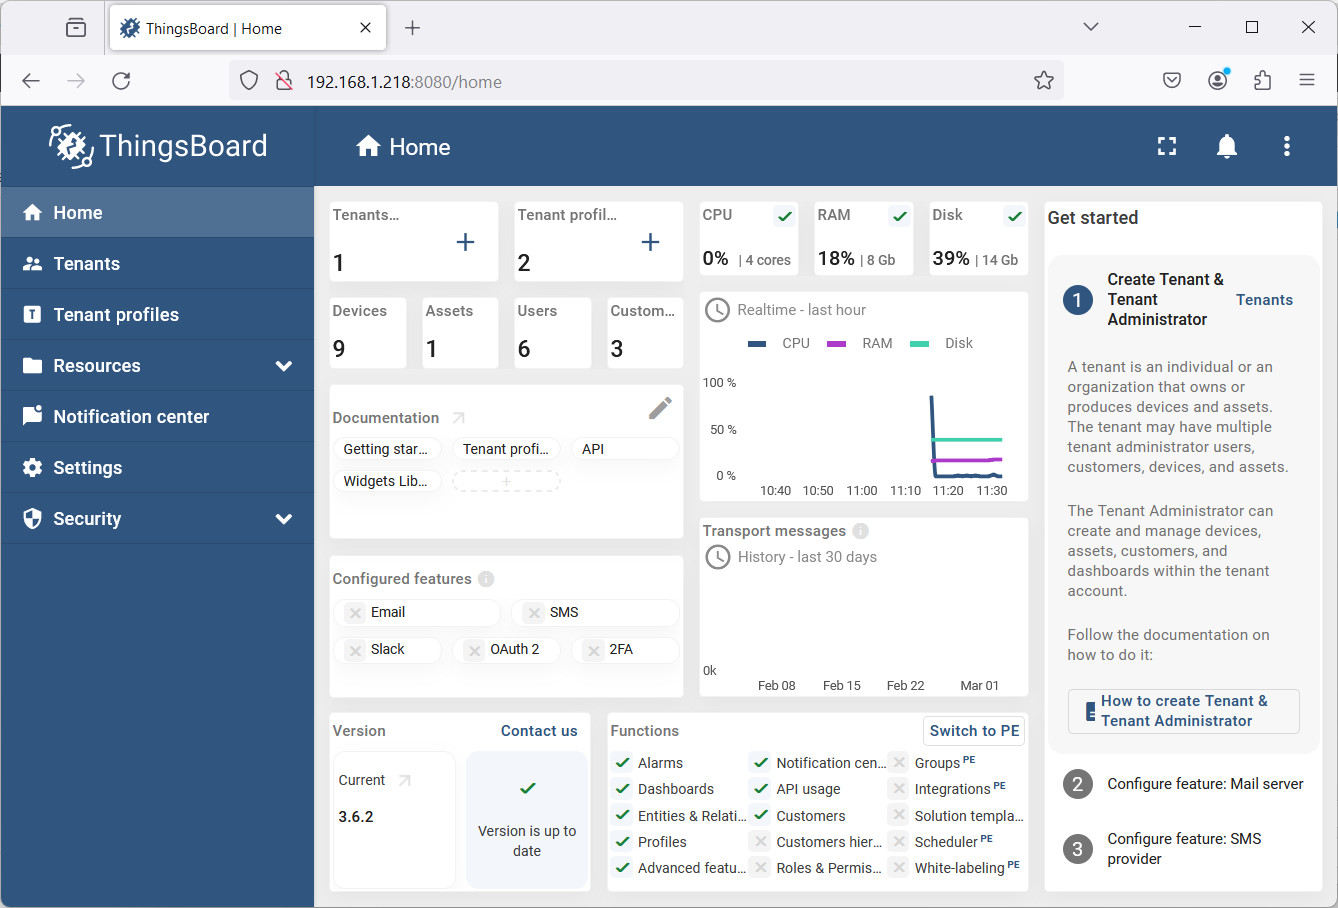
It is already pulled with some demo data and a demo tenant, that your System Admin profile can remove.
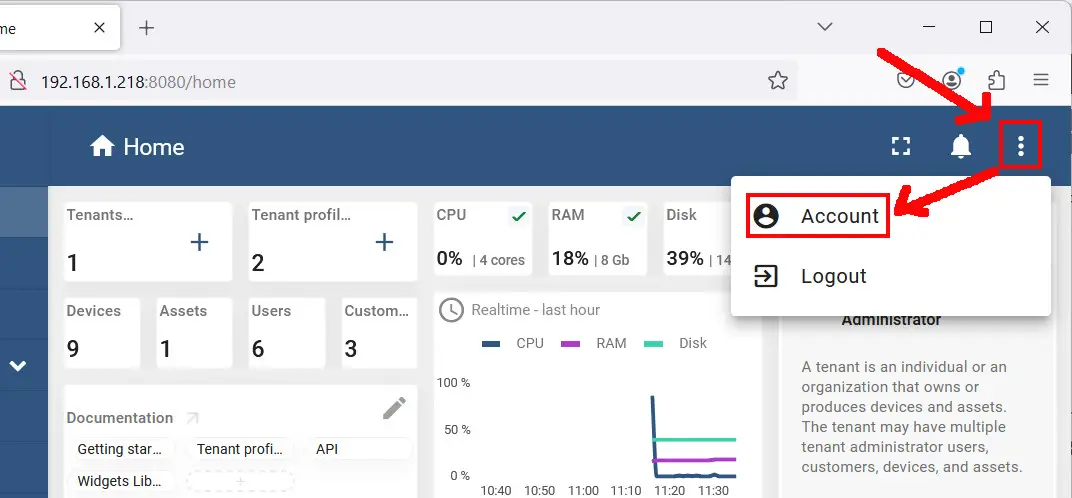
Change ThingsBoard User Email and Password
Let’s look at how you can change the current user password. From the “kebab” menu on top-right side of the page, please select the “Account” option:
The “Profile” tab will allow you to change the System Admin password with your preferred one:
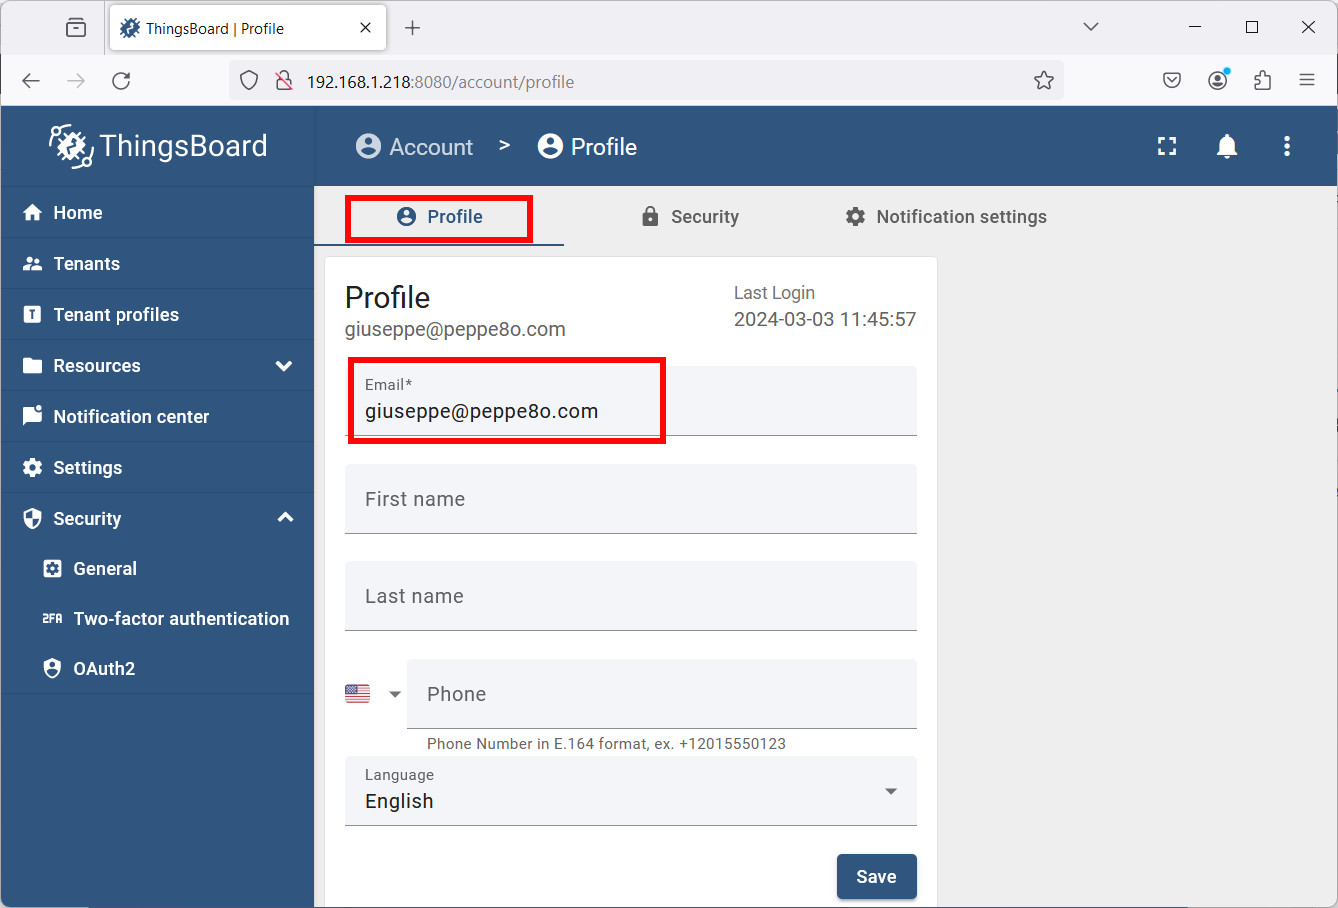
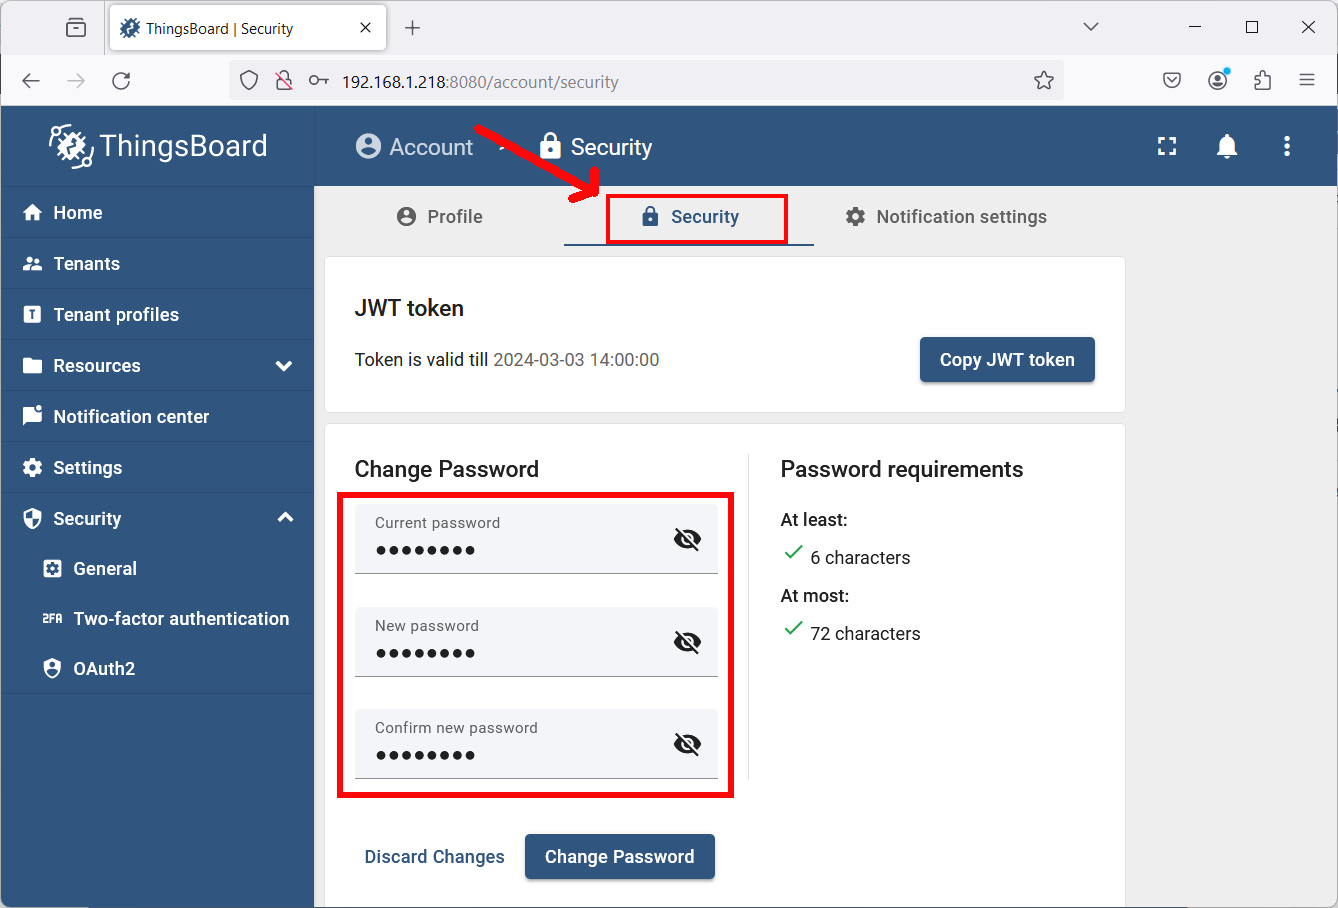
After saving the new email address, please move to the “Security” tab, where you can set the new password:
Following Parts
In my next tutorial, I’ll show how to create your first tenant user and how to add the first measurements from the Raspberry PI. Please find this on the following link: ThingsBoard and Raspberry PI (part 2): Add Device telemetry by MTTQ and Python.
What’s Next
If you want to discover many other projects for your Raspberry PI, you can take a look at peppe8o Raspberry PI computer tutorials.
Enjoy!

Open source and Raspberry PI lover, writes tutorials for beginners since 2019. He's an ICT expert, with a strong experience in supporting medium to big companies and public administrations to manage their ICT infrastructures. He's supporting the Italian public administration in digital transformation projects.
![]()
![]()
![]()
![]()
![]()
![]()
![]()


Just to avoid further mistakes in other people
There’s a semicolon missing at the end of CREATE DATABASE thingsboard instance.